Photo manipulation is one of those Photoshop skills that feels like pure magic once it clicks. You start with a handful of stock photos and end up with something that looks like it came straight from a dream.
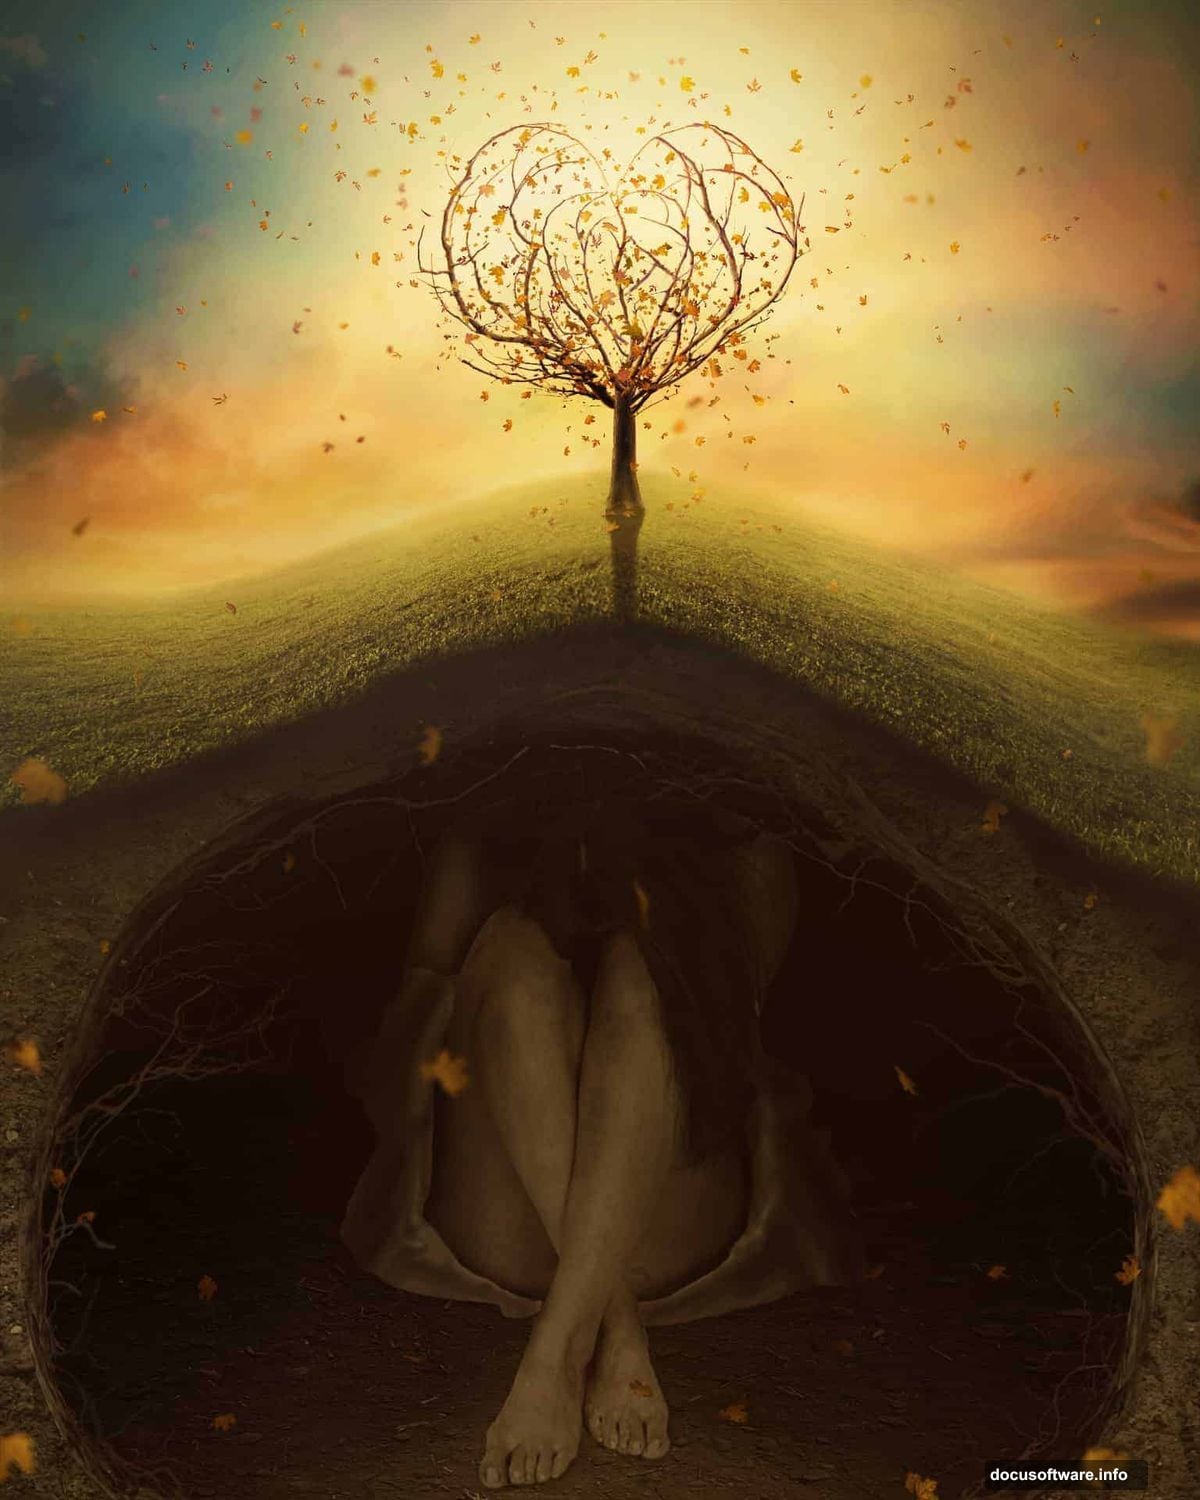
This tutorial walks you through building a stunning surreal underground scene, complete with a heart-shaped form made from tangled branches and scattering leaves. Along the way, you’ll pick up practical techniques that apply to tons of future projects.
Ready to build something beautiful? Let’s get into it.
Stock Resources You’ll Need First
Before opening Photoshop, gather your assets. The tutorial uses two sky photos, two soil textures, a model, a wood texture, three branch photos, a tree, grass, and a collection of leaves.
Tracking down free stock images takes a little patience. Sites like DeviantArt’s resources section are great for finding branches and nature elements. Some original tutorial links have expired over time, but alternatives are easy to find with a quick search.
Setting Up Your Canvas and Underground Base
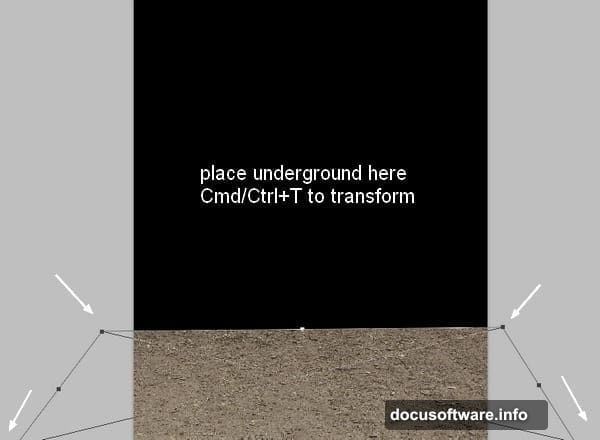
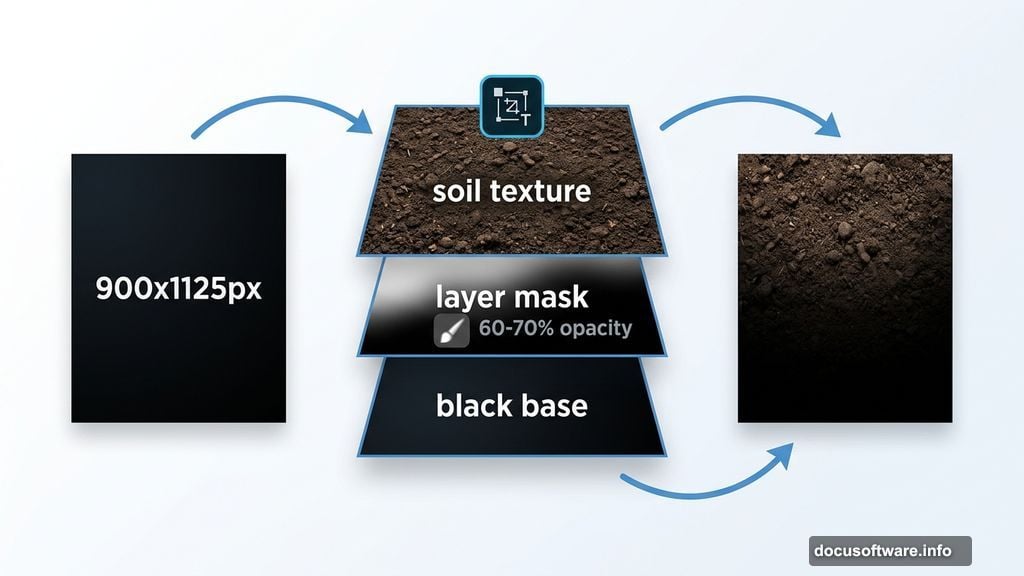
Start with a new document at 900×1125 pixels and fill it with black. This dark base matters because it gives your blending layers something to work against.
Open your first soil image and drag it onto the canvas. Use Cmd/Ctrl+T to transform and position it. You’re building the underground floor, so placement matters for the final composition.
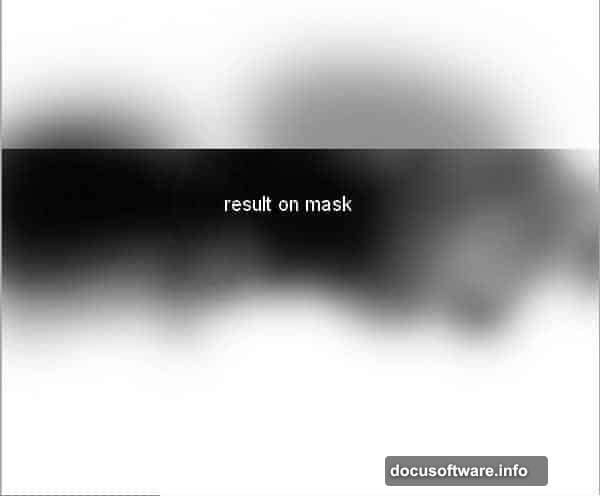
Next, add a layer mask to your soil layer. Use a soft black brush set to about 60-70% opacity to gently erase edges and blend the soil into the dark background. The key here is subtlety. You want a natural fade, not a hard cutoff.
Adjustment Layers and Complex Masking for Depth
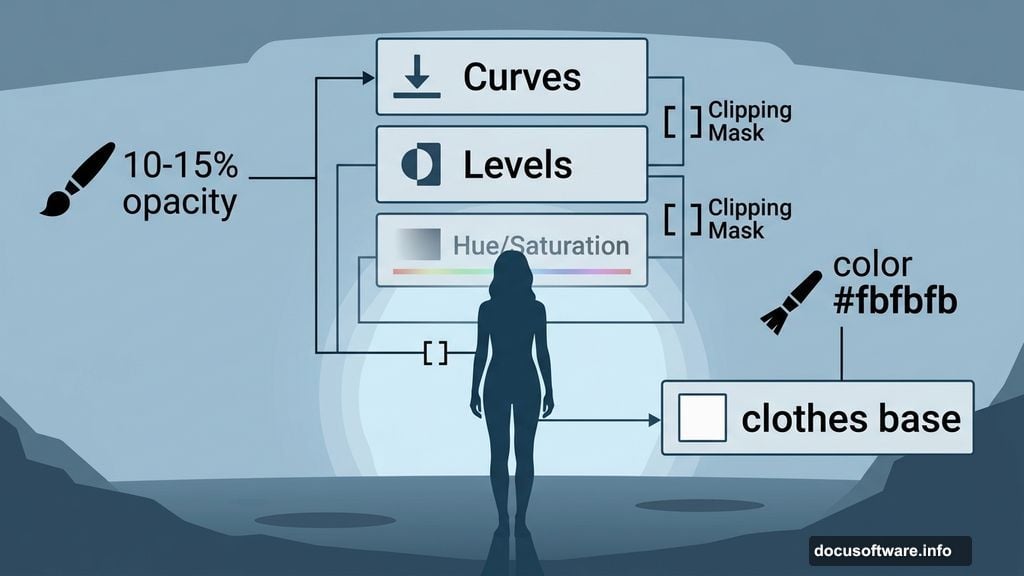
This is where the scene starts to feel three-dimensional. Add a Curves adjustment layer with a Clipping Mask to darken the underground. On the Curves layer mask, use a black brush at just 10-15% opacity to reduce brightness near the foreground.
The low opacity is intentional. Multiple light passes give you far more control than one heavy stroke. Think of it like watercolor painting rather than spray painting.
Follow this with a Levels adjustment layer to fine-tune contrast. Use a black brush on the Levels mask to preserve brightness where the foreground should stay lighter. Then add a Hue/Saturation layer to pull back the soil’s saturation and match the moody underground atmosphere you’re building toward.
Placing the Model with Proper Light and Shadow
Isolate your model from her original background using your preferred masking method, then place her on the underground. Feel free to swap in your own stock if the original resources aren’t available.
Now comes a detail that separates good composites from great ones. The tutorial author chose to repaint the model’s shirt entirely. Create a new layer with Clipping Mask and use a hard brush with color #fbfbfb to paint over the clothing. Name this layer “clothes base” since you’ll keep building on it.
Add Curves and Levels adjustment layers to darken the model and match the scene’s lighting. Use the layer masks carefully here. Paint with a black brush on areas where you want to preserve natural light and shadow. The goal is making her look like she belongs underground, not like she was pasted in afterward.
Apply a Hue/Saturation adjustment to match her skin tones and clothing to the overall color palette. Small shifts in saturation make a huge difference in believability.

Painting Realistic Clothes With Dodge and Burn
The clothing detail work is one of the most satisfying parts of this project. Create a new layer, fill it with 50% gray, and set the blending mode to Overlay. This is a classic non-destructive painting technique.
Use the Burn Tool set to Midtones range with Exposure around 25-30% to darken fabric folds. View the layer in Normal mode first to see your strokes clearly, then switch to Overlay to see the actual effect.
Create another 50% gray layer in Overlay mode and switch between Dodge and Burn to build convincing wrinkle details. The tutorial aims for a silky, slightly soiled look. Since the model sits on underground soil, it makes sense for her clothing to show subtle signs of that environment.
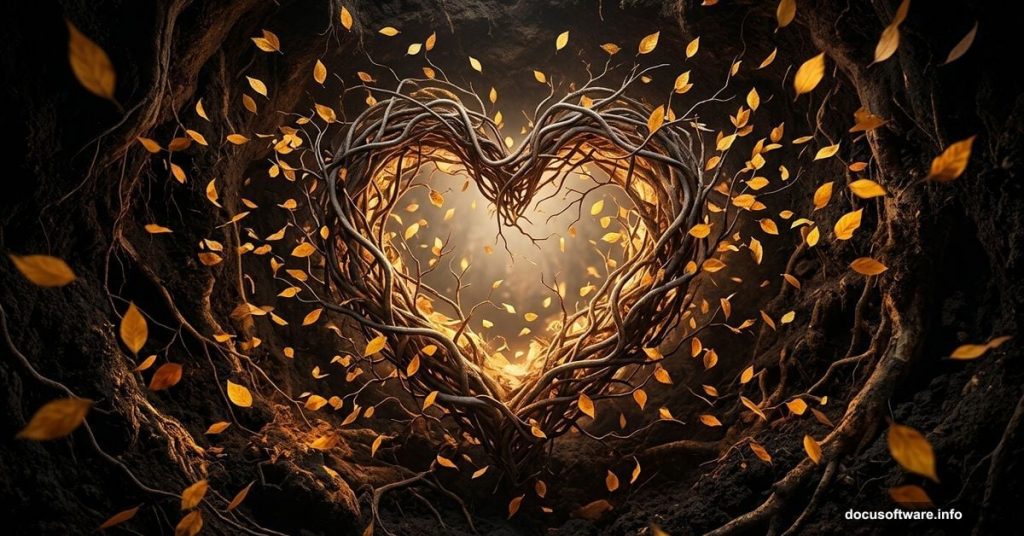
Building the Branch Heart Structure
This is the centerpiece of the whole composition. The heart shape built from branches requires careful placement and masking of multiple branch stock images.
Work with each branch layer individually. Transform and warp elements to curve naturally into the heart silhouette. Real branches have organic imperfections, so don’t chase perfect symmetry. Slight asymmetry makes the heart feel alive and grown, not constructed.
Use layer masks throughout this process. Soft brush strokes on masks blend branch ends naturally into darkness. This is where complex masking really shines. Each branch needs to feel like it belongs, not like it was dropped from above.
Group related branch layers together as you work. Photoshop groups keep your panel organized and let you apply adjustments to entire sections at once. For a project this layered, organization saves you enormous time later.
Adding Leaves With Motion and Scatter
Scattered leaves give the whole scene its emotional energy. Place your leaf stock images and begin masking and duplicating to create natural scatter patterns.
Vary the size and rotation of individual leaves. Some should appear close and sharp, others more distant and slightly blurred to suggest depth. Use Free Transform and Warp to make flat leaf images curve naturally, as if caught mid-fall by an invisible breeze.
Color matching matters here too. Apply Hue/Saturation adjustments to individual leaf groups so they match the scene’s earthy, slightly desaturated palette. A few leaves catching a warm light source near the branches adds visual interest and draws the eye toward the heart.
Final Painting, Color Grading, and Atmosphere
With all major elements in place, step back and assess your overall color story. Atmospheric photo manipulation usually benefits from a unified color grade applied at the top of the layer stack.
Consider adding a Photo Filter adjustment layer with a warm or cool tone, set to low opacity. This ties all your separately sourced elements together under one color mood. Even a 10-15% opacity shift can make the composite feel cohesive.
Use painting on top layers to add finishing touches. A soft light leak near the branch heart, painted on a Screen mode layer with a warm orange or golden color, can make the heart feel like it’s generating its own soft glow. This small touch elevates the emotional quality of the whole piece.
Take time reviewing your layer masks throughout. Zoom in close to check edge quality on the model, branches, and foreground soil. Clean edges on masks are what separate professional composites from rushed ones.
There’s something genuinely rewarding about reaching the final stage of a project like this. You’ve learned to think in layers, to control light through adjustment masks, and to blend completely different photos into one convincing world. These techniques transfer directly to any photo manipulation you take on next, whether surreal or editorial. The underground heart is just the beginning.