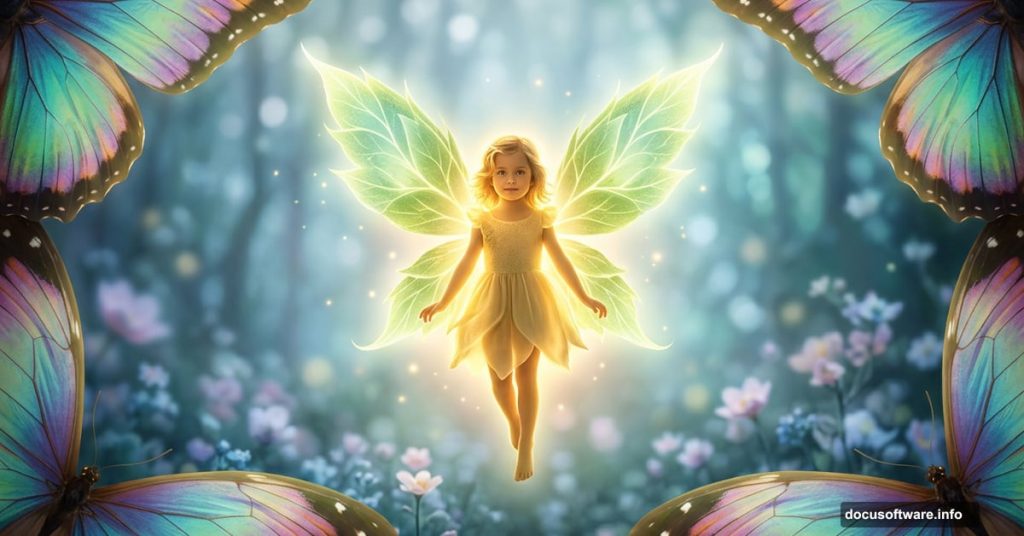
So you want to create a magical world where tiny fairies dance among giant butterfly wings made of leaves. Good news: Photoshop makes this completely possible, even if you’ve never tried photo manipulation before.
This tutorial walks you through building a fantasy fairy scene step by step. You’ll combine a background, a butterfly, flower elements, a child subject, and custom leaf wings into one cohesive, dreamlike composition. Plus, you’ll learn how to use adjustment layers to pull everything together with a unified, glowing color palette.
Let’s get started.
What You Need Before Opening Photoshop
Gather your source images before touching any tools. For this project, you’ll need a background scene, a butterfly photo, leaf images for the wings, a flower, a child photo, a light texture, and a branch element.
Having everything ready saves time. Also, working with high-resolution images produces much cleaner final results.
The finished document size is 2204 x 1666 pixels, so make sure your source photos are large enough to fill that canvas without going blurry when stretched.
Setting Up the Background Layer
Create a new 2204 x 1666 px document and fill it with white. Open your background image and drag it onto the canvas using the Move Tool (V).
Position the brightest part of the image toward the top center. That natural highlight will later serve as your main light source, which makes the whole scene feel more believable.
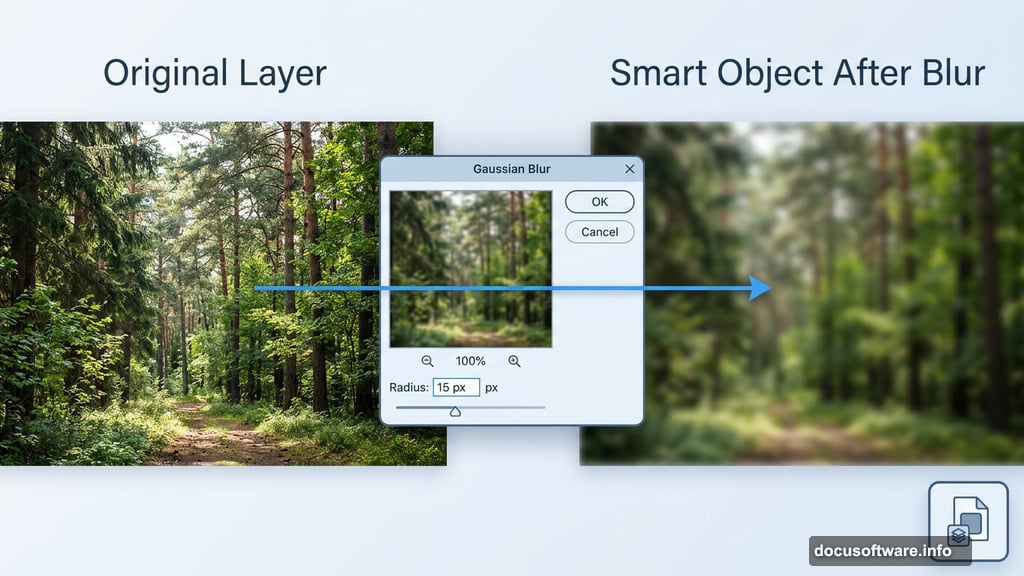
Next, right-click the layer and convert it to a Smart Object. This protects your original image while letting you apply filters non-destructively.
Why Blur the Background on Purpose
Go to Filter > Blur > Gaussian Blur and set the radius to 15 px.
This might feel counterintuitive at first. Why blur something you just placed? The answer is depth. A slightly soft background pushes it visually behind your main subjects, creating the illusion that the fairy and butterfly exist in the foreground of a real three-dimensional space.
The 15 px radius works for this document size, but adjust it based on your own image. Larger canvases sometimes need a higher radius to achieve the same visual separation.
Shifting the Background Color with Hue/Saturation
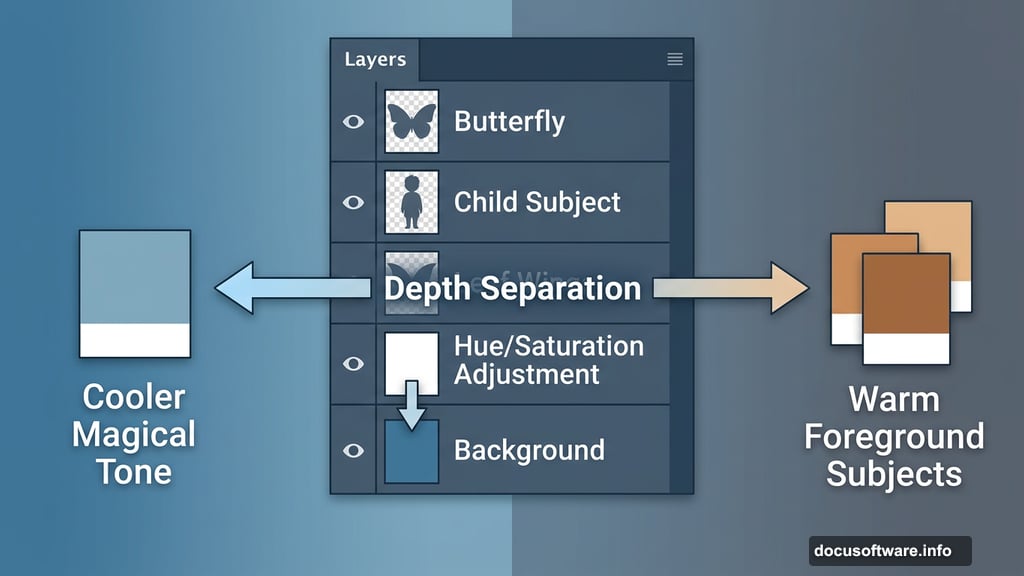
Go to Layer > New Adjustment Layer > Hue/Saturation. Set it as a Clipping Mask so it only affects the background layer beneath it.
Adjust the Master settings to push the background toward a cooler, more magical tone. This separation between the warm foreground subjects and the cooler background adds another layer of depth to the scene.
Clipping masks are incredibly useful here. They let you color-correct individual elements without affecting the rest of your composition.
Placing and Positioning the Butterfly
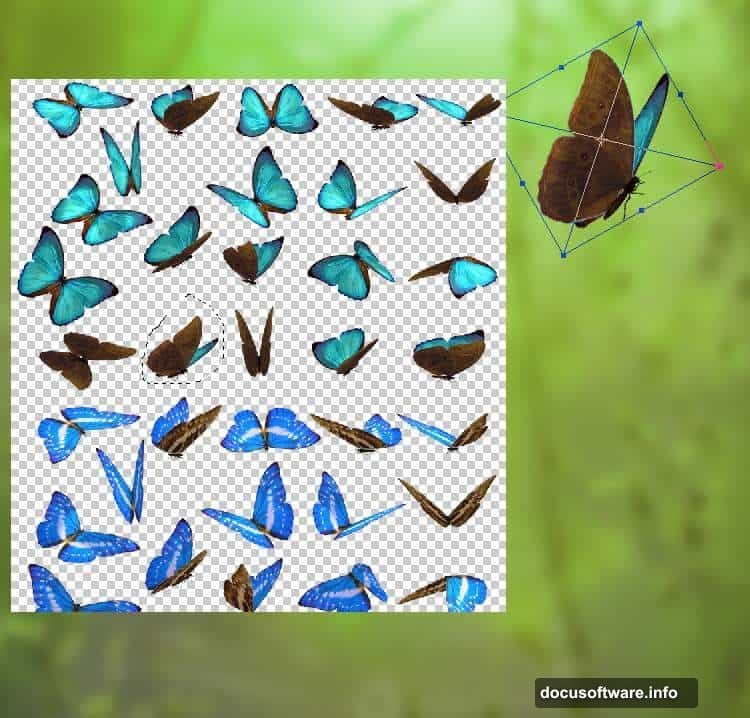
Open your butterfly image and use the Lasso Tool (L) to select the best-looking specimen from the photo. Drag it into your main document.
Use Free Transform (Ctrl+T) to rotate the butterfly into a natural resting position. Then flip it horizontally by going to Edit > Transform > Flip Horizontal. Place it near the top center of the canvas where your background highlight sits.
The butterfly becomes the visual anchor of the whole scene, so placement matters a lot here.
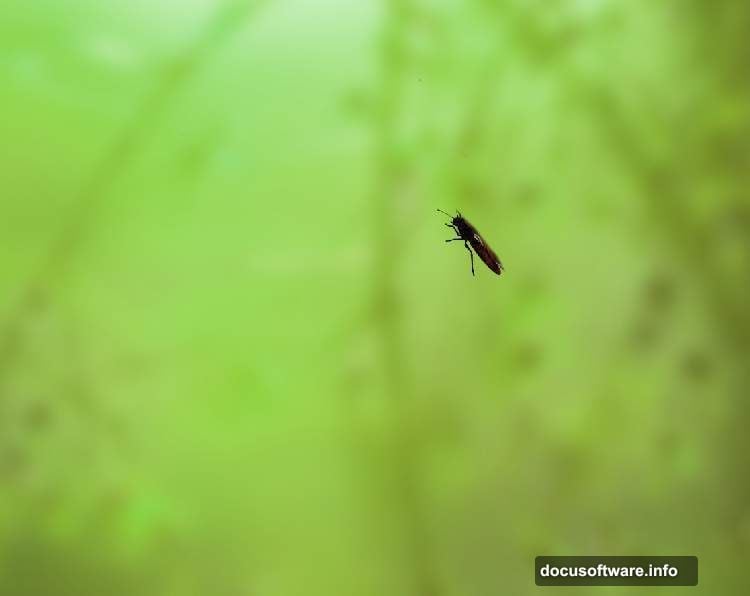
Masking the Butterfly Wings
Click the mask icon at the bottom of the Layers panel to add a layer mask to your butterfly layer.
Hit B to grab the Brush Tool. Choose a hard round brush with black as your foreground color. Paint directly over the wings to erase them.
Why remove the wings? Because you’re replacing them with custom leaf wings later. This step is the setup for that transformation, and it’s one of the most satisfying moments in the whole project.
Coloring the Butterfly to Match the Scene
Add a Hue/Saturation adjustment layer clipped to the butterfly. Adjust the Master values to shift its color toward green, tying it visually to the leaf wings you’ll create next.
Then add a Color Balance adjustment layer to brighten the butterfly and push it further into the green spectrum. This makes it feel like it genuinely belongs in a forest fairy environment rather than just being pasted in from a photo.
Adding Light and Dreamy Glow
Create a Curves adjustment layer above your butterfly layers. Pull the curve upward to brighten the butterfly and give it that soft, ethereal glow.
Here’s the detail that makes a big difference. On this layer’s mask, use a soft black brush set to about 20% opacity. Paint gently over the body of the butterfly to reduce the brightness there slightly. This keeps the light focused on the wings, which looks far more natural.
Then add another Curves adjustment layer specifically to brighten the upper portion of the butterfly’s body. On its mask, use a hard black brush to protect the lower section from the adjustment. This creates a subtle gradient of light that feels like sunlight hitting the top of the insect from above.
The Magic Is in the Adjustment Layers
At this point, you’ve only finished the background and butterfly, but you’ve already used Hue/Saturation, Color Balance, and Curves multiple times. That pattern continues throughout the rest of the tutorial as you add the child, flower, leaf wings, and light textures.
Each element gets its own stack of adjustment layers to match it to the scene’s overall color story. The key is using clipping masks consistently so your corrections stay isolated and non-destructive.
This workflow teaches you something valuable beyond fairy scenes. Any photo manipulation project becomes much easier when you treat each element as its own mini color-grading project before worrying about how everything blends together.
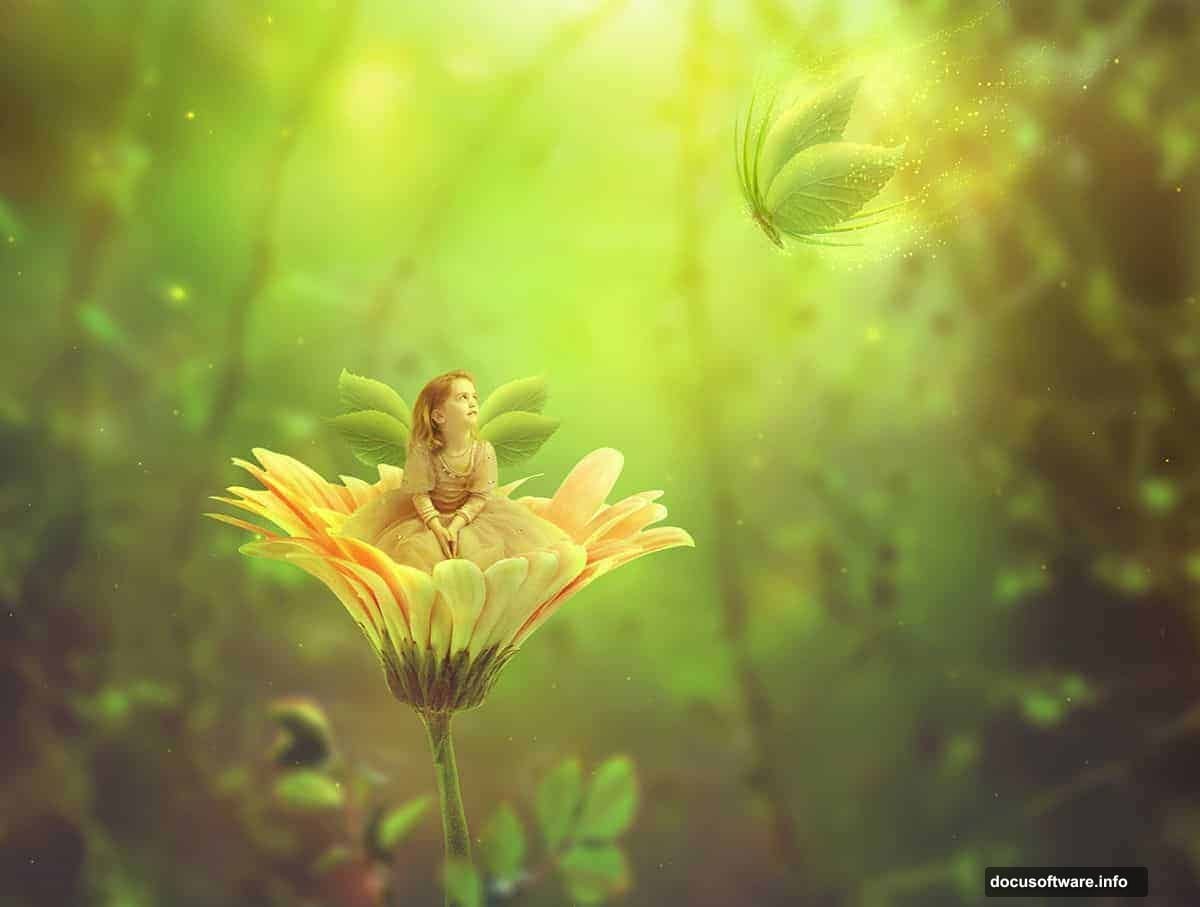
The remaining steps follow the same logic: place the child, build the leaf wings from your leaf photos, add the flower, introduce light textures for the glow effects, and then do a final round of adjustment layers across the whole composition to unify everything.
Take your time with the masking. Clean edges between elements separate polished photo manipulations from ones that look hastily assembled. And don’t rush the color adjustments either. Small shifts in hue and brightness across each layer add up to a scene that feels genuinely magical by the end.