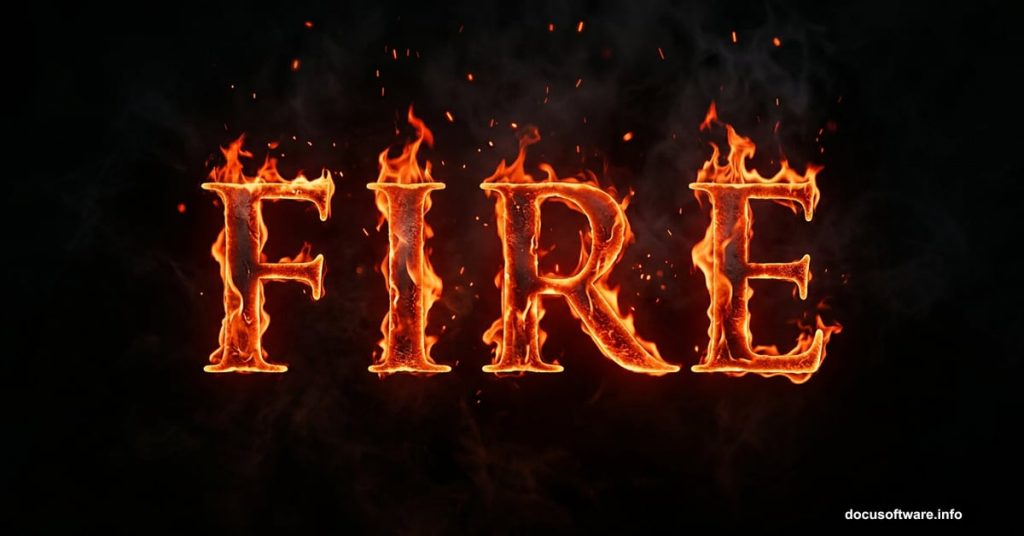
Fire and type make a perfect pair. Whether you’ve seen it on a blockbuster movie poster or a heavy metal album cover, burning text just looks incredible. And the good news? You can create this effect yourself in Photoshop, even if you’re just starting out.
This tutorial walks you through building a fiery text effect from scratch. You’ll work with stock textures, adjustment layers, blending options, and gradient masks. By the end, your letters will look like they’re genuinely on fire.
You’ll need Adobe Photoshop CS5 or newer to follow along.
Resources to Grab Before You Start
Before diving in, download these free assets:
- Texture images (Image 1, Image 10, Image 12 in medium sizes) from CGTextures
- Grunge vignette texture from Pixabay
- Trajan Pro font from Fontplace.com
Trajan Pro is the classic choice for dramatic, cinematic text. You’ve seen it on countless movie posters. It sells the fire effect perfectly.
Setting Up Your Canvas
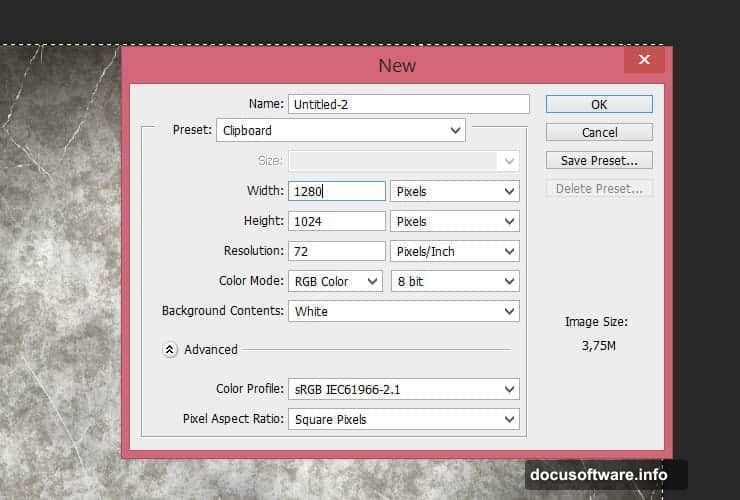
First things first. Open Photoshop and create a new document. Go to File > New (or hit Ctrl+N on Windows, Cmd+N on Mac). Set the size to 1280 x 1024 pixels. This gives you plenty of room to work.
Now place your first texture. Go to File > Place, select the “texture-318913” file, and transform it to fill your canvas. Click Place to confirm.
Building the Dark, Moody Background
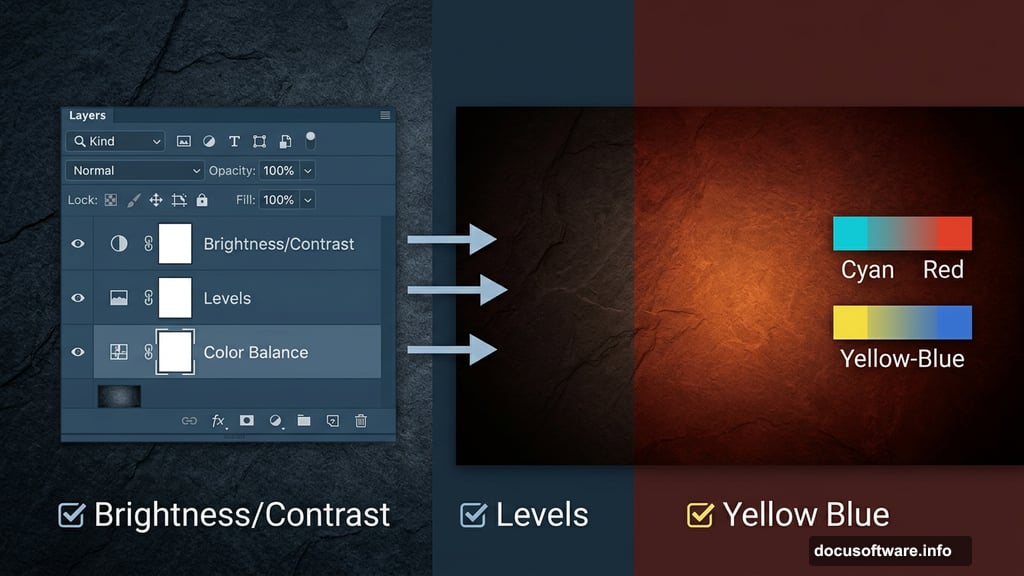
Raw textures rarely look cinematic straight out of the box. So next, you’ll use adjustment layers to darken and color-grade the background into something dramatic.
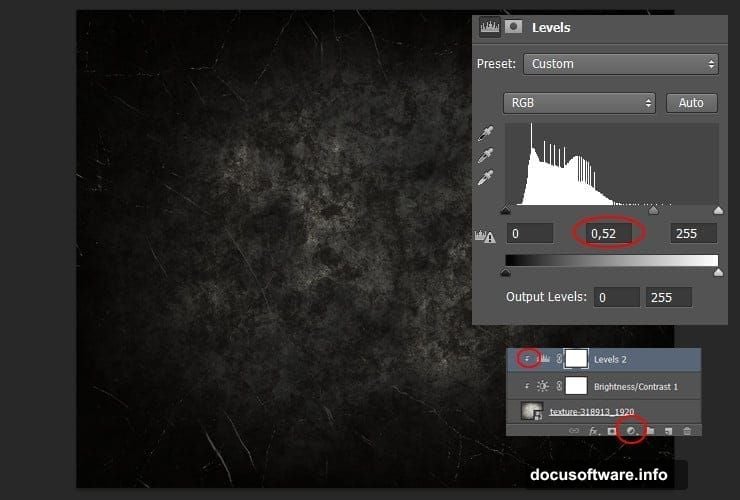
Start with a Brightness/Contrast adjustment layer. Go to Layer > New Adjustment Layer > Brightness/Contrast. Set Brightness to -125 and Contrast to -11. Then right-click the layer and choose Create Clipping Mask so the adjustment only affects your texture.
Follow that with a Levels adjustment layer. Set the middle (midtone) level to 0.52. Again, right-click and create a clipping mask.
Dialing In the Color with Color Balance
This step is where the background really starts to feel hot. Add a Color Balance adjustment layer and use these exact settings:
Shadows:
- Cyan-Red: +13
- Magenta-Green: -3
- Yellow-Blue: -13
Midtones:
- Cyan-Red: +34
- Magenta-Green: 0
- Yellow-Blue: -36
Highlights:
- Cyan-Red: +20
- Magenta-Green: 0
- Yellow-Blue: -37
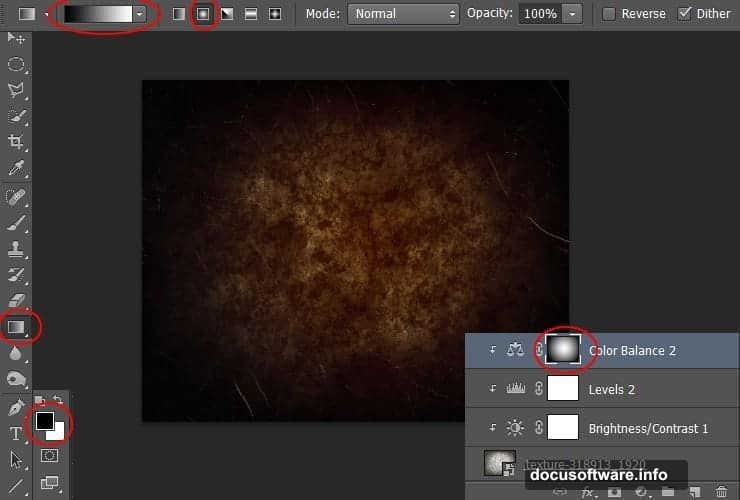
These values push the image toward warm orange and red tones. The result feels like the world is bathed in firelight. Clip this layer to the texture as well.
Adding the Vignette Gradient
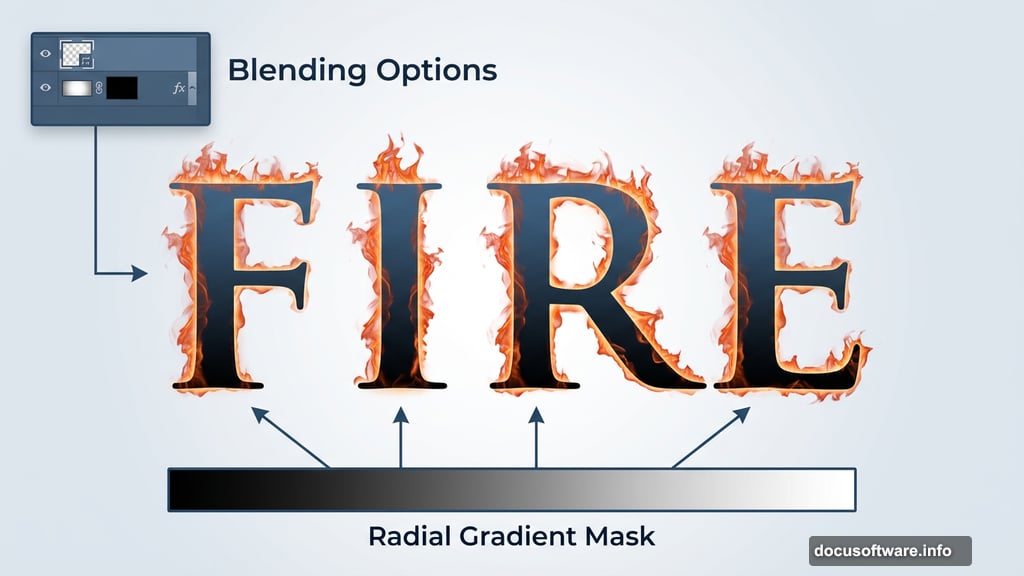
Click the white layer mask thumbnail next to your Color Balance layer. Select the Gradient Tool (press G), and choose a Radial Gradient style. Use a black-to-white gradient and paint from the center outward in the layer mask.
This creates a vignette effect. The edges of your image darken, drawing the eye naturally toward the center where your text will live.
Next, duplicate the Color Balance layer by going to Layer > Duplicate Layer or simply dragging it to the New Layer button. Drop the duplicate’s opacity down to 50%. This softens the color grading just slightly for a more natural blend.
Typing Your Fire Text
Now for the star of the show. Select the Type Tool and click your canvas. Type your desired text using Trajan Pro 3 Bold at 238.5 px. Set the color to #ff6c24, a deep, rich orange that screams fire.
Once your text looks right, duplicate the text layer. Then disable the duplicate for now. You’ll come back to it later. This backup copy saves you if anything goes wrong during the blending steps.
Inner Glow Blending Option
Right-click your active text layer and choose Blending Options. Head to Inner Glow and apply these settings:
- Blending Mode: Screen
- Color: #ffa024 (a brighter, lighter orange)
- Size: 10px
Inner Glow adds a subtle luminous edge to the inside of each letter. It mimics the way hot embers glow from within. Combined with your orange text color, it already starts to look convincingly warm.
Where the Real Magic Happens
At this point, you have a solid foundation. Dark, moody background with warm color grading? Check. Glowing orange text with inner light? Check. But the full fire effect comes from layering smoke and flame textures on top of your text using blending modes.
The smoke and fire stock images you downloaded earlier come in next. Place them over your text, then experiment with blending modes like Screen and Color Dodge. These modes strip away dark areas and let only the bright flame tones show through. The result is fire that appears to dance directly on your letters.
Stock images of real fire give you organic, unpredictable shapes that no brush can fully replicate. That’s what makes this technique so effective. You’re working with actual fire footage, just repositioned and blended digitally.
Tips for Getting the Best Result
A few things make a big difference here. First, use multiple fire images layered at different opacities. Real fires have depth, and stacking several images creates that same sense of volume and movement.
Second, don’t worry about being perfectly precise. Fire is chaotic by nature. Slightly misaligned or imperfectly placed textures often look more convincing than perfectly centered ones.
Third, revisit the Color Balance adjustment on your text layers if the hues feel off. Pushing more red into the highlights and more orange into the midtones keeps everything feeling cohesive.
This Photoshop fire text technique works for more than just movie posters. Try it on band logos, event flyers, game titles, or anywhere you want text to carry serious visual heat. Once you’ve got the core technique down, the variations are endless.