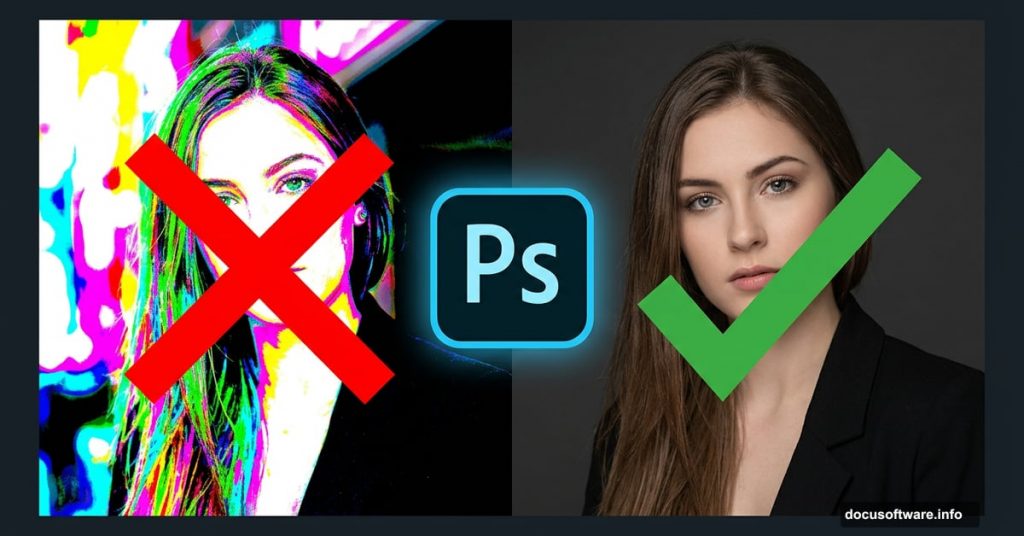
You’ve spent hours shooting the perfect photo. The light was right, the composition was solid, and you nailed the focus. Then you open Photoshop and somehow walk away with something that looks worse than when you started.
Sound familiar? You’re not alone. Even experienced photographers fall into the same Photoshop traps over and over again. Let’s walk through the most common mistakes and why fixing them will seriously improve your work.
Overprocessing Kills Good Photos Fast
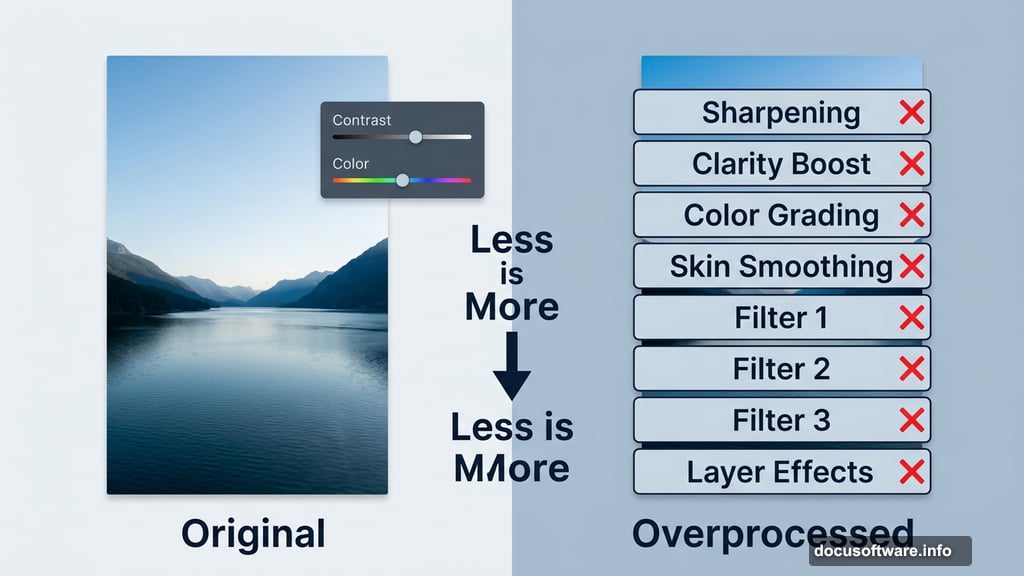
This is probably the biggest trap photographers fall into. You open a great shot, and suddenly you’re adding sharpening, clarity boosts, color grading, skin smoothing, and three different filter effects — all on the same image.
The result? A photo that looks nothing like reality and feels exhausting to look at. As one photographer put it, too many people overprocess their work by piling on unnecessary layers and filters until the original image gets completely lost.
Less really is more here. A light touch on contrast and color usually beats a heavy hand with every tool in the panel.
Skipping Non-Destructive Editing Workflows
Working directly on your original image is a mistake that will haunt you later. Once you flatten layers or save over your file, those changes are permanent. There’s no going back.
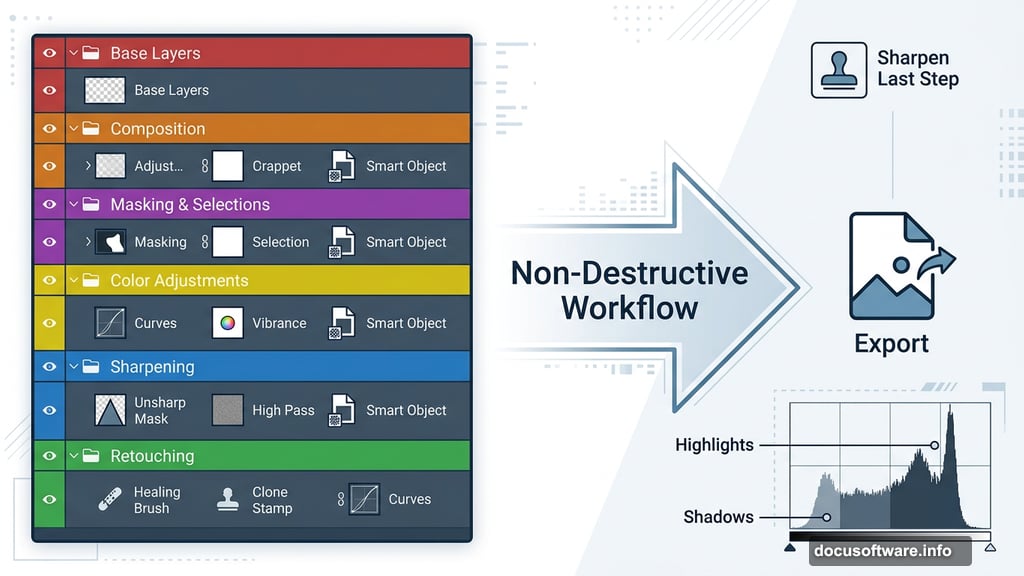
Instead, work with adjustment layers and smart objects. These let you tweak settings anytime without permanently changing your pixels. Think of it like editing with a pencil instead of a permanent marker.

Plus, non-destructive editing keeps your file organized. You can turn individual adjustments on and off to compare results. That flexibility alone is worth the extra setup time.
Too Many Layers With No Organization
Speaking of layers — it’s easy to end up with 40 unnamed layers that all say “Layer 1 copy copy copy.” At that point, finding anything becomes a nightmare.

Good Photoshop habits mean naming your layers as you go. Group related edits together. Color-code your layer groups if you work on complex composites. This sounds tedious upfront, but it saves enormous time when you need to revisit work later.
Organized files also make it easier to share projects with other photographers or retouchers. Nobody wants to inherit a chaotic layer stack.
Sharpening Too Early in the Process
Sharpening should almost always be the last step before exporting your image, not one of the first. When you sharpen early and then continue editing — adjusting exposure, running noise reduction, or doing skin retouching — you degrade that sharpening work and introduce artifacts.
So always save sharpening for the very end of your workflow. Apply it to a flattened or merged copy of your image once everything else is done. Your final results will look cleaner and more professional.
Ignoring the Histogram While Editing
The histogram is one of Photoshop’s most useful tools, and most photographers barely glance at it. It shows you exactly where your tonal values sit — whether your shadows are crushed to pure black or your highlights are blown out to pure white.
Editing without checking the histogram is like driving without looking at the road. You might get away with it for a while, but eventually you’ll crash. Blown highlights and crushed shadows lose detail permanently, and no amount of editing later will bring that information back.
Get comfortable glancing at the histogram as you work. It’s not complicated once you spend a few minutes learning what it’s telling you.
Photoshop rewards patience and good habits more than raw technical skill. The photographers who consistently produce beautiful edits aren’t necessarily the most advanced users — they’re just the ones who’ve built clean, intentional workflows.
Start with one habit from this list. Fix your layer organization, or commit to sharpening last, or just start checking your histogram more often. Small improvements add up quickly, and your photos will thank you for it.