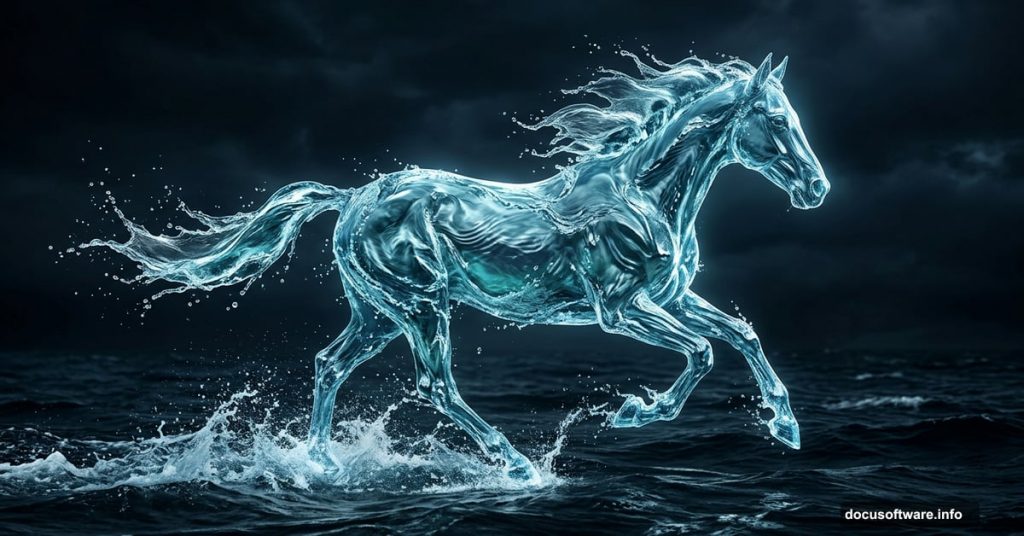
There’s something magical about transforming a powerful, galloping horse into a living sculpture made entirely of water. And the best part? You don’t need advanced Photoshop skills to pull it off.
This tutorial walks you through the full process of creating a see-through water horse effect. The techniques are straightforward, and every step builds on the last. Plus, once you understand the core methods, you can apply them to all kinds of photo manipulation projects beyond horses.
Let’s get into it.
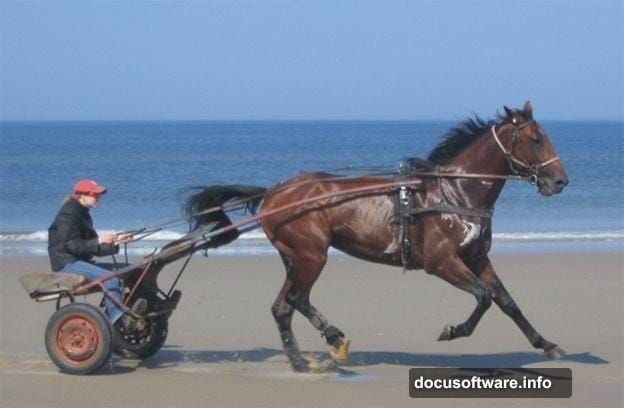
Start With the Right Horse Photo
First, open your horse image in Photoshop. You want a photo with strong movement and dynamic energy. A galloping pose works especially well because the flowing water elements will feel natural against that sense of motion.
If you’ve tried fire horse or ice horse manipulations before, this project follows a similar structure. Same idea, totally different mood.
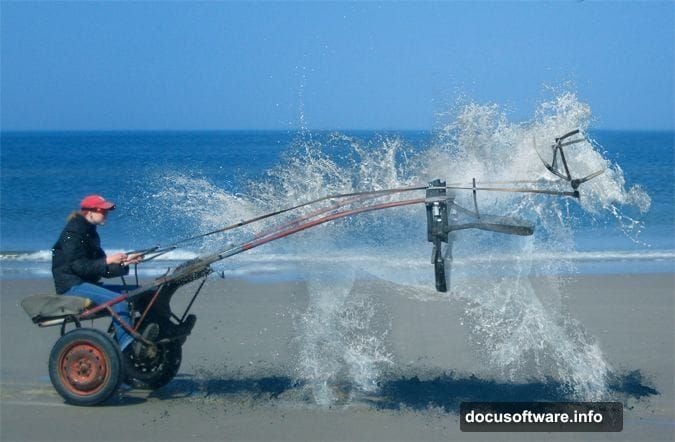
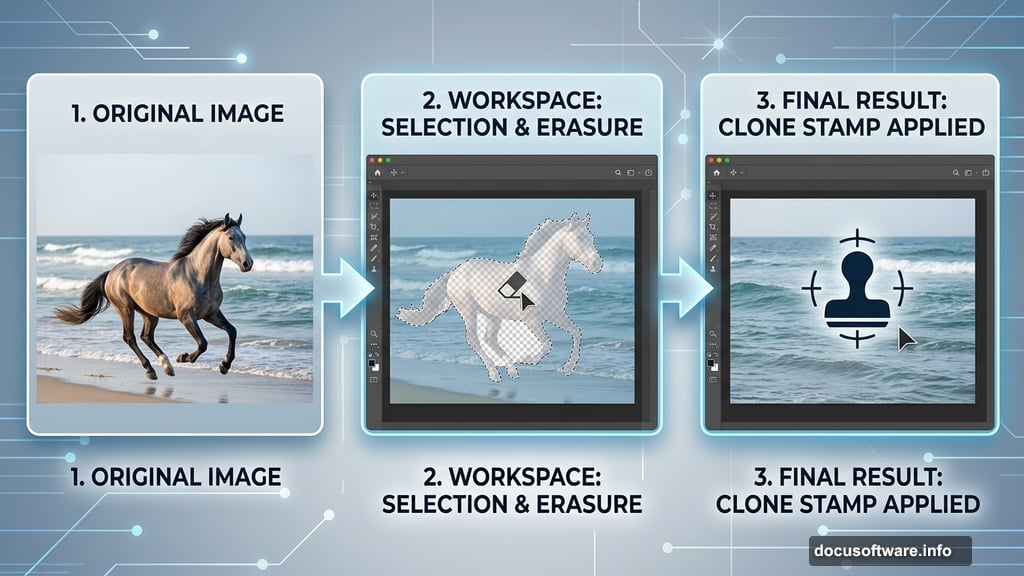
Remove the Horse Using Clone Stamp
Now comes the foundational step that makes everything else possible. You need to replace the horse with the background.
Grab the Lasso Tool (L) or the Quick Selection Tool and draw a rough selection around the horse. It doesn’t need to be perfect. Then switch to the Clone Stamp tool and start painting the background back in.
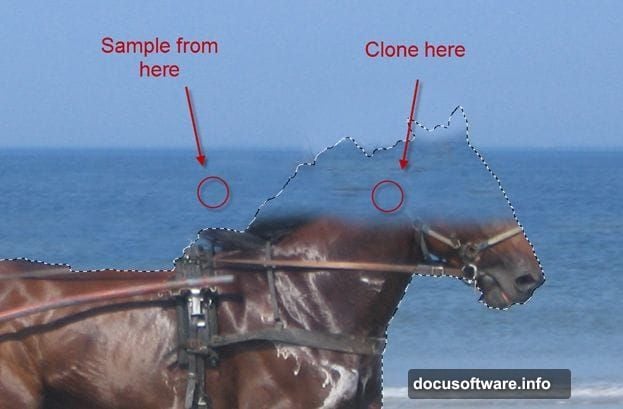
Here’s the key technique: sample from areas just outside your selection, then clone into the horse shape. Try to stay consistent. If you’re cloning over the sea portion of the image, sample from the sea. Don’t accidentally sample sky and paint it where the water should be.
Work section by section, moving from the head down. The results don’t need to look flawless at this stage. Some of this area will be covered later by water splash elements.
Save Your Horse Selection Now
Before you deselect anything, save that horse selection. Go to Select, then Save Selection, and give it a name you’ll remember.
This sounds like a small detail. But trust me, loading that selection back later saves significant time and frustration. You’ll use it to precisely place water effects exactly where the horse outline sits.
Clean Up the Edges
Press Ctrl + D to deselect. Look closely at the outline where the horse used to be. You’ll probably see a dark, slightly awkward line tracing the shape.
Grab the Clone Stamp tool again and work along those edges carefully. This part rewards patience. Go slowly, zoom in, and if something looks wrong, undo immediately with Ctrl + Z rather than trying to paint over a mistake. Multiple undo steps work with Ctrl + Alt + Z.
Getting clean edges here makes every subsequent layer of water look dramatically more convincing.
Load the Saved Selection
Remember that selection you saved back in step four? Now it’s time to bring it back.
Go to Select, then Load Selection, and choose the name you saved earlier. This gives you a precise outline of the horse shape to work within.
This selection becomes your guide for placing water splash elements. Everything you add from this point forward will align perfectly to the horse’s original form. So the final result reads immediately as a horse, even though it’s built entirely from water.
Layer in the Water Splashes
Now the fun begins. Bring in your water splash images one by one. Each splash acts as a building block for different parts of the horse body.
Place each water element on its own layer. Use the horse selection to mask and trim splashes so they stay within the outline. Vary the scale and rotation of each splash to create organic, flowing shapes. Water doesn’t move in straight lines, and your composition shouldn’t either.
Pay attention to how light hits the water in each source image. When splashes with similar lighting directions sit next to each other, the whole thing reads as one coherent creature rather than a collage of unrelated water photos.
Blend Layers for the See-Through Effect
This is where the see-through quality comes from. Set water splash layers to Screen or Lighten blending mode. Both options drop out the dark backgrounds while keeping the bright, translucent water tones.
Experiment with layer opacity too. Pulling a layer back to 70 or 80 percent lets the replaced background show through, reinforcing the illusion that the horse is made of liquid rather than solid material.
Add a curves adjustment layer clipped to each splash layer if the tones feel too bright or too dark. A slight S-curve adds contrast and makes the water look crisp and alive.
Match the Color Temperature
At this point, your water elements probably come from different source photos with slightly different color tones. Some might look cooler, others warmer.
Use Color Balance adjustment layers to bring everything into a consistent palette. Pushing all the water elements toward the same blue-green tone helps the whole horse feel like a single object rather than assembled parts.
This step doesn’t take long. But the difference between a polished result and an amateur-looking one often comes down to this kind of color consistency work.
Add Final Highlights and Shadows

A fully transparent water horse still needs believable shadows and highlights to feel grounded in the scene.
Create a new layer set to Multiply blending mode and paint soft, dark shadows beneath the horse where it meets the ground. Use a large, low-opacity brush and build up gradually. Then create another layer set to Screen mode and paint soft white highlights along the top edges of the water forms, mimicking where sunlight would catch the water.
These finishing touches pull everything together. Without shadows, the horse floats unnaturally. Without highlights, it looks flat. Both together make it look like water actually shaped itself into a horse.
Photo manipulation like this is essentially a puzzle. You’re collecting lighting clues from multiple images and forcing them to agree with each other. When it works, the result feels effortless. When it doesn’t, tiny inconsistencies break the illusion.
The water horse effect is a fantastic project for building those instincts. You learn how light wraps around forms, how to use selections precisely, and how blending modes transform one layer’s relationship to everything underneath it. Those skills carry into every photo manipulation you’ll ever tackle after this one.