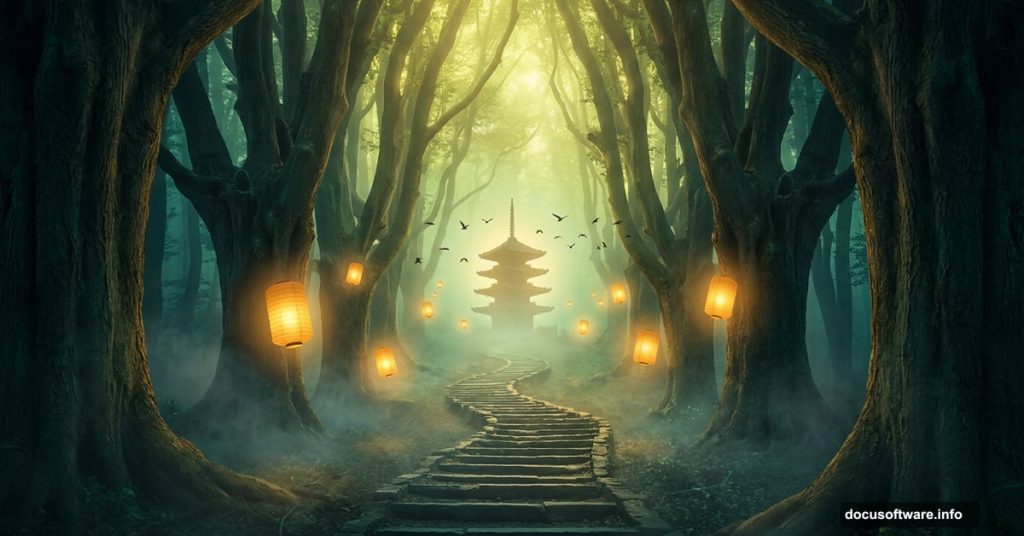
Creating atmospheric photo manipulations in Adobe Photoshop is one of the most satisfying creative challenges out there. And a mysterious forest scene? That’s the perfect project to sharpen your compositing skills while producing something genuinely stunning.
This tutorial walks you through the full process — from building the forest environment and constructing a staircase, to adding a pagoda, entrance gate, birds, and glowing lamps. You’ll also learn how to use adjustment layers to tie everything together with cohesive color and lighting.
Let’s get into it.
What You Need Before Starting
Before diving in, grab these tutorial resources:
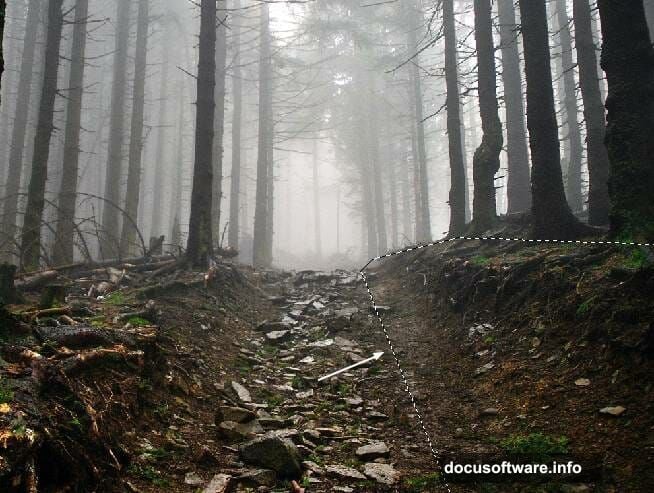
- Forest background image
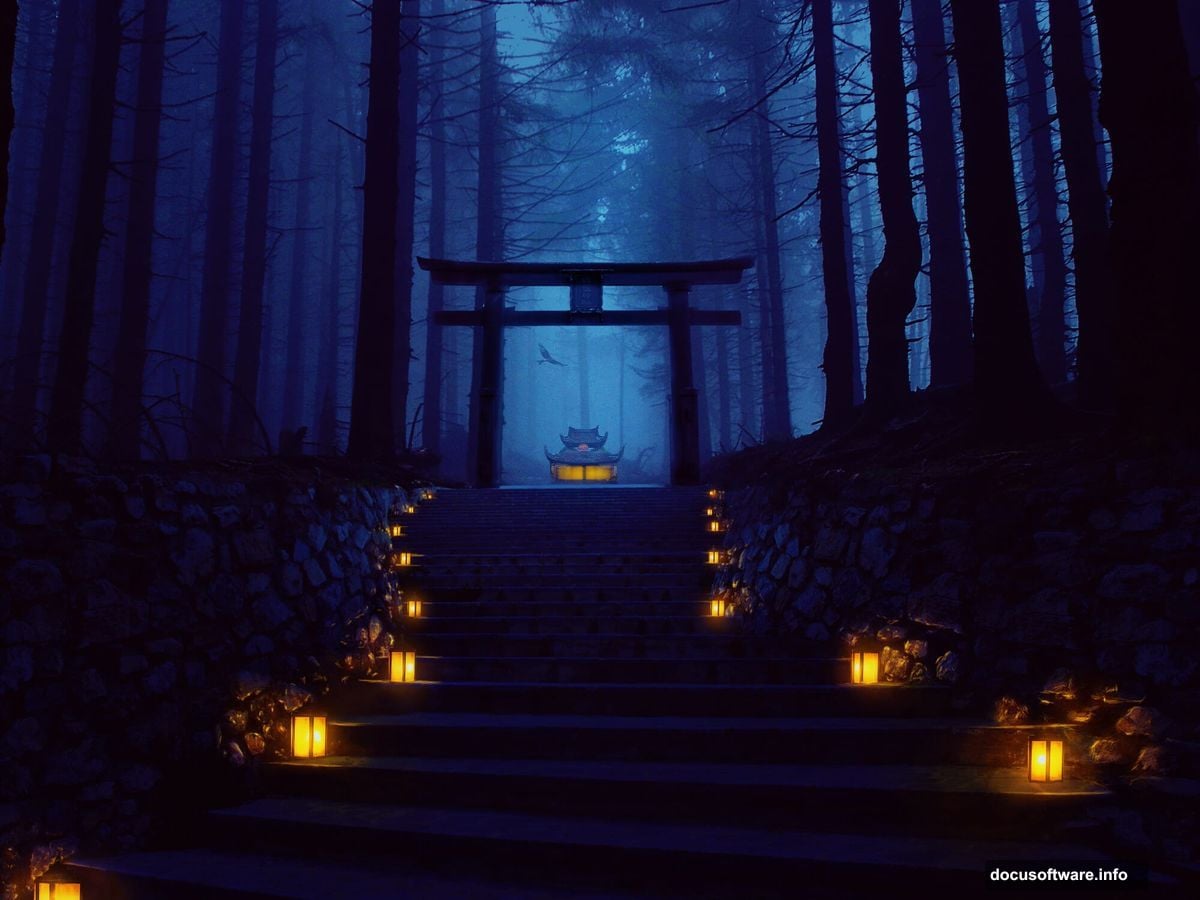
- Staircase photo
- Pagoda image
- Entrance gate
- Bird reference
- Lamp image
You’ll also want a comfortable grip on Photoshop’s core tools — the Move Tool, Polygonal Lasso, Brush Tool, and Free Transform. Nothing too advanced. If you’ve done basic compositing before, you’re ready.
Setting Up Your Canvas
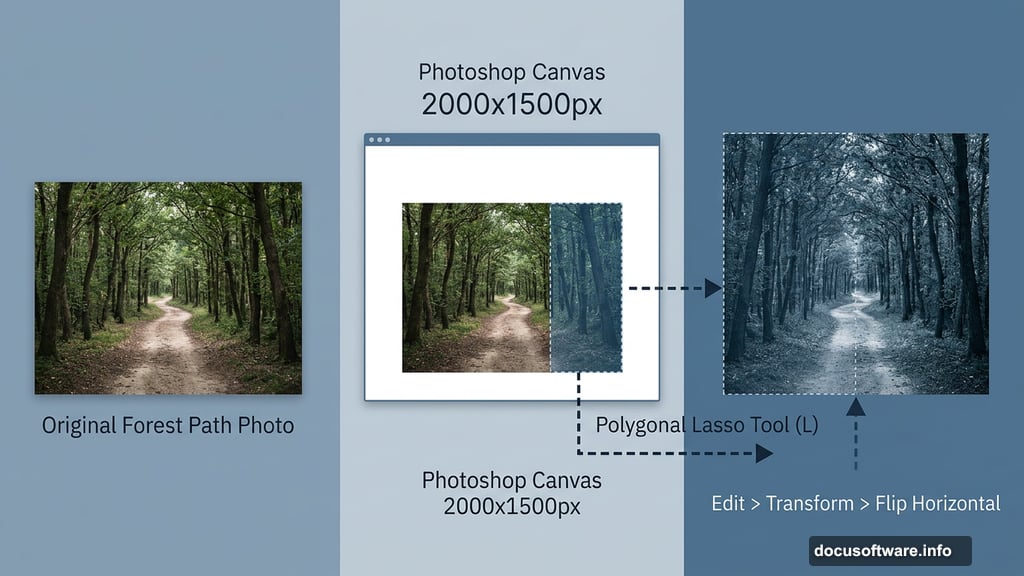
Start fresh. Create a new document at 2000 x 1500 pixels and fill it with white.
Open your forest image and drag it onto the white canvas using the Move Tool (V). This becomes the foundation of your entire scene, so positioning matters. Center it and make sure the forest path runs roughly down the middle.
Expanding the Forest Path
Here’s where the creative work begins.
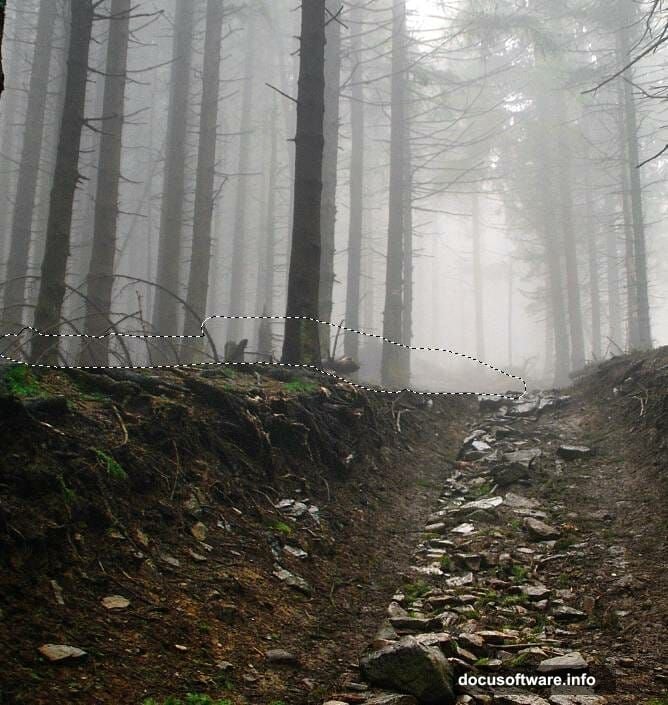
Activate the Polygonal Lasso Tool (L) and select the right side of the forest path. Press Ctrl+J to duplicate that selection onto a new layer. Then flip it horizontally using Edit > Transform > Flip Horizontal and move it to the left side.
This mirroring trick creates a symmetrical, tunnel-like depth that feels mysterious and intentional. It’s a classic compositing move that works beautifully for fantasy scenes.
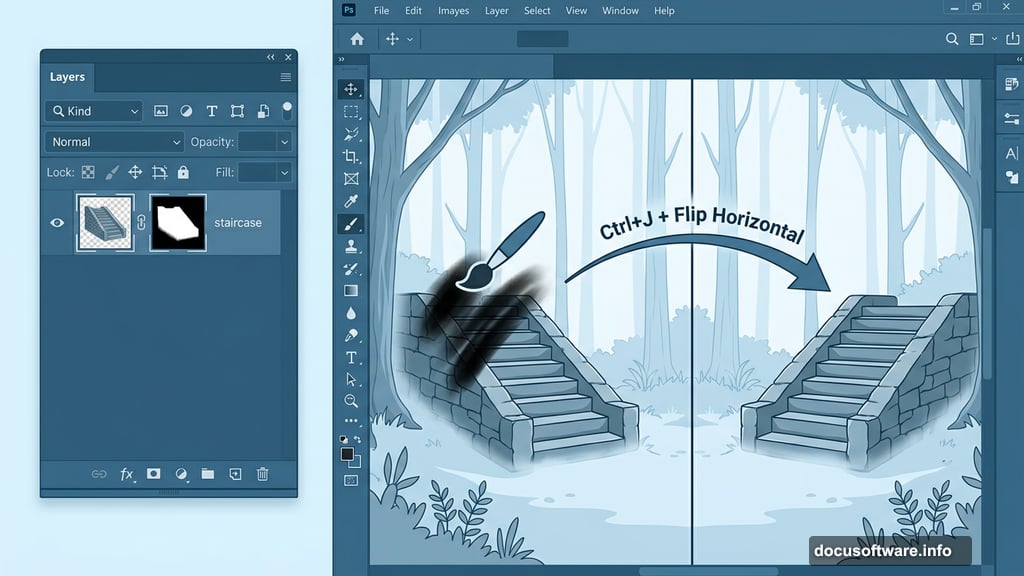
Next, click the second icon at the bottom of the Layers panel to add a mask to this layer. Grab the Brush Tool (B), select a medium-hard round brush in black, and paint over the top of the flipped section. This blends it naturally into the original forest so the seam disappears.
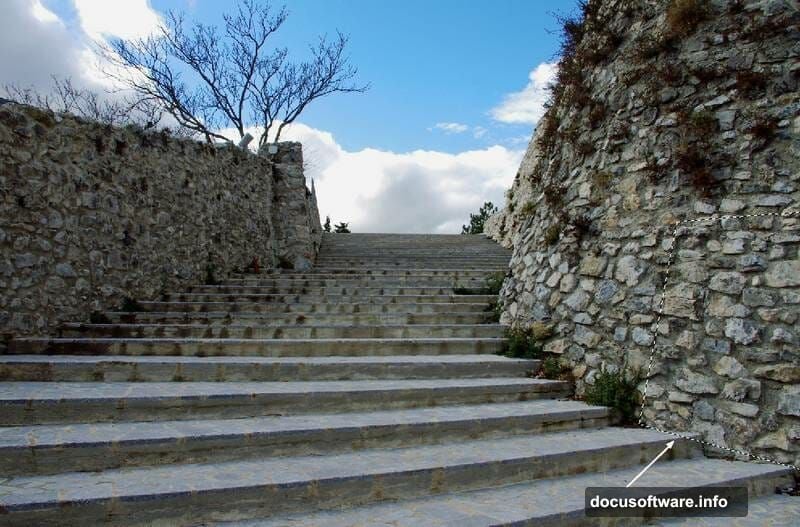
Adding the Staircase
Open your staircase image. Use the Polygonal Lasso Tool to isolate just the staircase section — skip the surrounding clutter — and bring it into the lower portion of your canvas.
Add a layer mask immediately. Use a soft black brush to erase the left wall and gently blend the right wall with the existing ground. The goal is seamless integration, not a hard-edged paste.
Now duplicate this staircase layer and flip it horizontally. Move it to the right side of the forest path. Use both soft and medium-hard black brushes on the mask to refine the edges. Switching between brush hardness levels gives you more control — soft brushes feather the edges, while medium-hard brushes clean up specific details.
Filling the Wall Edges
Go back to the original staircase image. Pull a section of wall from the image and bring it to the right edge of the forest to fill any visible gaps.
Use the Free Transform Tool (Ctrl+T) to distort this wall piece until it matches the existing surface geometry. Then add a mask and use a soft black brush to blend it smoothly. Take your time here. This kind of detail work is what separates polished composites from rushed ones.
Cleaning Up the Steps
Create a new empty layer above the staircase group.
Grab the Clone Tool (S) and carefully remove any plants or distracting elements on one of the left-side steps. The Clone Tool samples nearby pixels and paints over problem areas, making them vanish without a trace. Work in small strokes and resample frequently for the cleanest result.
Grouping and Darkening the Staircase
Select all your staircase layers plus the clone layer. Press Ctrl+G to group them together. Set the group mode to Normal at 100%.
Inside this group, add a Curves adjustment layer. Pull the curve downward to darken the staircase and give it that moody, shadowy feel. On the Curves adjustment layer’s mask, use a soft black brush to protect the upper portion of the staircase from the darkening effect. You want the darkness concentrated at the base, not evenly spread across everything.
What Comes Next
The staircase forms the structural heart of the scene. From here, the tutorial continues with placing the pagoda deep in the background, adding the entrance gate for framing, introducing birds for life and movement, and importing lamps to create those warm pools of magical light.
The final phase involves stacking multiple adjustment layers — Hue/Saturation, Color Balance, Curves, and Gradient Maps — to unify the color palette and create that signature mysterious forest atmosphere. Blues and teals in the shadows, warm gold near the light sources.
Tutorials like this one from Que Thu are fantastic because they teach layered thinking. Every element builds on the last. By the time you reach the final adjustment layers, you understand exactly why each piece was placed where it was.
So set up your canvas, gather your resources, and take it one step at a time. The finished result is absolutely worth the effort.