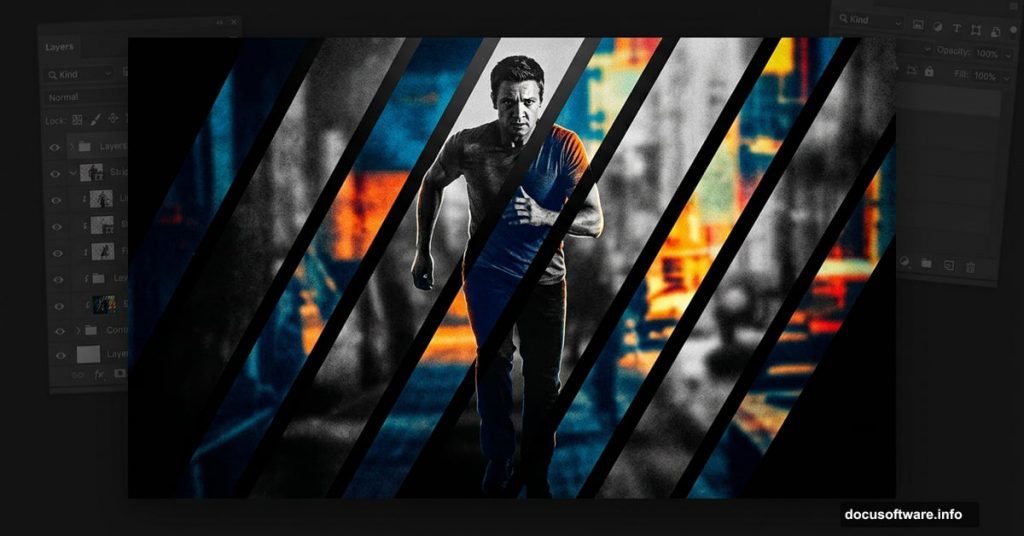
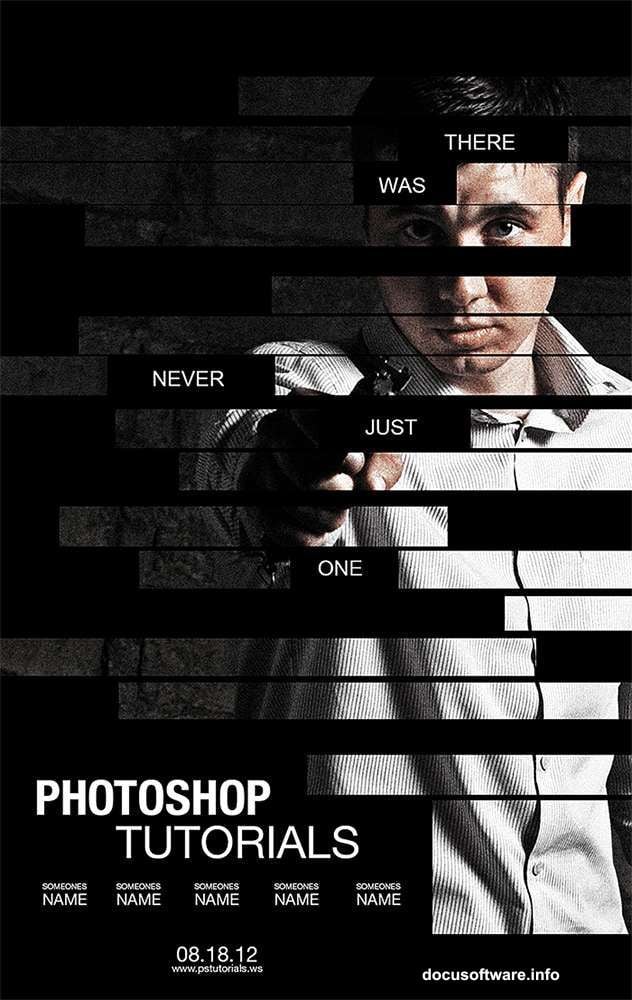
Ever looked at a movie poster and thought, “How did they do that?” The Bourne Legacy poster has this really cool stripe pattern effect that looks complex but is surprisingly achievable in Photoshop CS6. And the best part? You’ll do the whole thing without permanently touching your original photo.
This tutorial is beginner-friendly and walks you through every step using non-destructive editing. That means you can tweak, undo, and experiment freely without any pressure.
Your Photo and Your Workspace Setup
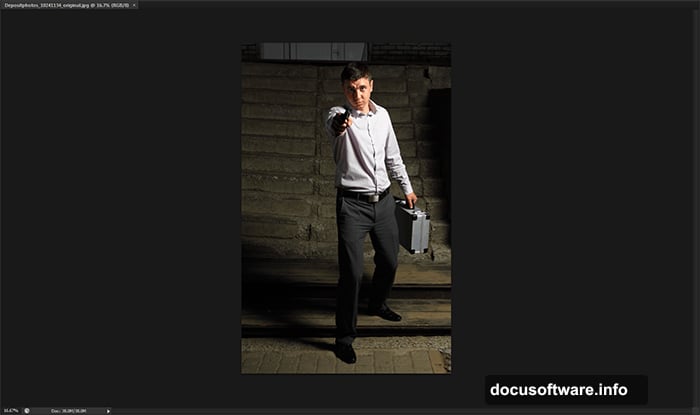
First things first. Open your photo in Photoshop by going to File > Open. If you’re using a high-resolution image, that’s ideal, since you’ll be cropping it later and you want plenty of detail to work with.
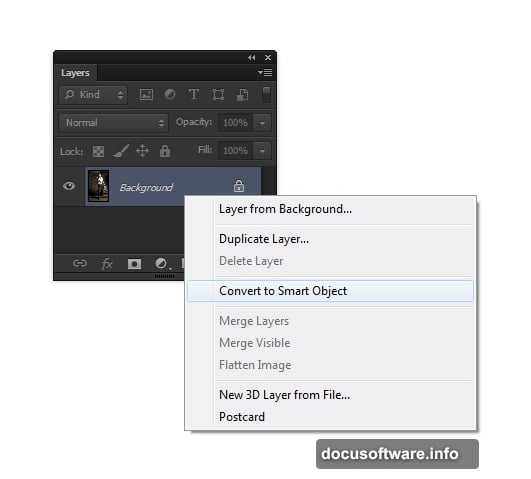
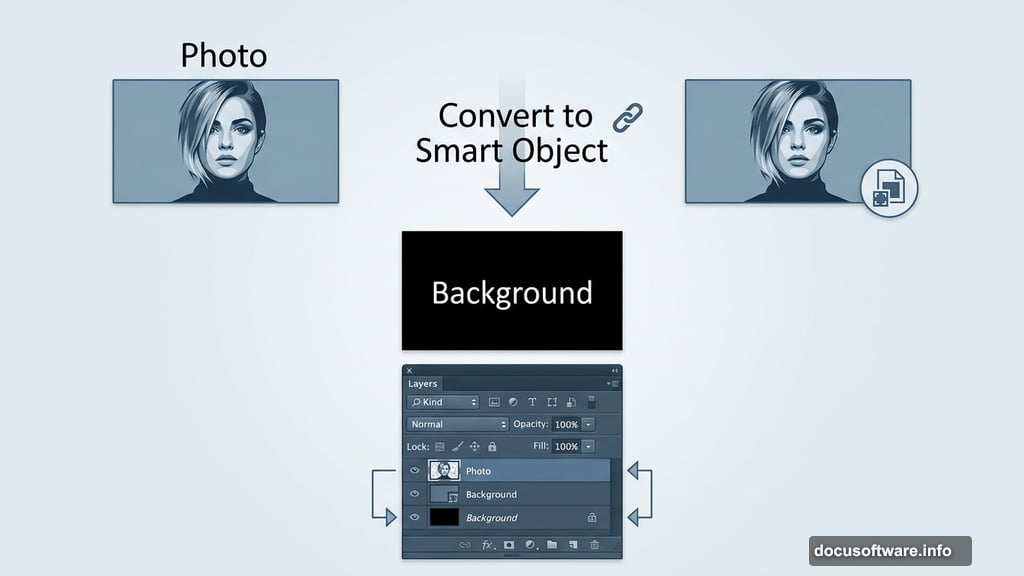
Next, right-click your layer in the Layers panel and choose Convert to Smart Object. This one move protects your original image from permanent changes. Think of it like working on a copy instead of the original print.
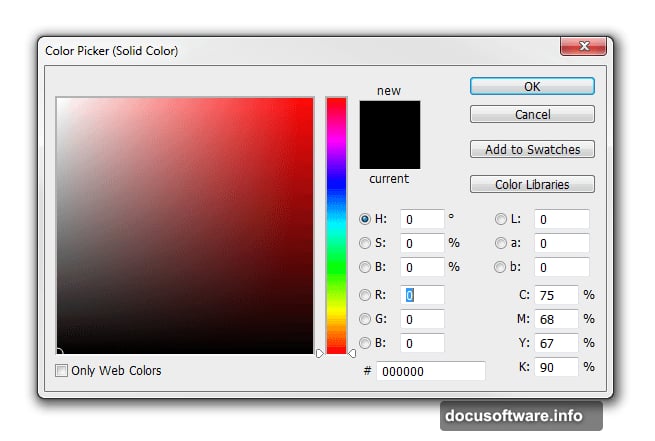
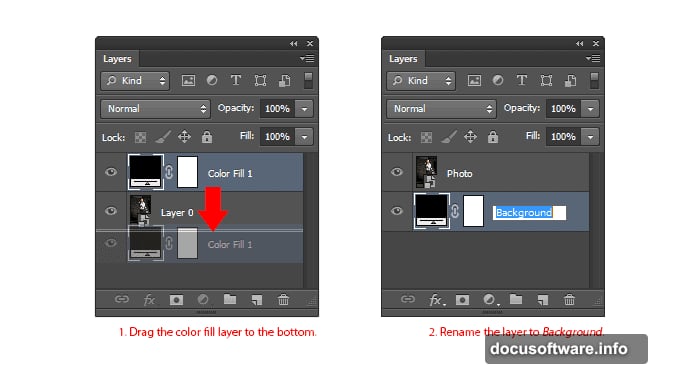
Now add a solid black layer beneath your photo. Go to Layer > New Fill Layer > Solid Color and pick black. Then drag that color fill layer to the bottom of the Layers panel. Rename your layers too. Call the top one “Photo” and the bottom one “Background.” Double-clicking a layer name lets you rename it quickly.
Adding That Gritty, Cinematic Look
Here’s where things get fun. Movie posters rarely use plain, clean photos. They have texture, drama, and contrast. So we’re going to build that in.
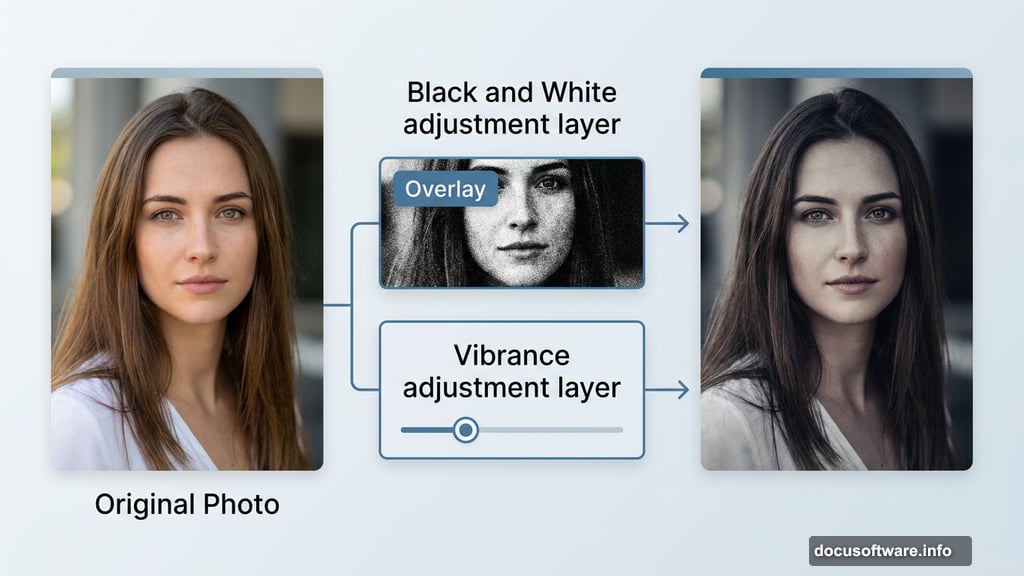
Start with a Black and White adjustment layer. Go to Layer > New Adjustment Layer > Black and White, then change its blending mode to Overlay. This creates a gritty lighting effect that adds punch and mood. Play around with the settings in the Properties panel to find what looks best for your image.
Then add a Vibrance adjustment layer. Go to Layer > New Adjustment Layer > Vibrance and pull the vibrance slider down. You want just a subtle hint of color remaining, not a full desaturated look. This keeps the cinematic feel without going completely black and white.
Fixing Shadows Before the Stripe Effect
The adjustment layers look great but can darken your image a bit too much. That’s a problem, because if the photo blends into the black background, your stripe pattern won’t stand out. So we need to brighten things up a little.
Select your Photo layer in the Layers panel. Then go to Image > Adjustments > Shadows/Highlights. Set Shadows to around 35% and Highlights to around 15%. Click OK. This pulls detail back from the darker areas without blowing out the bright spots.
Now your photo has solid contrast and depth, with enough visible detail to make the stripe pattern work beautifully in the next steps.
![A step-by-step breakdown of creating a Bourne Legacy-inspired stripe poster effect in Photoshop CS6]
Building the Stripe Pattern Mask
This is the signature element of the whole poster. The striped overlay is what gives it that bold, graphic novel style that action movie posters love.
You’ll create a pattern using thin horizontal or diagonal lines, then apply it as a mask over your photo layer. The result is a visually striking effect where your subject seems to peek through the stripes, giving the poster a layered, editorial feel. The tutorial guides you through creating the pattern from scratch, which takes only a few minutes.
Applying it as a mask is what makes this technique so powerful. Since everything is non-destructive, you can adjust the stripe width, angle, or spacing at any time without starting over.
![Close-up of the Photoshop Layers panel showing Smart Object, adjustment layers, and stripe pattern mask applied to a cinematic poster]
Bringing It All Together
Once the stripe mask is in place, the poster starts looking like the real thing. The grungy lighting from the adjustment layers, the muted color palette from the vibrance reduction, and the graphic stripe pattern combine into something that feels genuinely professional.
You can push it further from here. Add text, experiment with blending modes on the stripe layer, or try different stripe angles for a fresh variation. The non-destructive setup means every change is low-risk and fully reversible.
What makes this tutorial especially satisfying is that it proves you don’t need complicated techniques to get impressive results. A Smart Object, two adjustment layers, a quick Shadows/Highlights fix, and a stripe mask are all it takes. If you’re newer to Photoshop, this is a great project to build confidence with layer masks and adjustment layers simultaneously.
Grab any portrait photo, follow these steps, and you’ll have a poster you’d actually want to hang on your wall.