Dark photo manipulation is one of the most satisfying creative challenges in Photoshop. You start with a handful of separate images and end up with something that feels genuinely eerie and alive.
This tutorial walks you through building a moody, fire-soaked scene featuring a burning figure reflected in a mirror. Along the way, you’ll pick up blending mode tricks, masking techniques, and coloring approaches that work in all kinds of dark photo compositions.
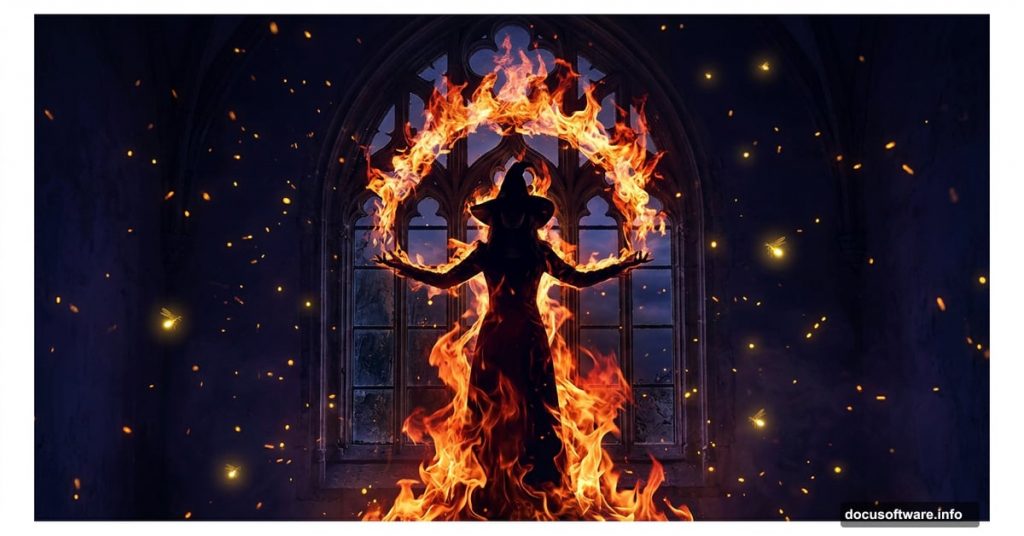
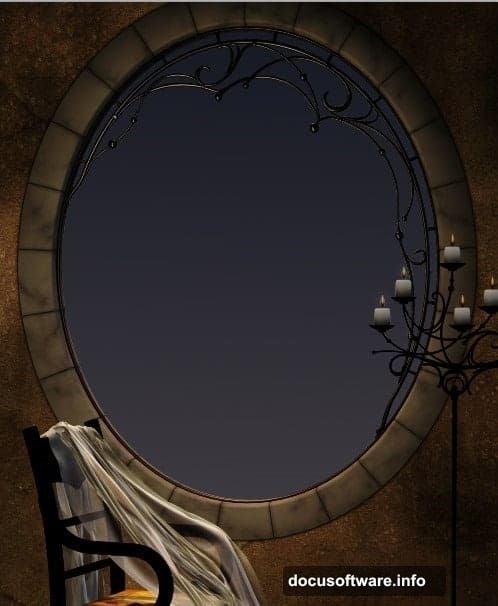
Here’s a look at what we’re building, plus the resources you’ll need to follow along.
Tutorial Resources:
- Fenestra (window/wall background) — Deviantart
- Model — Deviantart
- Fire — Deviantart
- Particle brushes and PNG files — WeGraphics
- Fireflies and sparks — Deviantart
Setting Up Your Canvas and Background Gradient
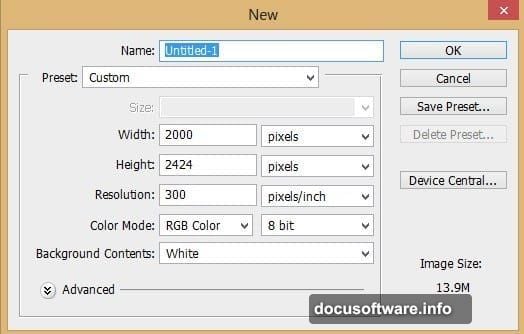
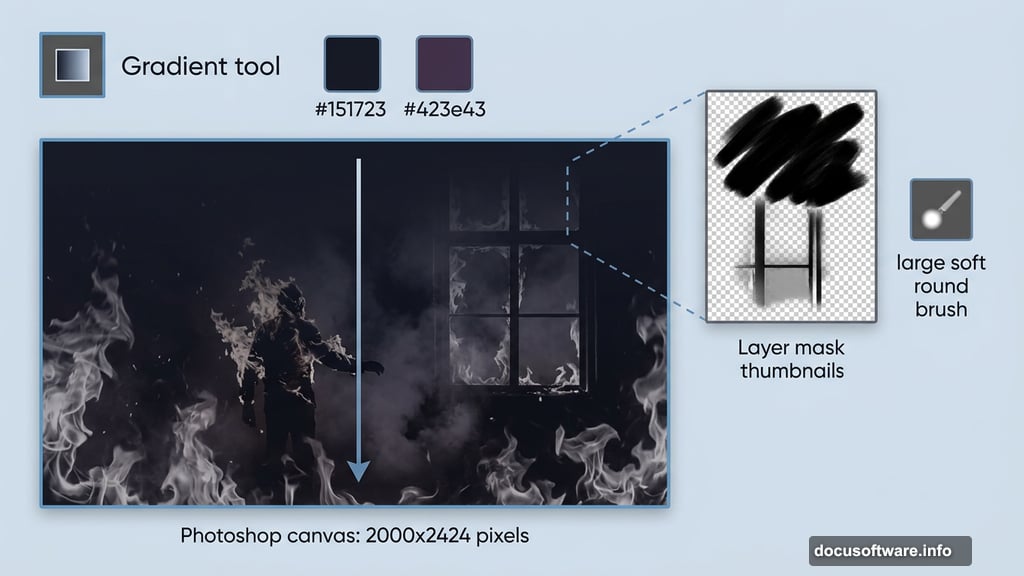
First, create a new document. Go to File > New or press Ctrl+N and set the canvas to 2000 pixels wide by 2424 pixels high.
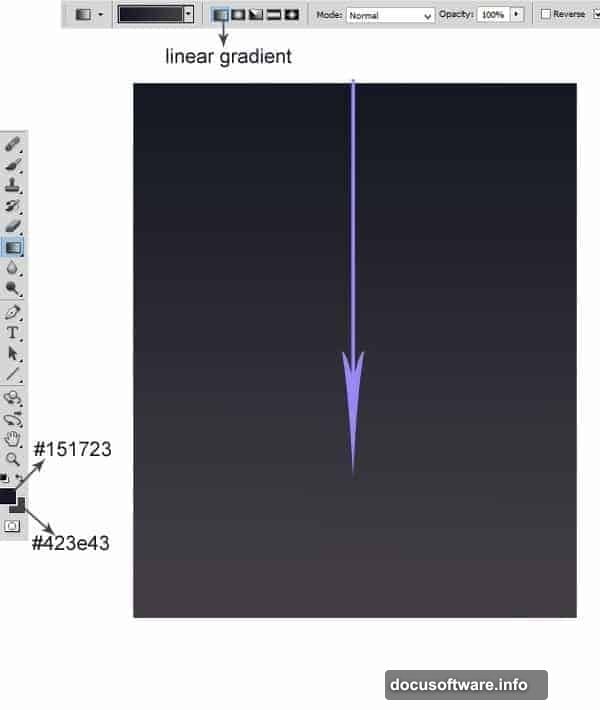
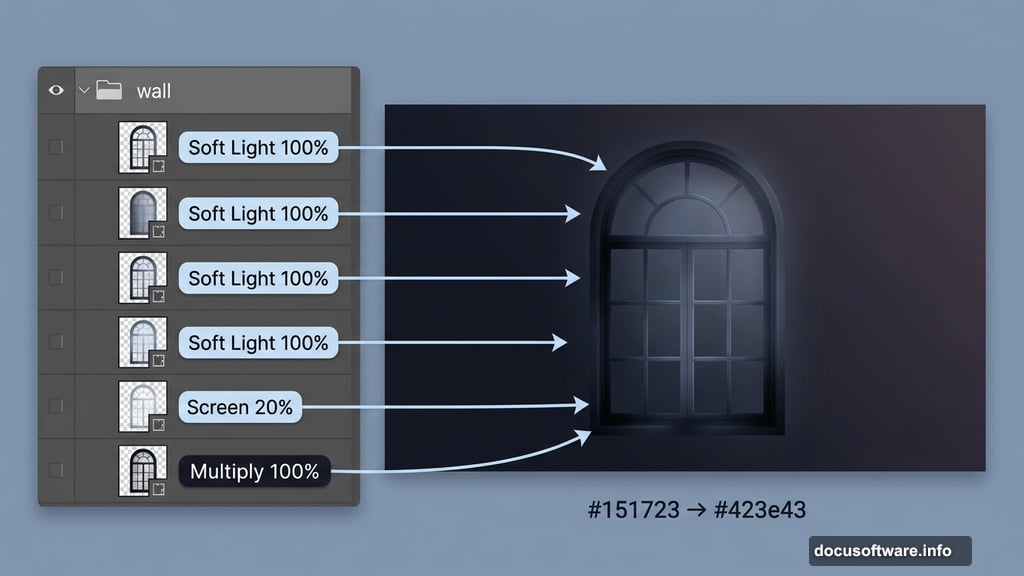
Now grab the Gradient tool from the toolbar and select Linear Gradient. Set your foreground color to #151723 (a near-black blue-gray) and your background color to #423e43 (a soft dark purple). Click and drag from the top of the canvas to the bottom to fill it with that moody gradient.
This gives you the dark, slightly atmospheric base the whole scene builds on.
Placing and Positioning the Window Background
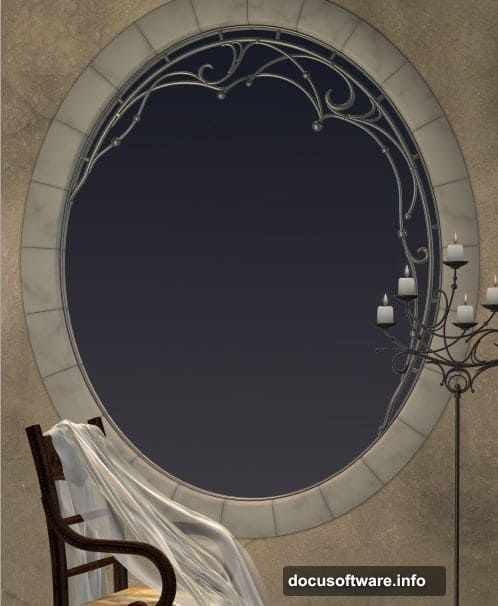
Next, place your fenestra image into the document. Hit Ctrl+T to activate Free Transform and scale it up until the arched window dominates the background. You want that window to feel like the visual anchor of the whole composition.
Position it carefully. Everything else in the scene will revolve around that window, so getting it right here saves you time later.
Layering the Wall for Depth and Atmosphere
Here’s where blending modes do the heavy lifting. Duplicate your fenestra layer four times, then set each one differently:
- Original layer: Multiply blending, 100% opacity
- First duplicate: Screen blending, 20% opacity
- Remaining three duplicates: Soft Light blending, 100% opacity each
Once all five layers are set, select them all and press Ctrl+G to group them into a folder. Naming it “wall” keeps things organized as the layer count climbs.
Now select the original layer inside the folder and add a layer mask. Pick a large, soft round brush and paint over the upper portion of the image with black to gradually mask it out. The soft edge keeps the blend natural.
Then select the first duplicate and add its own layer mask. This time, mask the area around the lower part of the window. The goal is a smooth, slightly uneven wall texture that feels worn and atmospheric rather than flat.
Adding the Raven to the Chair
Open your raven image and cut it out from its background. A combination of the Pen tool and Refine Edge works well for feathered edges on dark subjects.
Place the extracted raven into your main document. Scale it down and position it on the chair so it looks naturally settled there, not just dropped in.
With the raven layer selected, go to Layer > New Adjustment Layer > Hue/Saturation. In the dialog box, check “Use The Previous Layer To Create A Clipping Mask.” This clips the adjustment to the raven only, so your color changes stay contained.
This step lets you shift the raven’s tone to match the overall color palette of the scene — something between cool shadow and warm firelight.
Why Clipping Masks Change Everything
Clipping masks are one of those Photoshop techniques that feel small but completely change how you work.
Instead of applying color corrections globally, you attach them directly to a single layer. So if your raven needs a reddish warmth to match the fire tones, you dial that in without affecting the wall or background behind it.
Plus, every adjustment stays non-destructive. You can tweak values at any point without repainting or redoing work.
For dark photo manipulation specifically, this matters a lot. Individual elements — the figure, the fire, smoke, sparks — all need slightly different color treatments to feel like they belong in the same world. Clipping masks make that possible without creating a tangled mess of merged layers.
Building the Fire and Smoke Effects
Fire in photo manipulation works best when you layer multiple elements rather than relying on one stock image.
Start with your base fire image placed above the figure layer. Set it to Screen blending mode. Screen removes all the dark areas and keeps only the bright orange and yellow tones, so the fire integrates naturally without a visible hard edge.
Add smoke using particle brushes or PNG smoke overlays from your resources. Screen blending works here too. Build up wisps of smoke around the figure in layers, varying the opacity between 40% and 80% on each layer for depth.
For the firefly and spark elements, place them on separate layers set to Screen or Add blending. These tiny bright points create the feeling that energy and heat are alive in the whole scene, not just around the figure.
Coloring the Whole Scene Together
Once your elements are in place, the scene probably looks disconnected. Different light sources, different color temperatures. This is where overall coloring ties everything together.
Add a Color Balance adjustment layer at the top of your layer stack (no clipping mask this time — you want this to hit everything). Push the midtones toward red and yellow to suggest firelight throughout the whole image.
Then add a Curves adjustment layer. Darken the shadows slightly and increase contrast in the midtones. This makes the fire glow feel brighter by comparison without actually changing the fire layers.
Finally, a subtle Photo Filter adjustment in warming orange helps unify any remaining color inconsistencies between your different source images.
Finishing Touches That Make the Difference
A few small details separate a polished manipulation from something that just looks assembled.
Dodge a little extra brightness around the figure’s edges where firelight would hit them. This simple step creates the impression that light from the fire actually illuminates the surrounding space.
Add a very faint vignette using a large soft brush on a new layer set to Multiply. Dark corners naturally draw attention inward toward the mirror and figure.
Finally, check your raven. A subtle orange glow along its feathers from a soft-edged Color Dodge brush makes it feel like it’s sitting in the same firelit room rather than pasted in from somewhere else.
Dark photo manipulation rewards patience. Each small adjustment builds on the last, and suddenly you have a scene that feels genuinely atmospheric rather than just technically assembled. Take your time with the masking, trust the blending modes, and don’t rush the coloring phase. The infernal glow is worth the effort.