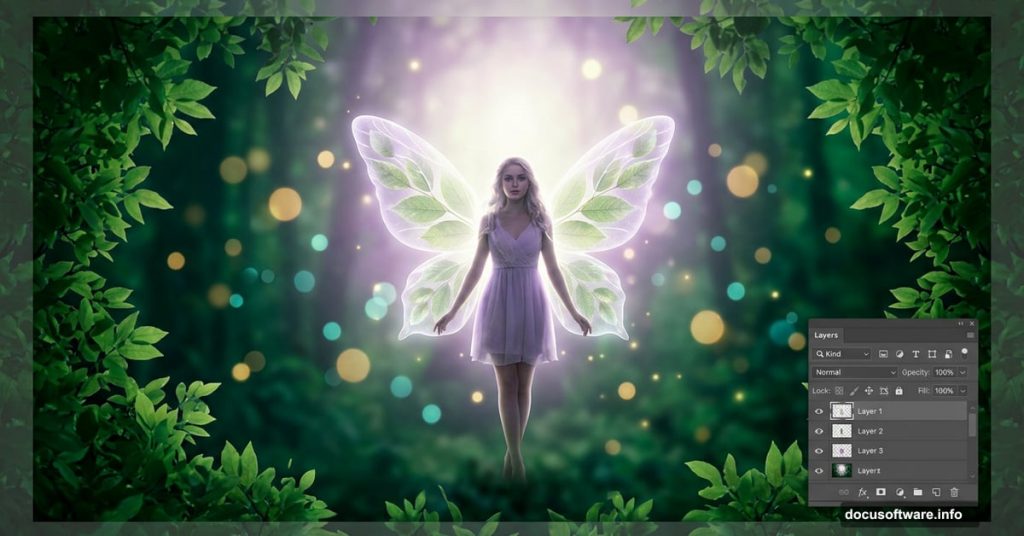
Ever looked at those dreamy, magical photo manipulations online and wondered how they’re made? The good news is that creating a fantasy fairy scene in Adobe Photoshop is more approachable than it looks. With a handful of stock images and some clever adjustment layers, you can build something genuinely enchanting from scratch.
This guide walks you through the full process — from setting up your canvas to adding that final sprinkle of fairy-tale glow.
Setting Up Your Canvas and Background
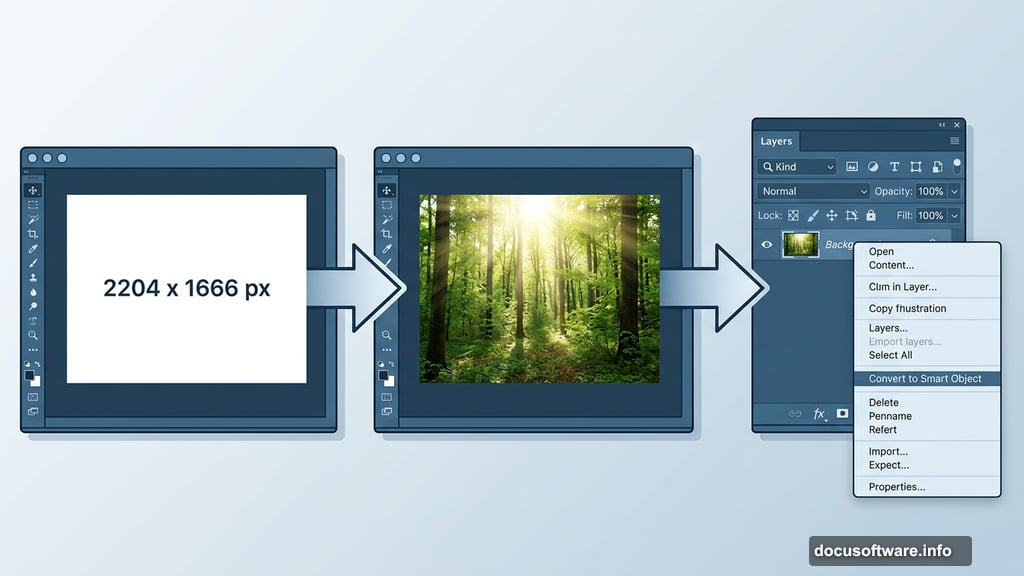
First things first — open Photoshop and create a new document. For this project, a 2204 x 1666 px canvas works perfectly. Fill it with white so you have a clean starting point.
Next, bring in your background image. Drag it onto the canvas using the Move Tool (V), then position the brightest part of the image toward the top center. That highlight placement will matter later when you start adding light effects.
Before moving on, convert the background layer to a Smart Object. Right-click the layer and select “Convert to Smart Object.” This keeps things flexible if you want to make changes down the road.
Blurring the Background for Depth
Here’s where the scene starts to feel three-dimensional. Go to Filter > Blur > Gaussian Blur and set the radius to 15 px.
Why blur the background? It mimics how a camera lens works in real life — subjects in focus stand sharp while the background softens behind them. That separation is what makes photo manipulations feel convincing rather than flat.
The exact radius you use may vary depending on your image size. So if your canvas is larger or smaller, adjust accordingly until the blur feels natural.
Adjusting Background Color with Hue/Saturation
Now add a Hue/Saturation adjustment layer via Layer > New Adjustment Layer > Hue/Saturation. Set it as a Clipping Mask so it only affects the background layer below it.

Tweak the Master settings to shift the background toward a cooler, more magical feel. This step sets the overall mood of the scene. Think deep forest greens and moody blues rather than harsh daylight tones.
Bringing in the Butterfly
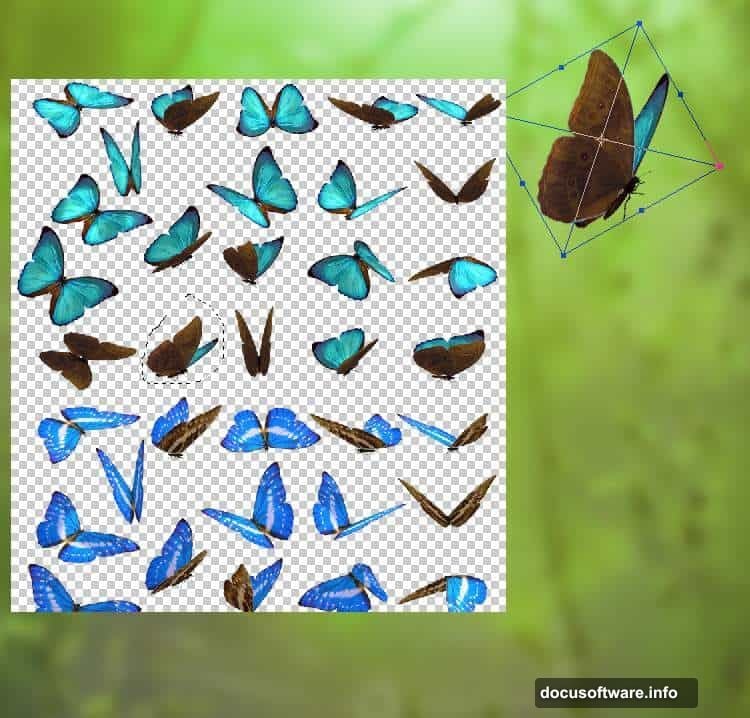
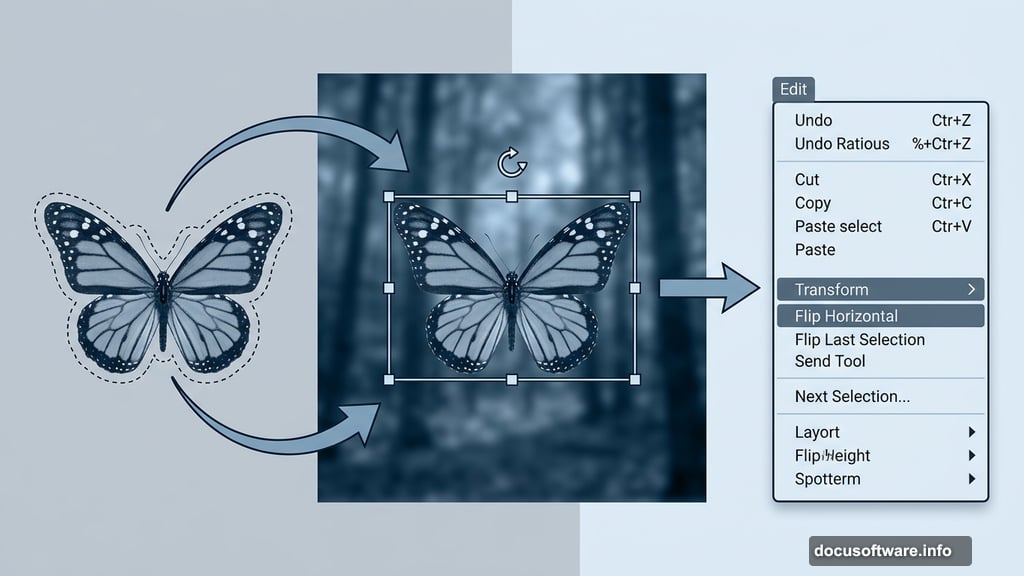
Open your butterfly image and grab the Lasso Tool (L) to select the butterfly you want to use. You don’t need a perfect cut here — just get close enough to bring it into the main document cleanly.
Once it’s in place, use Free Transform (Ctrl+T) to rotate it and position it near the top center of the canvas. Also flip it horizontally via Edit > Transform > Flip Horizontal so it faces the right direction. Small adjustments like this make a big difference in how natural the butterfly looks in the scene.
Masking the Butterfly Wings
Click the mask icon at the bottom of the Layers panel to add a layer mask to the butterfly layer. Hit B to activate the Brush Tool, pick a hard round brush, and paint with black over the wings.
This erases the original wings cleanly so you can replace them with leaf wings later. It’s one of the most satisfying steps in the whole process — watching the transformation begin in real time.

Color Correcting the Butterfly
The butterfly needs to blend naturally into your fantasy environment. Add three separate adjustment layers, each set as a Clipping Mask over the butterfly layer:
- Hue/Saturation — Shift the Master values to push the butterfly toward greener, more organic tones
- Color Balance — Brighten it up and lean further into the green palette
- Curves (first pass) — Lift the overall light to give the butterfly a dreamy, glowing quality
On that first Curves layer mask, use a soft black brush at around 20% opacity to gently reduce the effect on the butterfly’s body. You want the wings to glow more than the body itself.
Brightening the Upper Body
Add a second Curves adjustment layer focused specifically on the upper portion of the butterfly. On its layer mask, use a hard black brush to paint over the lower half of the butterfly so that area stays unaffected.
This kind of targeted adjustment is what separates polished photo manipulations from rough ones. Rather than applying changes globally, you’re sculpting light exactly where you want it.
What Comes Next
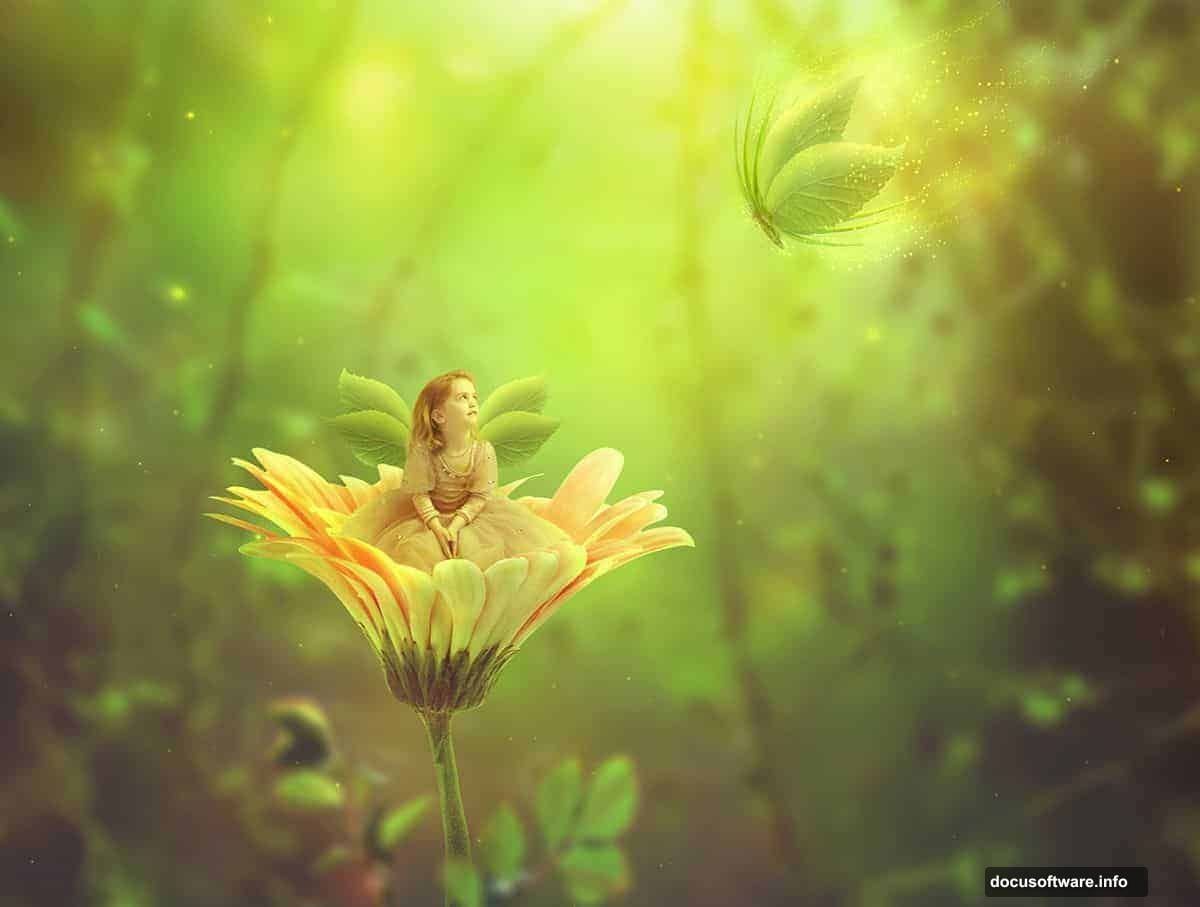
So far you’ve built a solid, color-corrected base with a moody background and a beautifully adjusted butterfly ready for its new wings. The next stages of this tutorial cover importing the child subject, crafting the leaf wings, adding flowers and branches, and finally creating the magical light effects and fantasy color grading that tie the whole scene together.
Those final steps — the glowing light textures, the color enhancement, and the last round of adjustment layers — are where the image truly comes alive. It’s worth taking your time with each phase rather than rushing to the finish line.
Photo manipulation in Photoshop rewards patience. Each small adjustment builds on the last, and before long, you’ve created something that looks like it belongs in a storybook. Trust the process, experiment freely, and don’t be afraid to redo steps until they feel exactly right.