
Opaque backgrounds ruin perfectly good images. You’re editing a photo for a presentation. Or building a graphic design. Then boom – that stubborn white background refuses to cooperate.
Photoshop offers a quick fix. Better yet, Adobe’s built-in AI tools handle the heavy lifting. So even beginners can remove backgrounds in seconds without wrestling with complicated selection tools.
Let’s walk through the exact process.
What You’ll Need Before Starting
First, make sure you have Photoshop installed and running. Any recent version works fine for this technique.
Plus, you’ll want your image ready to go. JPEG, PNG, or any standard format works. The quality of your original image matters – clearer photos give cleaner results.
One more thing. Adobe’s automatic removal works best with distinct subjects. Think product photos, portraits, or objects with clear edges. Busy backgrounds with lots of detail might need manual cleanup afterward.
Upload and Prep Your Image
Open Photoshop and create a new file. Then drag your image directly from your file explorer into the Photoshop workspace. Simple.
Your image appears as a new layer. But here’s the catch – some image types come in as smart objects. So you’ll need to rasterize the layer first.
Right-click on the layer in the Layers panel. Select “Rasterize Layer” from the menu. This converts your image into a standard editable layer that Photoshop can modify.
Why does this matter? Smart objects preserve original quality but limit editing options. Rasterizing unlocks full editing capabilities.
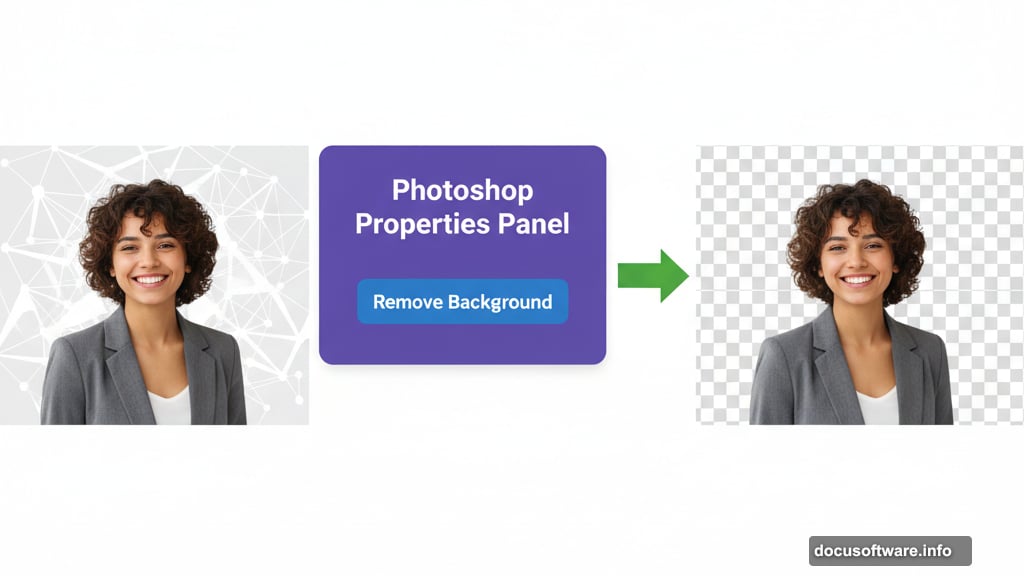
Remove Background with One Click
Now comes the magic. Look for the Properties panel on the right side of your screen. Scroll down until you spot the Quick Actions section.
Click “Remove Background” and watch Photoshop work. The AI analyzes your image, identifies the subject, and strips away everything else. Takes about 5-10 seconds depending on image complexity.
Adobe’s AI has gotten seriously good at this. It recognizes hair, transparent objects, and complex edges that used to require hours of manual selection. Not perfect, but impressive.
After removal, your background layer might still show underneath. Just click the eye icon next to the background layer to hide it. Now you’re looking at pure transparency – those trademark gray and white checkerboard squares.
Save Your Transparent Image Correctly
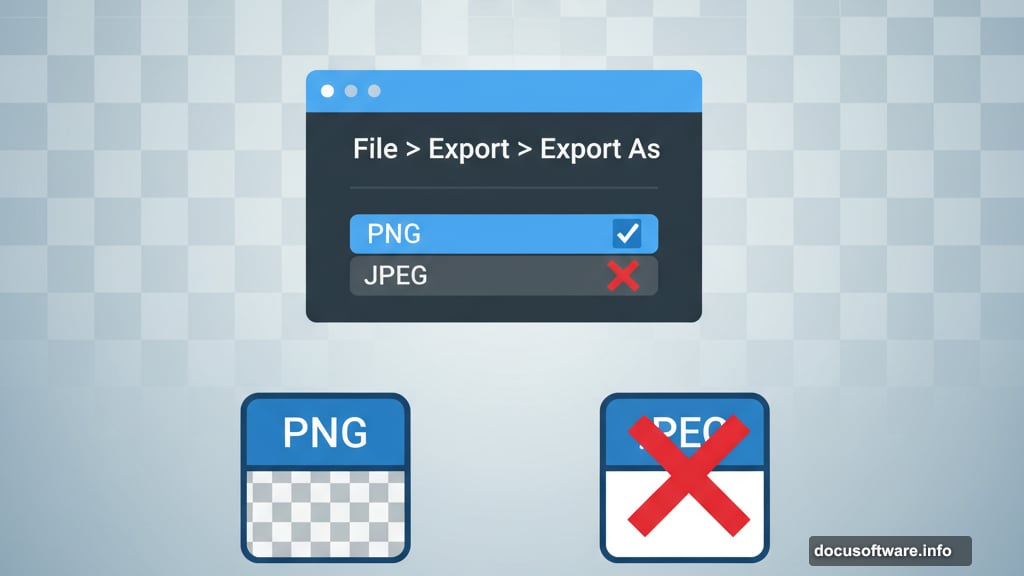
Here’s where people mess up. You must export as PNG to preserve transparency. JPEG doesn’t support transparent backgrounds, so all your work disappears into a white background.
Click File, then Export, then Export As. Choose PNG from the format dropdown. Hit Export and you’re done.
Your transparent image now works anywhere. Drop it onto different backgrounds, layer it with other graphics, or use it for professional presentations. The possibilities multiply once that background vanishes.
When Automatic Removal Fails
Sometimes the AI struggles. Complex backgrounds, similar colors between subject and background, or fine details like hair can trip it up.
Two options here. First, try adjusting the selection manually with the Select and Mask tool. You can refine edges, smooth selections, and fix problem areas the AI missed.
Second, consider using the pen tool for ultimate precision. Yes, it takes longer. But for critical projects where automatic removal leaves artifacts, manual selection wins every time.
The good news? Adobe keeps improving this feature. Each Photoshop update brings better AI detection and cleaner results.
Why This Matters for Everyday Work
Transparent backgrounds speed up creative workflows dramatically. No more wasting hours on tedious selection work. The AI handles 90% of cases instantly.
Designers use this for mockups and presentations. Marketers create social media graphics faster. Even office workers building PowerPoint decks benefit from quick background removal.
Plus, the saved time compounds. Remove ten backgrounds manually and you’ve burned half a day. With this technique? Maybe fifteen minutes total.
That’s why mastering basic Photoshop tricks pays dividends. Small efficiencies add up to major productivity gains over months and years.