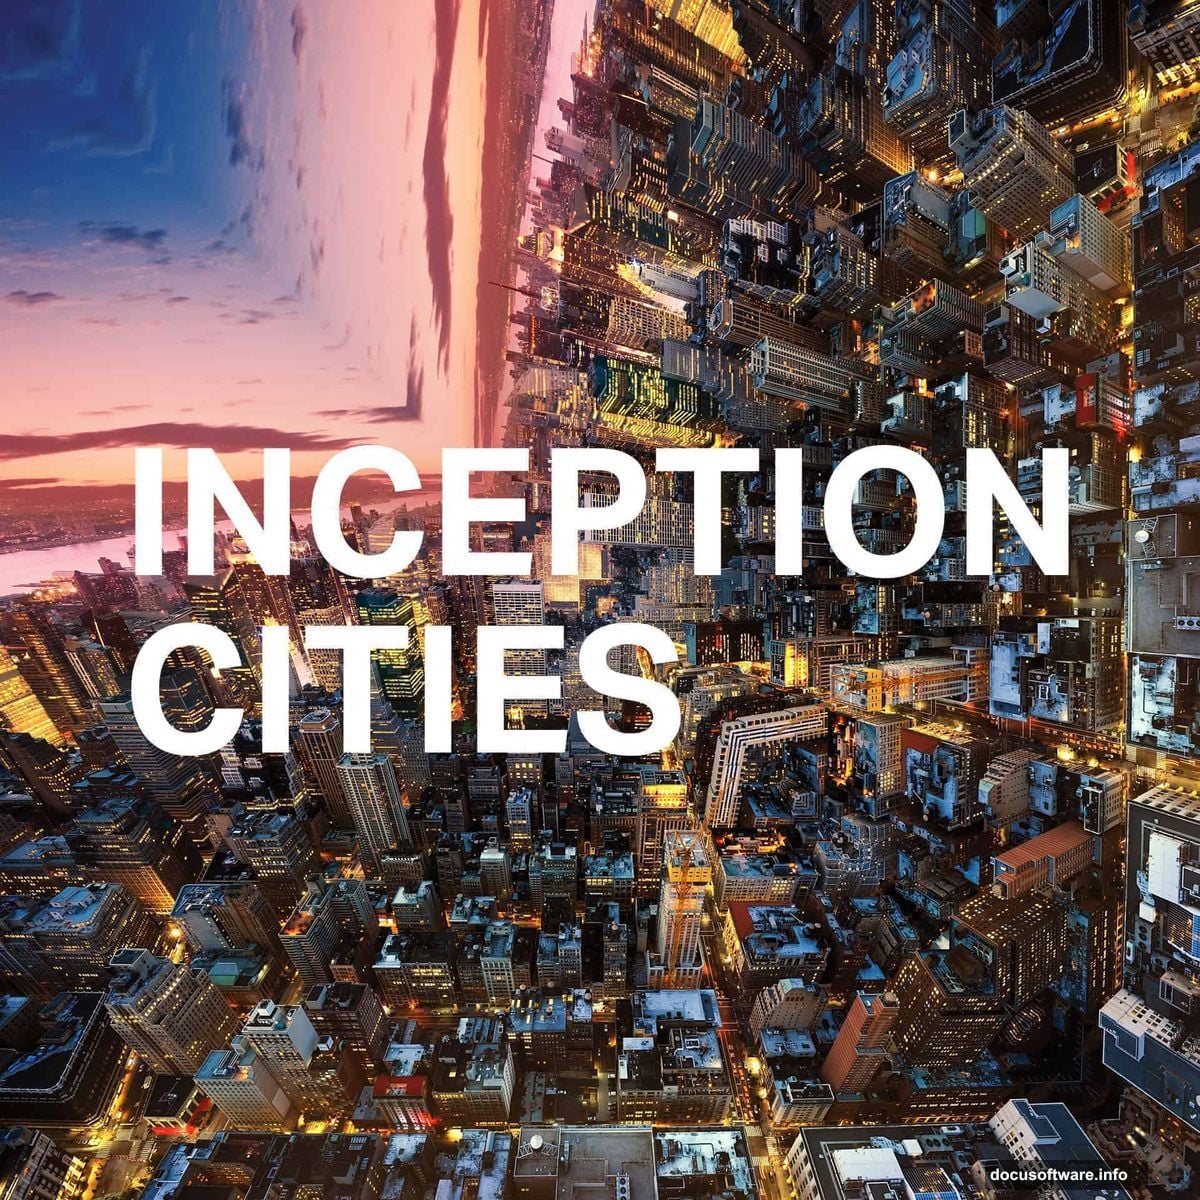
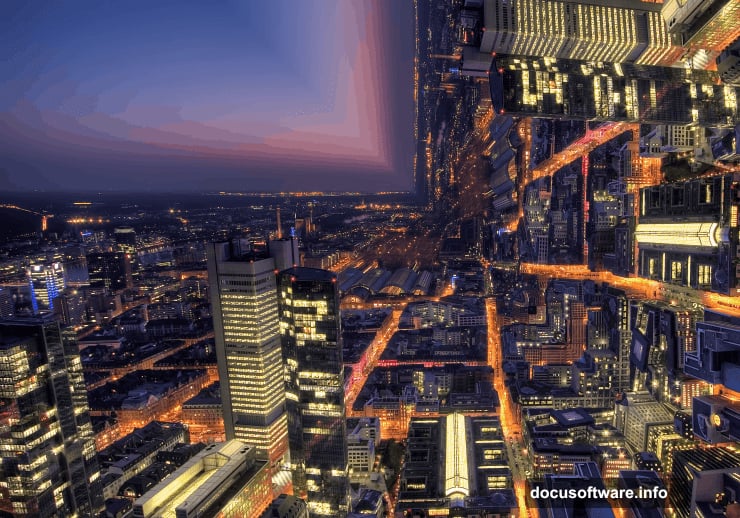
Ever watched Inception and wondered how they made those impossible cityscapes? The ones where buildings climb straight up like vertical walls?
Turns out you can recreate that mind-bending effect in Photoshop. No fancy plugins needed. Just one clever selection trick and basic tools you already know.
This tutorial takes about five minutes. Plus, the results look surprisingly professional for such a simple technique.
Why This Effect Works So Well
The Inception city bend became iconic because it breaks reality in a specific way. Buildings that should lie flat suddenly defy gravity.
But here’s what makes it work visually. The effect only bends part of the image. That contrast between normal and impossible creates the tension that makes people look twice.
So you’ll learn to select exactly the right portion of your cityscape. Then rotate it into position for maximum impact.
Start With the Right Photo
Not every landscape works for this effect. You need specific elements to pull it off.
First, find a cityscape or landscape where the top half shows sky. That empty space becomes crucial when you rotate your selection. Without it, the bent section looks cramped and confusing.
Second, look for images with clear horizontal lines. Buildings, horizons, or streets that run parallel to the bottom edge. These lines emphasize the bend when you rotate them vertical.
Third, higher resolution helps. You’ll be rotating and transforming part of your image. More pixels means cleaner results.
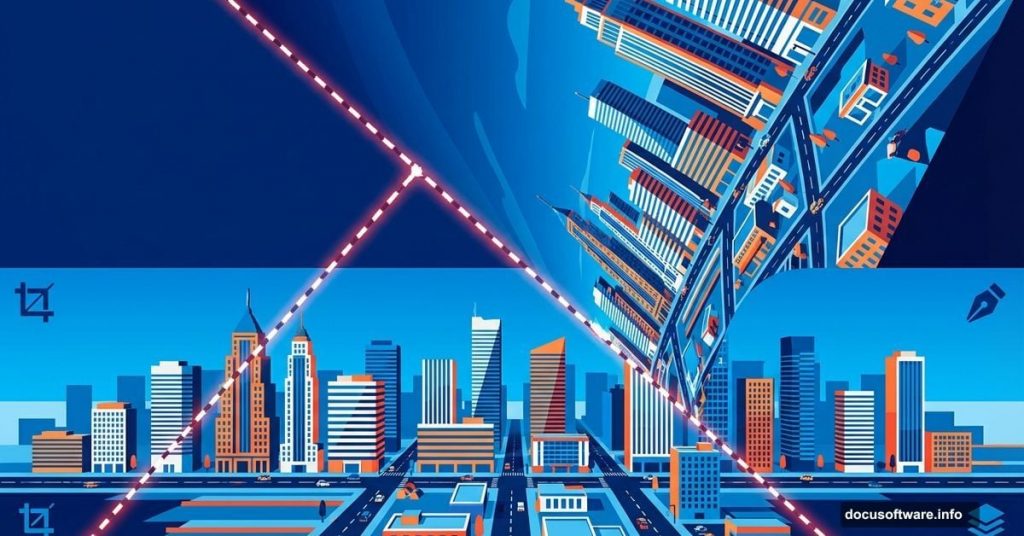
The Secret to Perfect Triangular Selections
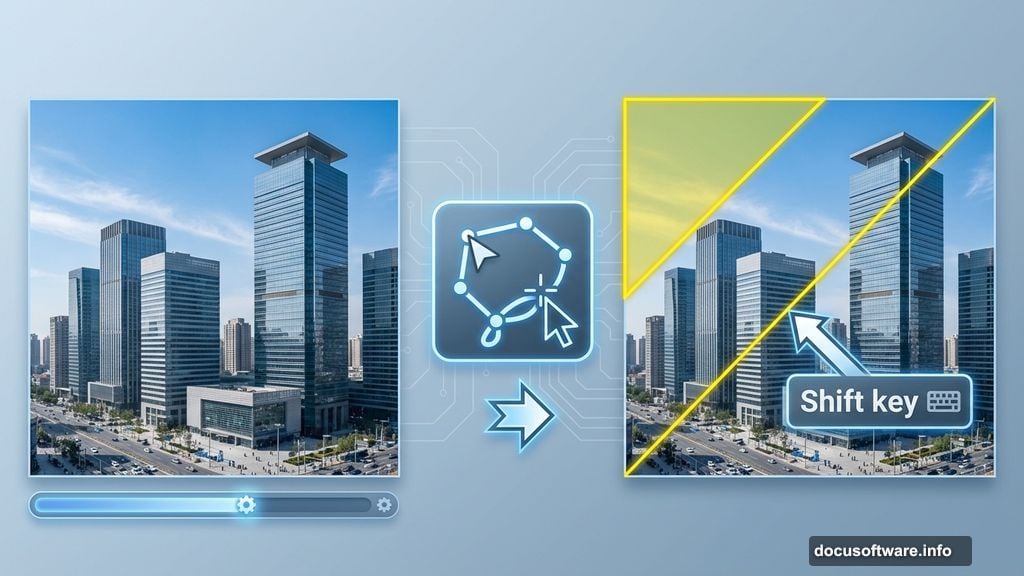
Here’s where most people struggle. Creating a perfect 45-degree triangular selection sounds simple. But clicking points freehand never gives you that precise angle.
The trick? Let Photoshop’s zoom and Shift key do the work for you.
Start by zooming way in to the top-left corner of your image. Like really close. Select the Polygonal Lasso Tool and click once at the exact top-left corner pixel.
Now press Ctrl (Cmd on Mac) and the minus key to zoom out. Your selection point stays anchored even as you zoom.
Hold Shift and click directly below your image. The Shift key constrains the Polygonal Lasso to 45-degree angles. So your line automatically creates that perfect diagonal.
Click once more to complete the triangle. You now have a flawless right-angled selection without guessing angles.
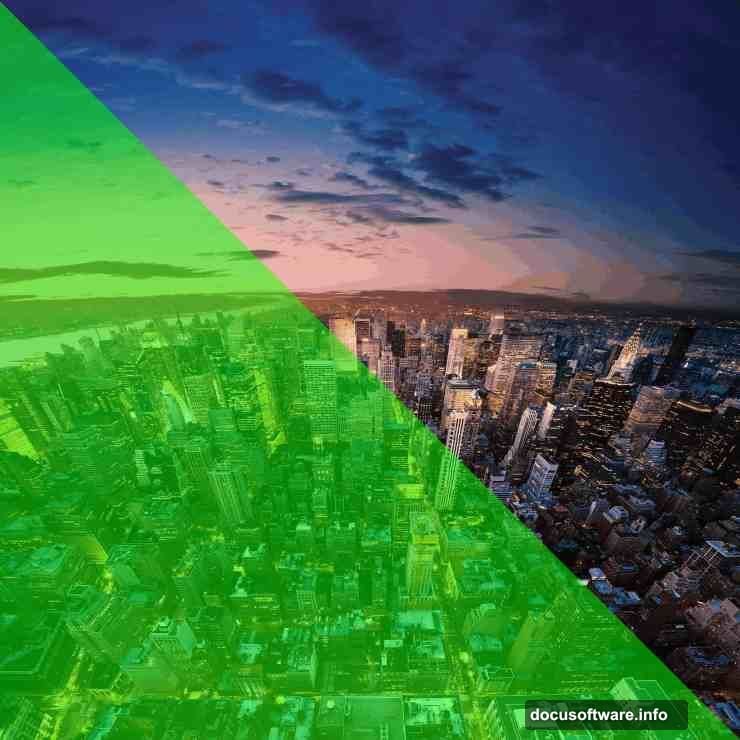
Isolate Your Bend Section
With your triangular selection active, press Ctrl+J (Cmd+J on Mac). This duplicates just the selected pixels onto a new layer.
Why duplicate instead of cutting? Because you might want to adjust the blend later. Having the original layer intact gives you options.
Plus, you can create multiple bends at different angles. More on that in a minute.
Flip and Rotate for Reality-Breaking Results
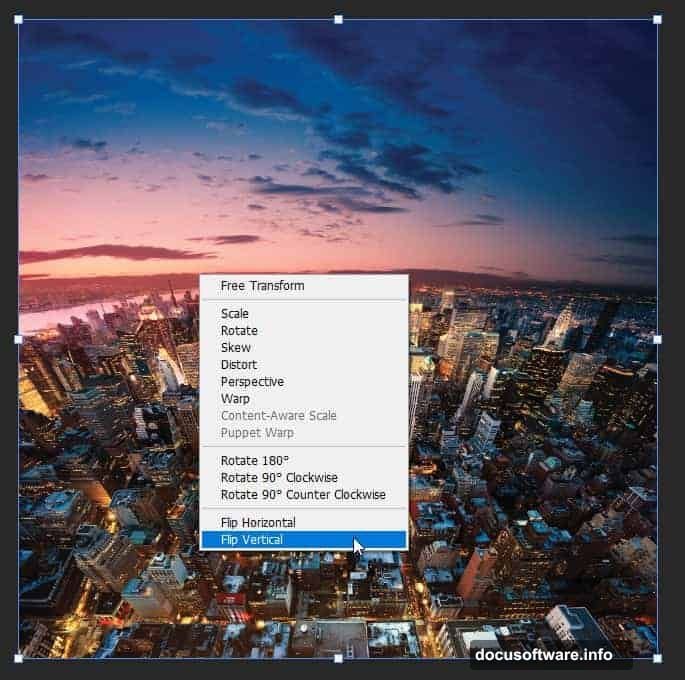
Press Ctrl+T (Cmd+T on Mac) to activate Transform mode. Your triangle gets a bounding box with handles.
Right-click inside the box and select Flip Vertical. This inverts your selection so the ground points up.
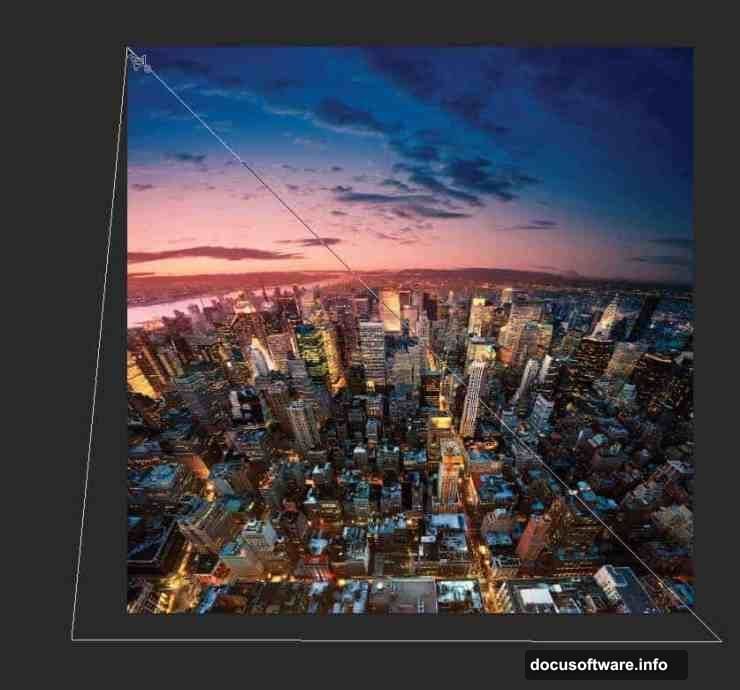
Now comes the satisfying part. Move your cursor just outside the bounding box until it changes to a curved arrow. Hold Shift and drag to rotate.
The Shift key constrains rotation to 15-degree increments. So you can align your bent section perfectly vertical without eyeballing it.
Position the rotated triangle so its edges meet the original image seamlessly. The goal is making it look like the city naturally bends upward.
Fine-Tune the Illusion
Sometimes the rotated section doesn’t quite match up. Buildings might not align perfectly or colors look slightly off.
That’s where layer adjustments help. Try lowering the opacity of your bent layer slightly and checking alignment. Then bring it back to 100% once positioned correctly.
You can also use a soft eraser on the edges if the transition looks harsh. Just set your eraser to 10-20% opacity and gently blend where the layers meet.
For extra realism, add a subtle shadow where the bend meets the ground. Create a new layer, paint with a soft black brush at low opacity, then set the blend mode to Multiply.
Try Different Angles
The top-left corner creates one type of bend. But you can experiment with other corners for different effects.
Select the top-right corner instead and you’ll create a drop rather than a rise. The city appears to fall away from you.
Or try the bottom corners. These create inverted bends where the foreground climbs upward.
You can even combine multiple bends in one image. Just repeat the process on different corners and blend them together. The results look increasingly surreal.
Common Problems and Quick Fixes
The selection won’t constrain to 45 degrees? Make sure you’re holding Shift before you click the second point. The order matters.
Rotated section shows white gaps? Your selection probably didn’t reach the edge of your image. Zoom in closer and click directly on the corner pixel.
The effect looks flat or unconvincing? Check your source photo. Images with strong perspective and depth work best. Flat, straight-on shots don’t bend as dramatically.
Colors don’t match after rotation? The Flip Vertical command sometimes reveals lighting differences. Add a Curves adjustment layer to the rotated triangle and match the tones.
Beyond Basic Bends
This technique opens doors to more complex manipulations. Once you master the basic triangle selection, try variations.
Create multiple bends at different angles throughout your image. Start with small sections so the effect builds gradually rather than overwhelming the composition.
Combine bent cityscapes with other photos. Drop your Inception-style buildings into surreal landscapes or sci-fi environments.

Or animate the effect in Photoshop’s Timeline. Gradually rotate your triangle over several frames for a video that shows the city bending in real-time.
Why Simple Tricks Win
This tutorial proves an important point about Photoshop. The most impressive effects often come from basic tools used cleverly.
You didn’t need expensive plugins or hours of masking. Just the Polygonal Lasso, Transform, and an understanding of how selections work.
That’s worth remembering. Before searching for complex solutions, explore what your existing tools can do. Most of Photoshop’s power hides in simple features combined creatively.
The Inception bend effect took five minutes. But it creates results that make people stop and wonder how you did it. That’s the kind of technique worth adding to your toolkit.