
Photo manipulation is one of those Photoshop skills that feels like actual magic when it comes together. You start with a handful of separate images, and suddenly there’s a believable fantasy world on your screen.
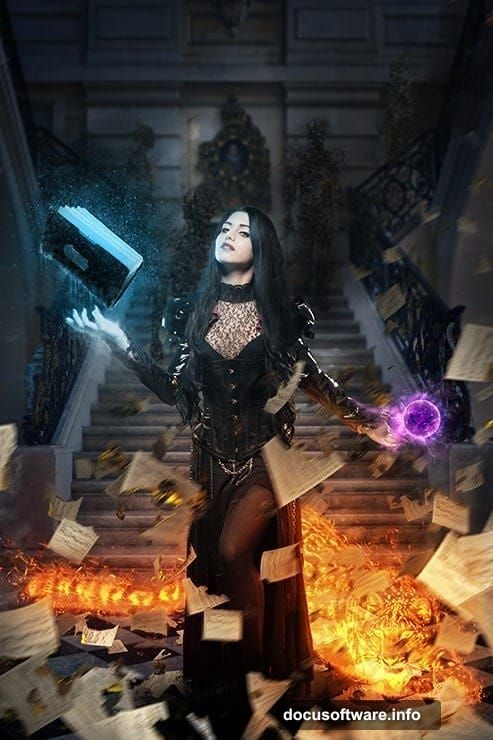
This tutorial walks you through creating a stunning magician scene complete with a fiery leopard, glowing special effects, and moody atmospheric details. The project was created by Maria Semelevich using Photoshop CC 2014, but any version from CS onwards works just fine.
By the end, you’ll have a handle on perspective correction, photo compositing, fire effects, and adding the kind of finishing touches that make viewers stop and stare.
Gather Your Resources Before Starting
Before touching Photoshop, download everything you need into one folder. Jumping back and forth between browser tabs mid-project kills your creative flow fast.
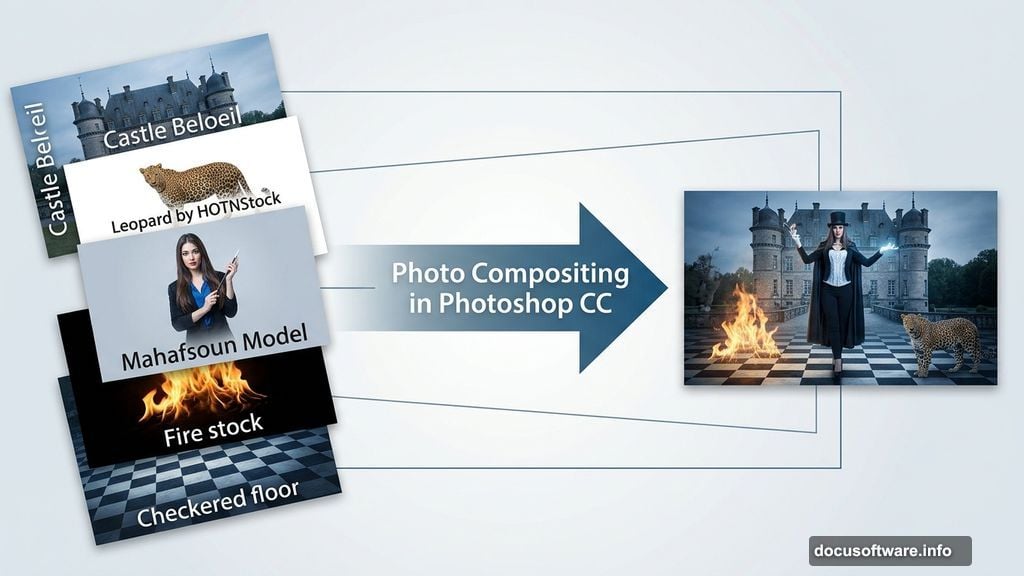
Here’s the full resource list for this project:
- Models: Mahafsoun (two photos)
- Background: Castle Beloeil by pranile
- Floor: Checkered floor by ocd1c-stock
- Props: Burnt Music Sheets by frozenstocks, Book by MariaSemelevich
- Animals: Leopard by HOTNStock
- Fire & effects: Fire stock by sidestreet-stock, Effects Brushes by ryky
- Custom elements: Ghosts and Sparks by MariaSemelevich
Got everything? Good. Now open Photoshop and let’s build something.
Setting Up Your Document
Start fresh with a new document. Set it to 2000 pixels wide and 3000 pixels tall, with a resolution of 150 pixels per inch. This gives you enough canvas to work with without slowing your machine to a crawl.
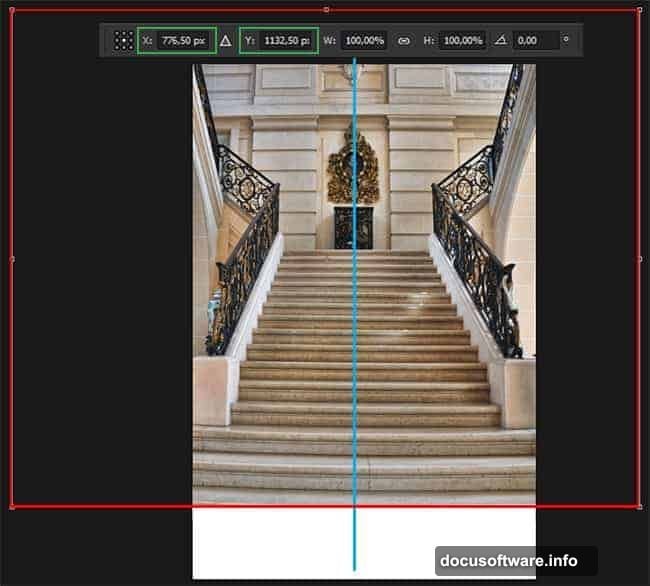
Next, go to File > Place (or Place Embedded) and drop in the Castle Beloeil image. Use Free Transform to resize it proportionally. Hold Cmd/Ctrl + Shift while dragging to keep the proportions intact.
Placement matters here. Try to position the castle so it looks symmetrical in the frame. The railings in the image are your best guide for alignment. Almost every other element will shift around as you build, but those rails stay put as your visual anchor.
Fixing Perspective with Warp Tools
This step separates a convincing composite from one that feels slightly off. Getting the perspective right early saves hours of corrections later.
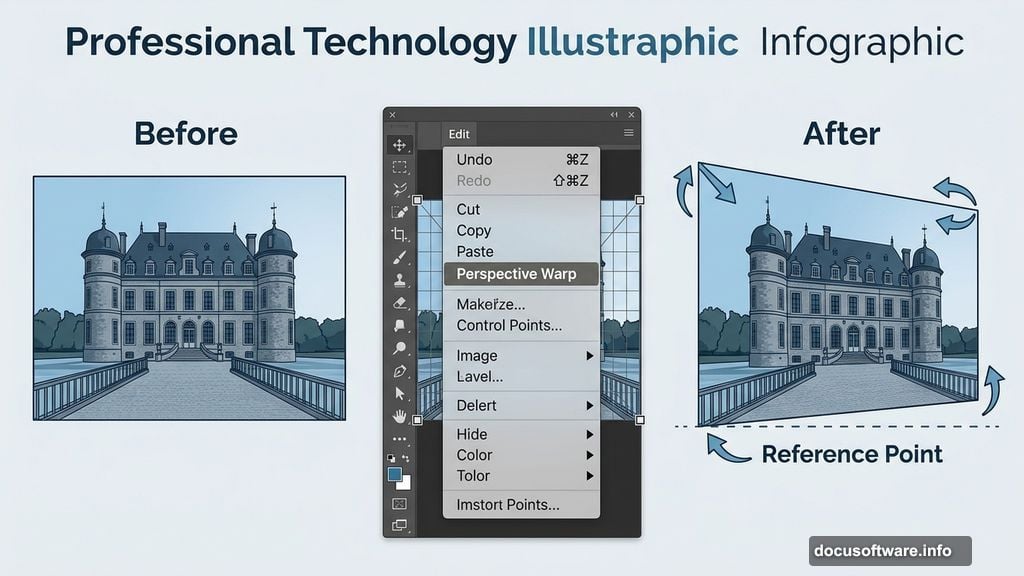
If you’re using Photoshop CC, go to Edit > Perspective Warp. Create a rectangle that extends just beyond the document edges, then switch to Warp mode using the button in the property bar.
Here’s what to adjust:
- Pull the upper left point slightly up and to the left, bringing that side of the image closer to the viewer
- Move the upper right point slightly left to lift the right side
- Push the lower right point up and left so that corner appears to recede into the distance
The goal is for the railings and building blocks on both sides of the image to feel balanced and aligned. Use the bottom railing as your reference point throughout.
Not on Photoshop CC? No problem. You can get very similar results using Edit > Transform > Perspective or Edit > Transform > Distort. These tools give you manual control over each corner point, so just nudge them until the architecture looks right.
Building the Scene Layer by Layer
With the background locked in, the real compositing work begins. The workflow moves through four main phases: background and floor, model placement, the fiery leopard, and finally the special effects layer.
Working this way keeps things manageable. Each phase builds on the last, so you’re always adding to something that already looks coherent rather than juggling chaos.
The checkered floor comes in next, replacing the existing ground plane in the castle image. Getting this to match the perspective you set in the previous step is crucial. Use the same Transform tools to push and pull the corners until the floor tiles feel like they belong in that space.
Compositing the Model with Photo Manipulation Techniques
The model photos by Mahafsoun need careful masking and blending to sit naturally in the scene. Photoshop’s layer masks are your best friend here. Paint away backgrounds with a soft brush rather than hard-deleting them. This lets you go back and refine edges without starting over.
Pay attention to where the light falls in your background image. Then, match the model’s lighting using adjustment layers clipped directly to that layer. A Curves adjustment can add shadow to one side, while a Hue/Saturation layer helps match the overall color temperature.
Burnt music sheets and the book from the resource list add storytelling details. Place these around the model to suggest a world she actually inhabits, not just a figure pasted onto a background.
Creating the Fiery Leopard
This is the element that makes people do a double-take. The leopard photo from HOTNStock serves as the base. After masking out the background, you’ll blend fire stock images directly onto the animal using blending modes like Screen or Add.
Screen mode drops out the dark areas of the fire image and keeps only the bright, glowing parts. This makes fire incredibly easy to apply without tedious masking. Layer several fire photos at different scales and rotations to build up a convincing wrap of flames around the leopard’s form.
Adjust the fire layers’ opacity and use soft eraser strokes to fade them naturally at the edges. The leopard should look like it’s emerging from the flames, not wearing them like a costume.
Adding Special Effects and Finishing Touches
The final phase is where the image goes from good to genuinely magical. This is where the custom brushes by ryky and MariaSemelevich’s ghost and spark elements come in.
Use the effects brushes on a new layer set to Screen or Lighten blending mode. Dab sparks around the magician’s hands and around the leopard. Keep the opacity varied. Some sparks bright, some barely visible. Randomness reads as more natural than perfectly uniform effects.
The ghost elements add depth to the midground. Place them behind the main figures but in front of the background. Lower their opacity significantly, somewhere around 20 to 40 percent, so they feel like faint apparitions rather than solid objects competing for attention.
Color grading ties everything together. Add a gradient map or Color Lookup adjustment layer at the top of your stack. Something with cooler shadows and warm highlights gives the whole scene a theatrical, slightly mysterious mood that fits the magician theme perfectly.
Pulling It All Together
What makes this kind of photo manipulation satisfying isn’t any single trick. It’s the accumulation of small, careful decisions: a perspective that feels right, lighting that matches across elements, effects that enhance without overwhelming.
Maria Semelevich’s tutorial spans all of these decisions, and the resource list makes the whole project approachable even for intermediate Photoshop users. If you’ve been wanting to try multi-element compositing, this is a genuinely rewarding project to sink an afternoon into.
The hardest part is getting started. Everything else is just Photoshop doing what it does best.