
Ever looked at a dark, murky underwater photo and thought, “This needs a giant green monster”? Well, you’re in the right place.
This tutorial walks you through building a full underwater photo manipulation in Photoshop. Think eerie green depths, unsuspecting swimmers, a lurking dragon-like creature, and that perfect split between above and below the surface. The result is genuinely dramatic — and more achievable than you might expect.
You’ll need Photoshop CS3 or newer. Intermediate users will feel right at home, but beginners can absolutely follow along and pick up some seriously useful techniques along the way.
What You’re Actually Building
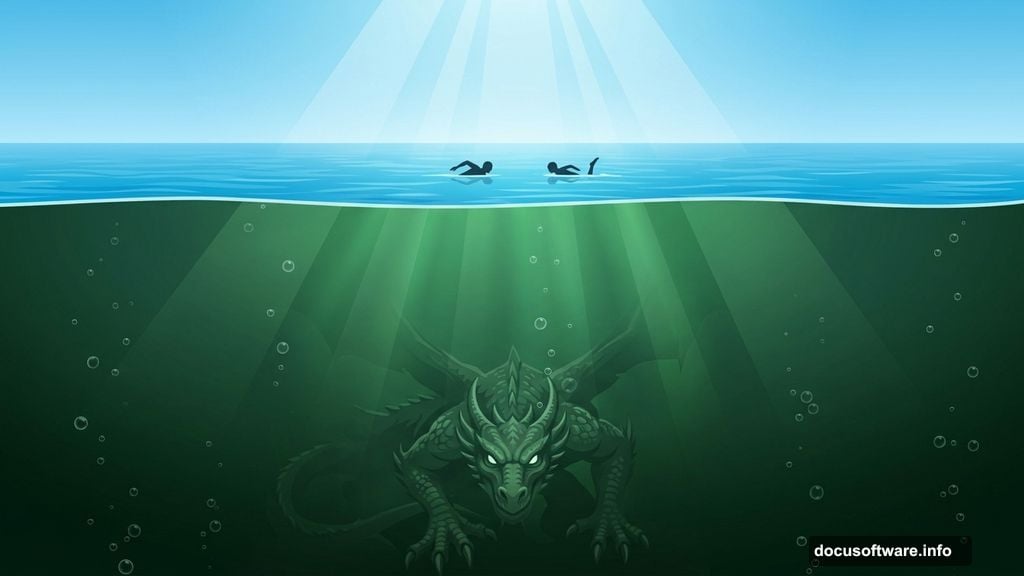
Before diving in, let’s talk about the final result. This is a classic above-water-meets-below-water composition. Swimmers drift near the surface, completely unaware of the massive green monster watching from the depths below.
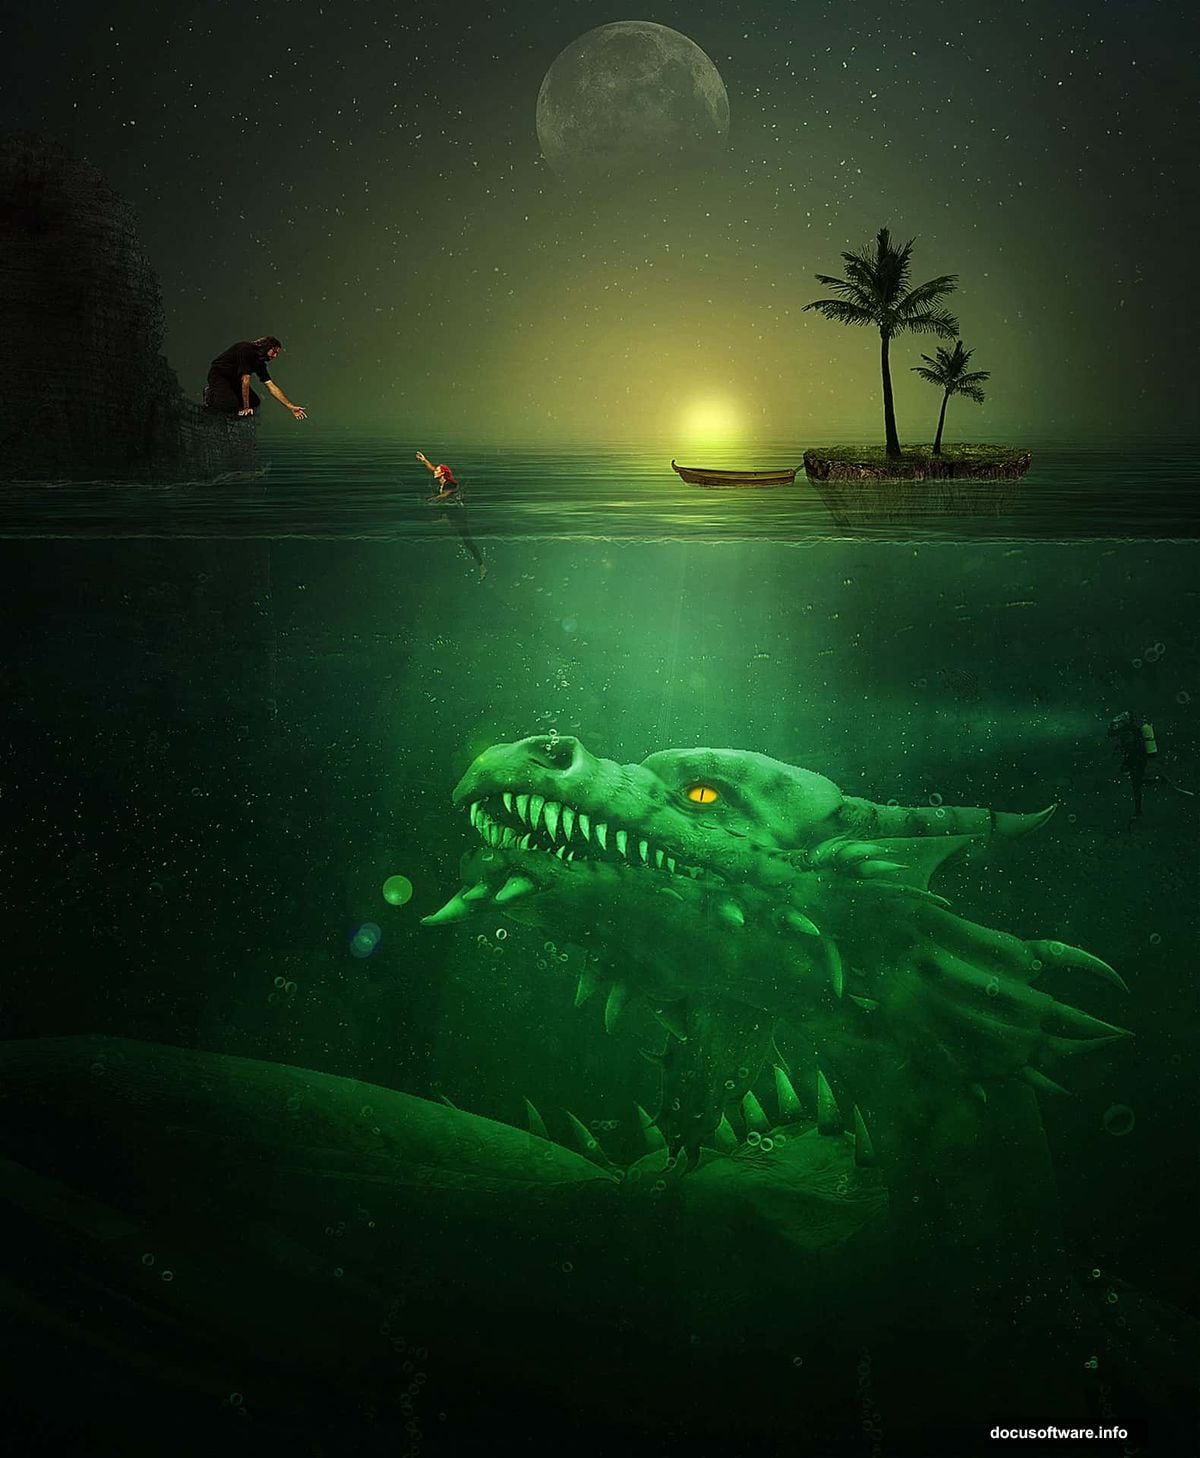
The deep green color grading does a lot of heavy lifting here. It makes the whole underwater section feel toxic and strange — which is exactly the vibe a mysterious sea creature deserves. It’s one of those small creative choices that ties everything together.
You’ll work with layers masks, adjustment layers, smart objects, and blending modes throughout. Each technique builds on the last, so even if some of these are new to you, the step-by-step approach keeps things manageable.
Resources You’ll Need First
Gather these before you start. Having everything ready saves a ton of back-and-forth later.
- Water Background (monika-es-stock)
- Moon (monika-es-stock and Pixabay)
- Fish (darkadathea)
- Dragon (elevit-stock)
- Bubble Brush (millertimemsu)
- Rock (whynotastock)
- Guy (ailinstock)
- Island (mindsqueeze)
- Palm (digitaltwist)
- Diver (zeds-stock)
- Boat (jinxmim)
- Girl (twilitesmuse)
- Hand (isostock)
- Light Brush (redheadstock)
Setting Up Your Document
Start fresh. Hit Ctrl+N to create a new document set to 1500×1823 pixels. Save it right away with Ctrl+S — pick a folder you’ll remember, because you’ll be saving regularly as you go.
Next, open your “Underwater” background file. Select all with Ctrl+A, copy with Ctrl+C, then paste it into your new document with Ctrl+V.
Here’s where smart objects come in. Right-click the pasted layer and choose “Convert To Smart Object” from the menu. Smart objects let you resize and transform layers without permanently degrading the image quality. It’s one of those habits worth building from the start. Make sure you convert every element you bring in from an external file.
Positioning the Background Layer
With your underwater layer selected, press Ctrl+T to enter Free Transform mode. Drag the layer into position so it fills the canvas the way you want it.
Hold Shift while dragging the corner handles to resize proportionally. This keeps your background from stretching in weird directions. Get the horizon line roughly in the middle of the canvas — that split between above and below water is the heart of the whole composition.
Adding That Dark, Mysterious Atmosphere
This step completely changes the mood. Go to Layer > New Adjustment Layer > Curves and dial in the settings to darken the scene significantly.
A Curves adjustment layer sits above your other layers and affects everything below it. Think of it like putting a color filter over the whole image. Pulling the curve downward reduces brightness across the board, which pushes your scene into moody, deep-water territory fast.
Don’t flatten anything here. Keeping this as an adjustment layer means you can go back and tweak it anytime without touching the original background image.
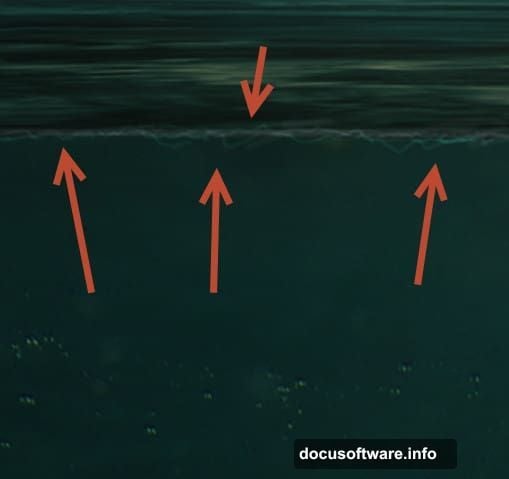
Painting the Water Surface Line
This detail is subtle but makes a big difference. Create a new empty layer and change its blending mode to Overlay in the layers panel.
Grab your standard round soft brush. Drop the size down to about 3px and set Opacity to 10%. Now paint some loose, squiggly horizontal lines right along where the water surface meets the underwater section. Keep your strokes light and natural — you’re mimicking the way light distorts at the water line.
If the effect feels too faint, add a second layer. This time set the blending mode to Color Dodge instead and paint the same lines again. Color Dodge brightens the areas underneath the brush strokes, which gives the water surface that subtle glow you’d see in real underwater photography.
Placing the Moon
Open your Moon file and grab the Elliptical Marquee Tool to draw a selection around the moon itself. Press Q to jump into Quick Mask mode — this gives you a visual way to refine your selection.
While in Quick Mask mode, paint with black over the lower portion of the moon. This removes that part from your selection, so you get a clean edge that blends naturally rather than a hard circle. Press Q again to exit Quick Mask and see your updated selection.
Copy the moon (Ctrl+C) and paste it into your scene. Position it in the upper portion of the composition where the sky sits. Change the blending mode to Linear Dodge and drop the Fill down to 33%.
Linear Dodge brightens the layers beneath it wherever the moon sits, creating a soft, glowing effect rather than a harsh pasted-in look. Lowering the Fill (not the Opacity — they behave differently) keeps the effect present but not overdone.

Keep Building From Here
You’ve now got the foundation in place — a dark, atmospheric underwater background, a moody curves adjustment, a realistic water line, and a glowing moon. The scene already has character.
From this point, the process continues layer by layer. The dragon creature comes in with careful masking to blend naturally into the depths. Swimmers, the diver, the boat, and other elements each get added with their own adjustments to match the green underwater color palette. Bubble brushes and light effects pull the whole thing together.
Each element follows the same core workflow: paste as a smart object, transform and position it, then adjust blending modes and add masks to integrate it with the scene. Once you’ve done it two or three times, it starts to feel genuinely fluid.
Photo manipulation at this level is mostly about patience and observation. Look at how light actually behaves underwater. Notice where things should be brighter, darker, or slightly blurred. The more you study the reference, the more convincing your final scene becomes. And when that green monster finally emerges from the depths looking genuinely threatening, it’s absolutely worth the effort.