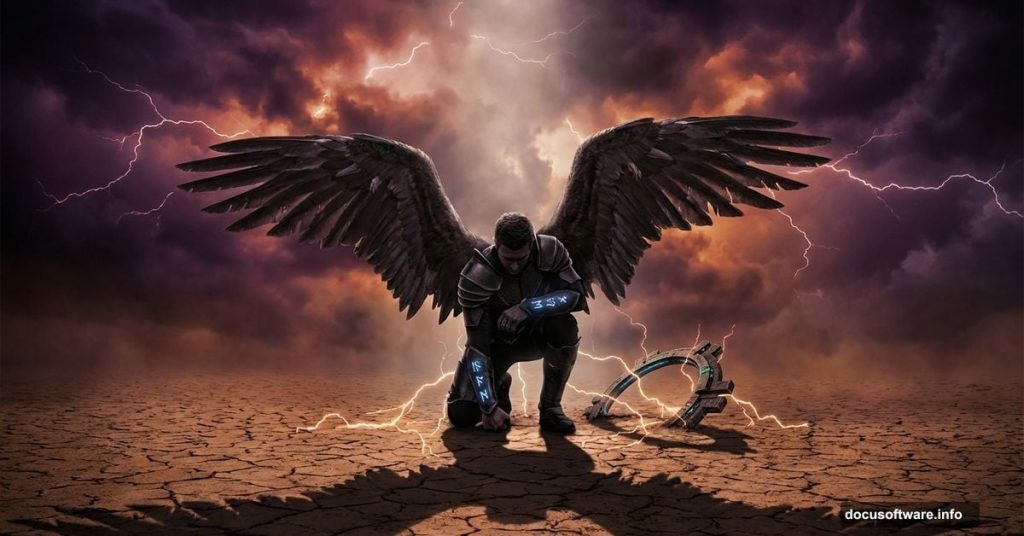
Few digital art projects feel as satisfying as a well-crafted photo manipulation. Combining a desolate desert, a stormy sky, and angelic wings into one cohesive, moody composition sounds complex. But with the right approach, it comes together step by step. This tutorial walks you through building an intense fallen angel scene from scratch, covering masking, blending, color correction, and atmospheric lighting along the way.
Here’s what you’ll need before diving in: a model photo, a desert landscape stock image, a dramatic sky photo, a pair of wings, and a pagan symbol for extra detail. All the core techniques you’ll pick up here apply far beyond this single project, so consider this a solid foundation for future photo manipulation work.
Setting Up Your Canvas and Desert Base
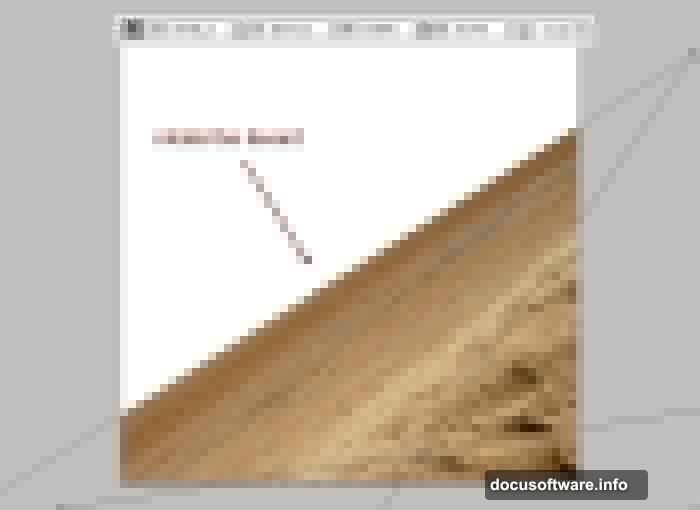
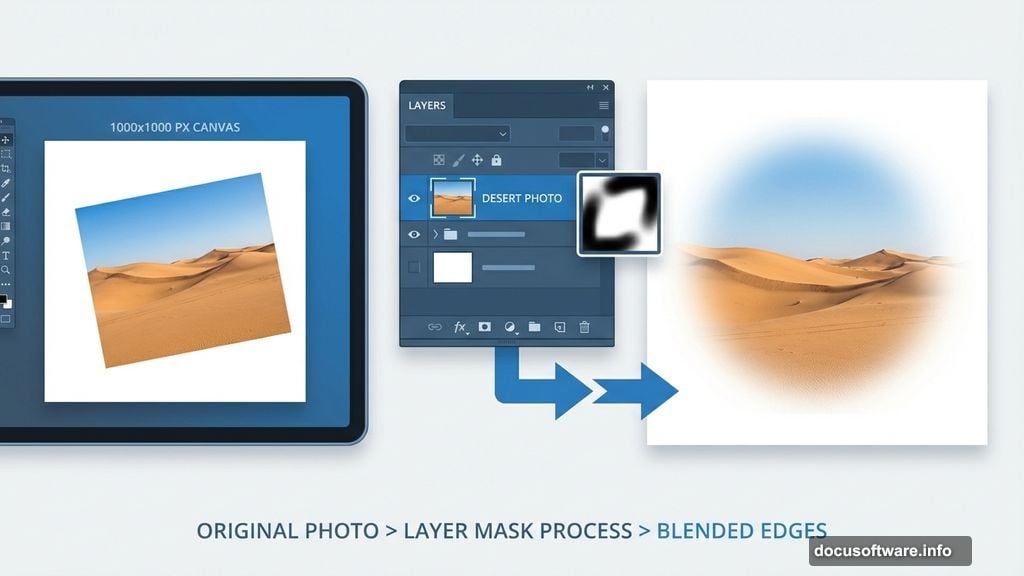
Start by creating a new document at 1000×1000 pixels and filling it with white. Open your desert stock image, then grab the Rectangular Marquee Tool to select just the ground portion. Use the Move Tool (V) to drag that selection onto your canvas.
Now here’s a small detail that makes a big visual difference. When you resize and position the desert using Cmd/Ctrl+T, tilt it at a slight angle. That lean creates extra visual tension and pulls the viewer into the scene more effectively than a flat horizon ever could.

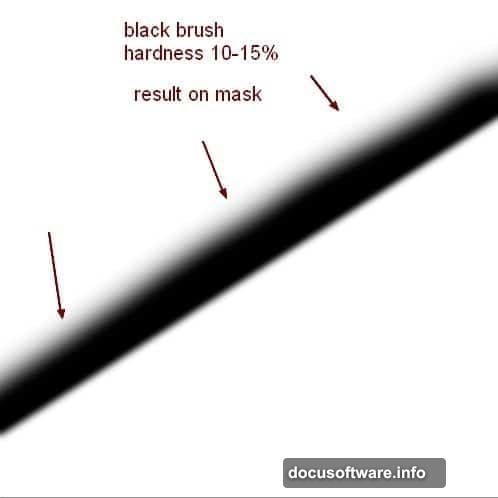
Next, add a layer mask to the desert layer by clicking the second button at the bottom of the Layer panel. Grab a soft black brush set to about 10-15% hardness and gently paint over the hard edges of the desert. The goal is a feathered, natural-looking blend rather than a sharp cutout. Take your time here. A smooth edge at this stage saves a lot of cleanup work later.
Adding Depth with Blur and the Clone Tool
With your desert blended in, it’s time to push it back in space a little. Go to Filter > Blur > Gaussian Blur and apply a 2-pixel radius. This subtle blur suggests distance and adds a sense of atmosphere.
The trick, though, is to blur selectively. On the Smart Filter mask, use a soft black brush to reveal sharpness in the areas you want to stay crisp. Keeping the background soft while maintaining detail in the foreground gives the scene genuine depth.
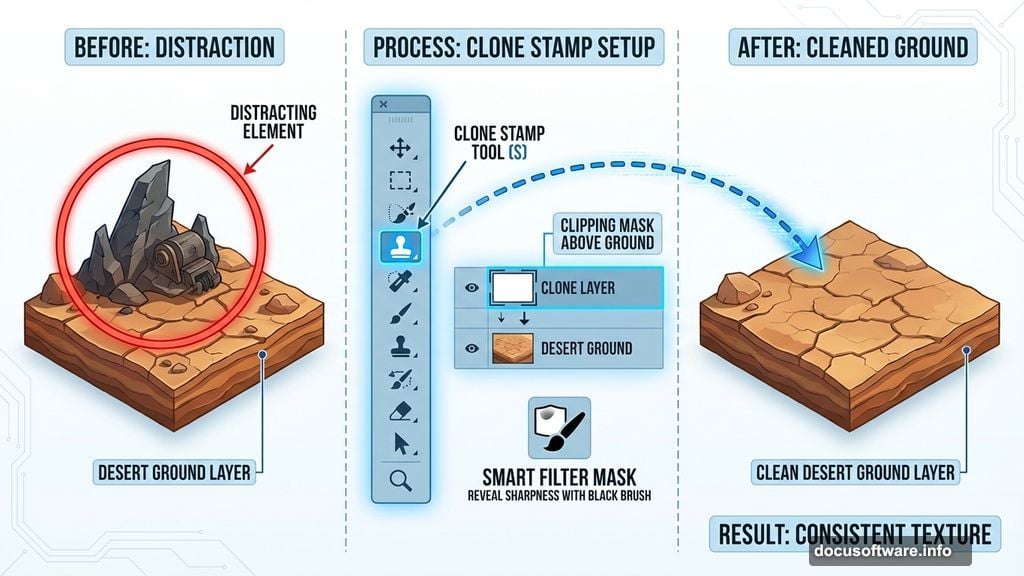
You might notice a distracting element somewhere on the ground that breaks the mood. Hit Cmd/Ctrl+Shift+N to create a new layer above the desert, set it as a Clipping Mask, and activate the Clone Stamp Tool (S). Clone over any problem areas until the ground looks clean and consistent.
Shaping the Light and Color of Your Ground
This is where the mood really starts to take shape. Add a Curves adjustment layer above your clone layer and use it to darken the desert overall. Then, on the Curves layer mask, paint back with a soft black brush at low opacity, around 10-15% in some spots and 40-45% in others, to ease off the darkening near the top of the ground. You want the edges to feel shadowy without crushing the whole surface into mud.
Follow that up with a Hue/Saturation adjustment layer set as a Clipping Mask. Pull the saturation down noticeably. Desaturated landscapes feel more ominous, and that’s exactly the tone this composition needs.
Finally, add a Color Balance adjustment layer to shift the desert toward your target palette. Cooler, more muted tones work beautifully for a fallen angel theme, but follow your instincts here. The color grading is where your personal vision comes through most clearly.
Bringing in the Sky
Open your sky stock image and drag it into the composition, placing it at the top. Rotate and transform it until it feels right to you. Crucially, position this layer underneath the desert layer in your stack. That way, the sky fills the upper portion of the canvas without fighting with the ground you’ve already built.
To match the sky’s tone to your desert, add a Curves adjustment layer with a Clipping Mask. Darken the sky selectively using a black brush at varied opacities, around 15-20% for gentle transitions and up to 100% where you want deep shadow. Leave some lighter areas intact so the sky still feels like it has dimension.
Bringing It All Together
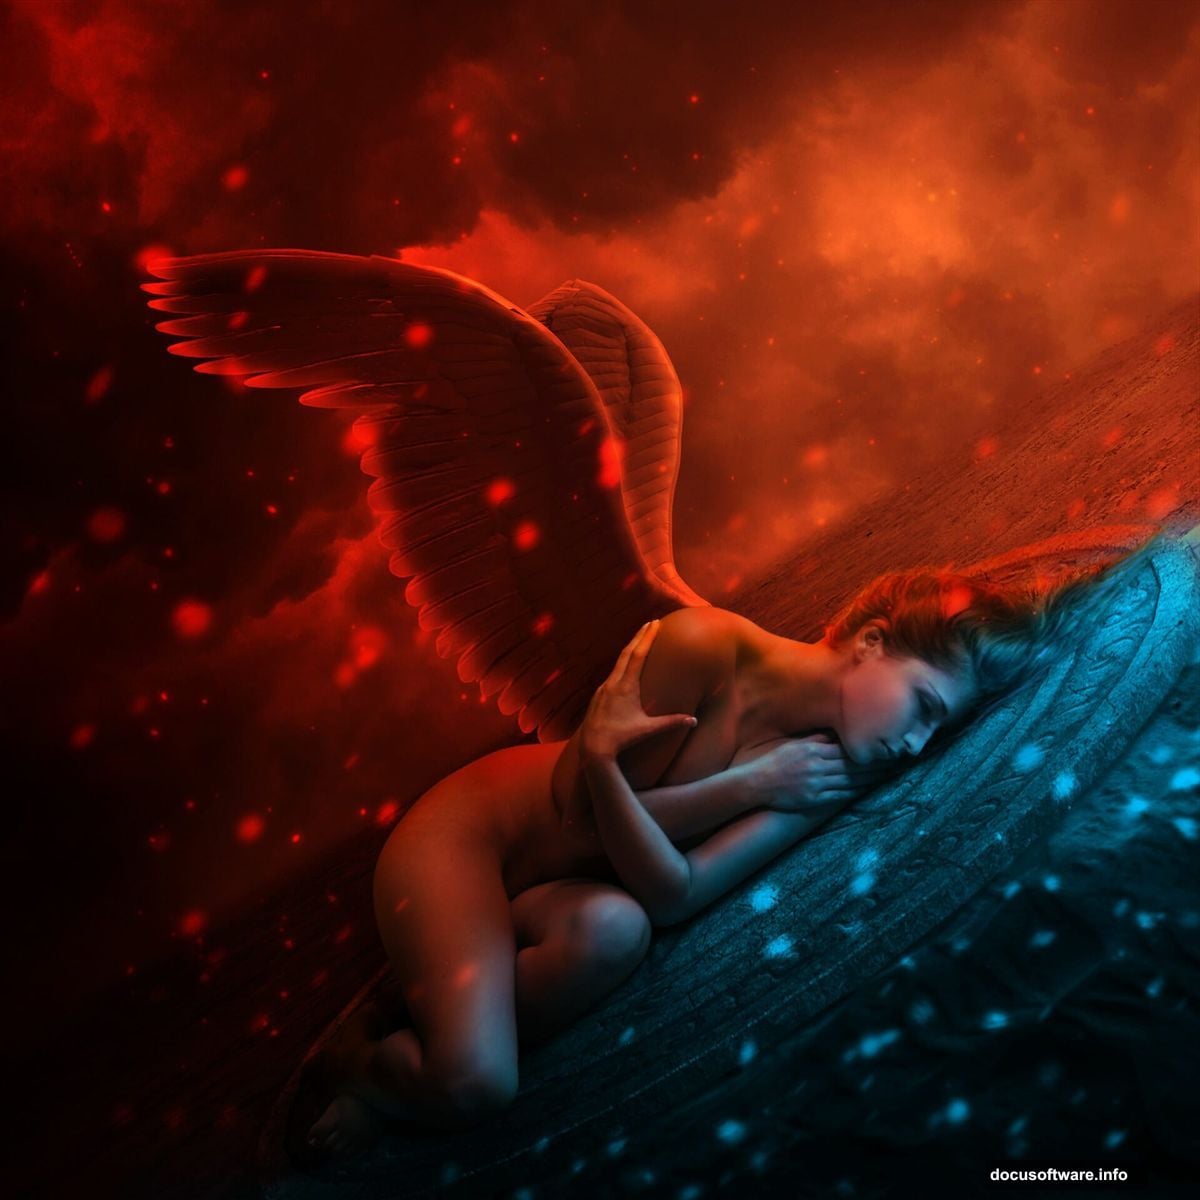
From here, the process continues with adding your model, wings, and pagan symbol, each requiring careful masking, color matching, and lighting work to sit convincingly in the scene. The core principles stay the same throughout: blend edges softly, match your tones through adjustment layers, and use light directionally to guide the eye toward your subject.
Photo manipulation rewards patience more than raw skill. Every small adjustment you make to color, contrast, and edge quality adds up to something that feels complete and intentional rather than pasted together. Take breaks, step back from the screen, and come back with fresh eyes. You’ll catch things you’d otherwise miss.
The fallen angel concept gives you creative freedom that few other themes match. Dark, dramatic, and visually rich, it’s the kind of project that pushes your Photoshop skills in every direction at once. Stick with it, and you’ll come away with both a striking piece of artwork and a much stronger grasp of photo manipulation fundamentals.