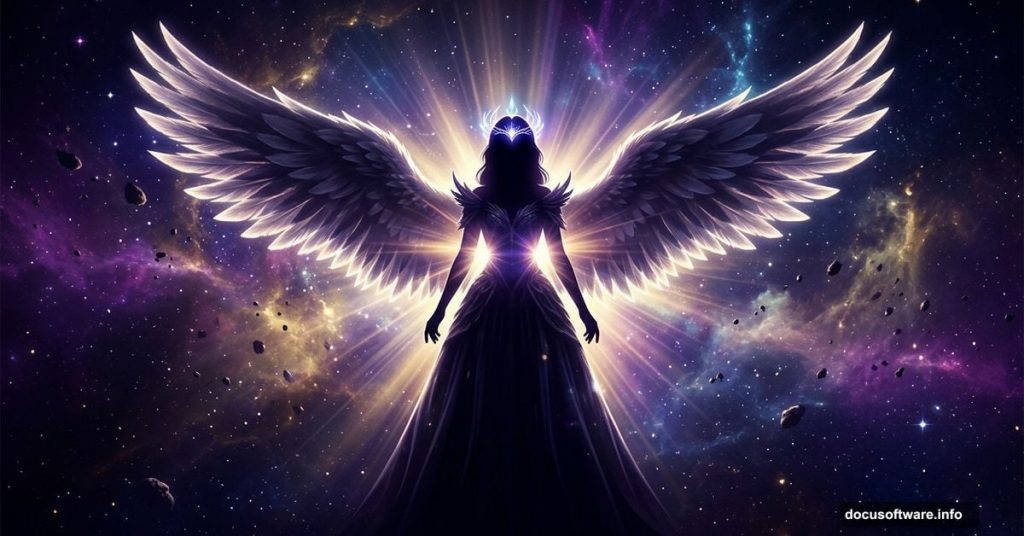
Creating a fantasy portrait from scratch sounds intimidating. But with the right steps, it’s actually a satisfying process that breaks down into manageable pieces.
This tutorial walks you through building a full fantasy woman photo manipulation in Adobe Photoshop. You’ll retouch a model, construct a wing dress, craft a headpiece, and layer cosmic elements like nebulas, asteroids, and glowing light effects. Plus, you’ll finish everything off with adjustment layers that pull the whole dreamy scene together.
Here’s what you’ll need before diving in: a background image, a model photo, wing and 3D objects, dragon armor assets, four nebula images, a light texture, and an asteroid belt image.
Setting Up Your Canvas and Background
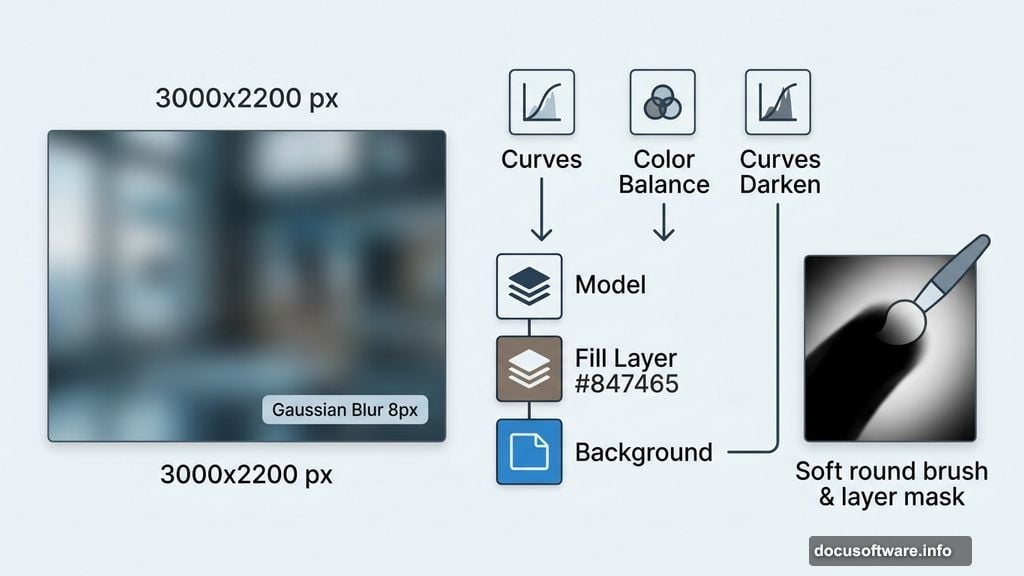
Start by creating a new document. Set it to 3000 x 2200 px and fill it with white.
Open your background image and drag it onto the canvas using the Move Tool (V). Convert the layer to a Smart Object first. Then use Free Transform (Ctrl+T) to scale it up until it covers the full document.
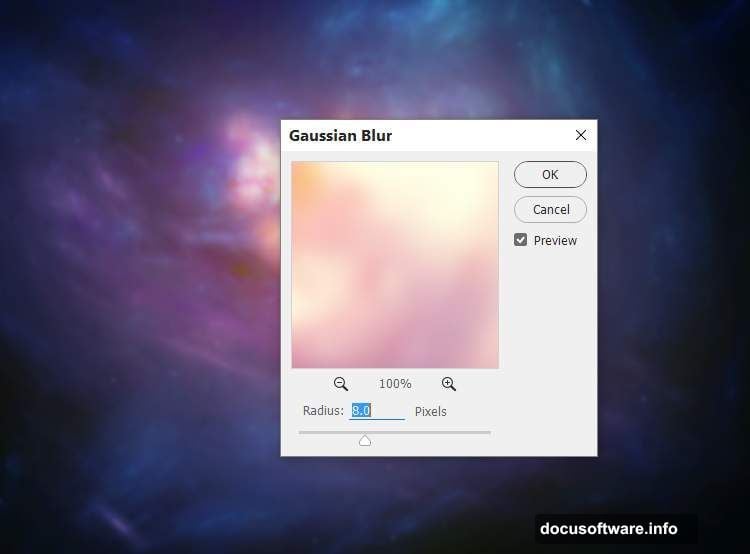
Next, add a touch of blur. Go to Filter > Blur > Gaussian Blur and set the radius to 8 px. This softens the background just enough to push it behind your subject visually.
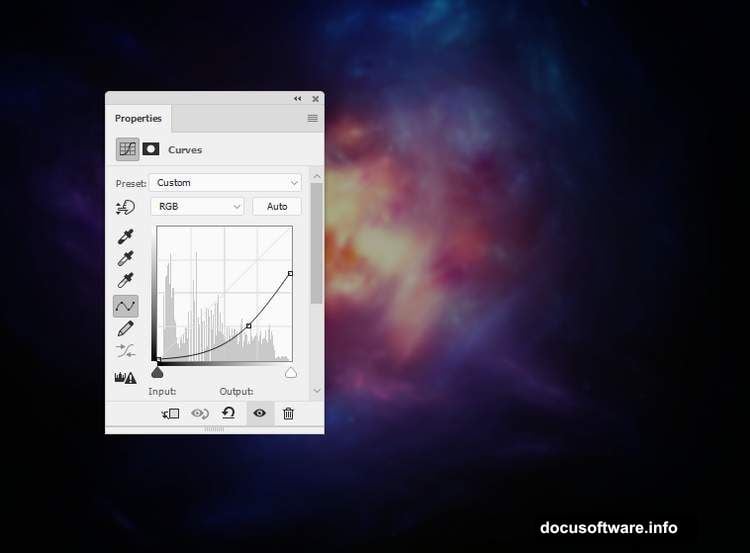
Adjusting Background Light and Color
Now comes the mood-setting part. Create a Curves adjustment layer and set it as a Clipping Mask on your background.
Increase the lightness. Then, on the layer mask, grab a soft round brush in black and paint over the middle and lower-left areas. This pulls back some of the brightness in those spots so the light feels more natural and directional.
Add a Color Balance adjustment layer (also as a Clipping Mask) and tweak the Midtones settings to shift the color temperature toward your fantasy palette.
Then add another Curves layer to darken the overall background. On that mask, use a soft black brush to paint over the center of the scene. This keeps the dark effect visible in the corners and lower-right area, framing the composition nicely.
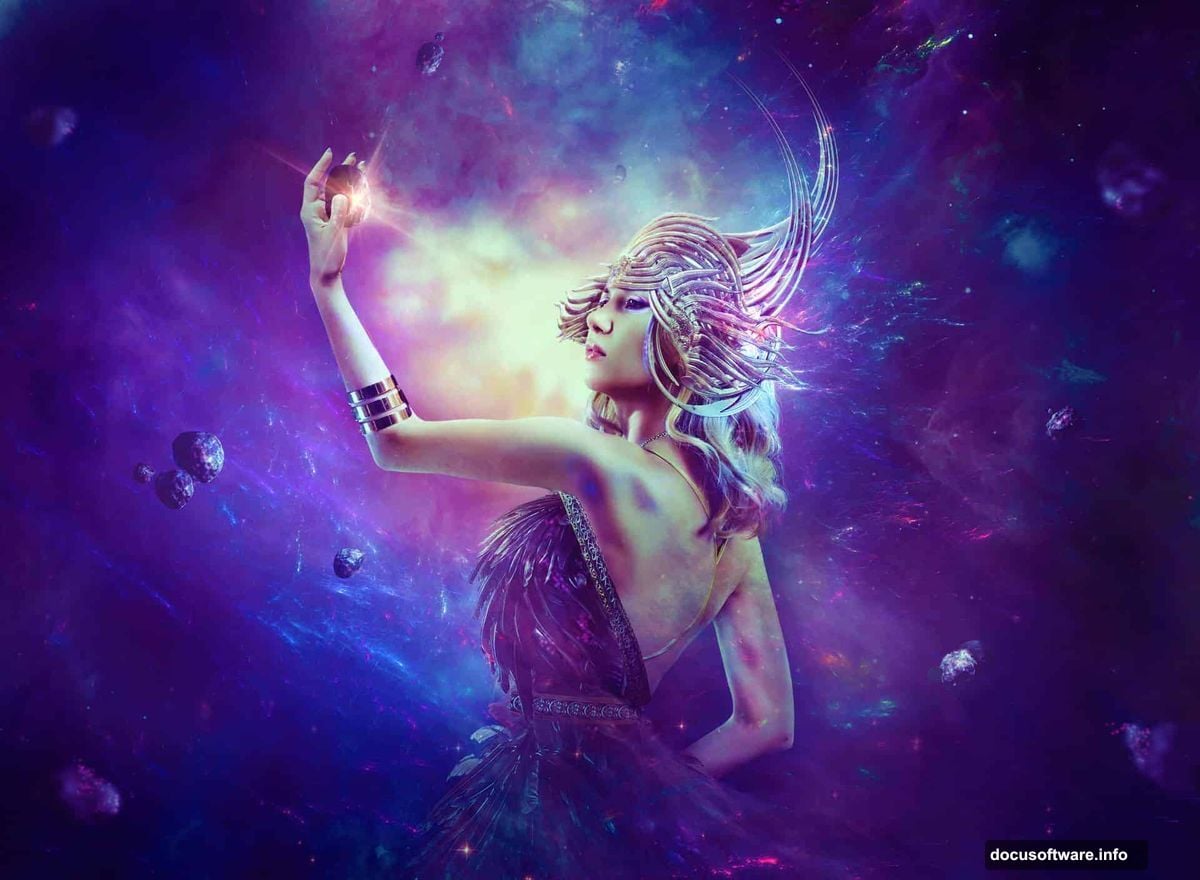
Placing and Posing the Model
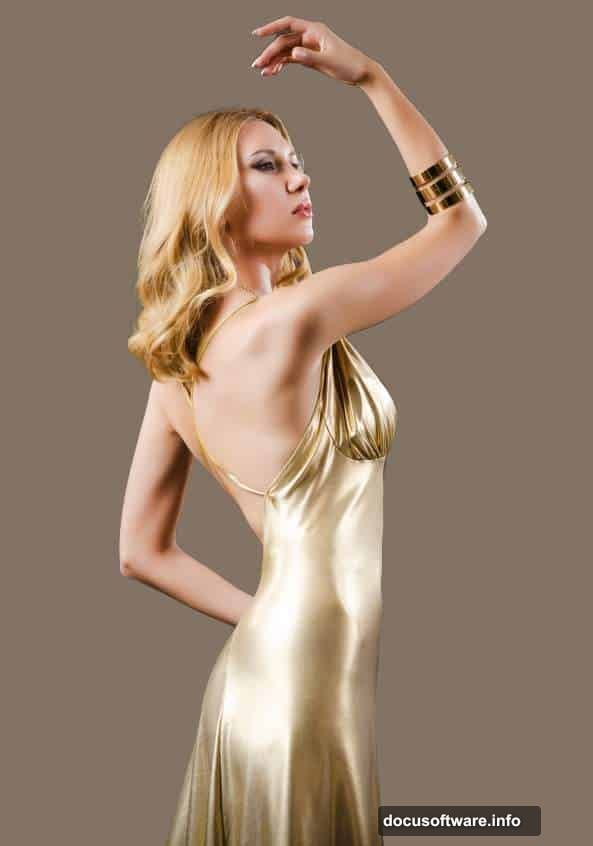
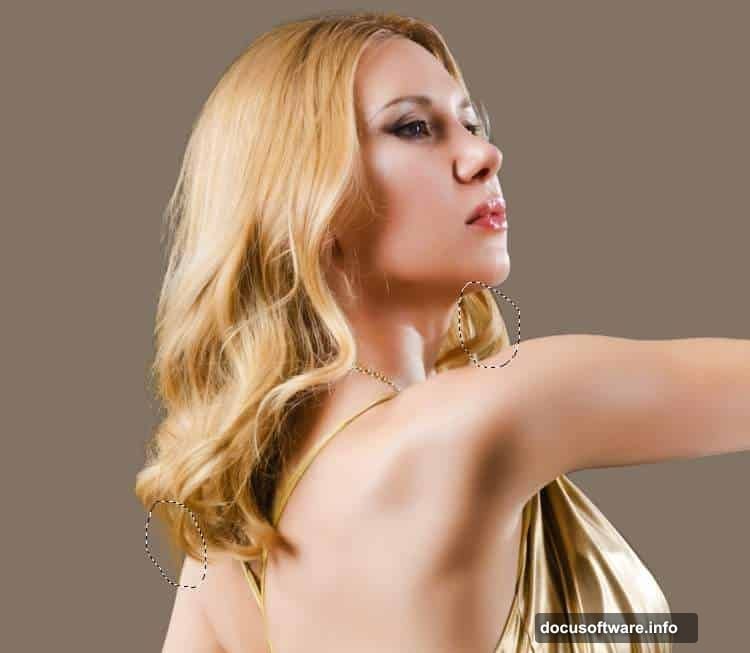
Open your model image and carefully isolate her from the background. Press Ctrl+J to copy her onto a new layer.
Back in your main document, create a fill layer between the background and the model. A warm mid-tone color like #847465 works well here. It bridges the model and background so edges don’t look harsh.
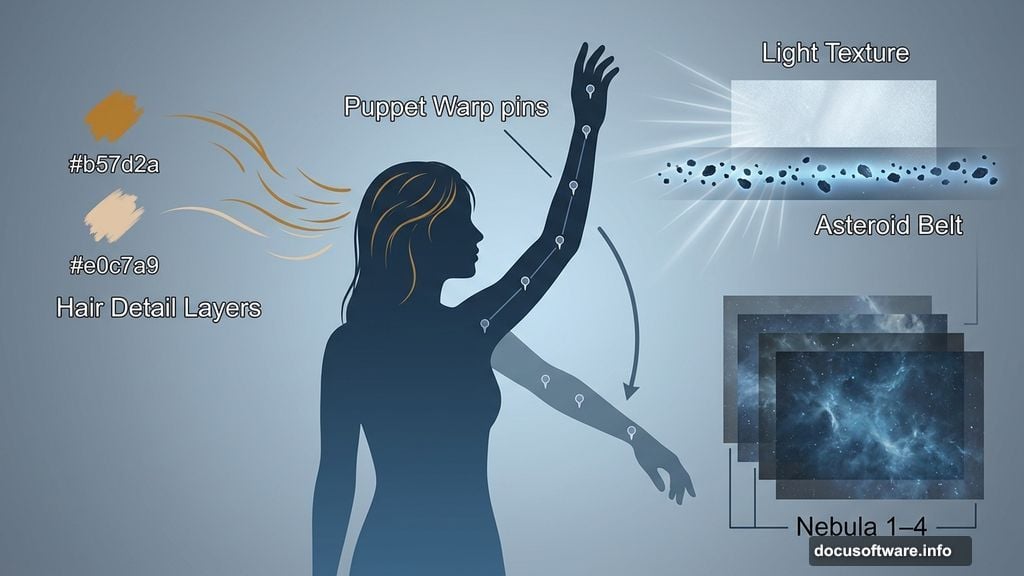
Here’s where it gets interesting. Go to Edit > Puppet Warp and add pins to adjust the model’s raised arm. Bring it down to a lower position so it aligns naturally with the direction she’s looking. Puppet Warp gives you that subtle pose tweak without needing a reshoot.
Painting Extra Hair Detail
Create two new layers above the model. Using a small brush, paint additional hair strands using colors #b57d2a and #e0c7a9. These warm tones blend with the model’s existing hair and add volume and flow that photographs often lack.
Take your time here. Short, curved strokes following the natural direction of hair movement look far more convincing than long sweeping lines.
Merging and Placing the Model in the Scene
Hide both the background and fill layer temporarily. Then press Ctrl+Shift+Alt+E to flatten everything visible into a single merged layer.
Move this merged model layer into your main canvas. Flip her horizontally using Edit > Transform > Flip Horizontal. Then position her in the center of the scene. This flip often improves compositional balance, especially when the background has strong directional elements.
Building the Wing Dress
This is the most theatrical part of the whole piece. Import your wing and 3D object assets and begin layering them around the model’s figure.
Work with Smart Objects so you can scale and transform without quality loss. Position the wing elements to flow naturally from the model’s shoulders and back. Use layer masks to blend edges so the wings feel like they belong to her rather than sitting on top.
Add your dragon armor pieces as additional layers. Transform and warp them to follow the curves of the model’s body. Blend modes like Multiply or Overlay can help these textures integrate with the model’s clothing and skin tones.
Creating the Headpiece
The headpiece follows a similar layering approach. Use your 3D object assets and position them carefully around the model’s head.
Warp the pieces to follow the shape of her skull and hair. Add layer masks and paint away any hard edges that break the illusion. A soft brush at low opacity works best for gradual, believable blending.
Adding Nebulas and Cosmic Atmosphere
Now the fantasy really takes shape. Import all four nebula images into your composition.
Set their blend modes to Screen or Lighten. These modes drop the dark areas of the nebula images while keeping the colorful, luminous parts visible. Position them around the edges and behind the model to create a sense of depth and cosmic drama.
Scale each nebula differently. Varying sizes prevent the effect from looking repetitive and add visual complexity to the background.
Importing Asteroids and the Asteroid Belt
Bring in your asteroid belt image and position it across the scene. Screen or Lighten blend mode works here too.
Add individual asteroid elements at different scales throughout the composition. Some should appear close and detailed. Others should sit further back, smaller and softer. This depth layering makes the space environment feel genuinely three-dimensional.
Building Light Effects and Glowing Dots
Import your light texture and position it near the model, perhaps radiating from behind her or from the direction of her gaze.
Use Screen blend mode and adjust opacity until the glow feels subtle but present. Then create new layers and use a small soft brush with white or pale gold to paint individual light dots and sparkles across the scene. These tiny details catch the eye and reinforce the magical atmosphere.
Fine-Tuning with Adjustment Layers
With all elements in place, it’s time to unify everything. Add a series of adjustment layers at the top of your layer stack.
A Curves layer can push contrast and shift color channels toward a cooler or warmer fantasy tone. A Color Balance layer helps match the model’s color temperature to the background. A Photo Filter adjustment can add a consistent color cast that ties all elements together.
Finally, add a Vibrance adjustment layer. Boost the vibrance slightly rather than saturation. Vibrance protects skin tones while intensifying other colors, which keeps the model looking natural inside a highly saturated fantasy environment.
Final Retouching Passes
Do one final retouch pass on the model. Check edges around the hair and shoulders where the cut-out meets the background. Soften anything that looks sharp or artificial.
Also check the wing and armor edges. Any areas that look pasted-on benefit from a low-opacity eraser or layer mask refinement. Step back and look at the full composition. Strong pieces always have a clear focal point, and here that focal point should be the model’s face and upper body, with all the cosmic elements supporting rather than competing.
When everything reads as one cohesive image rather than a collection of layers, you’re done.
Fantasy photo manipulation rewards patience. Each element builds on the last, and the final result really does feel like something that couldn’t exist in the real world. That’s exactly the point.