Blending modes are seriously underrated. Most Photoshop beginners skip right past them, not realizing they can create jaw-dropping effects without spending hours on complicated selections.
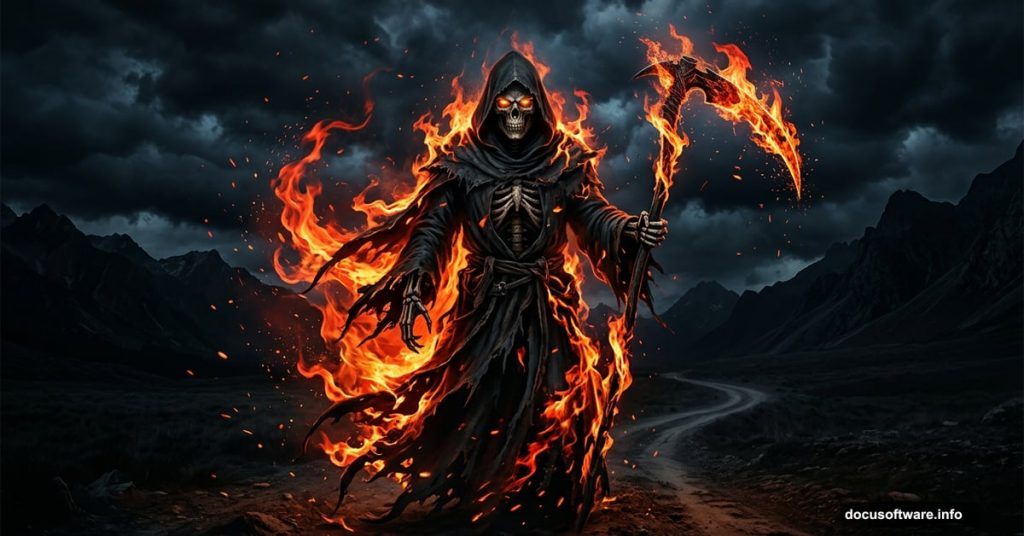
This tutorial walks you through building an intense, atmospheric Grim Reaper fire manipulation from scratch. The best part? It’s beginner-friendly. Even if you’ve only opened Photoshop a handful of times, you can pull this off.
Here’s what makes this technique so satisfying. By the end, you’ll have a finished piece where nobody can recognize the original stock images. That transformation is what makes photo manipulation so much fun.
What You Need Before Starting
You’ll need Photoshop CS4 or newer to follow along. Older versions won’t support all the techniques covered here.
Gather these stock resources before you begin:
- Road photo by monika-es-stock
- Texture from freeimages.com
- Fire images from tortured-raven-stack and smile-umbrella
- Effects by Tamilia
- Lightning brushes by elestrial and frostbo
- Smoke brush by falln-stock
- Glitter by acheronnights
- Moon brush by Ischarm
- Birds by redheadstock
- Cross by loftystocks
- House by mysticmorning
- Fire brush by redheadstock
- Skeleton images by markopolio-stock
- Dead tree by gd08
- Optical flare by darkooz
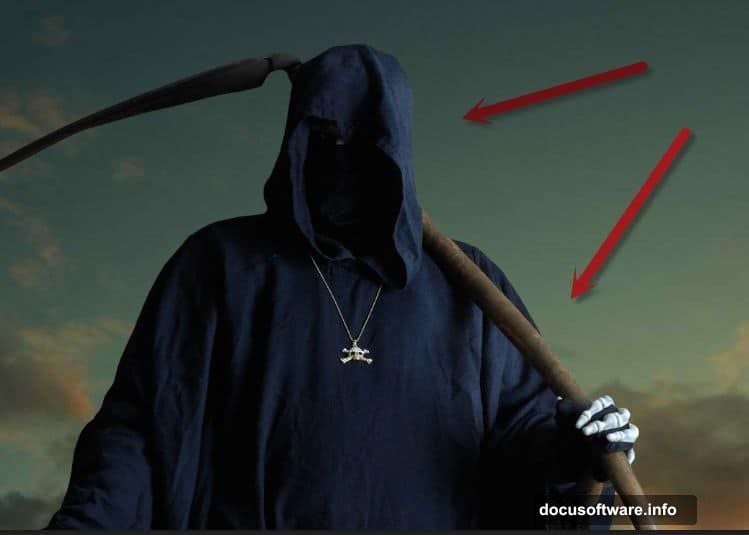
- Death figure by mjranum-stock
Having everything downloaded first saves a lot of frustration mid-tutorial.
Setting Up Your Road Background
Open the Road file. Press Ctrl + A to select everything, then Ctrl + C to copy. Jump back to your main document and press Ctrl + V to paste it in.

Now use Free Transform (Ctrl + T) to position and scale the road so it fills the canvas nicely. Think of this as laying your foundation. Everything else builds on top of this base image.
Bringing in the Death Figure
Open the Death file. Your goal here is isolating the figure from its background. Use either the Quick Selection Tool or the Pen Tool, whichever feels more comfortable. Once selected, press Ctrl + J to float it onto a new layer.
Then select all, copy, and paste it into your main document.
Here’s a step most beginners skip that saves enormous headaches later. Right-click the pasted layer and choose Convert to Smart Object. This lets you resize the figure as many times as you want without losing image quality. Trust me, you’ll thank yourself later when you need to adjust the placement.
Use Free Transform to scale and position the Death figure into the scene.
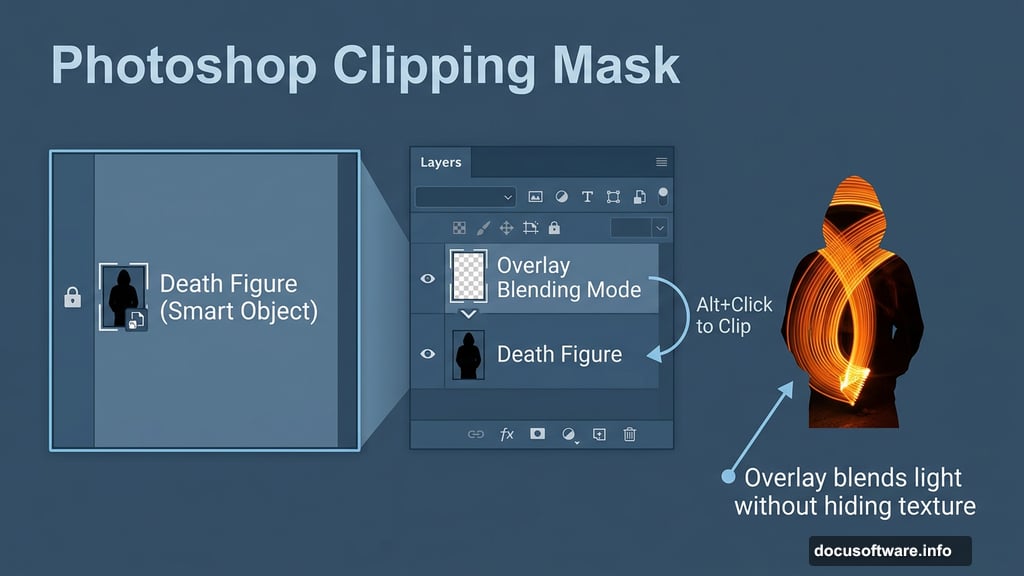
Adding Light with Overlay Blending Mode
This is where blending modes start doing the heavy lifting. Create a new layer and clip it to the Death figure layer by holding Alt and clicking between the two layers in the panel.
Clipping is powerful. It means whatever you paint on the upper layer only shows through the pixels of the layer below. So your brushwork stays perfectly contained to the figure.
Change the blending mode of this new layer to Overlay. Grab a soft white brush and paint light coming from the right side of the scene onto the Death figure. The Overlay mode makes this feel natural and integrated rather than painted on.
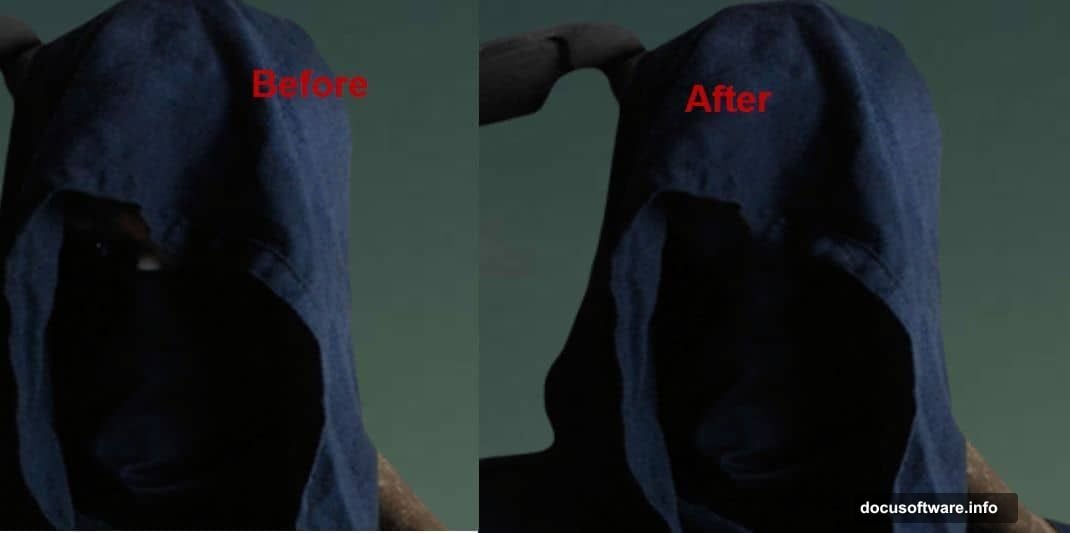
Cleaning Up the Face
Create another new layer. Switch to the Clone Stamp Tool. Use it to remove any stray white pixels lingering on the Death figure’s face.
This step is quick but important. Small cleanup details separate good manipulations from great ones. A few careful strokes here make the figure look properly extracted and believable within the scene.
Applying the Texture Layer
Open the Texture file. Select all, copy, and paste it into your document. Convert it to a Smart Object, then use Free Transform to position it across the scene.
Next, add a layer mask by going to Layer > Layer Mask > Reveal All. Press D to set your foreground color to black. Click the mask thumbnail, then press Ctrl + Backspace to fill it entirely with black. This hides the whole texture.
Now grab a soft white brush at 100% Opacity. Paint over the scythe wood area to reveal the texture only where you want it. This targeted reveal approach gives you complete control over where the texture appears, without affecting other parts of your composition.
This is the blending mode and masking philosophy that runs throughout the whole tutorial. Rather than fighting with complex selections, you paint and reveal. It’s faster, more intuitive, and produces cleaner results.
Why This Approach Works So Well
Photo manipulation can feel overwhelming when you think about it as one giant task. But breaking it into these focused steps makes everything manageable.
Each technique here serves a specific purpose. Smart Objects protect your image quality. Clipping masks keep paint contained. Layer masks give you non-destructive control. Overlay blending creates realistic light without complicated compositing math.
Once you understand why each step works, you stop following instructions mechanically and start making creative decisions of your own. That’s when photo manipulation gets genuinely exciting.
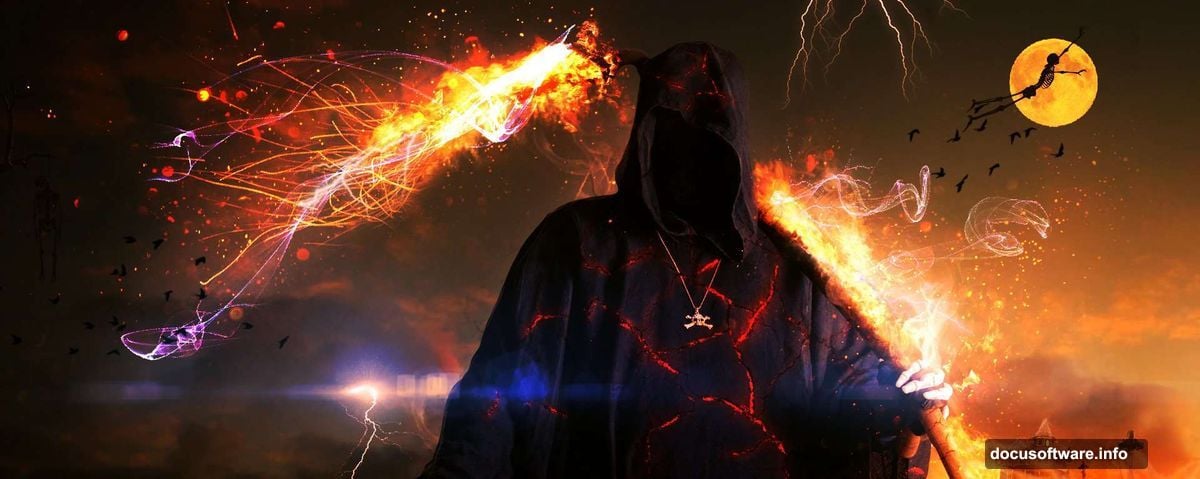
The rest of the tutorial continues building the scene with fire, smoke, lightning brushes, atmospheric elements, and optical flares. But the core workflow you’ve learned in these opening steps carries through everything that follows. Keep experimenting, and don’t be afraid to push your blending mode settings further than the tutorial suggests. Some of the best results come from happy accidents.