Let’s be honest. There’s something deeply compelling about placing a human diver right next to a massive shark in the same frame. The tension, the scale, the drama — it all works beautifully as a photo manipulation project.
And as the original tutorial puts it so perfectly: if you’re swimming in the ocean and a shark bites you, that might just be trespassing on your part. Fair enough, shark.
In this walkthrough, you’ll learn how to build a surreal underwater scene completely from scratch. You’ll layer multiple underwater photos, drop in a coral reef, position your shark and diver, and finish the whole thing with color grading and Camera Raw adjustments. The result looks genuinely cinematic.
Here’s what you’ll need before starting:
- Bermuda Underwater photo
- Underwater1 photo
- Coral Reef image
- Bubbles image
- Diver photo (available on Pixabay with a free account)
- Shark photo
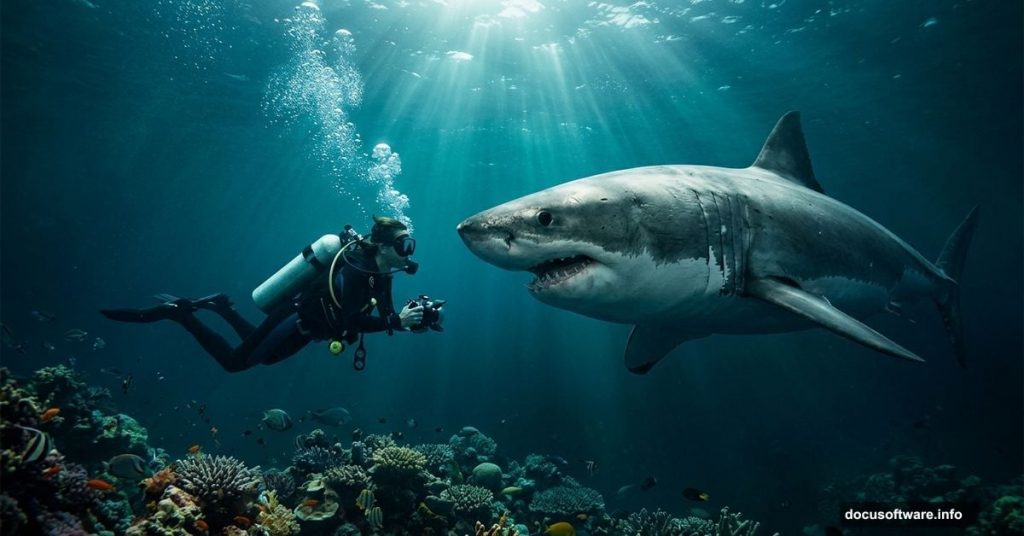
![A dramatic Photoshop photo manipulation showing a scuba diver swimming close to a great white shark in a vivid underwater scene]
Build Your Canvas First
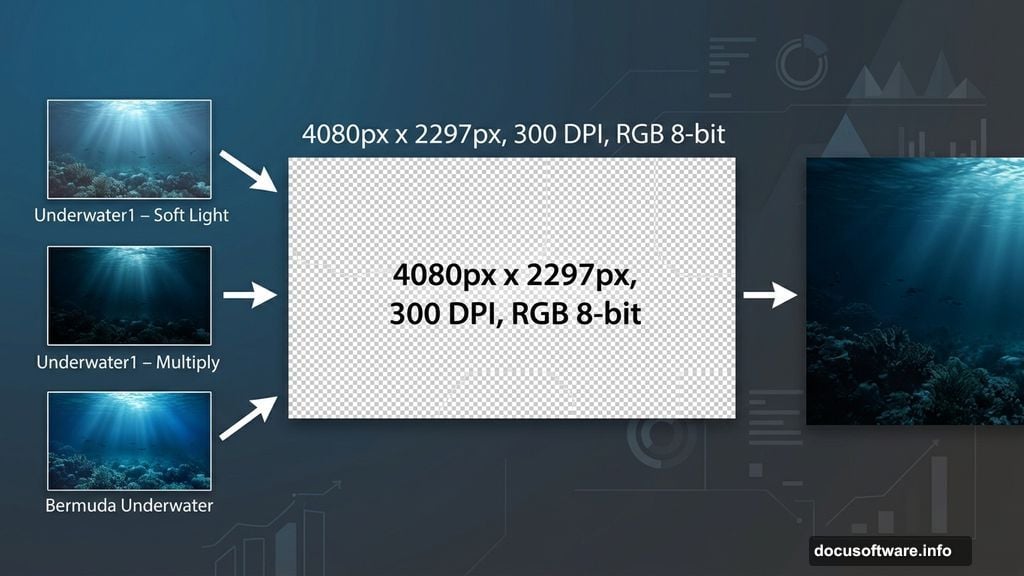
Start fresh. Go to File > New and set up your document with these exact values:
- Preset: Custom
- Width: 4080px
- Height: 2297px
- Resolution: 300px
- Color Mode: RGB Color, 8-bit
- Background Contents: Transparent
This gives you a large, high-resolution canvas. That matters if you ever want to print or export this at full quality.
Layer Your Underwater Background
The background isn’t just one photo. It’s three separate images stacked with different blend modes. That layering is what creates the rich, deep underwater atmosphere.
Step 1 — The Base Layer
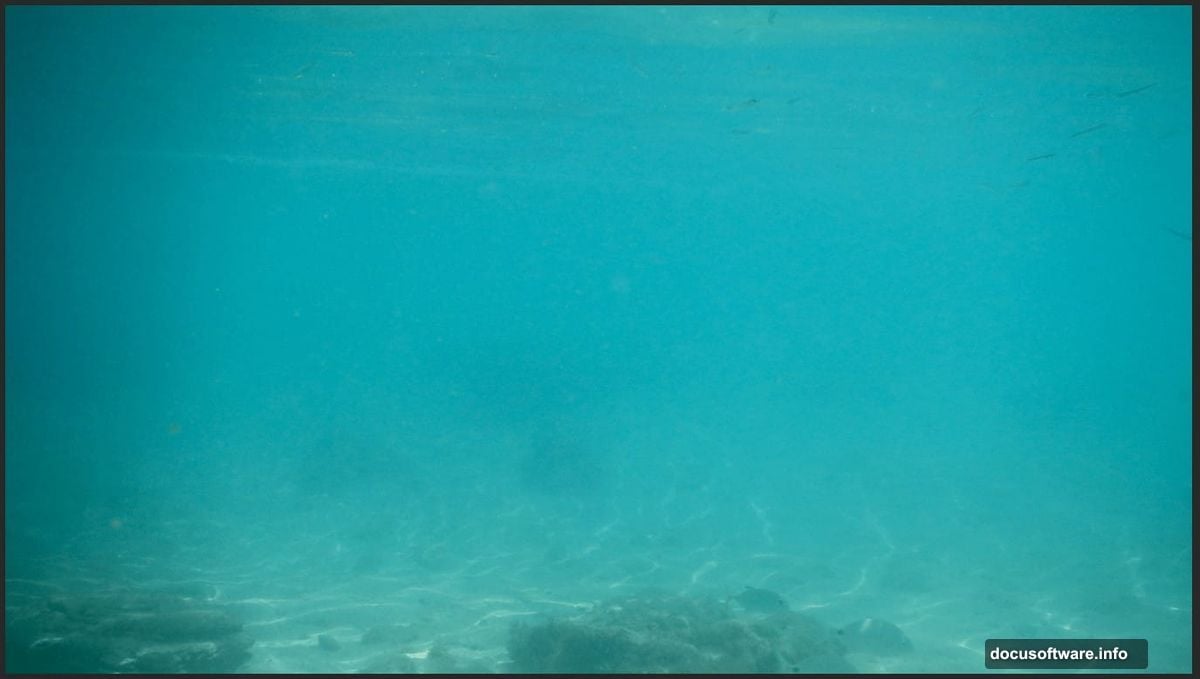
Go to File > Place and select your Bermuda underwater photo. Drop it onto the canvas and use the Transform tool (Ctrl/Cmd + T) to position it. Hold Alt + Shift to resize proportionally. If you’re on Photoshop CC, just hold Alt and it resizes all sides together automatically.
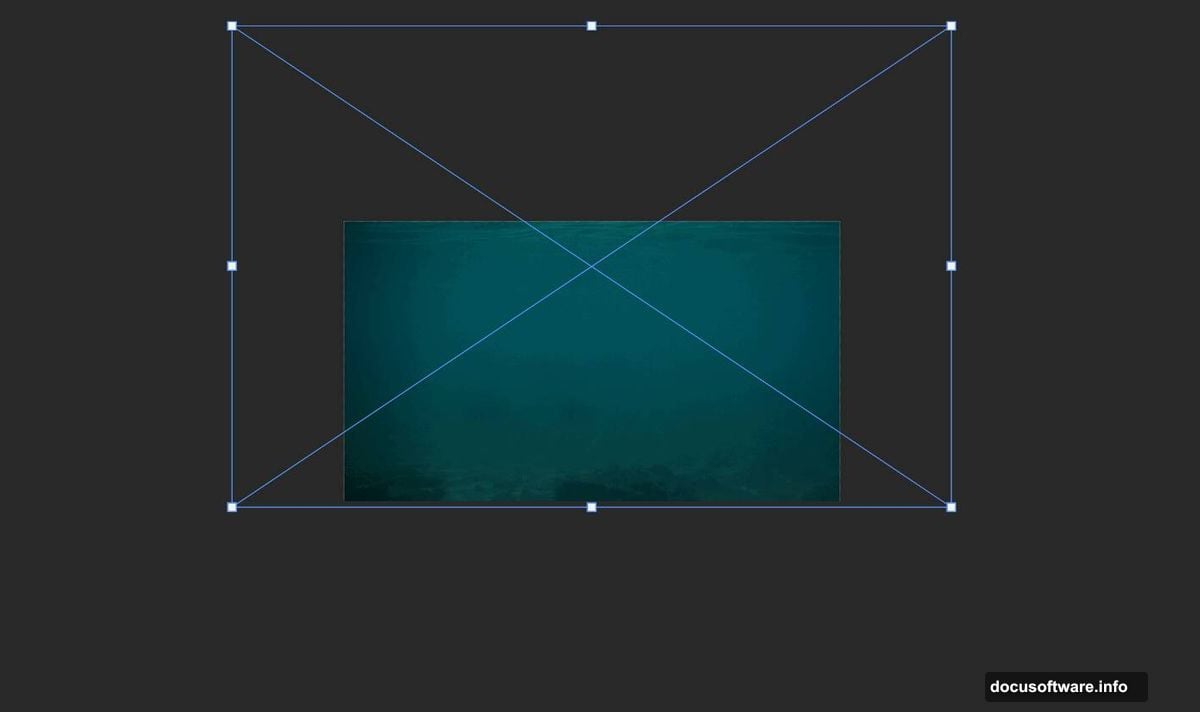
Step 2 — Add Depth with Multiply
Place your first Underwater1 photo the same way. Position and resize using the Transform tool. Then change this layer’s blend mode to Multiply. This darkens the scene and adds that moody, deep-water feeling.
Step 3 — Boost the Atmosphere with Soft Light
Place the same Underwater1 photo again as a second instance. Resize and position it similarly to the previous step. This time, change the blend mode to Soft Light. Soft Light adds contrast and luminosity without fully darkening or lightening the image. Your background should already look impressively deep and layered at this point.
![Photoshop layers panel showing three stacked underwater photos with Multiply and Soft Light blend modes applied]
Bring In the Coral Reef
This is where the scene starts feeling real. The coral reef anchors the composition and gives the viewer a sense of place.
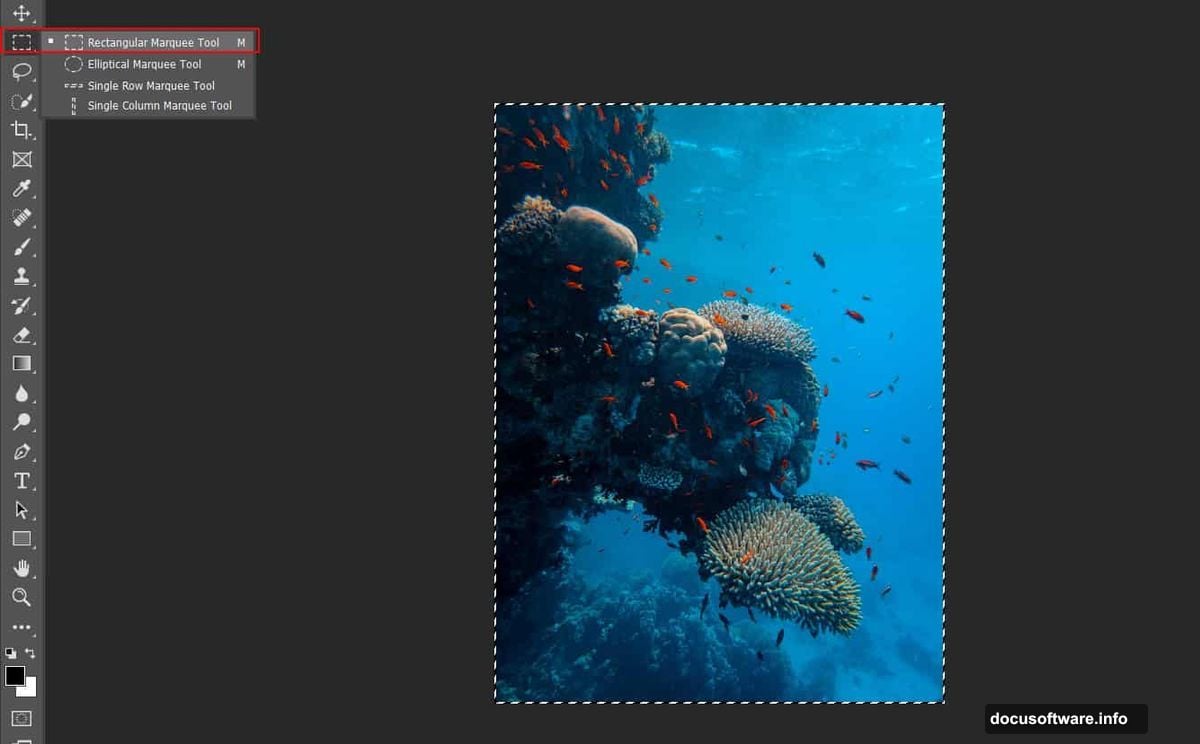
Go to File > Open and select your Coral Reef image. Select the area you want using the Rectangular Marquee Tool (M). Copy the selection (Ctrl/Cmd + C) and paste it directly onto your working canvas (Ctrl/Cmd + V).
Position and resize with the Transform tool as before.
Now here’s the important part. With the coral layer selected, create a Layer Mask. Grab the Brush Tool (B) and set it to a soft round brush. Set your foreground color to black. Start painting over the edges of the coral to blend it naturally into the background.
Don’t rush this step. Smooth, gradual edges here make everything else look more believable. Hard edges on the coral will immediately break the illusion.
Place Your Shark and Diver
With your background built and coral blended in, you’re ready for the stars of the scene.
Place your shark photo using File > Place. Scale and position it so it dominates the frame. A shark feels most threatening when it’s large relative to the diver, so don’t be shy about sizing it up.
Add your diver the same way. Think carefully about placement. A diver slightly below and beside the shark, angled toward it, creates maximum visual drama. Use a layer mask on the diver too if you need to remove any background from the original photo.
Color Grade with Adjustment Layers
Raw photos from different sources never match each other in color temperature, contrast, or saturation. Adjustment layers fix that and pull everything into one cohesive visual world.
Add a Hue/Saturation adjustment layer to shift the overall color palette toward cooler, deeper blues and greens. Underwater light naturally filters out warm tones, so leaning into that makes the whole image feel more authentic.
Add a Curves adjustment to control contrast. Pull the shadows down slightly and lift the highlights just a touch. This creates separation between elements and adds that cinematic punch.
A Color Balance adjustment layer works well for fine-tuning the midtones. Push slightly toward cyan and blue in the midtones and shadows to reinforce the underwater atmosphere.
Finish with Camera Raw Filter
This is the last step and honestly one of the most satisfying.
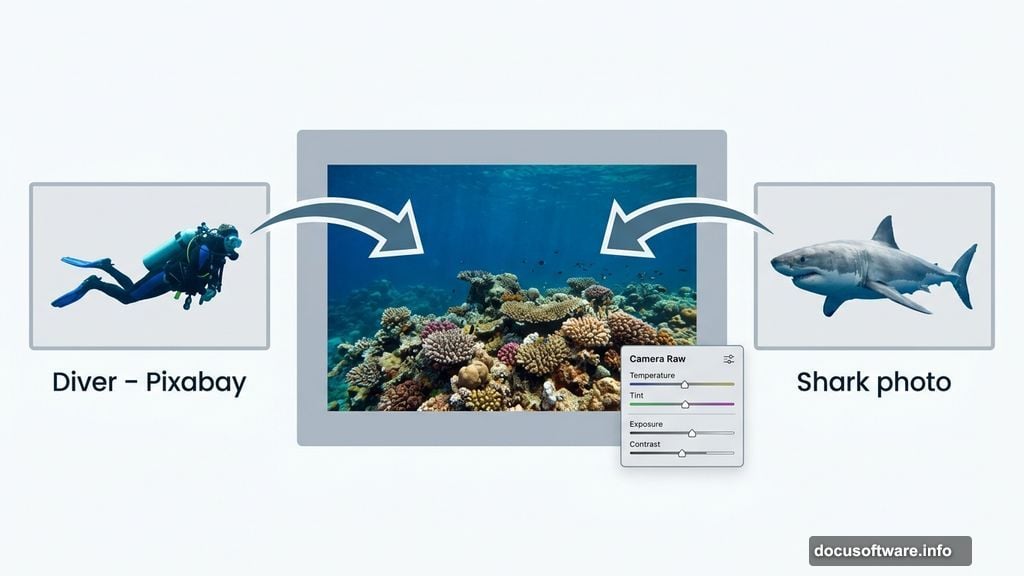
Merge your visible layers into a new stamp layer (Ctrl/Cmd + Alt + Shift + E). Then go to Filter > Camera Raw Filter. Inside Camera Raw, you have serious creative control.
Bring the Clarity slider up slightly to add micro-contrast and crispness to edges. Adjust Dehaze to add or remove that murky underwater haze — a small amount of haze actually helps sell the depth. Use the HSL panel to fine-tune individual color channels. Boosting the blue and aqua saturation while slightly desaturating any remaining warm tones ties the whole composition together.
When everything looks right, hit OK and you’re done.
The final image should feel genuinely cinematic. The shark reads as massive and threatening. The diver looks small and exposed. The layered underwater background gives the whole thing depth that a single stock photo never could.
If you run into the diver photo returning a 404 error (a common issue noted by readers), head directly to Pixabay’s search page and search “diver” — plenty of free alternatives are available without needing a direct link. Just make sure you pick one where the diver is clearly separated from the background, since cutting them out will be much easier that way.
Photo manipulation like this is all about patience with masking and thoughtfulness with color. Nail those two things and your composite will look like it was shot on location — just with considerably more danger involved.