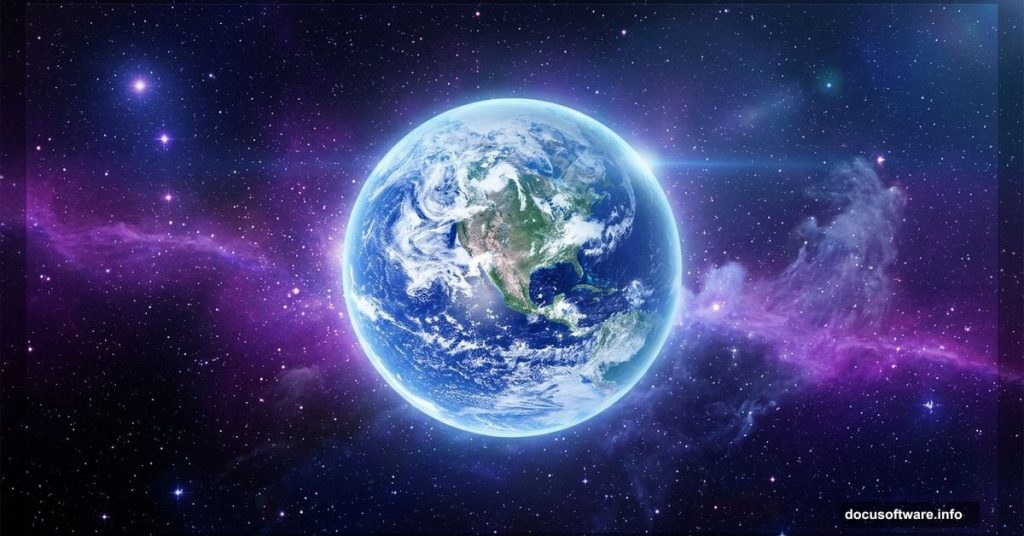
“To see the earth as it truly is, small and blue and beautiful in that eternal silence where it floats, is to see ourselves as riders on the earth together, brothers on that bright loveliness in the eternal cold.”
That quote from Archibald MacLeish captures something magical about the cosmic perspective. And today, we’re going to recreate that exact feeling in Photoshop.
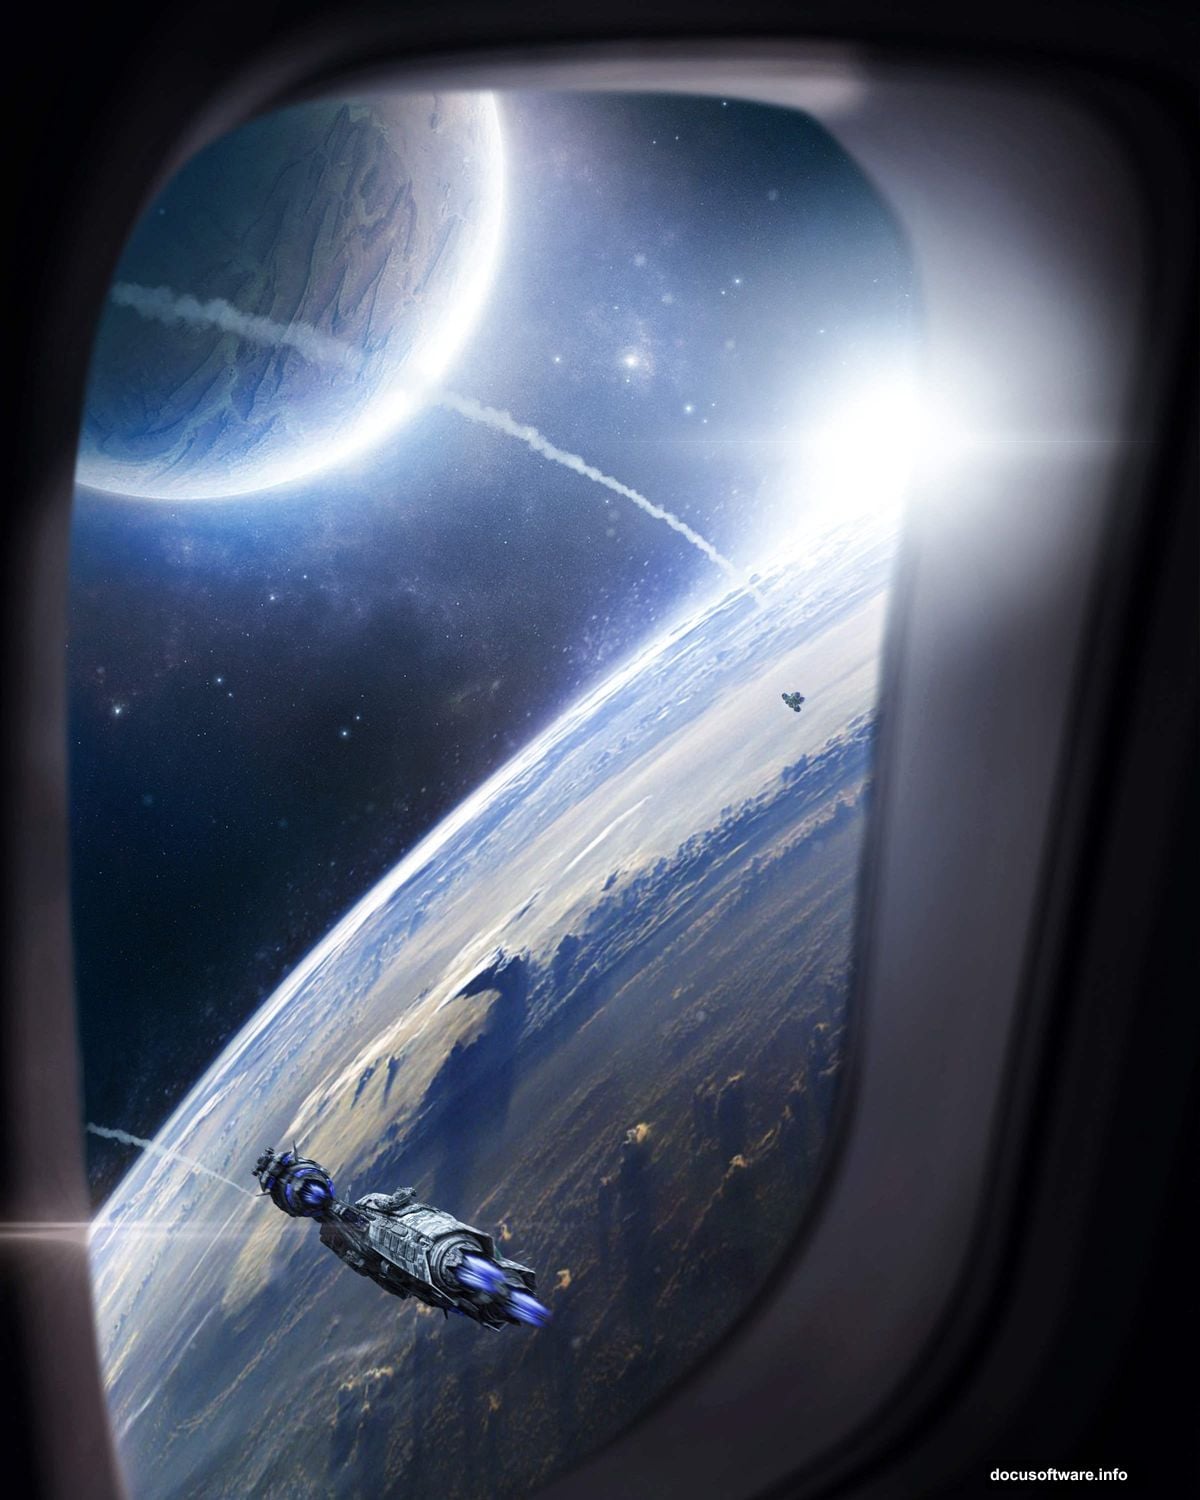
This tutorial walks you through building a stunning galaxy-to-earth photo manipulation from scratch. We’ll place and blend Earth and a second planet, add dramatic spaceships and lens flares, then finish everything with a Camera Raw Filter polish. The result looks genuinely out of this world.
Ready? Let’s build some space.
Setting Up Your Canvas for a Galaxy Scene
First things first. You need a canvas big enough to hold all that cosmic detail.
Go to File > New and enter these settings:
- Preset: Custom
- Width: 3080px
- Height: 3850px
- Resolution: 300px
- Color Mode: RGB Color, 8-bit
- Background Contents: Transparent
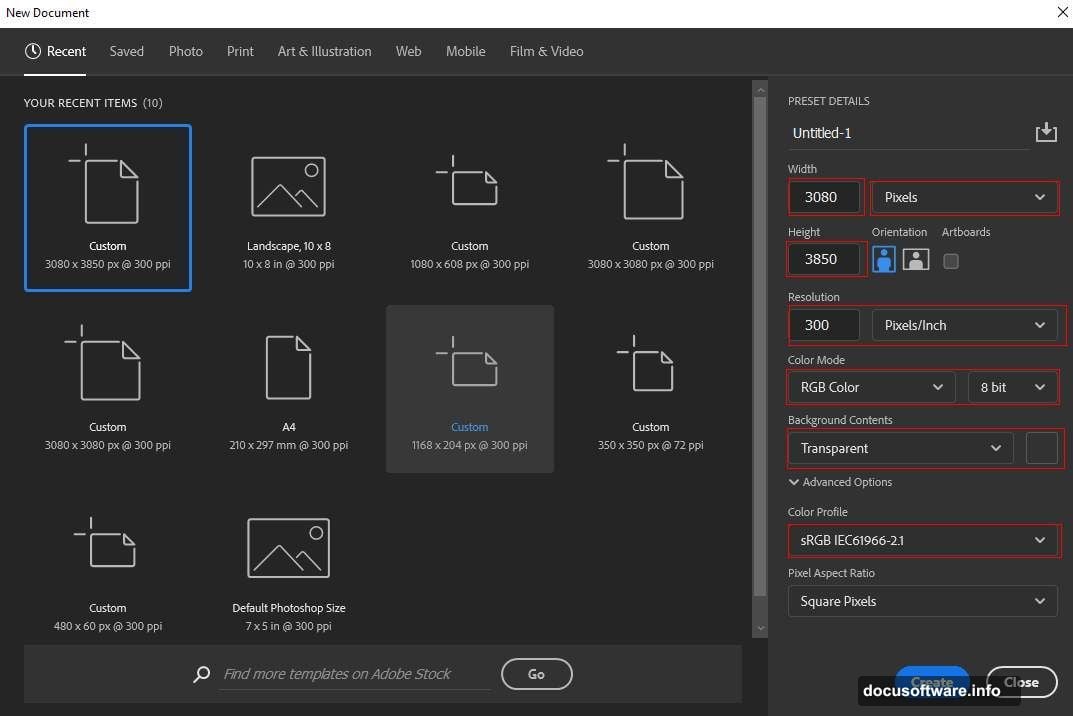
This portrait-oriented canvas gives you plenty of room to position planets dramatically. The high resolution also keeps everything crisp if you ever print or display this at large sizes.
Placing and Warping the Earth Photo
Now comes the fun part. Go to File > Place and select your Earth image, then drop it onto the canvas.
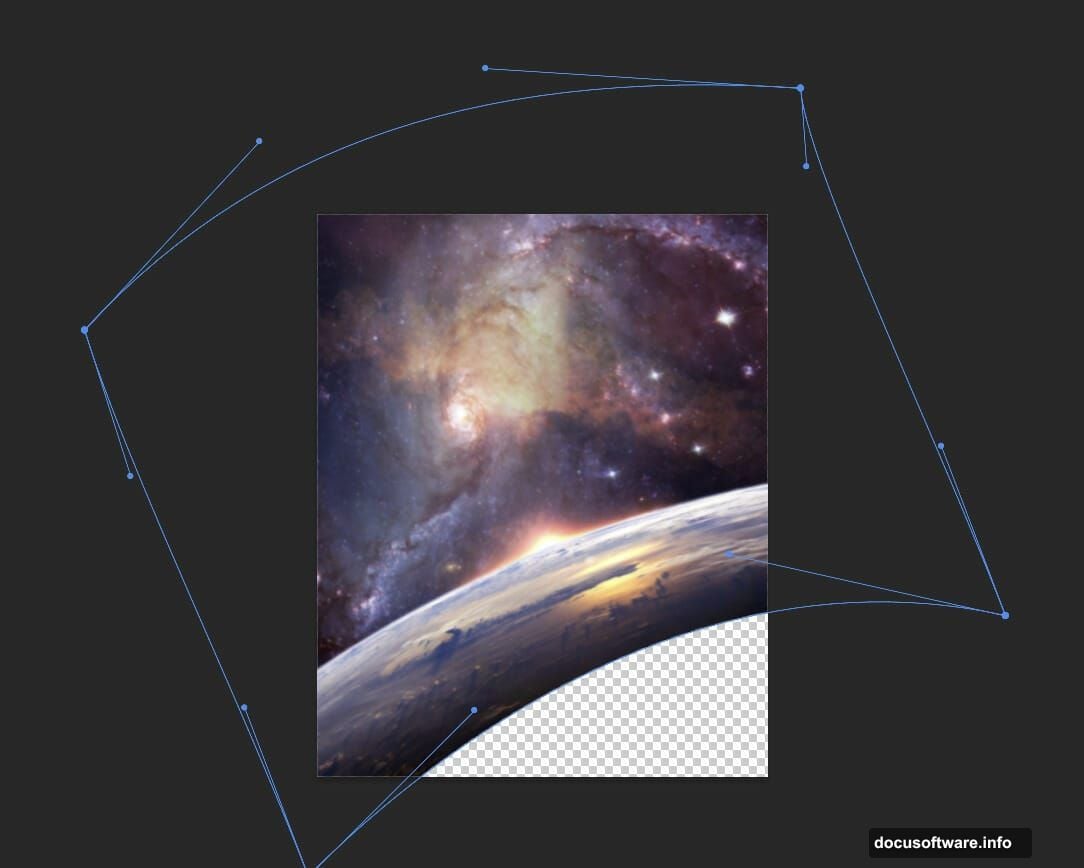
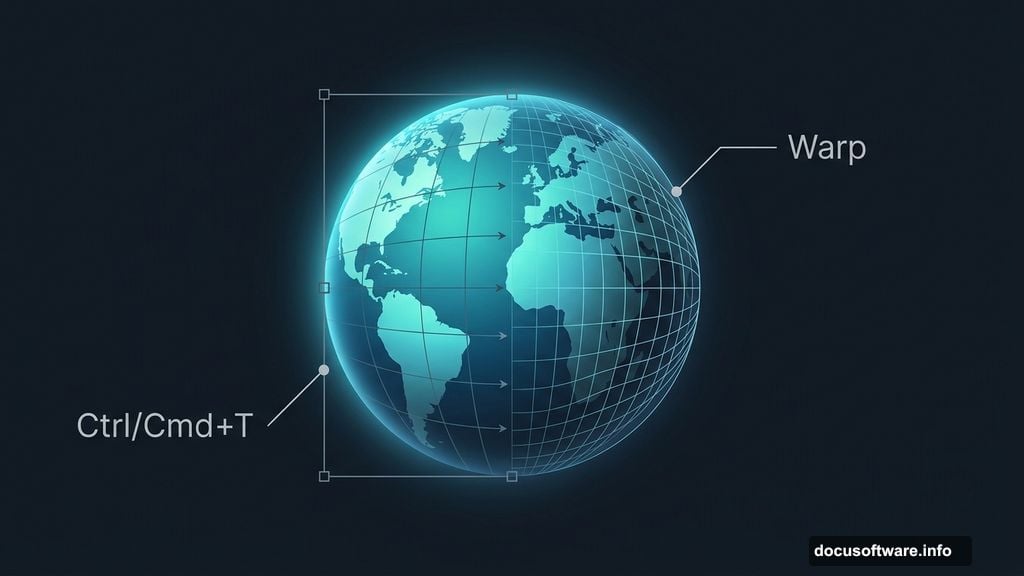
Press Ctrl/Cmd + T to activate the Transform tool. Hold Alt + Shift to scale from the center while keeping proportions locked. In Photoshop CC, just hold Alt alone and it handles all sides together automatically.
Once you’re happy with the size, right-click inside the transform box and choose Warp. This lets you push and pull the Earth’s edges to create a more natural, slightly curved feel. Subtle warping makes the planet look like it’s floating in actual space rather than just pasted onto a background.

Press Enter to confirm your transform when it looks right.
Color Adjustments That Make Earth Pop
Raw photos rarely match the mood you’re after. So we add adjustment layers to shift the color temperature toward something more cinematic.
Step 3 adds a Color Balance adjustment layer clipped to the Earth layer. Use this to push cooler blues and cyans into the shadows and midtones. Space scenes live and die by their color grading, and a slight cool shift immediately reads as “outer space” to the viewer’s eye.
Step 4 adds a Hue/Saturation adjustment layer. Here’s a useful trick: press Ctrl/Cmd + I right after creating it to invert the mask to black. That hides the effect everywhere. Then grab the Brush Tool (B), set it to a soft round brush with white as your foreground color, and paint only over the specific areas where you want the saturation change to show. This gives you surgical control instead of applying the same shift to the whole image.
Adding the Second Planet With Layer Masking
A single planet can feel lonely. Adding a second one creates depth and visual interest.
Go to File > Place again and select your Planet image. Position and scale it with Ctrl/Cmd + T, just like you did with Earth.
Here’s where layer masking earns its reputation. Create a layer mask on the planet layer, then paint with a soft round black brush along the bottom edge of the planet. This gently fades it out, making it look like it’s partially obscured by atmosphere or distance. Hard edges scream “cut and paste.” Soft masked edges scream “this belongs here.”
Adjusting the Planet With Color Balance, Curves, and Hue/Saturation
Three adjustment layers handle the planet’s color treatment, and each one does something specific.
Step 6 brings in Color Balance to match the planet’s overall tone to your scene. Think about light direction. If your light source is coming from upper left, the planet should reflect that with slightly warmer highlights on that side.
Step 7 adds a Curves adjustment. Use this to add contrast and deepen the shadows. Dragging the curve into a gentle S-shape adds that rich, dramatic contrast that makes planets look three-dimensional and weighty.
Step 8 repeats the inverted Hue/Saturation trick from Step 4. Invert the mask, then paint white over specific areas to target exactly where you want the color shift applied. Consistency in technique here keeps your workflow efficient.
Painting Atmospheric Color With Soft Light Layers
This step separates good space art from great space art. And it’s surprisingly simple.
Create two brand new empty layers and set both of their blend modes to Soft Light.
On the first layer, grab a large soft round brush and paint with blue (#1967d6). Focus this near Earth and the edges of your composition. Soft Light blend mode means the blue won’t sit on top of your image aggressively. Instead, it tints and deepens the existing colors underneath in a natural way.
On the second layer, switch your foreground color to a warm orange (#d6b6aa) and paint in areas that would catch light from a distant sun or star. The contrast between cool blues and warm oranges creates that classic cinematic space look that feels both alien and beautiful.
These two layers together add atmosphere and help unify all the separate elements into one coherent scene.
Spaceships, Lens Flares, and the Camera Raw Finish
The tutorial continues across multiple pages, covering how to place and blend spaceships convincingly into the scene. Matching their scale to the planets matters enormously. A spaceship that looks too large breaks the sense of cosmic scale instantly.
Lens flares come next. Used sparingly, they suggest a powerful light source just off-screen and add that cinematic quality you see in space films. Photoshop’s built-in lens flare filter works fine here, but dedicated flare textures give you more control over shape and intensity.
Finally, the Camera Raw Filter ties everything together. Think of it as a global grade applied to the whole composition. Pulling back highlights, lifting shadows slightly, and adding a touch of vignette makes the image feel finished and professional rather than assembled from parts.
This is honestly my favorite step in any photo manipulation. The Camera Raw Filter is where a collection of layers becomes a single image with a consistent mood and atmosphere.
Space photo manipulation rewards patience. Each adjustment layer builds on the last, and the Soft Light color painting step especially benefits from experimentation. Try different colors, different brush opacities, different areas. The tutorial gives you a framework, but your creative instincts take it from there.