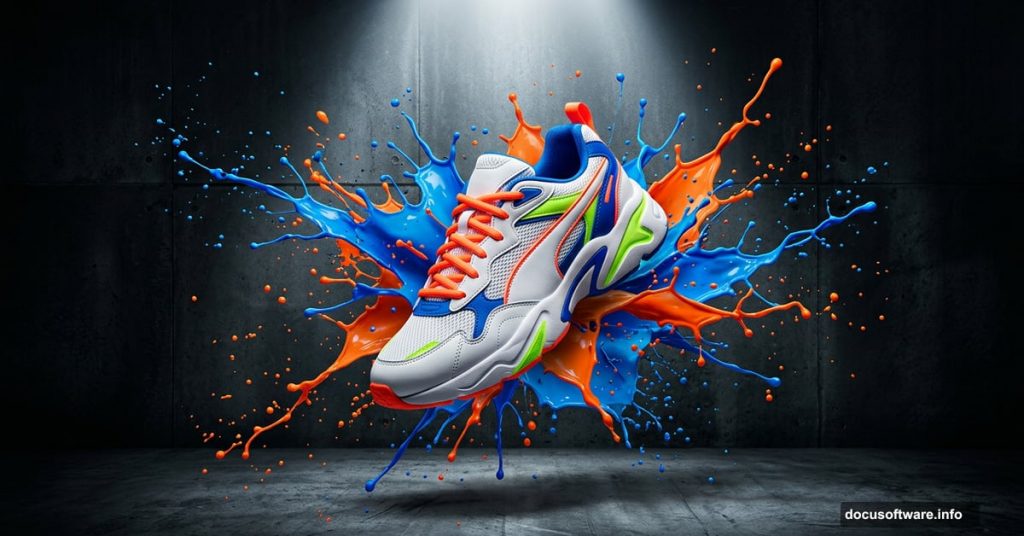
Ever wondered how those dramatic product shots work — the ones where a shoe seems to explode out of a splash of liquid or paint? The good news is that you don’t need a professional studio or a photography crew. You just need Photoshop, a few free stock images, and about an hour of your time.
This tutorial walks you through the whole process step by step. By the end, you’ll have a striking photo-manipulation piece that looks like it belongs in a sneaker ad campaign.
Set Up Your Canvas and Background Texture

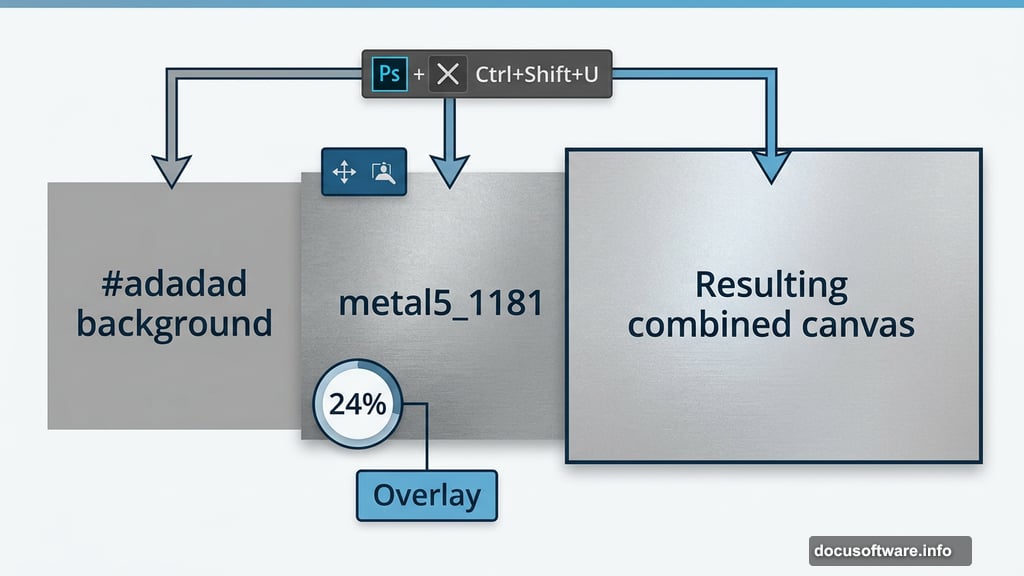
First, create a new document at 1289 x 1000 pixels. Fill the background layer with a neutral gray — specifically hex color #adadad. This gives you a clean, balanced base to work from.
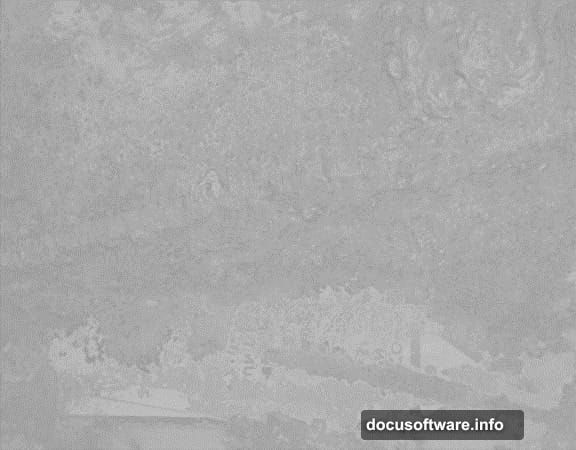
Next, grab the Metal Package 5 resource and open the file “metal5_1181.” Press Ctrl + A to select everything, then Ctrl + C to copy it. Paste it into your working document with Ctrl + V.
Now desaturate that texture layer using Ctrl + Shift + U. Drop the layer opacity down to 24% and switch the blend mode to Overlay. This creates a subtle metallic shimmer across the background without overpowering everything else.
Build the Floor Effect
Duplicate that texture layer. Change the duplicate’s blend mode back to Normal, then use Free Transform to push it into a perspective angle that suggests a floor surface.
Grab the Eraser tool or use a layer mask to blend the floor edge smoothly into the background. If the transformed texture looks soft or blurry at this point, sharpen it back up using the Unsharp Mask filter under Filters > Sharpen.
Add Lighting and Depth
Create a new layer with Ctrl + Alt + Shift + N. Drop its opacity to 11%. Using a soft black round brush, paint gently around the outer edges of the canvas. This vignette effect helps the floor feel grounded and three-dimensional.
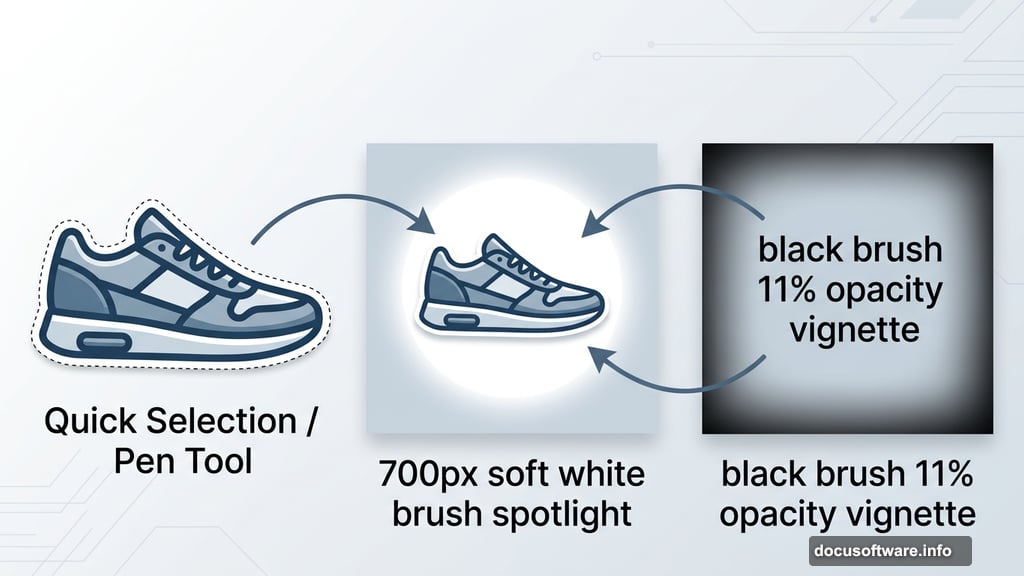
Then make another new layer. Switch to a soft white brush at around 700 pixels in size and click once in the center of the canvas. That single dab creates a gentle spotlight effect right in the middle — exactly where your sneaker will sit.
Place the Sneaker
Open your shoe image file and use whichever selection tool you’re most comfortable with to cut it out. The Quick Selection tool or Pen tool both work well here.
Copy and paste the extracted shoe into your document, then position it right in the center of that white light spot. The shoe should sit at the focal point of the whole composition — the light pulls the viewer’s eye directly to it.
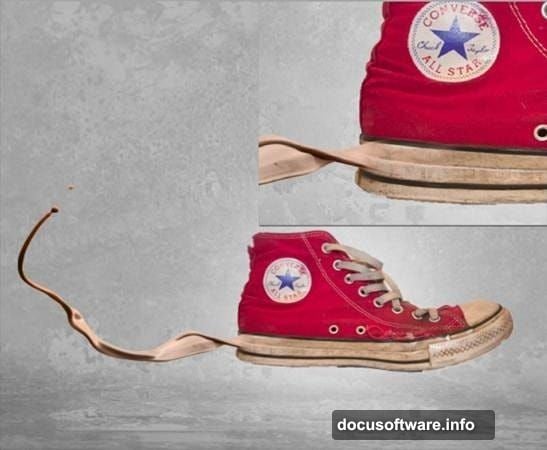
Add the First Paint Splash
Open file 15 from the Paint Tossing Pack. Use the Magic Wand tool to click the background, then invert your selection with Ctrl + Shift + I. This selects just the splash shape itself.
Copy and paste it into your main document. Position the splash so it looks like it’s bursting from the base of the shoe. Use the Eraser tool or a layer mask to blend the edges naturally where the splash meets the sneaker.
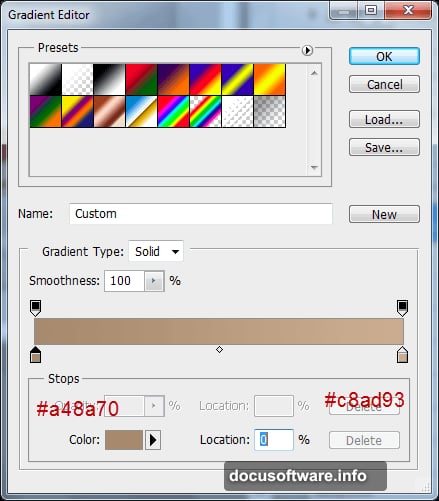
Then add a clipped Gradient Map adjustment layer directly above that splash layer. Sample colors from the surrounding scene to make the dark and light tones in your gradient feel native to the image. Follow that with a clipped Curves adjustment layer to darken the splash slightly and add depth.
Add the Second Splash
Repeat the same process but this time use file 19 from the Paint Tossing Pack. Position this second splash on the opposite side or at a different angle to create the illusion that liquid is wrapping around the shoe from multiple directions.
Again, add a clipped Gradient Map adjustment layer with settings that match the mood of the scene. Then use another Curves adjustment layer to fine-tune the darkness and make the splash feel consistent with the lighting you already built.
—
The beauty of this technique is how flexible it is. Once you understand how stock splash images combine with adjustment layers, you can apply the same approach to almost any product. Swap in a different shoe, use water instead of paint, or experiment with colored gels — the workflow stays the same.
If you’re just starting out with photo manipulation in Photoshop, this project is a genuinely satisfying one to complete. The skills you build here — layer masking, blend modes, clipped adjustment layers, and lighting control — show up in practically every composite you’ll ever make. It’s a genuinely solid project to have in your portfolio.