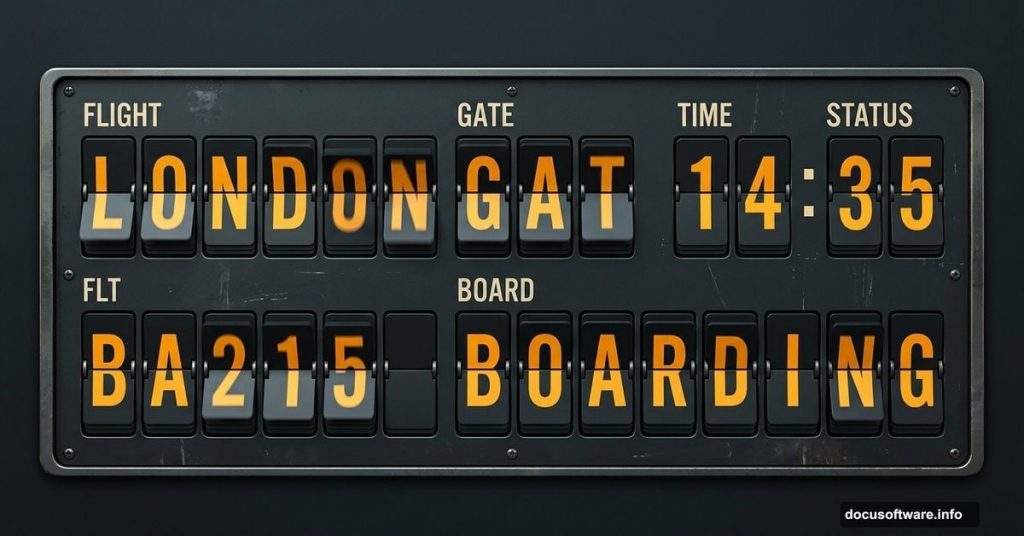
Remember that satisfying clicking sound at airports, when the departure board flips through letters and numbers to reveal your gate? That mechanical split-flap display has a charm that digital screens simply cannot match. And yes, you can recreate that whole aesthetic entirely inside Photoshop.
This tutorial walks you through building a realistic mechanical text display from scratch. No special plugins needed. Just Photoshop and a bit of patience.
Setting Up Your Canvas and Background
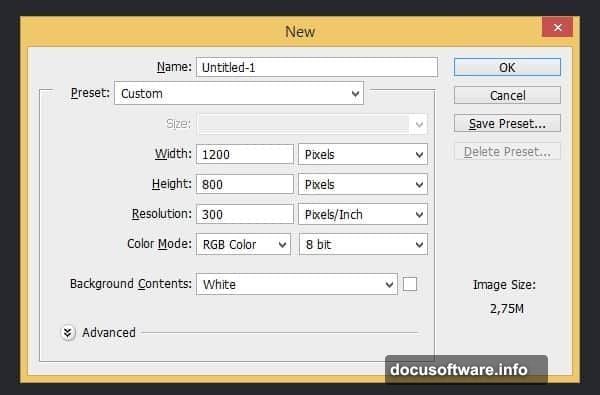
Start by creating a new file. Set the dimensions to 1200 px wide by 800 px tall. This gives you plenty of room to work and keeps everything crisp.
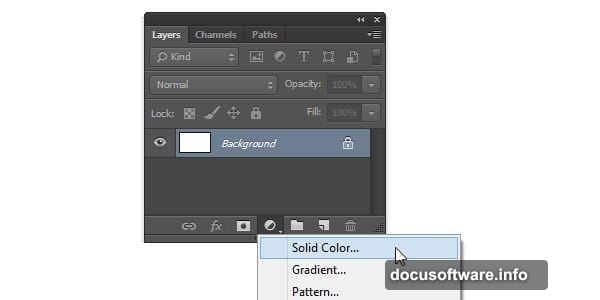
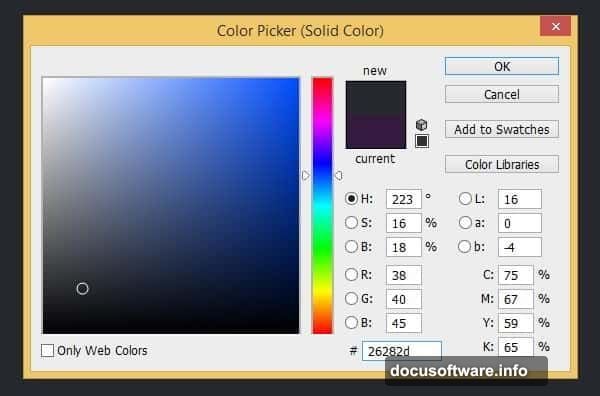
Next, add a Solid Color Adjustment Layer. Set its color to #26282d, a dark charcoal that mimics the moody look of real airport displays. This becomes your background.
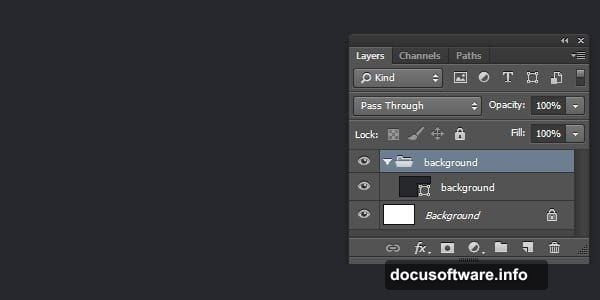
Then, hit Ctrl + G to drop that layer into a group. Double-click the group name and rename it something sensible. Staying organized now saves serious headache later.
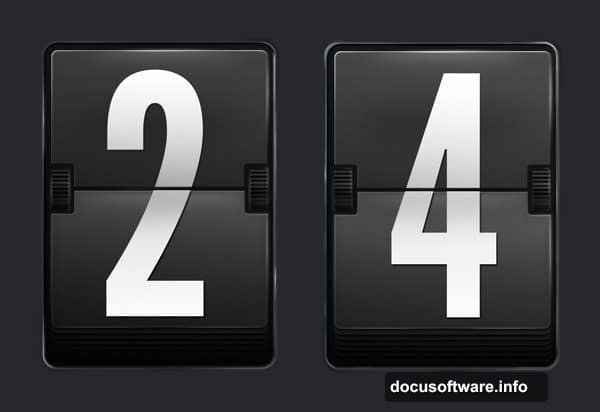
Building the First Character Tile
Add a new group and name it First Digit. Everything for this individual tile lives inside here.
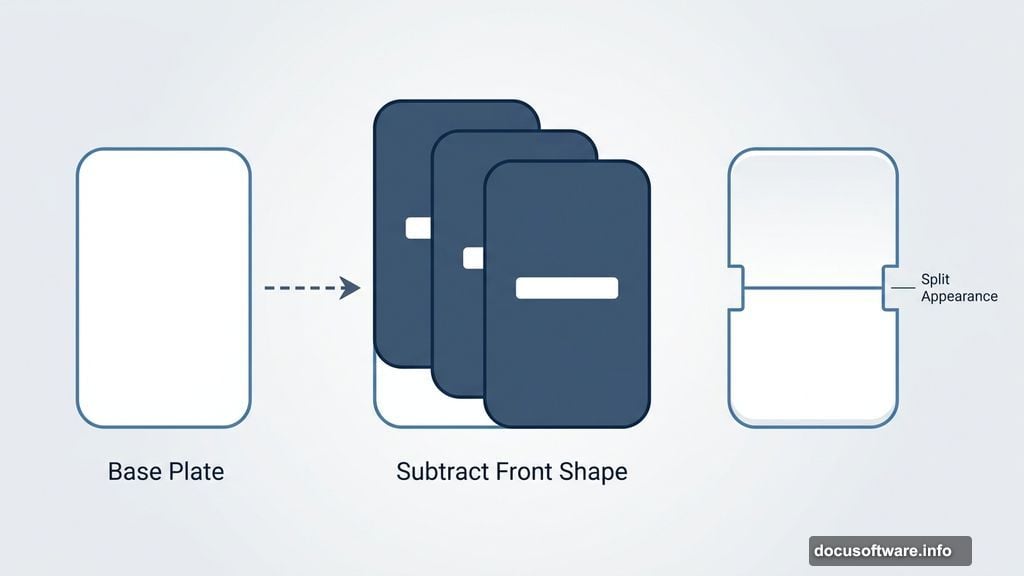
Draw a rounded rectangle and fill it with #141213, an almost-black dark tone. This is the base plate for one character on the display.
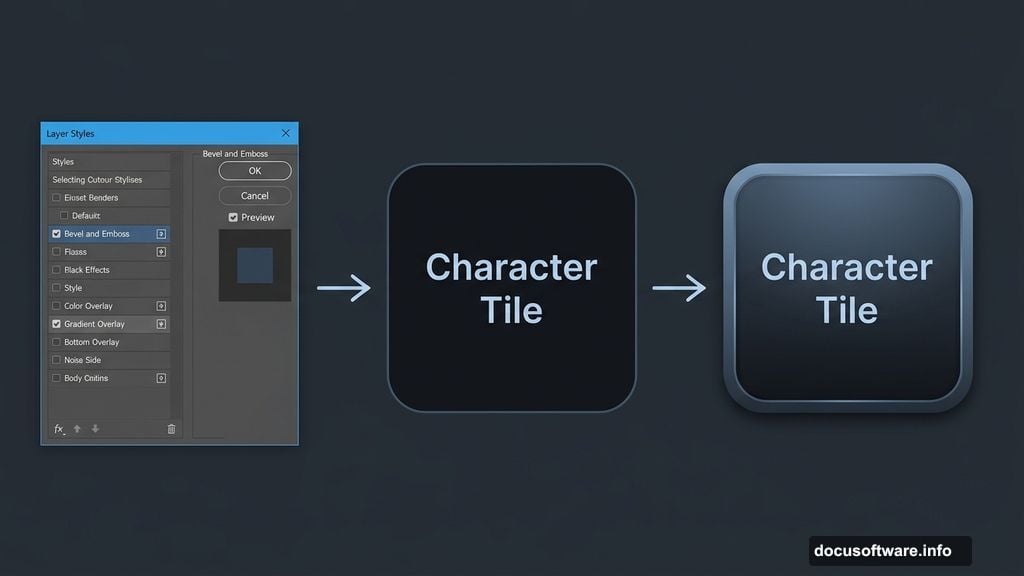
Now comes the part that makes it feel real. Double-click the shape layer to open Layer Styles. Apply both Bevel and Emboss and a Gradient Overlay. These two effects together add subtle depth, making the flat rectangle look like a physical panel with edges and dimension.
Carving Out the Panel Shape
Add two more rounded rectangles plus one standard rectangle path to the existing shape. Set their mode to Subtract Front Shape. This cuts sections out of your base rectangle, creating that distinctive split appearance down the middle of each tile, just like the real mechanical flip boards you see at train stations and airports.
Adding Highlights and Edge Detail
Here is where the display goes from flat to convincingly three-dimensional.
Ctrl-click your shape layer to load its selection. Create a new layer above it. Go to Edit > Stroke, set Width to 1 px, color to white, and Location to Inside. Photoshop draws a thin outline that follows the exact shape you built.
Hit Ctrl + D to drop the selection. Then press Ctrl + Alt + G to turn this stroke layer into a Clipping Mask. It now only shows within the shape below.
Add a layer mask to this stroke layer. Fill the mask with black by pressing D then Ctrl + Delete. This hides the stroke entirely. Now grab your Brush tool and paint white back onto the mask in selective spots, just the edges and top surfaces where light would naturally catch. This creates a sharp, crisp highlight.
Softening the Light
One sharp highlight looks good. But real physical objects also have softer reflected light nearby.
Create another new layer. Load the shape selection again, stroke it the same way, then run Filter > Blur > Gaussian Blur on the result. A little blur turns that hard stroke into a gentle glow.
Add a layer mask, fill it black, and paint white to reveal just the soft-glowing sections you want. Convert this layer to a Clipping Mask too. Together, the sharp and soft highlights make the panel look genuinely three-dimensional under a focused overhead light.
Why This Technique Works So Well
Split-flap displays have a specific visual language. Dark panels, slightly worn edges, the suggestion of mechanical depth. Photoshop’s layer styles and clipping masks are surprisingly well-suited to recreating this look because you can stack multiple lighting effects non-destructively.
Each group keeps one digit self-contained, which means you can duplicate the whole thing to add more characters without rebuilding anything from scratch. It scales beautifully once the first tile is done right.
This kind of project is a great reminder that photorealistic results in Photoshop rarely come from a single fancy filter. Instead, they come from layering simple effects carefully, just like the display itself layers individual panels to spell out something meaningful.
Take your time on the first tile. Once it looks convincing, the rest of the display comes together fast.