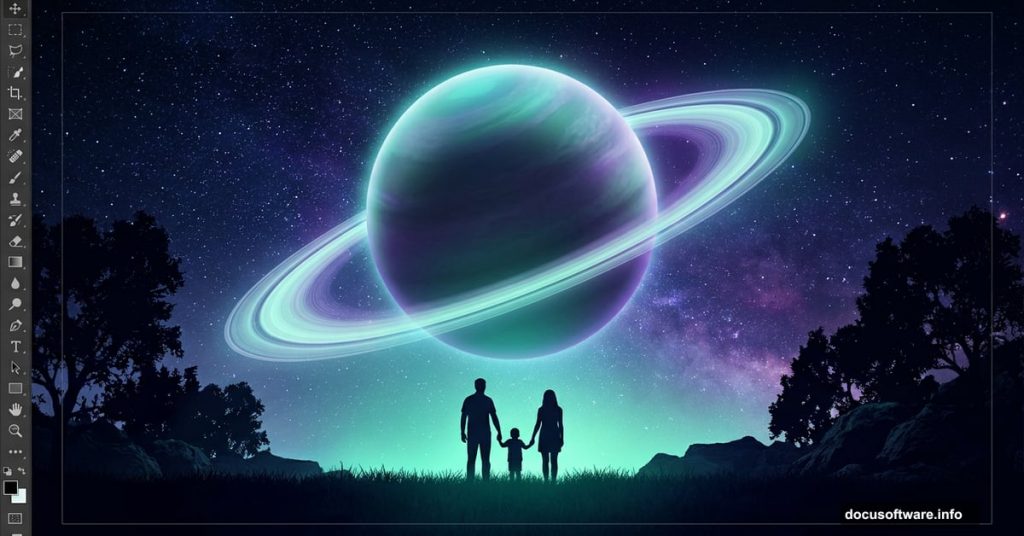
Ever looked at those dreamy digital landscapes with glowing moons and mysterious atmospheres and wondered how they’re made? This step-by-step Photoshop tutorial by Guilherme Pejon walks you through building exactly that — a surreal night scene complete with planets in the sky, atmospheric lighting, and a silhouetted family standing in a glowing field.
The result is genuinely stunning. And the process is more approachable than you might think.
What You’ll Need Before Starting
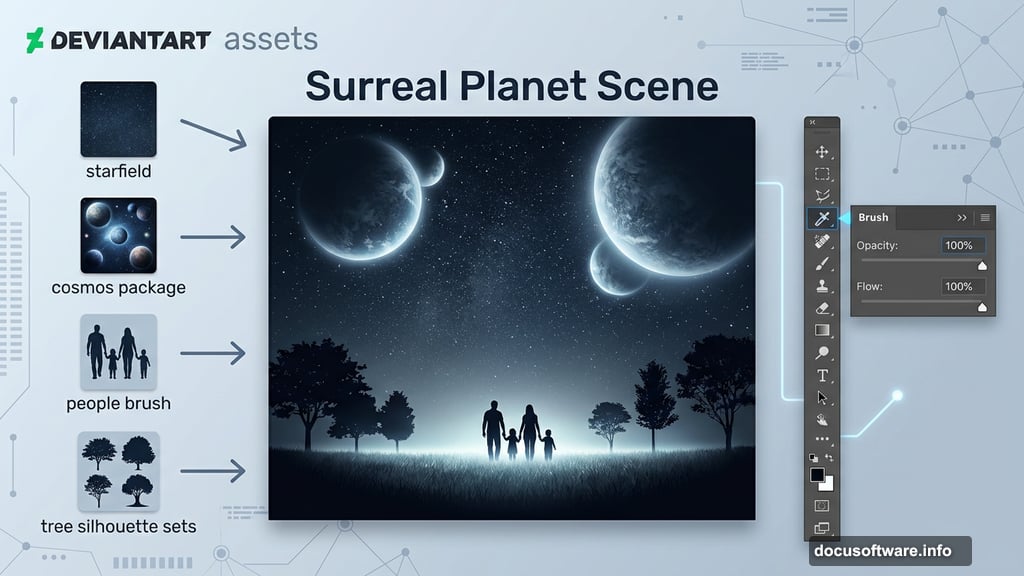
Before jumping in, gather your resources. The tutorial uses several free stock assets including a starfield, a cosmos package, a field photo, a people brush, and multiple tree silhouette sets. You’ll also need brushes for the bushes in the foreground.
Most of these come from DeviantArt contributors. So take a few minutes to download everything before you open Photoshop. Having your assets organized saves a lot of frustration mid-tutorial.
Setting Up Your Photoshop File
Start fresh. Go to File and create a new document with the settings provided in the tutorial. Getting your canvas dimensions right from the beginning prevents headaches later when you’re scaling and positioning elements.
Think of this step like laying the foundation before building a house. Rush it, and everything built on top will feel unstable.
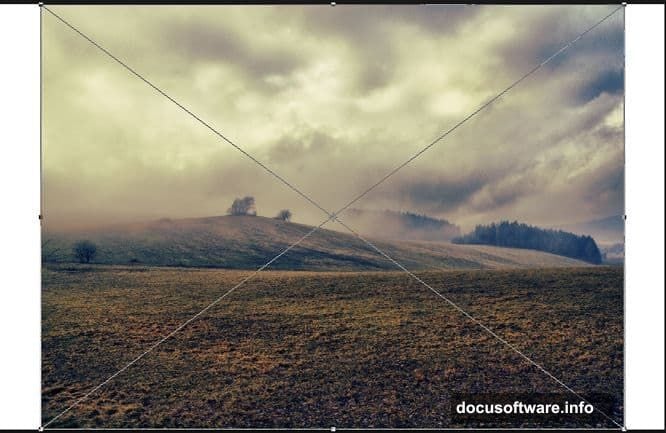
Placing and Scaling the Field Image
Next comes the field. Go to File, then Place, and drop your field resource onto the canvas. Once it’s in, hold Shift and Alt (or Opt on Mac) simultaneously, click a corner handle, and drag outward. This scales the image from its center while keeping proportions locked — a much cleaner approach than dragging corners independently.
Scale the field until it fills the canvas edge to edge, then hit Enter to confirm.
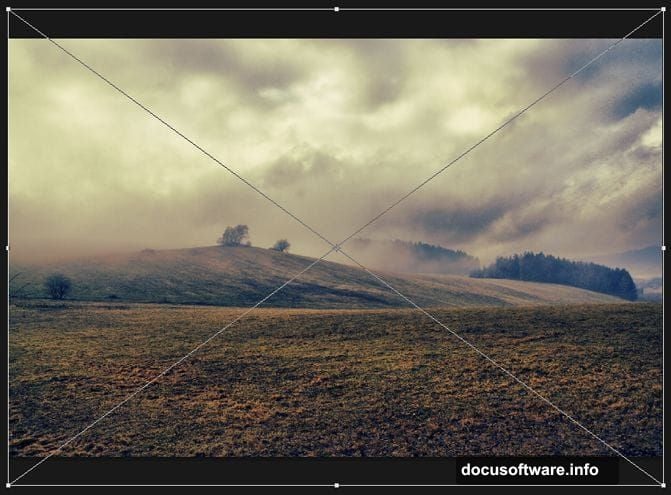
Masking Away the Sky
Here’s where things get interesting. The field photo comes with a sky already attached, but you’re going to replace that sky with something far more dramatic. So you need to hide it cleanly.
With the field layer selected, click the Add Layer Mask button at the bottom of your Layers panel. A white mask thumbnail appears next to your layer. That white area means everything is visible. Painting on it with black hides whatever you paint over.
Select the Brush tool (or just press B). Set both Opacity and Flow to 100%. Then press D to reset your color palette to default black and white, followed by X to swap them so black becomes your foreground color.
Right-click anywhere on the canvas to adjust your brush settings. Keep the size between 200 and 400 pixels and, critically, keep the hardness at 0%. That zero hardness gives you soft, feathered edges that blend naturally. Hard edges at this stage will look cut-out and artificial.
Two shortcuts worth bookmarking: press the right bracket key to increase brush size, and the left bracket key to decrease it.
Paint over the entire sky portion of the field image and blend into the mountain tops slightly. The goal is a smooth, natural-looking transition. Your layer mask thumbnail will show black wherever you’ve painted, confirming those areas are hidden.
Building the Atmosphere Above the Field
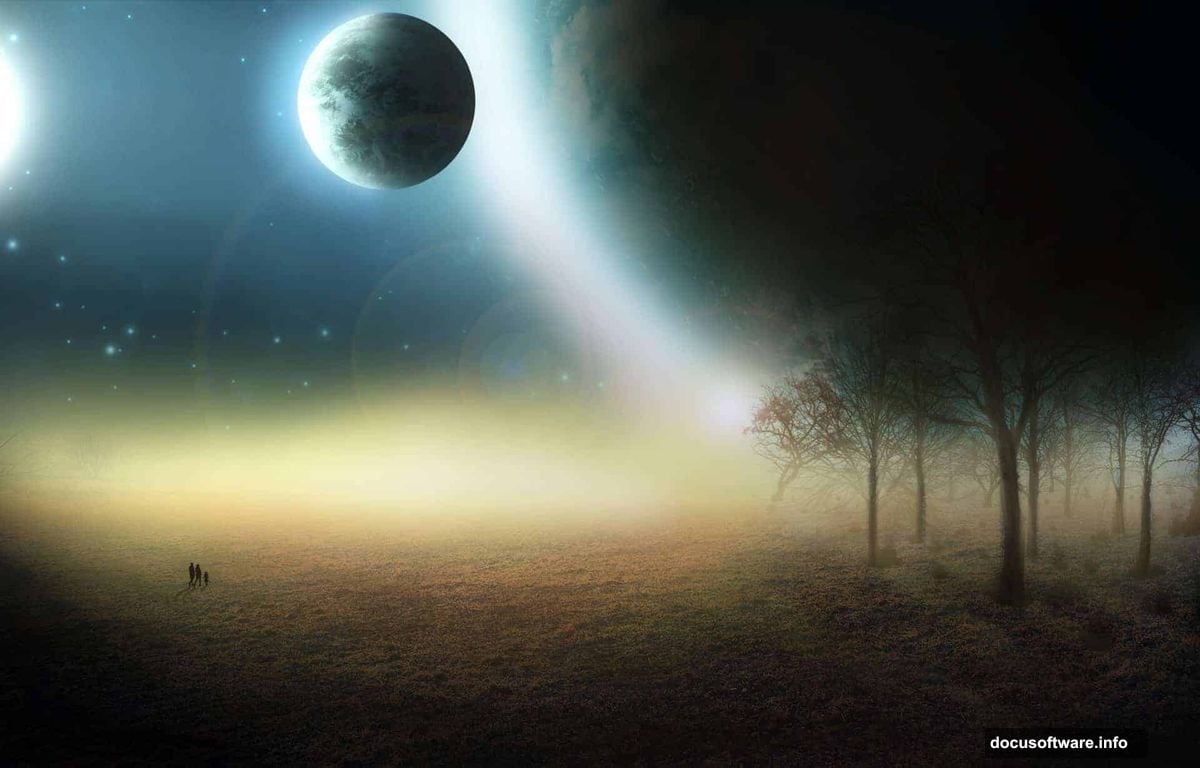
With the sky cleared away, you now have a blank canvas above your field. This is where the magic happens. The tutorial guides you through adding the starfield and cosmos assets, layering them to create depth and that signature mysterious glow.
The key to making planetary scenes feel believable is light consistency. If your main planet emits a soft blue glow, that light should fall on everything below it. Trees, grass, and figures all need to reflect that same color temperature. Photoshop’s blending modes, particularly Screen and Soft Light, are your best friends here.
Adding Glow and Atmosphere
The tutorial dedicates significant attention to the glowing light effect in the middle ground. This light source pulls the whole composition together. It draws the viewer’s eye and gives the scene its emotional weight.
Use a large, soft brush with reduced opacity to build this glow gradually. Several light passes create a more convincing result than one heavy application. Think of it like watercolor — layer by layer until the intensity feels right.
Color choice matters enormously here. A cool blue-green glow reads as otherworldly and mysterious. Warm amber feels more grounded and natural. The tutorial leans into cool tones, which reinforces the alien atmosphere.
Placing Trees and the Family Silhouette

The foreground elements — trees and the family figure — anchor the scene in something human and relatable. That contrast between the familiar (a family standing in a field) and the extraordinary (massive planets overhead) is exactly what makes this type of manipulation emotionally resonant.
For the trees, the tutorial uses silhouette brushes rather than placed images. This approach gives you more control over placement and scale. Keep in mind that elements closer to the viewer appear larger. Varying tree heights and layering them at different depths creates convincing spatial recession.
One commenter on the original tutorial noted that the trees looked too large relative to the human figures. It’s a fair observation and a good reminder to periodically zoom out and check proportional relationships between elements. A rough rule of thumb: if your figures look like ants next to your trees, scale either the trees down or the figures up.
Fine-Tuning and Final Adjustments
Once all elements are in place, the real polish begins. Color grading unifies everything into a cohesive scene. Add a Color Balance adjustment layer, then shift midtones and highlights toward your dominant atmospheric color. This pulls disparate elements together so they feel like they genuinely exist in the same environment.
Contrast adjustments using Curves help punch up the drama. Deepening shadows in the corners draws attention toward the glowing center. And adding a subtle vignette around the edges frames the composition naturally.
Creating custom brushes also plays a role in this tutorial. If you want to define a shape as a brush preset, convert your image to grayscale mode and adjust tones before defining it. Once you click Define Brush Preset, your editing options become limited, so getting that step right beforehand saves rework.
Whether you’re using a tablet or a mouse affects your brush control noticeably. Tablet users will get more nuanced, pressure-sensitive strokes that blend more naturally. Mouse users can compensate by working in smaller increments with lower opacity settings and building up gradually.
Photo manipulation like this rewards patience. Every extra minute spent on a layer mask edge or a lighting gradient pays off in the final result. The techniques here — masking, atmospheric glow, silhouette layering, color grading — show up constantly across all kinds of Photoshop work. Master them in this project and they’ll carry over into everything else you create.