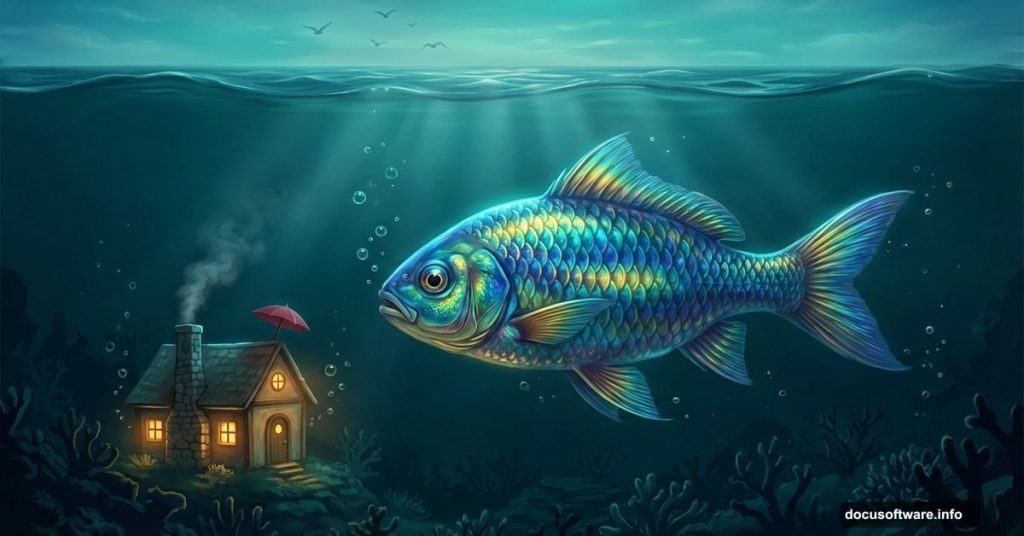
Ever looked at a fish tank and thought, “What if that fish had its own little house with a chimney?” That’s basically the creative spirit behind this Photoshop project, and it’s way more fun to build than you might expect.
This tutorial walks you through creating a surreal underwater world complete with a giant fish, an umbrella house, bubbles, smoke, and birds. It sounds ambitious, but each step builds naturally on the last. Plus, the techniques you’ll learn here — masking, blending modes, adjustment layers — apply to almost every photo manipulation project you’ll ever tackle.
Let’s get into it.
Setting Up Your Canvas and Sky Foundation
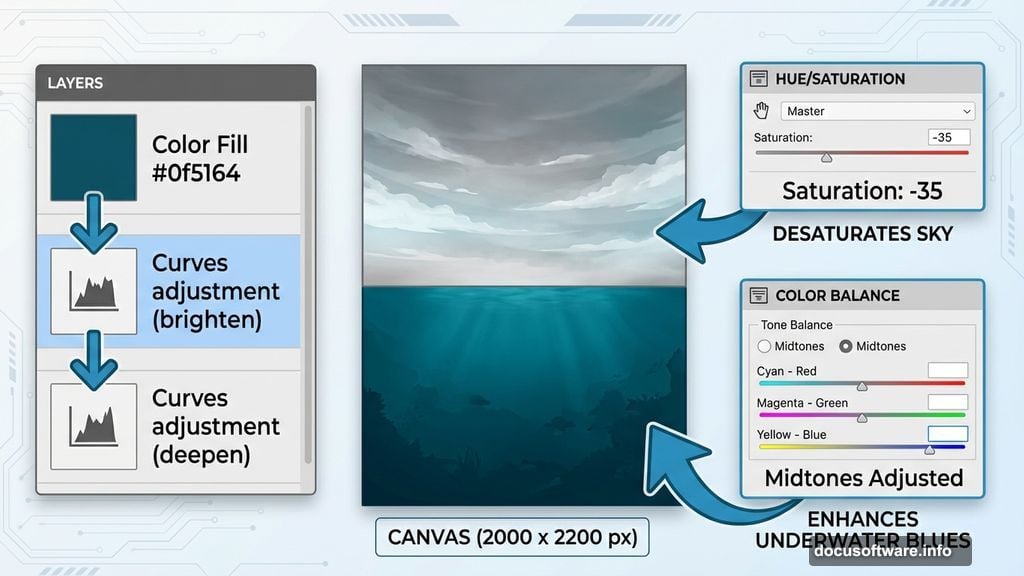
Start fresh. Create a new document in Photoshop at 2000×2200 pixels and fill it with white. That tall canvas gives you plenty of vertical space to separate your sky world from the underwater environment below.
Next, open the sky image from the resource list. Grab the Rectangular Marquee Tool (M) and select just the sky portion. Then use the Move Tool (V) to drag it onto the top section of your white canvas. Simple placement for now — the magic comes with the adjustments.

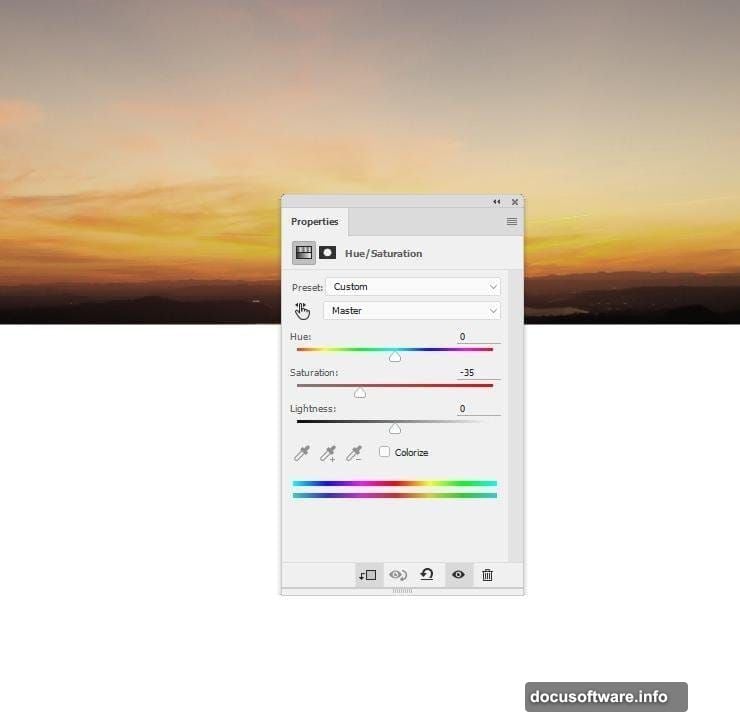
The sky needs to feel moodier and less saturated to match the surreal tone of the piece. Go to Layer > New Adjustment Layer > Hue/Saturation and set it as a Clipping Mask. Pull the Saturation down to -35. You’ll immediately notice the sky looks more cinematic and less like a vacation photo.
Then add a Color Balance adjustment layer — again as a Clipping Mask — and tweak the Midtones settings. This shifts the color temperature and starts connecting the sky to the underwater palette you’ll build below.
Building the Underwater Environment
Here’s where things get interesting. The underwater section needs its own distinct atmosphere, and you’ll build it from scratch rather than relying on a photo.
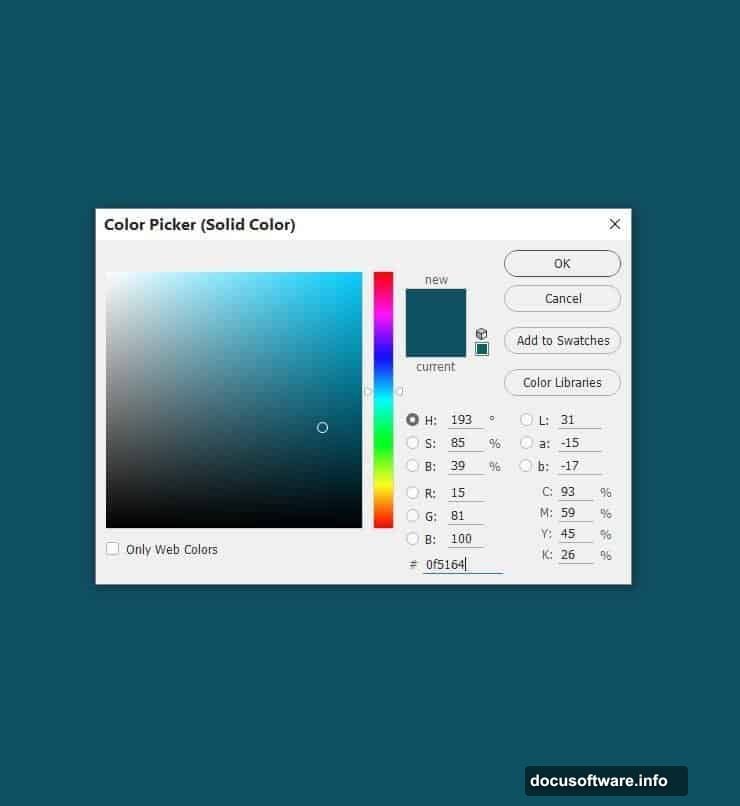
Create a Color Fill layer and choose the color #0f5164 — a deep teal-blue that feels genuinely submerged. Use the Rectangular Marquee Tool to draw a selection covering the lower portion of the canvas. Click the mask icon at the bottom of the Layers panel to apply the fill only to that area. You now have a clean boundary between sky and water.
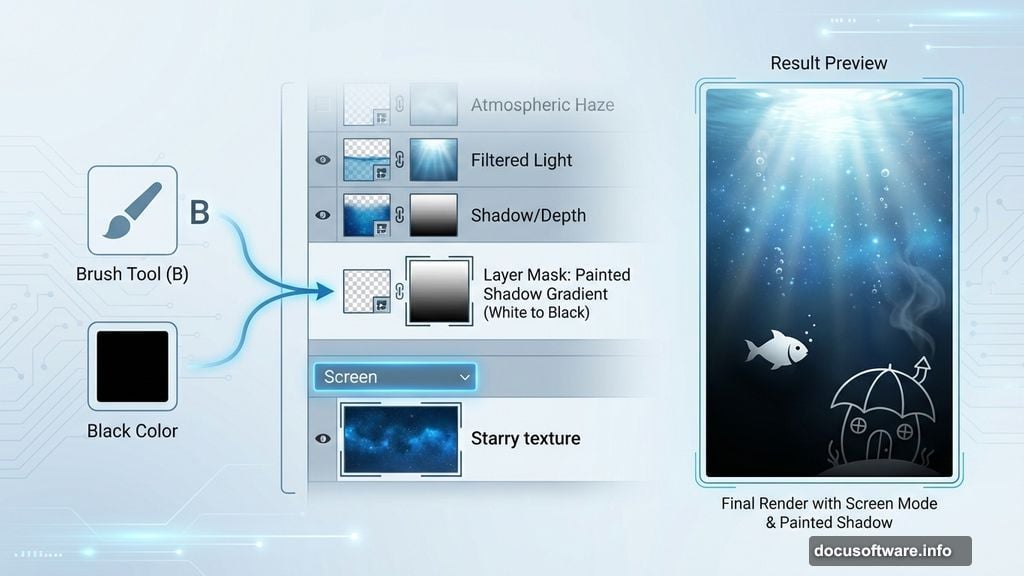
But flat color looks fake. So next, add a Curves adjustment layer to brighten the upper part of the underwater section. This simulates light filtering down from the surface above. On the layer mask, activate the Brush Tool (B), pick a soft round brush in black, and paint over the bottom of the layer. That preserves the natural shadow at depth while the top glows with filtered light.
Follow that with a second Curves adjustment layer to deepen the darker areas. Subtle contrast goes a long way in making water feel three-dimensional.
Adding Texture and Atmosphere
Water isn’t perfectly smooth, and this is where the noise images earn their place. Open the Starry textures pack and pull in the first texture. Set this layer’s blending mode to Screen at 100% opacity. Screen mode drops all the dark tones and lets only the lighter particles show through — perfect for mimicking underwater particles and ambient light scatter.

Add a mask to this texture layer. Use a soft black brush to reduce the visibility of any areas where the dots and noise feel too heavy. You want subtle texture, not a snow globe.
Then add a Hue/Saturation adjustment layer to desaturate the noise completely. This keeps the texture from introducing unwanted color casts into your carefully built underwater environment.
Dropping In the Giant Fish
Now comes the centerpiece. Isolate the fish from its background — use whatever selection method you prefer, whether that’s the Pen Tool for precision or Select Subject for speed. Place the fish in the middle of the underwater area. This is your visual anchor, so positioning matters. Centered with a little breathing room on all sides works best at this stage.
Create a Color Fill layer set as a Clipping Mask directly above the fish layer. Choose the color #125e72 and lower the opacity to 50%. This tints the fish with the ambient underwater color so it doesn’t look like it was just dropped in from a completely different photo. That small color harmony step makes a huge difference in realism.
What’s Still to Come
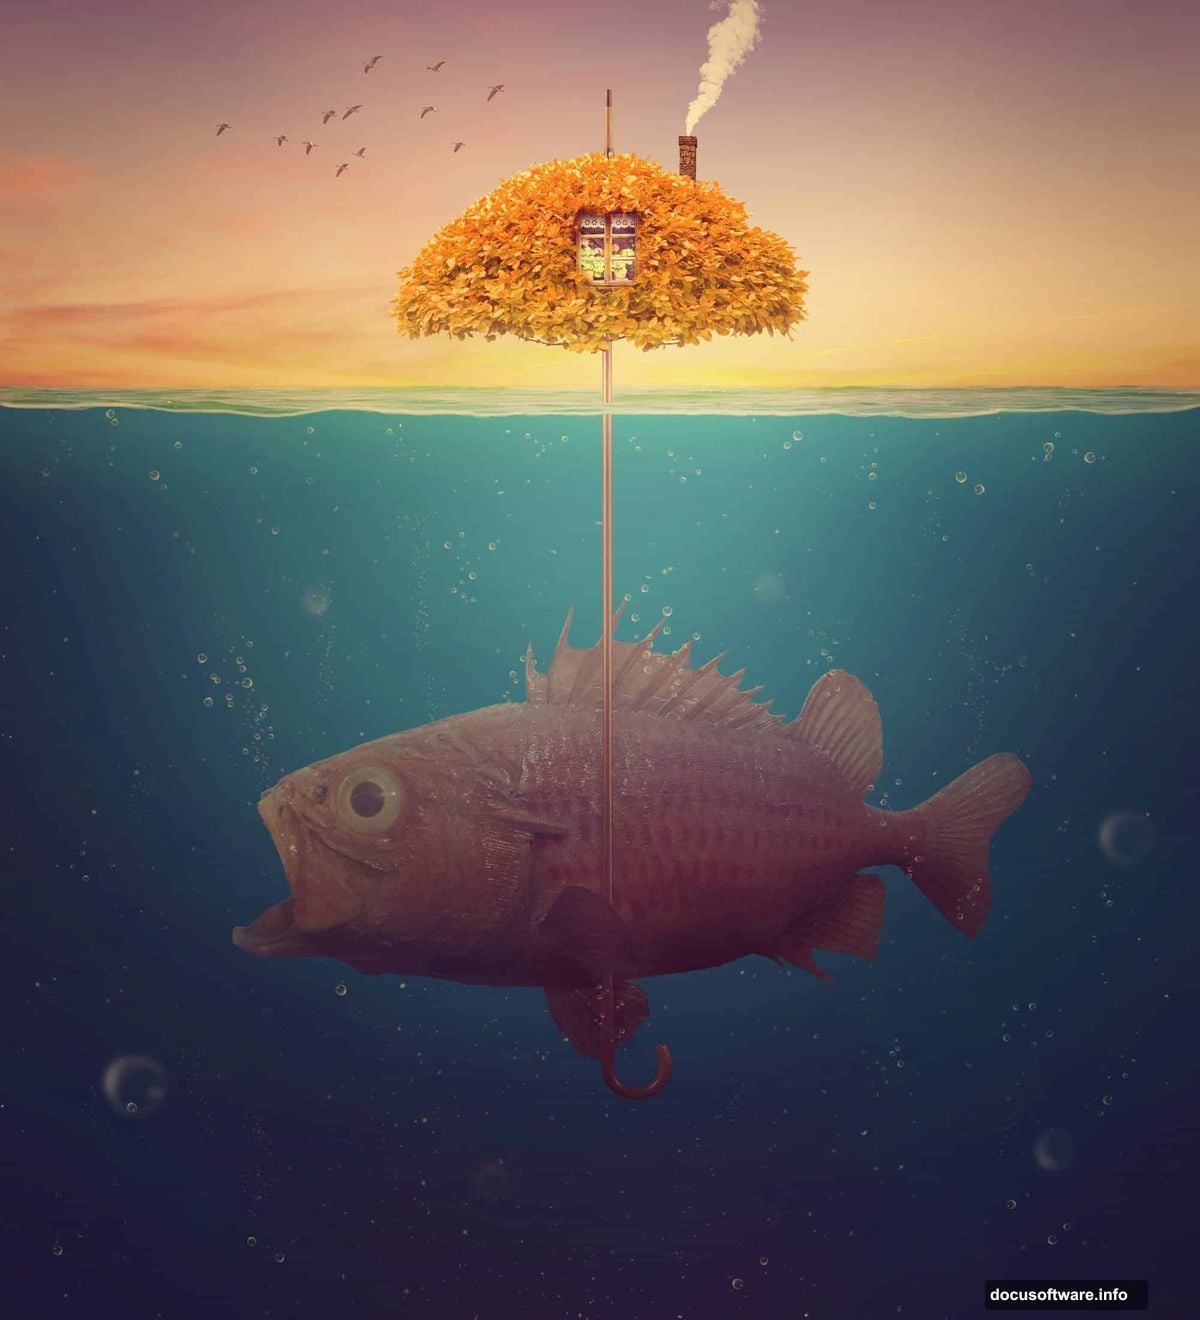
The foundation is solid at this point. You’ve got a moody sky, a convincing underwater environment, and your star character placed and color-matched. The next stages bring in the umbrella house, chimney, smoke, bubbles, window, tree, leaves, and birds — each blended with the same combination of adjustment layers, masking, and brush work you’ve already been using.
The process is deliberately layered and cumulative. Every element you add builds on the atmosphere you’ve already established. So by the time you’re painting in wisps of smoke from a tiny chimney or scattering bubbles around the fish’s home, the scene already has enough depth and color cohesion to sell the whole fantasy.
Surreal art works because it takes impossible scenarios and makes them feel visually convincing. Photoshop’s adjustment layers are your best tool for that — they let you unify wildly different photos into something that feels like it exists in the same world.
Take your time with each masking step. That’s where most of the realism lives.