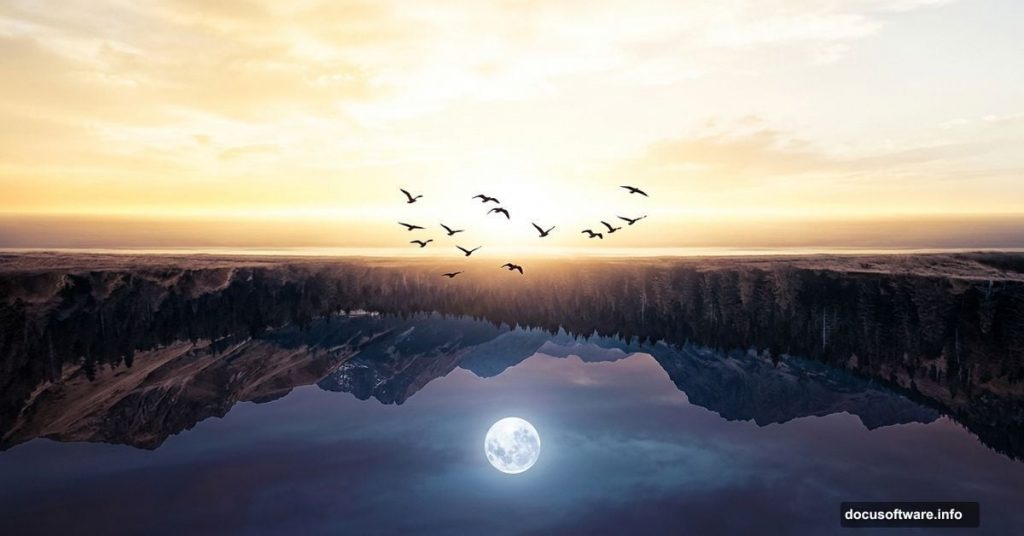
Ever look at a stunning reflection in still water and think, “What if that was a whole world?” That’s exactly the feeling this Photoshop project captures. You’ll flip reality on its head and blend day and night into one dreamlike scene.
This tutorial walks you through building a surreal upside-down landscape from scratch. You’ll layer sky and ground images, add underground mountains, a glowing moon, and birds in flight. Then you’ll refine everything with brushes, dodging, layer blend modes, and adjustment layers for that final polished look.
Let’s get into it.
What You’ll Need Before Starting

Grab these stock images before you open Photoshop:
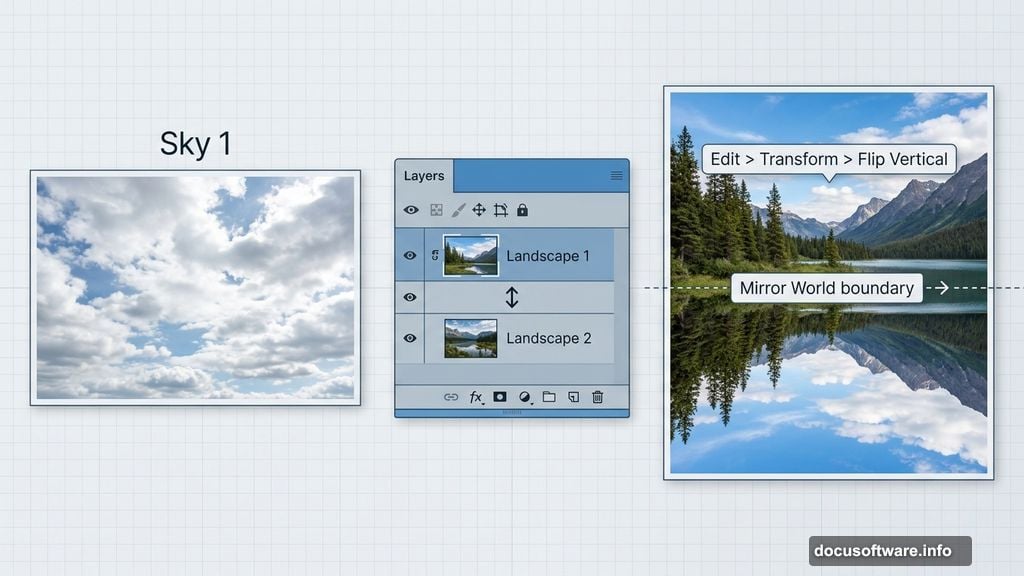
- Sky 1 and Sky 2
- Landscape 1 and Landscape 2
- Mountains
- Soil
- Birds 1, Birds 2, and Birds 3
Having everything ready saves you from stopping mid-flow. So download them all first, then come back here.
Setting Up Your Canvas
Start fresh. Create a new document at 2000×1500 pixels and fill it with white. This gives you a clean, well-sized workspace for the composition.
Next, open your Sky 1 image and drag it onto the white canvas using the Move Tool (V). Position it so the right side of the sky fills the canvas edge to edge. This becomes the foundation everything else builds on.
Making the Sky Look Soft and Luminous
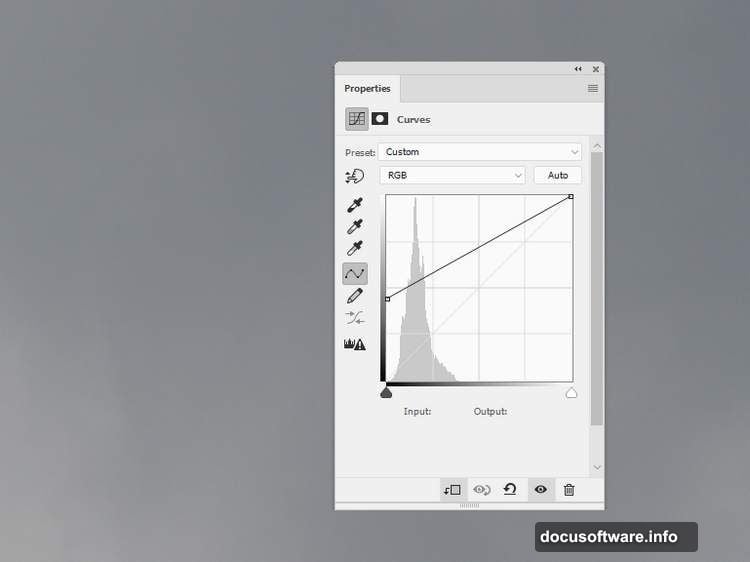
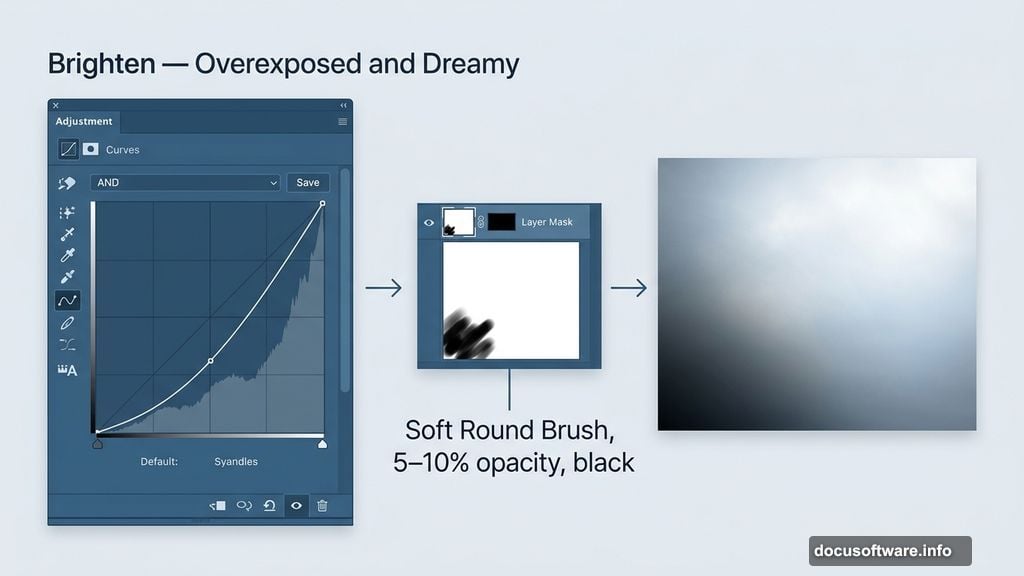
The sky needs a hazy, light-drenched quality. Go to Layer > New Adjustment Layer > Curves and pull the curve upward to brighten things significantly. Think overexposed and dreamy, not just slightly lighter.
Now grab the Brush Tool (B) and choose a soft, round brush in black. Set the opacity low, somewhere between 5 and 10 percent. On the Curves layer mask, lightly brush over the bottom-left of the sky. This subtle darkening creates natural depth and stops the sky from looking flat.
Building the Ground Layer
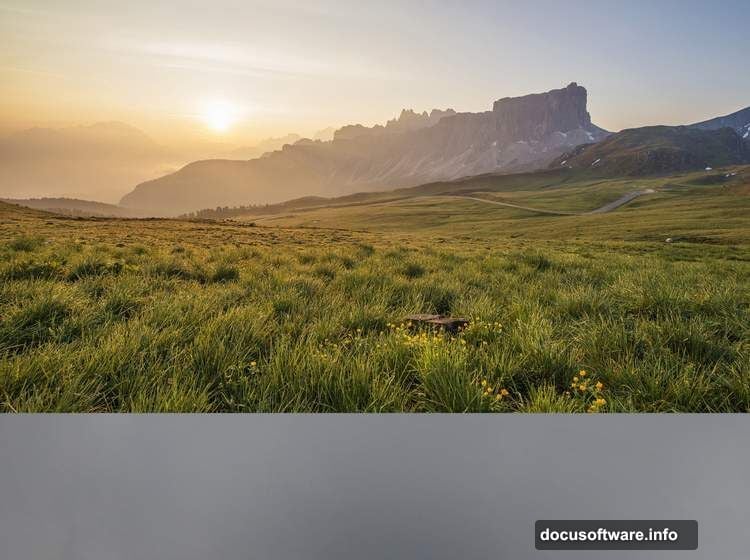
Open Landscape 1 and drag it to the upper portion of your main canvas. Use the Free Transform Tool (Ctrl+T) to resize it until it fits the document width. Think of this as your horizon line anchoring the whole scene.
Add a layer mask by clicking the second icon at the bottom of the Layers panel. Then use a medium-soft black brush to erase the bottom edge of the landscape. You want a smooth, natural fade rather than a hard cut.
Flipping Reality Upside Down
Here’s where things get interesting. Place Landscape 2 below Landscape 1 in your layer stack. Then go to Edit > Transform > Flip Vertical. This flipped version sits beneath your main landscape, creating the illusion of a mirror world below.
Add a mask to this layer. Use a soft black brush at about 40 to 50 percent opacity to reduce the sky visibility and blend the trees and mountains into the existing sky above. The goal is a seamless merge, not two obvious images stacked together.
Color-Correcting the Flipped World
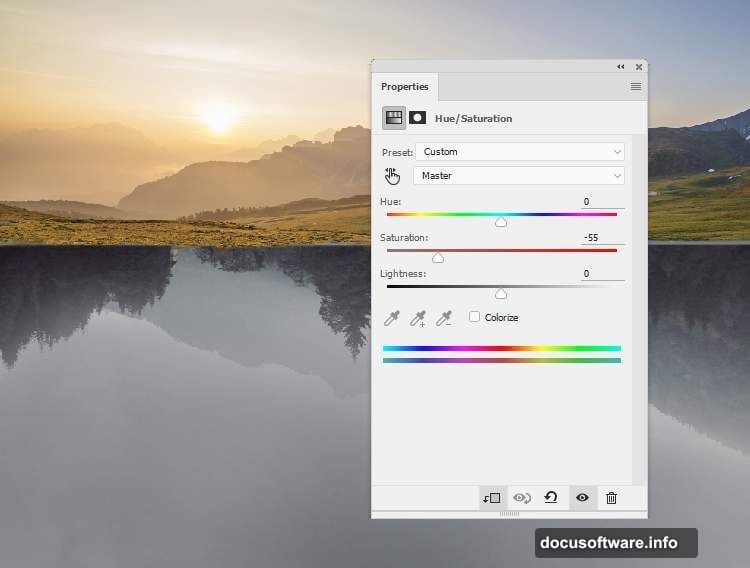
The underground world should feel slightly different. Muted. Otherworldly. Select the Landscape 2 layer and add a Hue/Saturation adjustment layer, setting it as a Clipping Mask so it only affects that layer.
Drag the Saturation slider down to -55. This desaturates the flipped landscape just enough to push it into the background visually and give it that underground, shadow-world feeling.
Controlling Light and Shadow Below
Add a Curves adjustment layer above Landscape 2, again as a Clipping Mask. Pull the curve downward to darken the layer. Then, on the Curves mask, use a soft black brush to paint back brightness on the trees and any details that feel too crushed in the shadows.
This step is all about control. You want the underground to feel dark but not dead. Texture and detail should still peek through.
Adding Underground Mountains
Place the Mountains image below Landscape 2 in the layer order. Flip it vertically, just like you did before, and move it down into the lower section of the scene. Change the blend mode to Hard Light at 100 percent.
Hard Light works beautifully here because it punches through while interacting with the layers beneath. The mountains feel embedded in the scene rather than pasted on top. Plus, the contrast adds that dramatic, otherworldly depth you’re building toward.
Bringing It All Together
At this point, your base composition is in place. The upper world glows with soft daylight. The lower world feels darker, muted, and strange. The flipped landscape creates that satisfying mirror effect that makes surreal artwork feel believable.
From here, you’ll continue adding the moon, birds, and final detail work. Brushwork and dodging help unify the scene, while the final adjustment layers tie the colors and tones into one cohesive mood.
Photoshop manipulation like this rewards patience. Each small adjustment builds on the last. So if something looks slightly off at step three, take a moment to fix it before moving forward. Clean layers early mean less headache later.
The most exciting part of this kind of project is seeing that moment when the composition clicks. The top and bottom worlds stop looking like two separate photos and start feeling like one impossible, beautiful place.