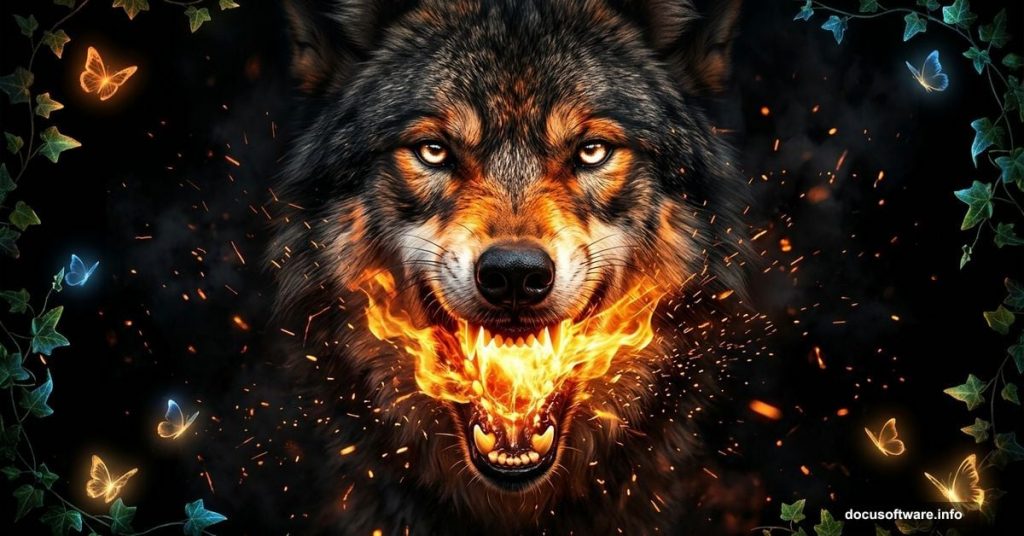
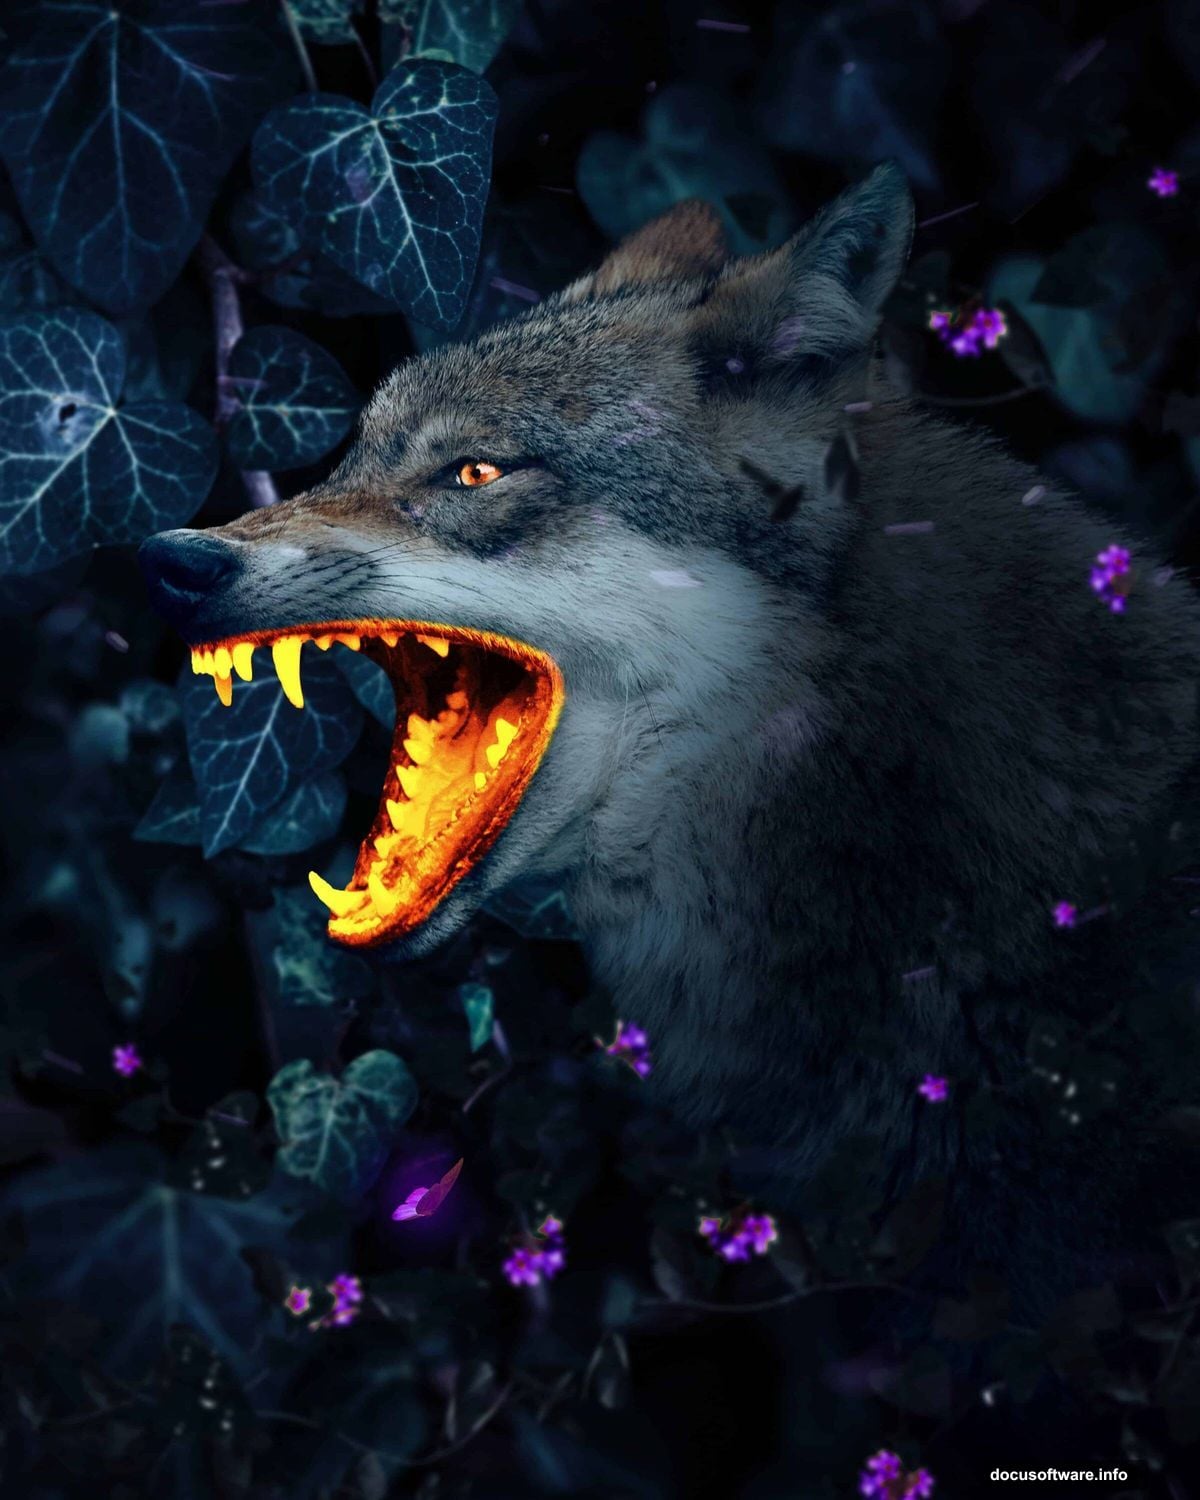
Few things grab attention like a dramatic fantasy composite. A wolf with a glowing mouth, crackling with fire and surrounded by ivy and butterflies? That’s the kind of image that stops people mid-scroll. And the best part? You can build it yourself with some smart layering and a handful of adjustment techniques.
This tutorial walks you through the whole process, from setting up your canvas to adding that final cinematic polish with Camera Raw. Let’s get into it.
What You’ll Need Before Starting
Grab these resources before opening Photoshop. You’ll need a wolf photo, a background image, a butterfly, fire particle brushes or textures, and an ivy element. Having everything ready saves you from hunting mid-project and breaking your creative flow.
The final image runs at print-quality resolution, so expect your file to get large. A machine with at least 8GB of RAM will handle this much more comfortably.
Canvas Setup and Background Placement
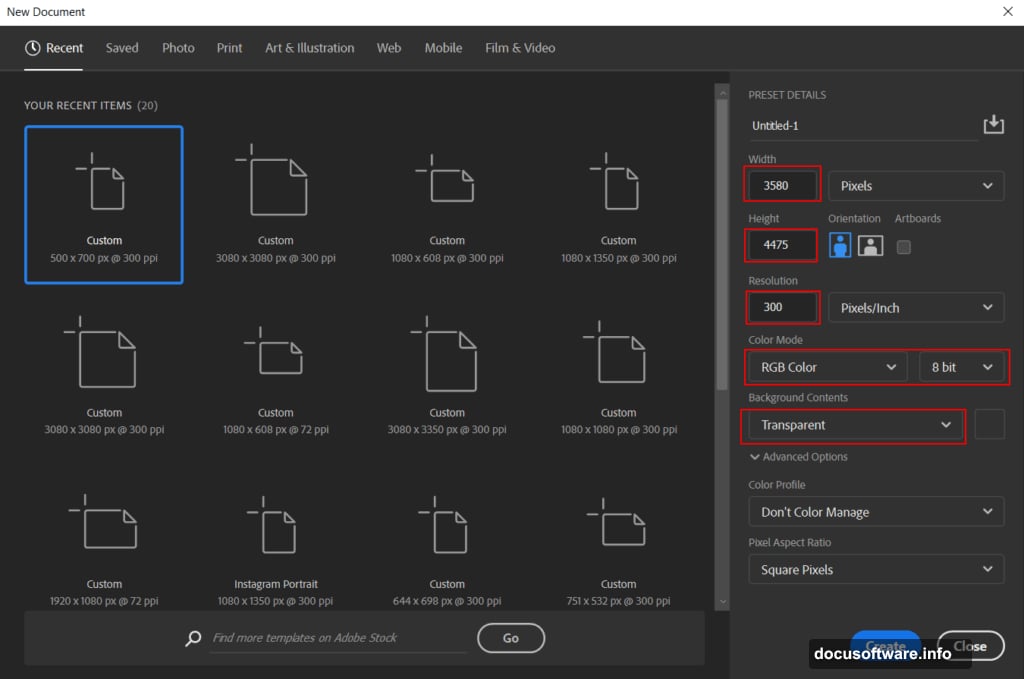
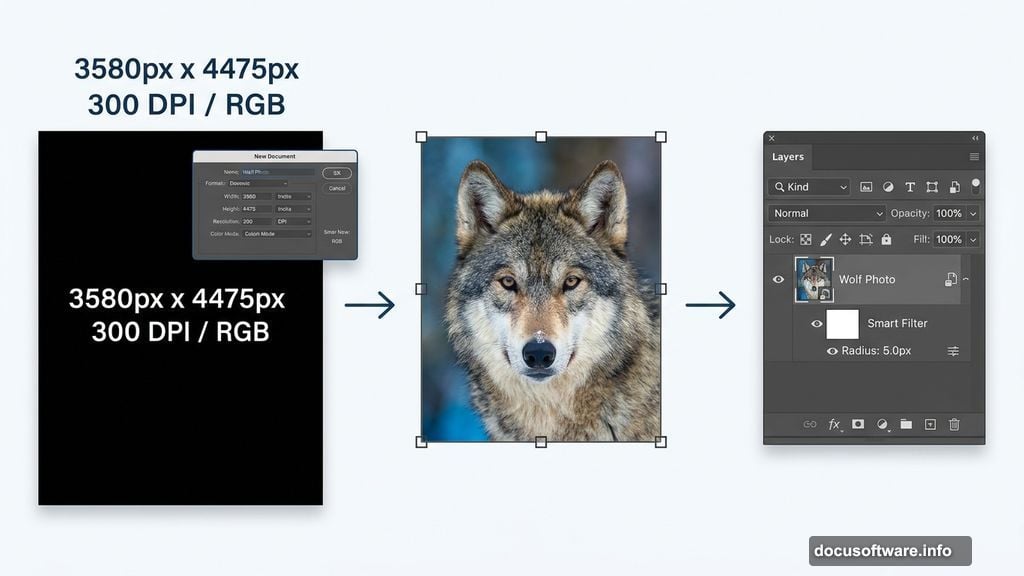
Start fresh. Go to File > New and punch in these values:
- Width: 3580px
- Height: 4475px
- Resolution: 300 DPI
- Color Mode: RGB Color, 8-bit
- Background: Black
That black background matters. It gives you a dark foundation that makes glow effects pop naturally later on.
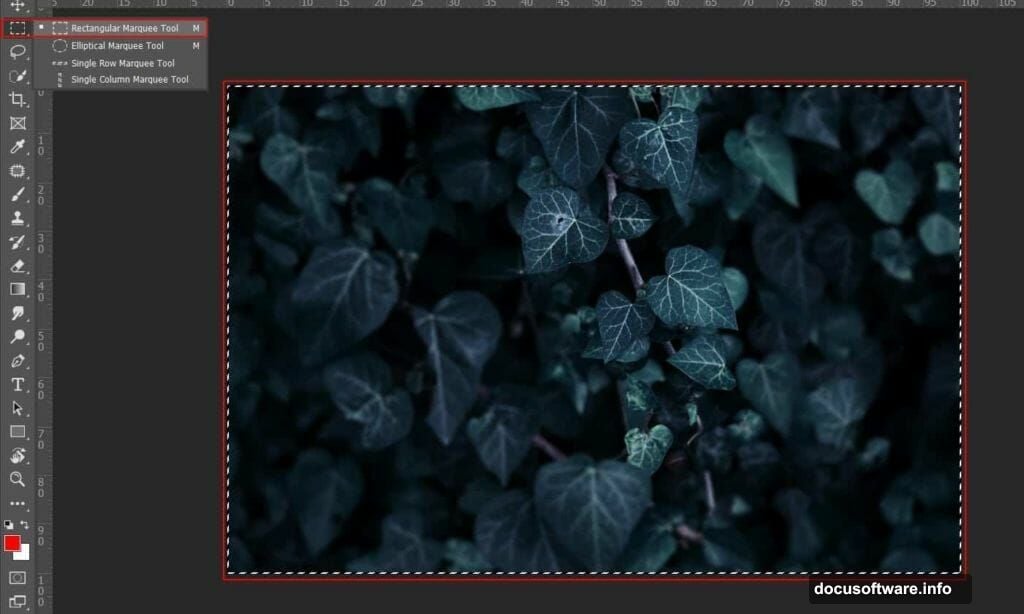
Next, open your background photo. File > Open, select your image, then grab the Rectangular Marquee Tool (M) to select the area you want. Copy (Ctrl/Cmd + C) and paste (Ctrl/Cmd + V) it onto your canvas. Use the Transform Tool (Ctrl/Cmd + T) to position it correctly.
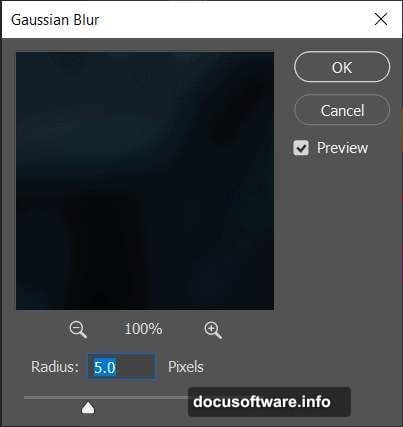
Here’s a small but important step. Right-click the layer and choose “Convert to Smart Object.” This keeps your edits non-destructive, so you can always go back and adjust. Then go to Filter > Blur > Gaussian Blur and set the radius to 5.0px. That soft blur pushes the background back visually, making your wolf feel like the real star of the scene.
One quick note on resizing: hold Alt + Shift to resize from all sides together. In Photoshop CC, just holding Alt does the same thing.
Adjustment Layers That Build Atmosphere
![A Photoshop layers panel showing stacked Levels and Curves adjustment layers applied to a dark wolf composite background]
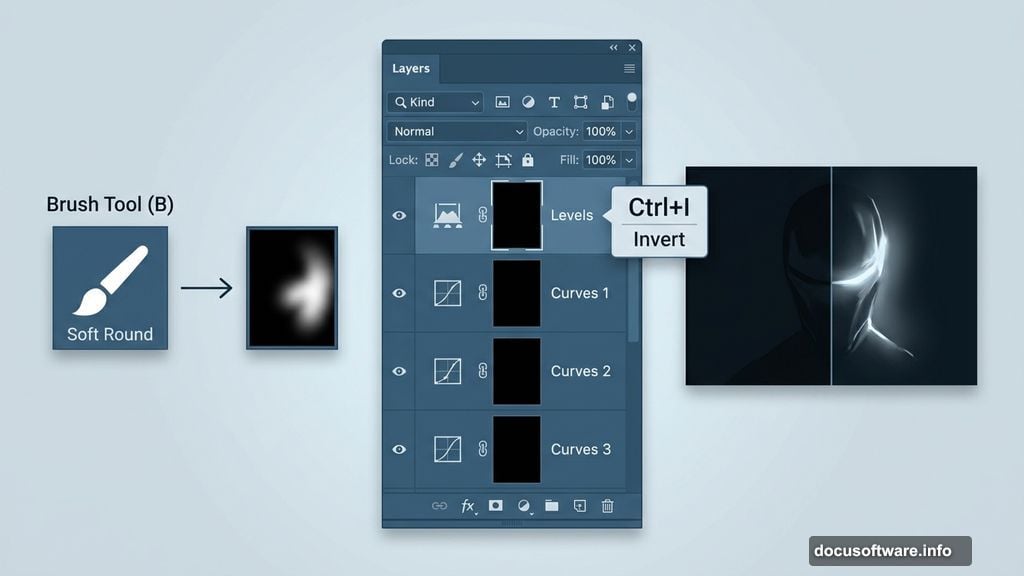
This is where the mood comes together. Three separate Curves adjustments and one Levels layer do the heavy lifting here.
First, add a Levels Adjustment Layer to bring the tonal range into shape. Then add your first Curves layer. After adding it, press Ctrl/Cmd + I to invert the mask to black. This hides the adjustment completely at first. Then pick the Brush Tool (B), set it to Soft Round with white as your foreground color, and paint over the highlight areas of the background. White on a black mask reveals the adjustment only where you paint, giving you precise control.
Repeat this same process two more times with separate Curves layers. Use one to target the dark areas of the image and another to push the highlights further. Painting selectively on each mask lets you sculpt light and shadow independently without touching the others.
It sounds slow, but this technique gives you painting-level control over the lighting. It’s worth every extra minute.
Cutting Out and Placing the Wolf
Open your wolf photo. Grab the Quick Selection Tool (W) and start painting over the animal. Photoshop will auto-detect edges as you drag. Clean up any messy spots around the fur by holding Alt to deselect areas that got accidentally included.
Once you’re happy with the selection, copy and paste the wolf onto the main canvas. Transform and position it so the composition feels balanced. Convert it to a Smart Object here too, just like the background. That way any filters you apply later stay fully editable.
The wolf should feel grounded in the scene, not floating. Take your time with the placement before moving on.
Building the Glow Effect
This is the moment the whole image snaps into focus. The glowing mouth effect combines several techniques layered on top of each other.
Start by adding a new blank layer above the wolf. Set the blend mode to something like Screen or Add. Using a soft brush with a warm orange or electric blue color (depending on your creative direction), paint loosely around the mouth area. Keep the opacity low, around 20-30%, and build up the intensity gradually with multiple strokes.
Then duplicate the wolf layer and apply a Gaussian Blur to the copy. Set that blurred layer to Screen mode and reduce the opacity until it just adds a soft halo rather than a full glow. Stack a few of these blurred copies with slightly different opacities to create depth in the effect.
The goal is glow that feels like light is genuinely coming from inside the wolf, not like someone painted a bright spot on top.
Adding Ivy, Butterflies, and Fire Particles
These elements transform a cool portrait into a full fantasy composite. Each one adds a different texture and sense of life to the scene.
Place the ivy elements around the edges and base of the composition. Use masking to blend the edges naturally so ivy feels like it’s growing into the scene rather than pasted on. Adjust the hue and saturation to match your overall color palette.
The butterfly adds a delicate counterpoint to the wolf’s intensity. Place it somewhere it draws the eye toward the face without competing with the glow. A slight motion blur can suggest movement and make it feel more alive.
For the fire particles, place them near the mouth area to reinforce the glowing effect. Set the particle layer to Screen blend mode so the black background disappears and only the fire shows. This is one of those blend mode tricks that feels like magic the first time you see it work.
Camera Raw as the Final Touch
Once every element is in place, merge everything onto a single Smart Object layer. Then go to Filter > Camera Raw Filter.
![A Camera Raw filter panel in Photoshop showing color grading sliders applied to a glowing wolf composite image]
Camera Raw gives you film-style color grading controls without leaving Photoshop. Boost the Clarity slider slightly to add edge crunch and make the wolf’s fur texture read stronger. Pull the Highlights down a touch and lift the Shadows slightly to keep detail in both ends of the tonal range.
Use the HSL sliders to push the oranges and yellows warmer for a fire-heavy look, or pull blues and greens for a more supernatural feel. The Split Toning panel is great for adding warm shadows and cool highlights, which naturally separates your foreground from background.
Small adjustments here make a massive difference to the finished image. This is your color grading pass, and it ties the whole composite together.
Keep tweaking until the image looks like it all belongs to the same world. When every element feels connected by consistent light and color, you’re done.
The best photo manipulation work never looks like manipulation at all. It looks like a moment someone actually captured. That’s the standard worth chasing, and these techniques get you there.