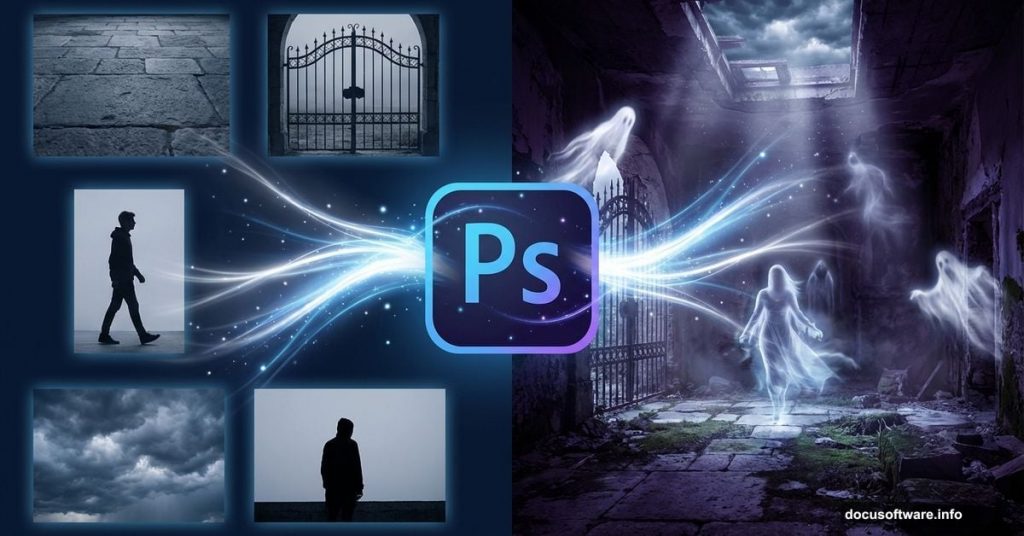
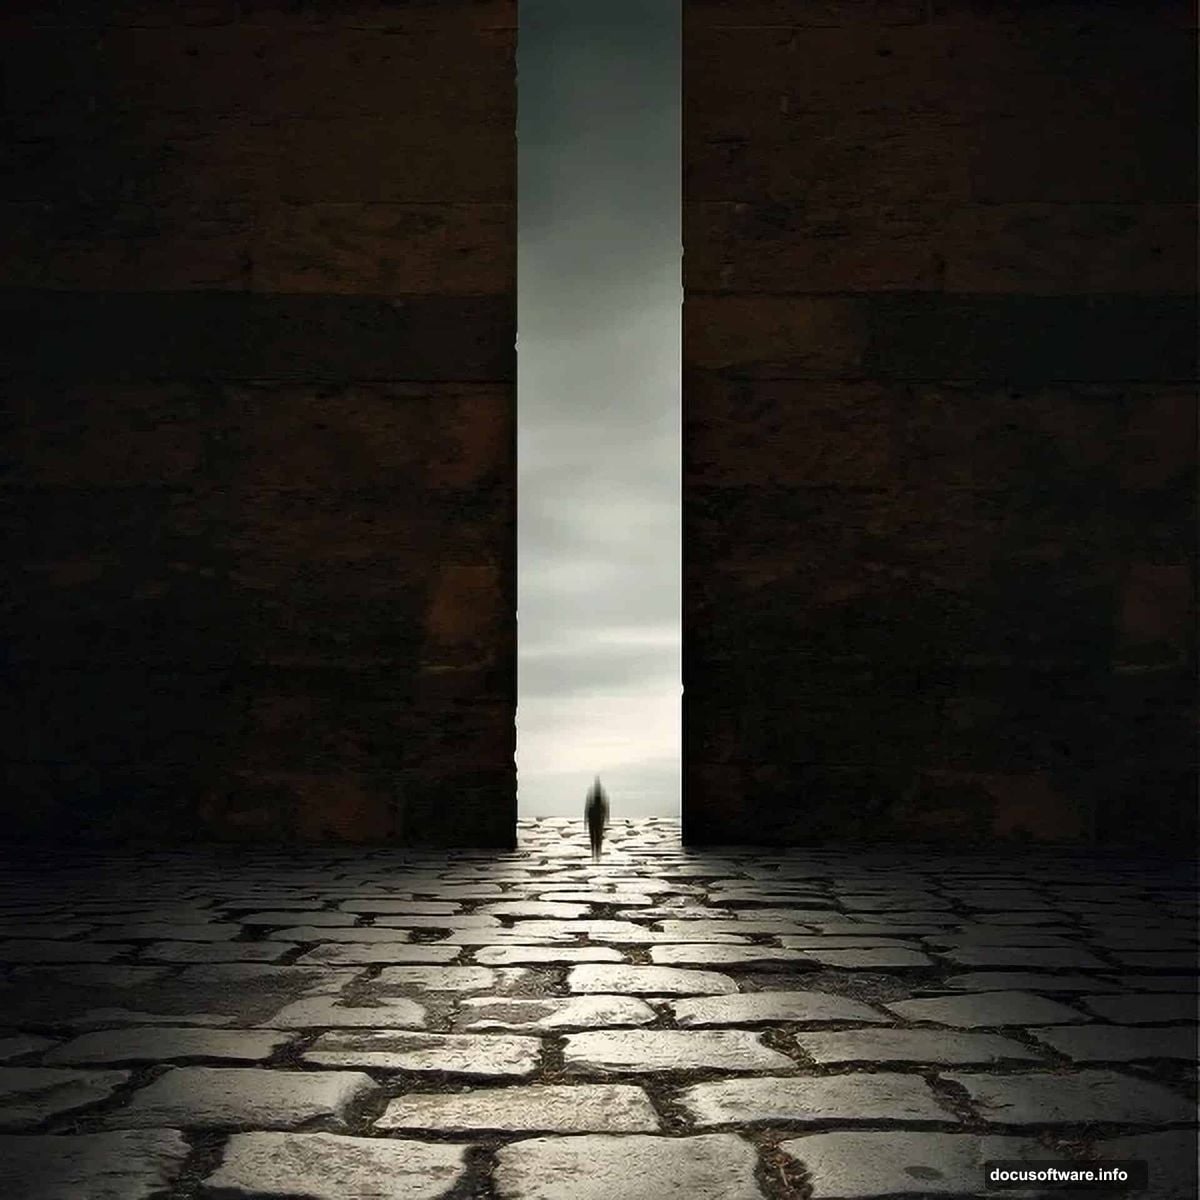
Photo manipulation sounds intimidating. But this dark, atmospheric scene proves anyone can build complex composites using basic Photoshop techniques.
You’ll transform simple stock photos into an eerie ancient room complete with ghostly figures and cinematic lighting. Plus, every technique here works for future projects beyond this single tutorial.
What You’ll Actually Learn
This isn’t just about following steps blindly. You’ll understand why each technique works and when to use it elsewhere.
The core skills include blending multiple images seamlessly, creating realistic shadows with brushes, and building atmosphere through adjustment layers. You’ll also discover how motion blur transforms ordinary photos into supernatural effects.
Best part? You already know most of these tools. We’re just combining them differently.
Grab Your Source Images First
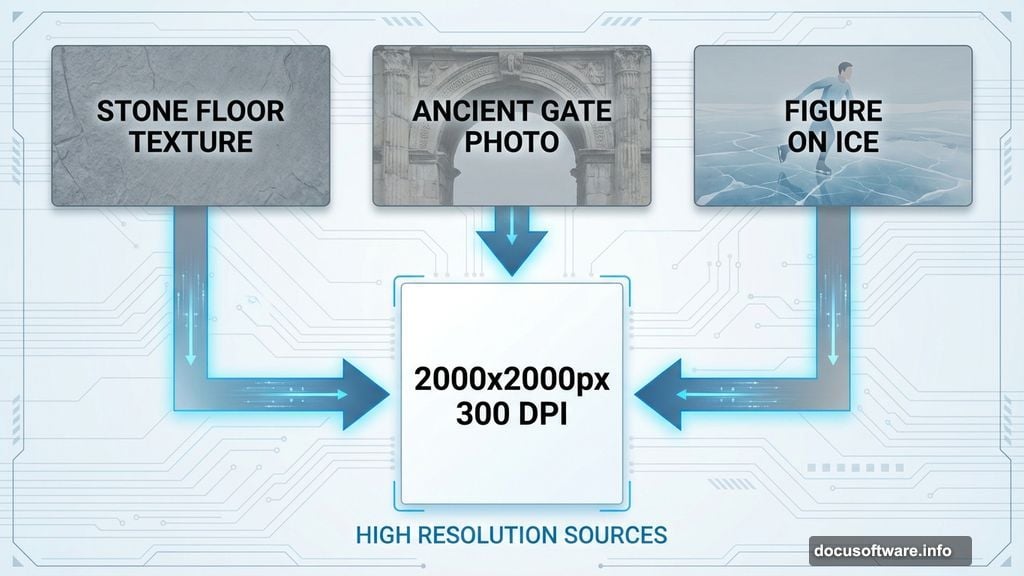
Before touching Photoshop, collect your raw materials. You need five specific stock photos for this composite.
Required images:
- Stone floor texture for the base
- Ancient gate photo for wall elements
- Figure walking on ice for your main subject
- Stormy sky for dramatic background
- Any additional atmospheric elements you want
Make sure these images are high resolution. Low-quality sources create low-quality finals no matter how skilled your technique.
Build the Foundation Layer
Start with a 2000×2000 pixel canvas at 300 DPI. This gives you room to work without quality loss.
Open your stone floor texture. Use the Marquee tool (M) to select the cleanest section. Then drag it onto your canvas with the Move tool (V).
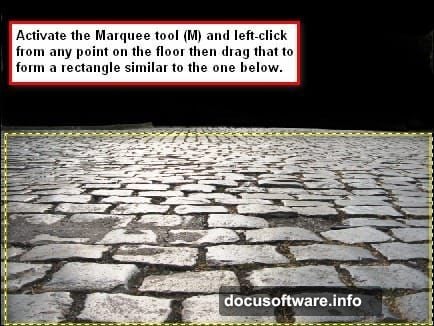
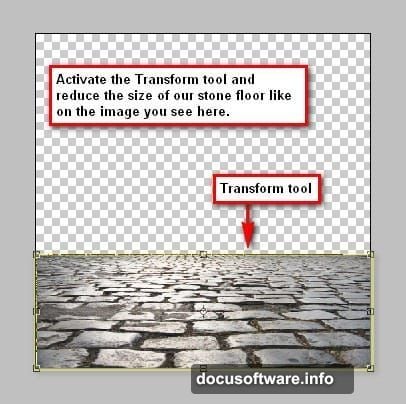
The image will likely be too large. Hit Ctrl+T (Cmd+T on Mac) to activate Free Transform. Drag the corner handles inward while holding Shift to maintain proportions. This becomes your floor layer.
Rename it immediately. Trust me, “Layer 1” becomes confusing fast when you hit 20+ layers.
Add Ancient Walls With Precision
Here’s where the Polygonal Lasso tool (L) shines. Open your gate stock image and zoom in close.
Click once to start your selection, then click again at each corner point of the wall section you want. The tool connects each click with a straight line. Work your way around the entire wall section, then double-click to complete the selection.
Drag this selection to your canvas. It’ll probably look tiny compared to your floor. Transform it again (Ctrl/Cmd+T) and scale it up until it matches the perspective you want.
Position it as one wall of your room. Then duplicate the layer (Ctrl/Cmd+J) and flip it horizontally to create the opposite wall. This saves time and maintains consistency.
Create Believable Shadows
Shadows sell the illusion. Without them, your composite looks like a bad collage.
Create a new layer beneath your wall layers. Set the layer blend mode to Multiply. This makes black paint transparent while darkening underlying layers.
Grab a soft brush (B) set to black at about 30% opacity. Paint where shadows would naturally fall based on your imaginary light source. Build up darkness gradually with multiple strokes rather than one heavy pass.
The floor should darken where it meets the walls. Paint shadows there first. Then add subtle shadows on the walls themselves where they curve or have texture depth.
Blend the Stormy Sky Background
Your ancient room needs a dramatic backdrop. Open your stormy sky image and select a moody section with your Marquee tool.

Move it to your canvas and position it behind all your other layers. Transform it to fill the entire background area behind your walls.
Now comes the blending magic. Add a layer mask to your wall layers. Use a soft black brush on the mask to gently fade the top edges of your walls into the sky. This creates the illusion of depth and atmospheric haze.
The key is subtlety. Paint the mask lightly in multiple passes rather than one heavy stroke.
Add Your Main Subject Figure
Open your figure stock image. Use whichever selection tool works best for the complexity of the subject. For a person against a simple background, the Quick Selection tool (W) usually works great.
Move your selected figure to the canvas. Scale and position them in your scene. Think about realistic placement and size relationships to your walls.
Add a new shadow layer beneath the figure, just like you did for the walls. Paint a shadow on the floor extending from the figure’s feet. The shadow should point away from your implied light source.
Transform the Figure Into a Ghost
This technique turns an ordinary photo into something supernatural. Duplicate your figure layer twice.
On the top copy, go to Filter > Blur > Motion Blur. Set the angle to match the direction you want your ghost moving. Adjust the distance slider until you get a nice trailing effect, usually between 30-60 pixels.
Reduce this blurred layer’s opacity to around 40%. The original figure underneath shows through, creating that classic ghostly double-exposure look.
Play with the blend mode too. Screen or Lighten modes can create an even more ethereal effect depending on your figure’s colors.
Build Atmosphere With Adjustment Layers
Click the half-circle icon at the bottom of your Layers panel to add adjustment layers. These modify color and tone without permanently changing your images.
Start with a Curves adjustment. Pull the curve slightly downward to darken your scene and increase moodiness. Focus on the midtones rather than the highlights or shadows.
Add a Color Balance adjustment next. Push the midtones slightly toward blue and cyan for that cold, eerie atmosphere. Just don’t overdo it, subtle shifts feel more realistic.
Finally, add a Hue/Saturation adjustment. Reduce overall saturation by about 20%. This desaturated look reinforces the dark, ancient feeling.
Create a Dramatic Vignette
This final touch focuses attention on your central subject. Create a new layer at the very top of your layer stack.
Fill it with white using Edit > Fill. Then go to Filter > Lens Correction. In the Custom tab, drag the Vignette Amount slider to the left until you see dark edges creeping in. Adjust the Midpoint slider to control how far the darkness extends.
Set this layer’s blend mode to Multiply. Reduce opacity if the effect looks too strong. The vignette should be noticeable but not overwhelming.
Fine-Tune Your Lighting

Look at your composite with fresh eyes. Where should light be hitting? Where should darkness dominate?
Create one more layer set to Overlay blend mode. Paint with white at low opacity where light would naturally fall, your figure’s face, raised portions of the floor texture, highlights on the walls. This adds dimension.
Then switch to black and reinforce your shadows. Overlay blend mode makes both lights and darks more dramatic than normal painting.
Why This Workflow Works
You just built a complex scene from scratch using only basic Photoshop tools. No fancy plugins or advanced techniques required.
The real skill is understanding how layers, blend modes, and masks interact. Master those fundamentals and you can create any composite you imagine. This dark room scene just scratches the surface.
Try swapping different stock images into this same workflow. Change the figure, modify the background, adjust the color grading. The techniques remain identical but the results transform completely.
Photo manipulation isn’t about memorizing specific steps. It’s about developing an eye for light, shadow, and atmospheric perspective. Those skills transfer to every project you touch.