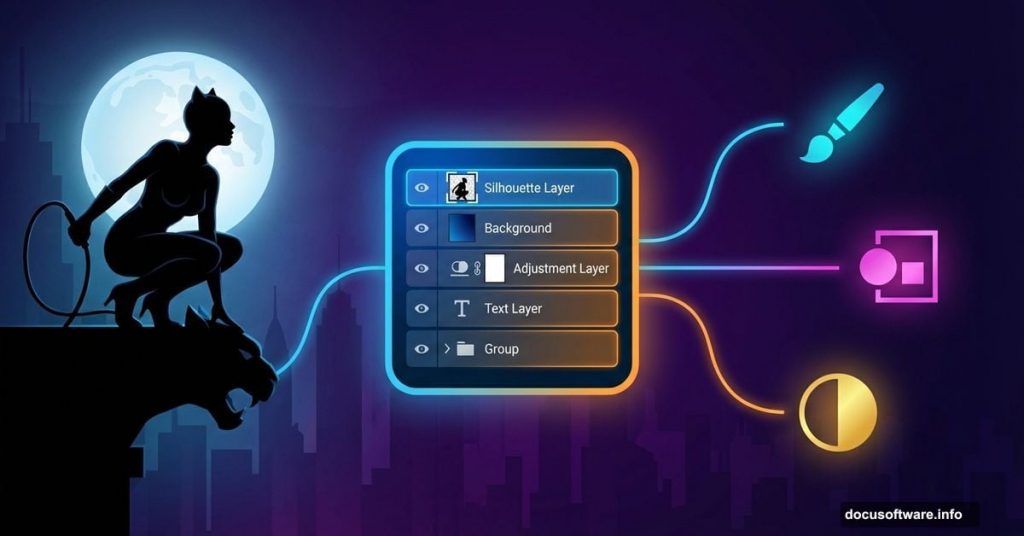
Want to design a dramatic superhero poster? This Catwoman artwork combines multiple photos into one moody nighttime scene.
You’ll learn photo blending, retouching techniques, and how to build atmosphere through lighting effects. Plus, these skills work for any dark cityscape project you tackle next.
The process takes about 2-3 hours. But the results look professional enough for portfolio work or client presentations.
What You’ll Need Before Starting
Grab these resources first. Otherwise, you’ll hit roadblocks halfway through.
Required software: Photoshop CS3 or newer
Stock images you’ll use:
- Catwoman model photo (photographer David MacKenzie)
- Dramatic sky with clouds
- City skyline at night
- Full moon image
- Two brick wall textures
- New York skyline for background depth
- Bat silhouette brushes
Key techniques covered:

- Layer masking and blending
- Adjustment layers for color grading
- Gaussian blur for depth
- Outer glow and inner glow effects
- Brush painting for custom lighting
Download everything now. Trust me, stopping mid-tutorial to hunt for assets kills momentum.
Set Up Your Canvas
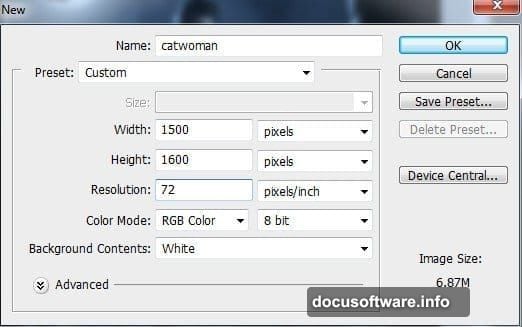
Create a new document first. These dimensions work best for poster-style artwork.
Canvas settings:
- Width: 2000 pixels
- Height: 2800 pixels
- Resolution: 300 DPI
- Color mode: RGB
Why these specs? The 2000×2800 ratio matches standard movie poster proportions. Plus, 300 DPI means your final image prints cleanly if needed.
Hit Create. Now you’ve got a blank white canvas ready for the dramatic cityscape you’re about to build.
Build the Night Sky Foundation
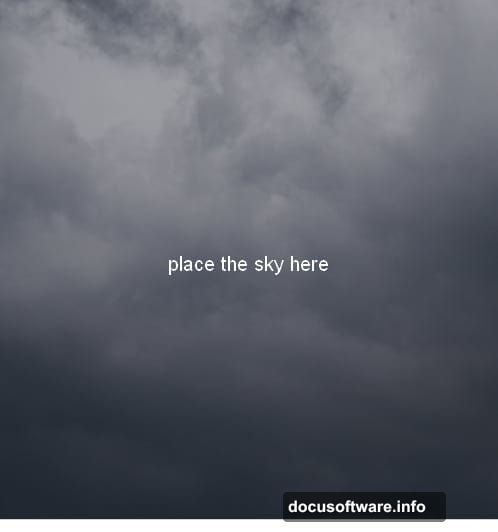
Start with the sky. It sets the mood for everything else.
Import the sky image: Drag your cloudy sky stock photo onto the canvas using the Move Tool. Don’t worry about perfect positioning yet. You can adjust that later with Free Transform (Cmd/Ctrl+T).
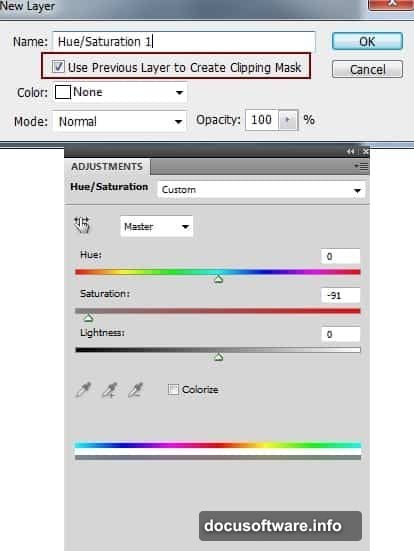
Remove color saturation: Add a Hue/Saturation adjustment layer. Set it as a Clipping Mask so it only affects the sky layer below. Drag the Saturation slider way down toward -100. You want dramatic gray clouds, not cheerful blue skies.
Darken the atmosphere: Create a Curves adjustment layer (also set as Clipping Mask). Pull the curve line down in the middle. This darkens the midtones while keeping highlights and shadows intact.
The sky should now look moody and threatening. Perfect for Gotham City vibes.
Add the City Skyline
Now bring in the urban landscape. This creates the setting where Catwoman operates.
Place the city: Import your city skyline image. Rotate it slightly using Free Transform if the angle feels too straight. Real cities have character, not perfect horizontal lines.
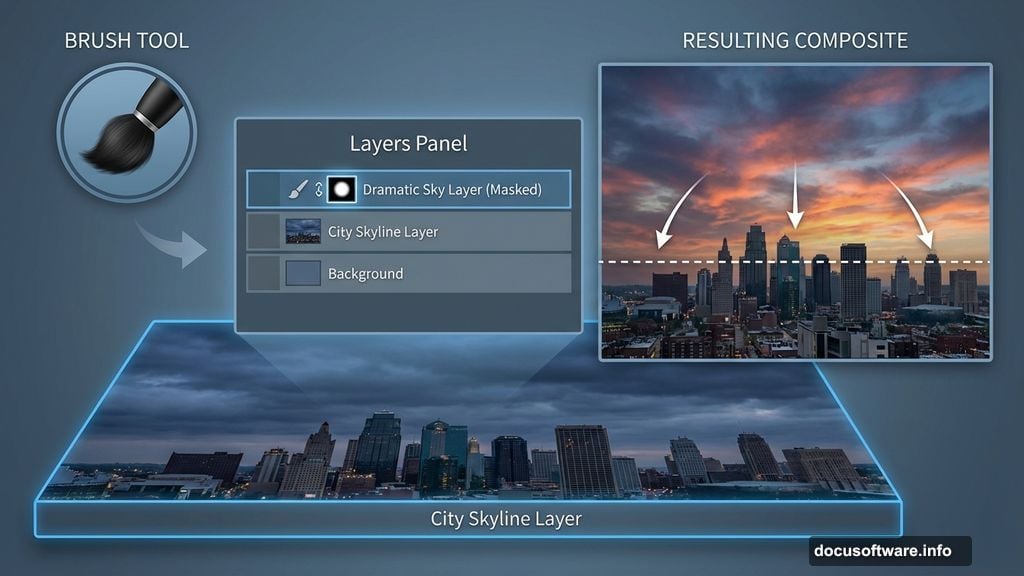
Blend with the sky: Click the mask icon at the bottom of the Layers Panel. This adds a layer mask to your city layer. Grab a soft black brush and paint over the sky portion of the city image. You’re revealing the dramatic sky you created earlier instead of the city’s original bland sky.
Add depth through blur: Go to Filter > Blur > Gaussian Blur. Set the radius to 6 pixels. This makes background buildings look slightly out of focus, adding realistic depth to your scene.
Fix the Color Temperature
Cities at night cast warm and cool light. Adjust the colors to match that reality.
Remove unwanted blue tones: Add a Hue/Saturation adjustment layer (set as Clipping Mask). Target just the blues in that big background building. Desaturate them so the building doesn’t clash with your night scene’s color palette.
Shift to night colors: Create a Color Balance adjustment layer. Push the sliders toward blue and cyan for shadows, yellow for midtones. Night scenes lean cooler overall, but artificial light adds warmth in spots.
These subtle color shifts sell the nighttime atmosphere. Without them, the scene looks like daytime with a dark filter slapped on.
Place and Enhance the Moon
Every good night scene needs a moon. This one gets special treatment.
Add the moon: Import your moon stock image. Position it in the upper left area of the sky. Use a layer mask to remove the black background around the moon itself.
Change the blend mode: Set the moon layer to Screen at 100%. Screen mode brightens the moon and makes it glow against the dark sky naturally.
Soften the edges: Apply Gaussian Blur with a 4-pixel radius. This creates a slight haze around the moon, mimicking how atmospheric moisture diffuses moonlight.
Create the Moon’s Glow Effect
A realistic moon glows. Add that luminous quality with layer styles.
Open Layer Styles: Double-click the moon layer. This opens the Layer Style dialog box.
Add Outer Glow: Click Outer Glow in the list. Use a pale blue-white color like #d5dae2. Adjust the size until you see a soft halo extending from the moon’s edges.
Add Inner Glow: Also enable Inner Glow with similar settings. This brightens the moon’s surface from within, making it look like a genuine light source.
Paint additional light: Create a new layer above the moon. Use a soft brush with color #d5dae2. Paint loosely over and around the moon area. Set this layer to Screen at 100%. Now the moon radiates light into the surrounding sky.
This multi-layer approach creates convincing atmospheric glow. A single glow effect looks flat by comparison.
Add Brick Wall Textures
Catwoman perches on rooftops. Add brick walls to give her something to prowl across.
Import wall textures: Bring in your two brick wall images. Position them in the foreground where you want wall surfaces to appear in your composition.
Blend the walls together: Use layer masks and a soft black brush to blend where the two wall textures meet. You want seamless transitions, not obvious edges where one texture stops and another starts.
Match the lighting: Add adjustment layers (Curves, Color Balance, Hue/Saturation) set as Clipping Masks for each wall layer. Adjust them until the walls match the overall scene’s color temperature and light intensity.

The walls should look like they exist in the same nighttime environment as the city behind them. Consistent lighting sells the illusion.
Position the Catwoman Model
Now for the star of the show. Place your model and make her fit the scene.
Import and position: Drag the Catwoman model image onto your canvas. Use Free Transform to scale and position her where you want her in the composition. Rooftop edge? Crouching on a wall? Your choice.
Remove the background: Add a layer mask. Use a hard brush for clean edges around her silhouette, then switch to a soft brush for hair and any flowing fabric. Take your time here. Sloppy masking ruins otherwise great artwork.
Match her to the scene: She probably came from a photo shoot with different lighting. Use Curves and Color Balance adjustment layers (Clipping Masks) to match her colors, contrast, and light direction to the nighttime city you built.
Pay special attention to edge lighting. If your moon is upper left, add a subtle rim light on the left side of her silhouette. Small details like this separate amateur work from professional results.
Retouch and Refine the Model
Even great stock photos need adjustment. Polish the model’s appearance now.
Fix skin tones: If needed, use the Healing Brush or Clone Stamp to clean up any distracting blemishes or lighting issues from the original photo.

Enhance contrast: Add a Curves adjustment layer for the model. Slightly increase contrast so she stands out against the background without looking pasted on.
Adjust saturation: Use Hue/Saturation to either pump up or tone down her costume colors. You want her to pop visually but still fit the scene’s overall color scheme.
These subtle retouches make the model look like she actually exists in your nighttime city, not like a cutout floating in front of it.
Add Bats for Atmosphere
Bats equal Batman universe. They’re almost mandatory for this aesthetic.
Load bat brushes: Install the bat silhouette brushes you downloaded. Create a new layer above everything else.
Paint bat silhouettes: Use black with your bat brushes. Scatter bats across the sky, especially near the moon. Vary the sizes—some close (large), some far away (tiny).
Add motion blur: For some bats, apply a slight Motion Blur (Filter > Blur > Motion Blur). This suggests movement and makes the scene feel more dynamic.
Don’t overdo it. A few well-placed bats create atmosphere. Too many looks cluttered and cartoonish.
Apply Final Color Grading
This is where everything comes together. Global adjustments unify all your separate elements.
Overall Curves adjustment: Add a Curves adjustment layer at the very top of your layer stack. Fine-tune the overall contrast and brightness of the entire composition.
Color Balance for mood: Add a Color Balance layer at the top. Push the shadows toward blue for that cold night feeling. Add a touch of yellow/red to midtones for artificial city light warmth.
Optional Photo Filter: Try adding a Photo Filter adjustment layer with a Cooling Filter (80) at low opacity. This adds a subtle blue cast that reinforces the nighttime atmosphere.
Vignette effect: Create a new layer at the top. Fill it with black. Add a layer mask and use a large, soft white brush to paint away the center, leaving darkened edges. Set this layer to Multiply at 30-40% opacity. This draws the eye toward Catwoman in the center of your composition.
Save Your Final Artwork
You’re done. Time to preserve your work properly.
Save a working copy: Save as a PSD file with all layers intact. You’ll thank yourself later when you want to make tweaks.
Export for sharing: Flatten the image (Layer > Flatten Image) then save as high-quality JPEG or PNG. Use “Save for Web” if you’re posting online—it optimizes file size while maintaining quality.
Print version: If you plan to print this, keep the 300 DPI version and save as TIFF or high-quality PDF. These formats preserve maximum quality for physical output.
This poster technique works for any superhero character or dark urban scene. Swap Catwoman for another character, change the city, adjust the colors—the core process stays the same.
The skills you practiced here (blending multiple images, creating atmospheric lighting, color grading for mood) transfer to countless other projects. That’s what makes this tutorial valuable beyond just one cool poster.