So you want to build a poster that stops people mid-scroll. One that captures raw energy, movement, and attitude all at once. This Photoshop tutorial walks you through exactly that — a street dance competition poster built around freedom, contrast, and visual punch.
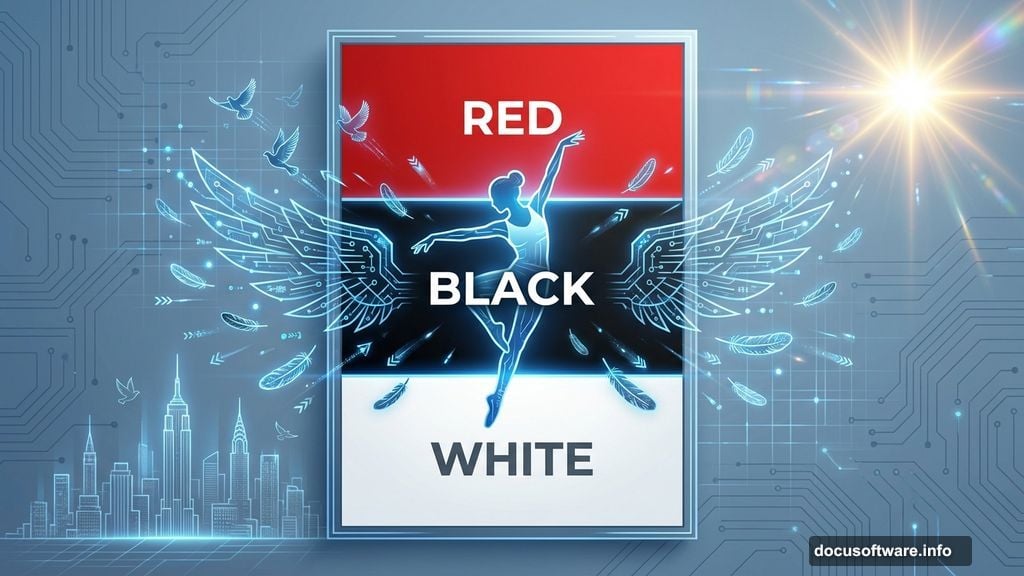
The finished design leans on a tight color palette of red, black, and white. Bold. Powerful. Intentionally restricted. And honestly, that limitation makes the whole thing stronger.
Let’s get into it.
What You’re Building Here
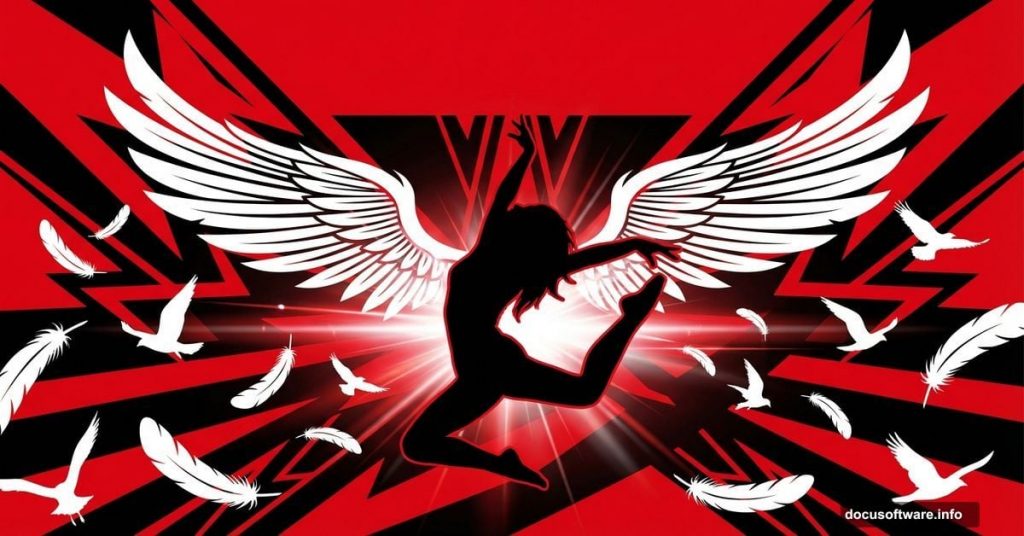
The concept behind this poster is freedom. The dancer becomes a symbol of it — surrounded by wings, scattered feathers, and birds in flight. Together, those elements transform a simple performance ad into something that feels alive.
The design challenge is keeping it cohesive with just three colors. Red, black, and white create fierce contrast without visual noise. Plus, a lens flare added at the very end ties the whole composition together with a sleek, cinematic finish.
To follow along, you’ll need Photoshop CS4 or newer. Older versions may lack some features used in later steps.
Resources You’ll Need Before Starting
Gathering your assets upfront saves a lot of back-and-forth later. Here’s everything used in this tutorial:
- Pigeon stock — rewton stock
- Dove stock — rewton stock
- Feather — tash11 stock
- New York Cityscape — raindroppe
- Optical Lens Flares — psdbox
- Dance Stock — DeviantART
- 3D Render Pack — DeviantART
Most of these are freely available with a quick search. Download and organize them in a single folder before you open Photoshop.
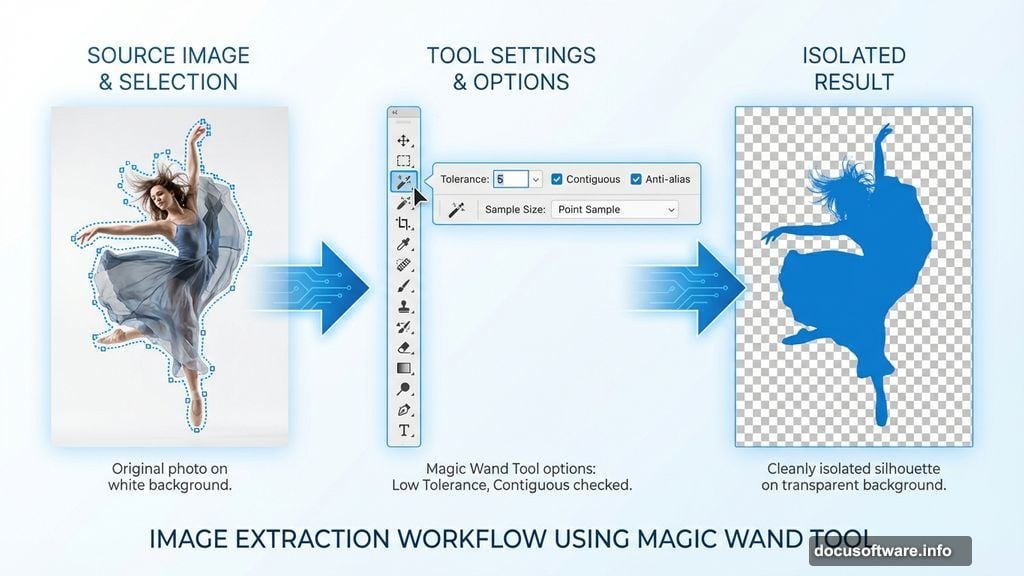
Extracting the Dancer from the Background
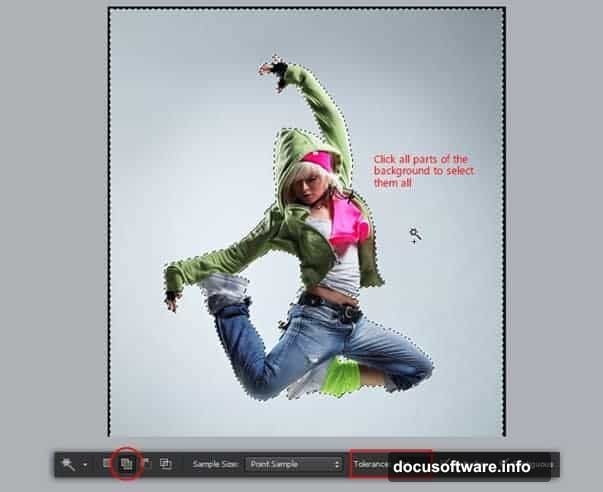
Start with your dancer stock image. Before anything else, you need to separate the subject cleanly from the background. This step sets the foundation for everything that follows, so it’s worth doing right.
Grab the Magic Wand tool. Click on the background — not the dancer. Turn on the Add Selection option, drop the Tolerance value low, and make sure Contiguous is checked. A few clicks should capture most of the background pretty cleanly. You won’t get it perfect on the first pass, and that’s completely fine.
Refining the Selection with Quick Mask
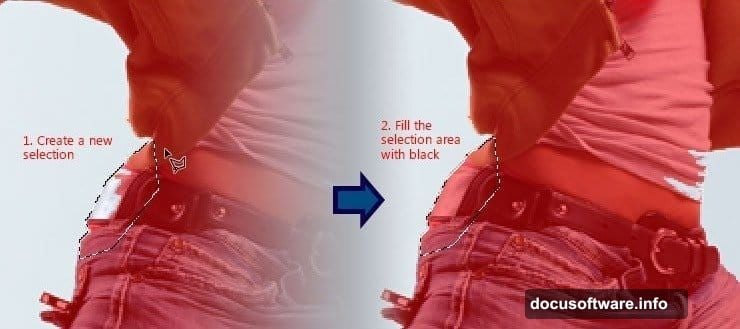
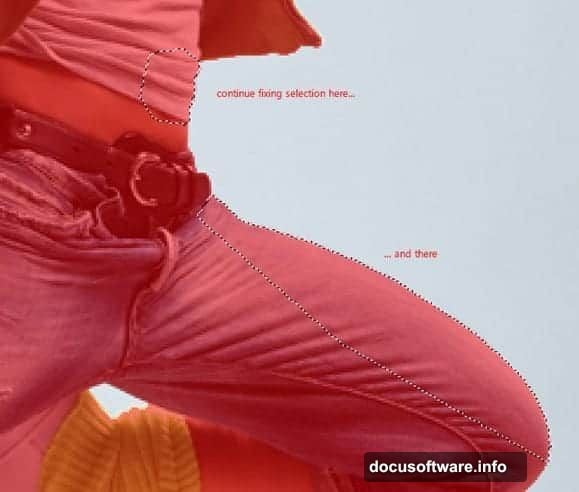
Now hit the Quick Mask button to enter Quick Mask mode. Red areas show what’s isolated — and right now, you’ll probably spot some messy patches that need attention. Don’t worry, fixing them is straightforward.
Grab the Polygonal Lasso tool and draw selections around those problem spots. Once you’ve surrounded each area, fill the selection with black. Then press Ctrl+D to clear the selection. Repeat this process for any remaining rough patches. It only takes a minute or two once you get the rhythm.
Inverting the Selection to Grab the Dancer
Exit Quick Mask mode by clicking the Quick Mask button again. The selection is now active — but here’s the catch. Right now it’s selecting the background, not the dancer.
Fix that instantly by going to Select > Inverse. Now the dancer is selected and the background isn’t. From here, you can copy the dancer onto a new layer and start building your composition.
Working with Layer Blend Modes
Blend modes are where this design really starts to come alive. Instead of stacking elements as flat cutouts, blend modes let layers interact in ways that feel organic and dynamic.
Experiment with Multiply, Screen, and Overlay on your various elements. Screen works especially well for adding light effects and the lens flare later. Multiply helps dark textures integrate naturally into the composition. Try a few options before committing — you’ll develop an instinct for which mode serves each element best.
Changing Object Colors the Easy Way
The restricted palette means every element needs to sit within red, black, and white. But what if a stock image arrives in the wrong color? There’s a faster way than repainting everything manually.
Use Hue/Saturation adjustment layers clipped to individual elements. This lets you shift colors non-destructively. You can always go back and tweak without starting over. For the birds and feathers especially, this technique lets you match the palette without losing texture detail.
Bringing in the 3D Render Elements
The 3D render pack adds dimension and polish that flat photography can’t always provide. When you place a 3D element, convert it to a Smart Object immediately. That way you can resize it freely without degrading quality.
Position the 3D elements to support — not compete with — the dancer. Think of them as supporting cast. The dancer is the star of the composition.
Adding the Lens Flare as a Final Touch
Save the lens flare for last. Seriously. Adding it too early makes it hard to judge how other elements interact with the light effect. Once your composition feels balanced and complete, that’s when you bring in the flare.
Create a new layer filled with black. Set the blend mode to Screen. Then apply your optical lens flare texture on top. The Screen mode makes the black disappear entirely, leaving only the glowing light effect floating over your design. Reposition and scale it until it feels natural — usually slightly off-center works better than dead center.
Shaping the Composition Around the Dancer
Keep pulling your eye back to the dancer throughout the process. Every element — the cityscape, the wings, the birds in flight — should push attention toward the central figure, not away from it.
Birds scattered at different scales create depth. Larger ones near the dancer, smaller ones receding into the background. Feathers can trail from the figure organically, reinforcing that sense of movement and freedom the design is built around.
Tips for Working Fast and Staying Clean
A few habits will keep your file manageable as layers pile up. Group related elements into labeled folders. Name your layers something more useful than “Layer 47.” And save versions as you go — not just one file that keeps getting overwritten.
Also, don’t skip the Smart Object step when placing stock images. Being able to resize non-destructively later saves real frustration. It’s one of those small habits that pays off every single time.
Ultimately, this kind of poster teaches you to see composition as a relationship between elements rather than just a collection of parts. The dancer, the birds, the flare — none of them work alone. Together they create something that feels like it has energy and intention behind it. That’s the goal every time you sit down at a blank canvas.