Photoshop isn’t just for touching up photos. It’s a full creative studio for building original artwork from nothing but imagination.
Character design showcases this perfectly. You start with a blank canvas and pure creativity. Plus, Photoshop’s tools make the process surprisingly accessible. Even complex cartoon characters come together through simple shapes and patient refinement.
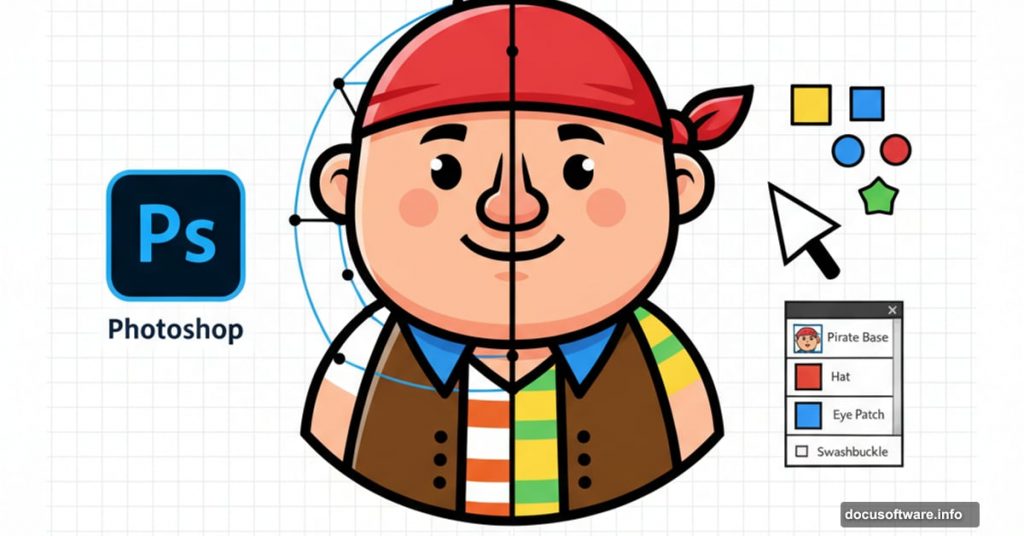
This guide walks through creating a friendly pirate character using only Photoshop’s built-in tools. No stock images needed. No fancy plugins required. Just shapes, brushes, and layer techniques anyone can master.
Getting Started with Basic Shapes
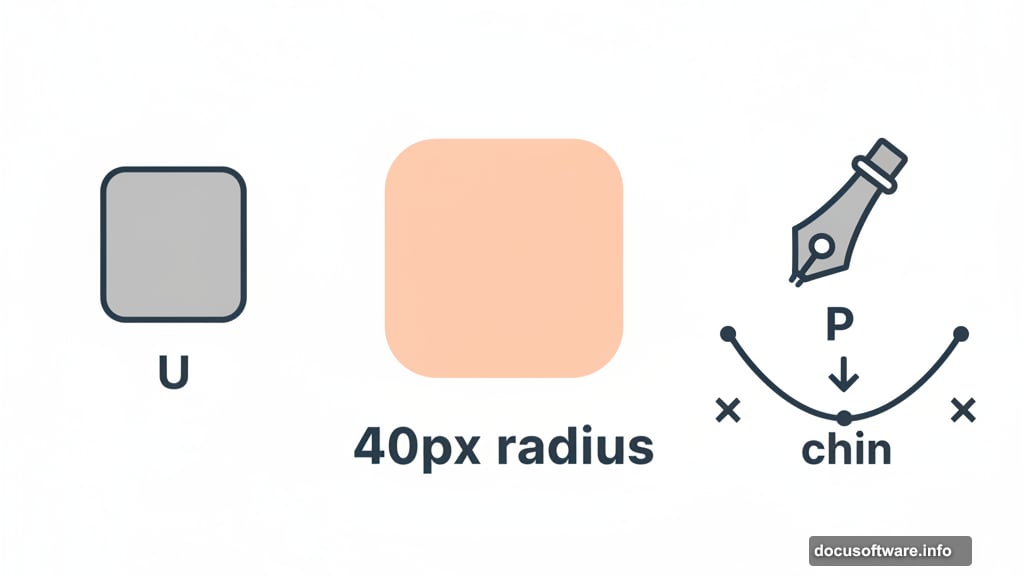
Launch Photoshop and create a new document. Grab the Rounded Rectangle Tool by pressing U.
Set the corner radius to 40 pixels in the options bar. Choose a peachy skin tone like #ebbda1 for the fill color. Now draw your rounded rectangle while holding Shift to constrain it to a perfect square.
This rounded square becomes the pirate’s face. So it’s the foundation everything else builds on.
Shaping the Face Structure
Switch to the Pen Tool by pressing P. Make sure “Auto Add/Delete” is checked in the options bar.
Click the center point of your rounded rectangle’s bottom edge. That adds a new anchor point. Then hold Cmd on Mac or Ctrl on Windows to temporarily switch to the Direct Selection Tool.
Drag that new center point downward. This creates the chin shape. Release the Cmd/Ctrl key and delete the two anchor points on either side of the one you just moved. The Pen Tool automatically becomes the Delete Anchor Point Tool when you hover over existing points.
Your face now has a proper chin instead of a flat bottom.
Adding Ears to Complete the Head
Press U again to grab the Ellipse Tool. While holding Shift, draw a perfect circle in the same peachy color.
Position this circle on the left side of the face where an ear belongs. Hold Shift while creating it so it automatically merges into the same layer as the face shape.
Then duplicate this ear by pressing Cmd+J on Mac or Ctrl+J on Windows. Drag the duplicate to the right side and use Cmd+T or Ctrl+T to flip it if needed.
Creating the Pirate Headband
Stick with the Rectangle Tool. Change your fill color to a deep red like #a42335.
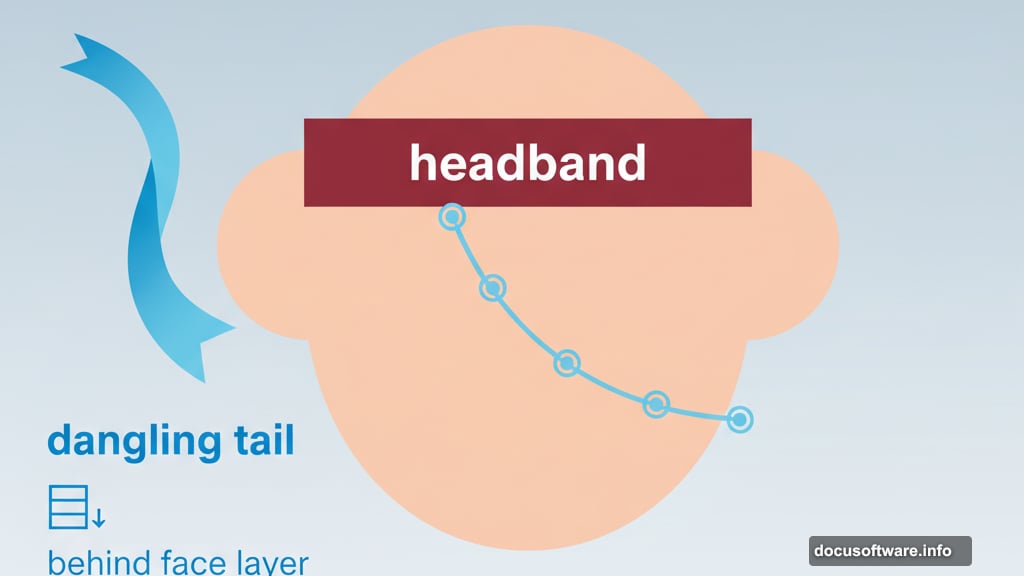
Draw a horizontal rectangle across the top portion of the face. This becomes the signature pirate headband. Make it thick enough to look substantial but not so large it overwhelms the face.

Add an anchor point to the center of the rectangle’s bottom edge using the Pen Tool. Move that point downward slightly to give the headband a subtle curved shape that follows the head’s roundness.
Adding the Dangling Headband Tail
Use the Pen Tool to draw a curved, flowing shape that extends from one side of the headband. This represents the tied portion hanging down.
Place this new shape layer behind the face layer in your layers panel. That way it looks like it’s draping behind the pirate’s head naturally.
Starting on the Eyes

Switch to the Ellipse Tool and change your fill color to white. Draw a small circle for the left eye’s iris.
Create another tiny black circle in the center for the pupil. Select both circles and group them by pressing Cmd+G on Mac or Ctrl+G on Windows.
Name this group “Left Eye” to stay organized. You’ll appreciate clear naming when you have dozens of layers later.
Building Out Facial Features
The tutorial continues with more details for completing the nose, mouth, eye patch, and other defining pirate features. Each element uses the same basic approach: simple shapes refined with anchor point adjustments.
Shadows and highlights come later through additional layers with reduced opacity. Textures get added using Photoshop’s built-in filters.
Understanding the Core Technique
Notice the pattern? Complex illustrations break down into simple geometric shapes. Circles become eyes. Rectangles become clothing. Careful anchor point manipulation transforms basic shapes into organic-looking features.
Layer management keeps everything organized and editable. Clipping masks let you add textures without destroying the underlying shapes.
Why This Approach Works
Starting with vector shapes keeps your artwork crisp and scalable. You can resize without losing quality. Plus, shapes remain fully editable throughout the entire process.
Manual brush painting adds character and personality in the final stages. But the shape foundation gives you a solid structure to build on.
Most importantly, this technique teaches fundamental digital illustration skills. Master these basics and you can tackle any character design project.
The process demands patience more than natural drawing talent. Take your time with each step. Small adjustments to anchor points and layer opacity create big improvements in the final result.
Working in Photoshop CS3 or newer gives you all the tools needed. Newer versions just make certain steps slightly faster with improved interfaces.