Want to create dramatic underwater fantasy art? This technique blends maritime scenes with aquatic horror in ways that look surprisingly real.
The key is seamless layer masking. Most tutorials skip the nuanced blending that makes or breaks surreal compositions. Plus, getting blood effects right separates amateur work from portfolio-worthy pieces.
Here’s how to build a complete underwater hunting scene from scratch. You’ll combine sky elements, ocean depths, and marine life into one cohesive image. No advanced skills required.
What You’re Building
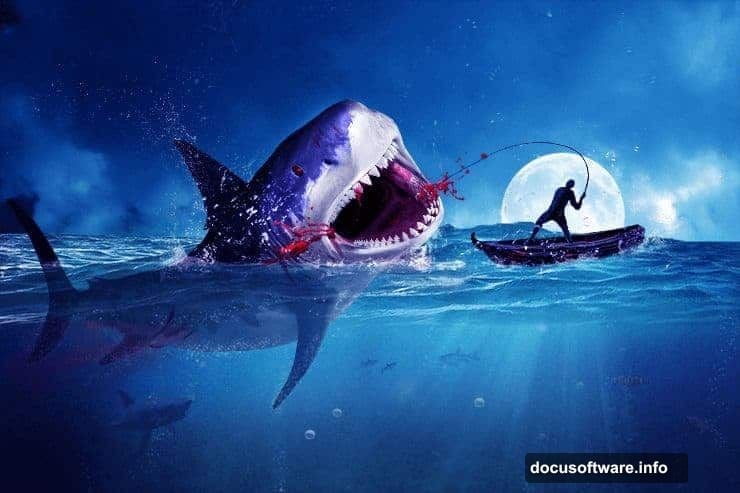
Picture this scene: A lone fisherman in a small boat battles a massive shark breaking through ocean waves. Blood trails through dark water. Moonlight illuminates the chaos from above.
This tutorial creates that exact composition. You’ll layer multiple photo elements, add atmospheric effects, and blend everything into a believable nightmare scenario.
The techniques work for any surreal aquatic scene. Master these basics and you’ll create countless variations.
Software Requirements
You need Photoshop CS5 or newer. Older versions lack layer mask refinements that make this process smooth.
Got your software ready? Let’s gather image resources.
Resource Collection Strategy
This project requires specific stock photos and custom brushes. Here’s what you need:
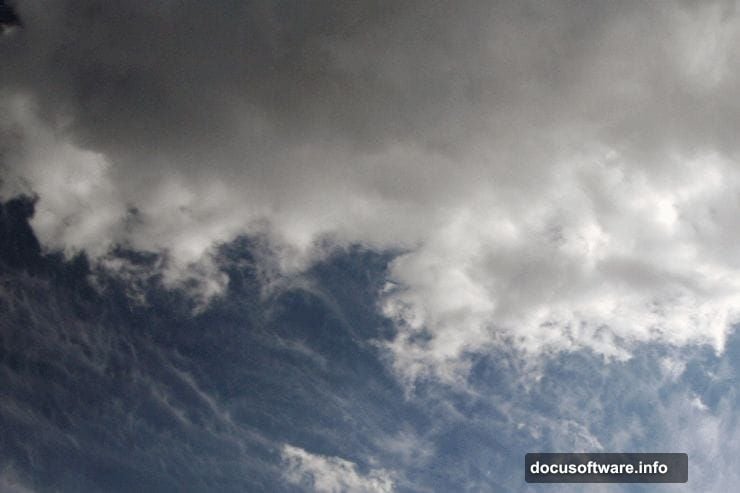
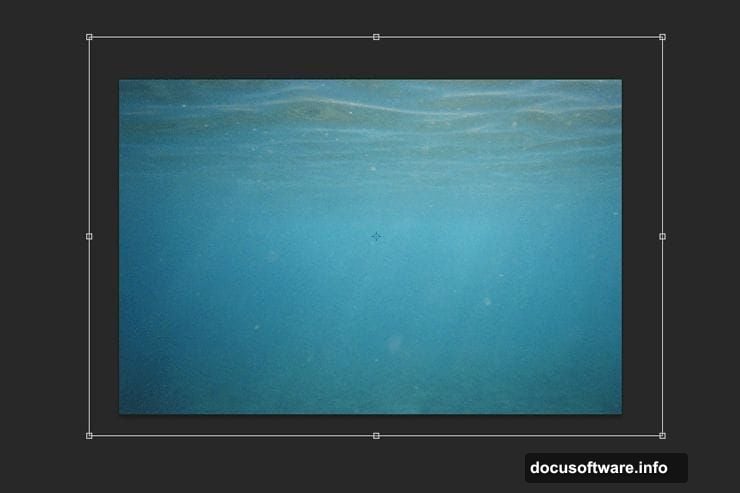
Environmental elements: Sky photo with dramatic clouds, underwater scene with proper depth gradient, moon brush set for lighting effects.
Marine life: Two shark images at different scales, small fish for background detail, custom fish brushes for schools.
Action elements: Splash photos from multiple angles, blood brush pack, bubble overlays for underwater realism.
Human elements: Fishing boat with appropriate scale, fisherman stock photo in action pose.
Download everything before starting. Hunting for resources mid-project kills creative momentum.
Canvas Setup and Sky Foundation
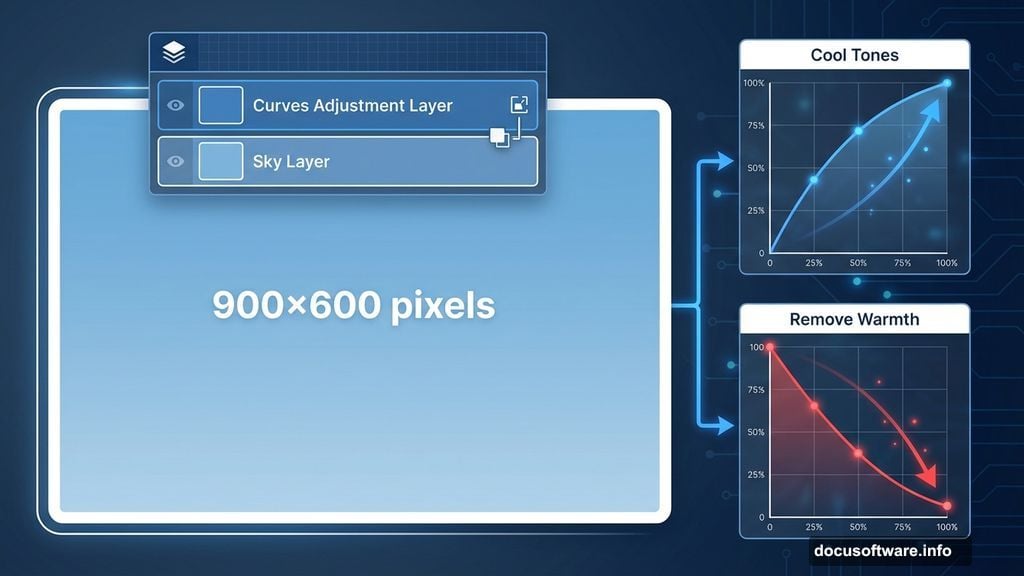
Start with a new document at 900×600 pixels. Name it something memorable like “Fisherman” so you can find it later.
Open your sky stock photo. Select the entire image with Ctrl + A, copy with Ctrl + C. Switch back to your main document and paste with Ctrl + V.
The sky probably won’t fit perfectly. Press Ctrl + T to activate Free Transform. Scale and position until dramatic clouds fill the upper half of your canvas.
Color Grading the Atmosphere
Raw stock photos never match tonally. Fix this with adjustment layers.
Create a Curves adjustment layer clipped to your sky layer. Alt-click between layers in the palette to clip them together.
Now adjust the color curves. Drag the blue curve upward to add cool tones. Pull the red curve down to remove warmth. This creates that eerie pre-storm atmosphere.
The exact curve positions depend on your source image. Trust your eyes more than specific numbers.
Adding Celestial Drama
Import your moon brush set into Photoshop. Create a new layer above your sky.
Paint a large moon in the upper portion of your scene. Make it slightly oversized for dramatic effect. Surreal compositions benefit from exaggerated scale.
Group all sky-related layers together with Ctrl + G. Name the group “Sky” to keep your file organized. This matters more as complexity increases.
Building the Underwater Foundation
Open your underwater stock photo. Use the same copy-paste method from earlier to bring it into your main scene.
Transform it to cover the lower half of your canvas. The water should overlap slightly with your sky layer—you’ll blend this transition next.
Masking the Water Surface
Add a layer mask to your underwater layer. Go to Layer > Layer Mask > Reveal All.
Select the Rectangular Marquee Tool. Draw a selection covering the upper half of the underwater layer.
Press D to reset your foreground/background colors to black and white. Make sure the layer mask is selected, not the layer itself. Press Alt + Delete to fill your selection with black.
This reveals the sky above while keeping water below. The hard edge looks wrong though. Fix that next.
Color Harmony Through Overlays
Create a new layer above everything. Fill it with color #79a272—a muted green tone.
Change the blending mode to Overlay. This color wash unifies disparate elements.
But it’s too strong everywhere. Add a layer mask to this overlay layer.
Select the Gradient Tool. Hold Shift and drag from top to bottom of your image. This gradually reduces the overlay effect, keeping it stronger underwater and lighter in the sky.
Atmospheric Depth and Lighting
The scene needs more dimensional depth. Real underwater photography shows light falloff and particle scatter.
Create another new layer. Use a soft brush with low opacity to paint subtle light rays emanating from your moon. Make them strongest near the surface, fading as they penetrate deeper water.
Add particle effects next. Import your bubble overlays and position them throughout the water column. Scale them smaller as depth increases—forced perspective sells the illusion.
Introducing Marine Life
Open your small fish stock photo. Extract individual fish using your preferred selection method. Quick Selection Tool works well for organic shapes.
Copy extracted fish into your main scene. Duplicate them multiple times, varying size and position. Schools of fish never swim in perfect formation.
Use your fish brush to add distant schools. These should be barely visible, just dark shapes in murky water. This adds scale and atmosphere.
The Main Attraction
Time for your sharks. Start with the smaller one.
Extract the shark from its background. Pay attention to fin edges—sloppy selections ruin believability.
Position this shark in the mid-ground. It should look threatening but not overwhelming. This establishes the danger before your big reveal.
Building Tension With Scale
Open your massive shark image. Extract it carefully—this is your focal point.
Position it breaking through the water surface. Part of the body should remain submerged while the head and upper torso burst into air.
Scale it larger than realistic. Surreal compositions thrive on exaggeration. Your shark should feel overwhelming, almost prehistoric in size.
Blood in the Water
Import your blood brush set. Create a new layer above your shark layers.
Paint blood trails flowing from the shark’s mouth and any visible wounds. Blood disperses differently in water than air—it forms tendrils and clouds rather than drips.
Use varying opacity to create depth. Some blood should look fresh and concentrated. Other areas should show diluted trails spreading through current.
Lower the blood layer opacity to about 70%. Fully opaque blood looks painted on rather than mixed into the environment.
Surface Chaos
Your shark breaks the surface, so water should explode dramatically. Import both splash stock photos.
Extract the splashes and position them around your shark. Blend multiple splash images together—one stock photo rarely provides enough drama.
Use splash brushes to add fine spray and mist. These details sell the violent motion.

The Human Element
Open your fishing boat image. Extract it cleanly and position it in the upper water area.
Scale it appropriately. The boat should look small against your massive shark—this emphasizes the danger.
Now add your fisherman. Extract them from the stock photo and position them in the boat.
The fisherman’s pose matters. They should look actively engaged, whether fighting the line or reacting in terror. Static poses kill the drama.
Final Color Grading
Create a Color Lookup adjustment layer at the top of your layer stack. Choose a cinematic preset that enhances drama.
Alternatively, create manual Curves adjustments for precise control. Crush the blacks slightly for a moodier feel. Add a touch of blue to shadows while keeping highlights neutral or slightly warm.
Lighting Coherence
All elements should share the same lighting direction. Your moon establishes this from above and slightly behind the scene.
Add subtle highlights to the boat and fisherman matching this direction. Paint shadows on the underside of objects.
The shark needs careful highlight work. Its wet skin should reflect moonlight strongly along the top surfaces while staying dark underneath.
Atmospheric Finishing
Add a slight vignette by creating a new layer, filling it with black, and using a soft eraser to reveal the center. Lower opacity until subtle.
Consider adding a subtle grain texture for a cinematic quality. Real photography always has some grain—perfectly clean digital images look fake.
Why This Technique Works
This approach succeeds because it respects fundamental composition rules while embracing surreal elements. The lighting stays consistent. The perspective makes sense. Objects interact with their environment realistically.
Yet the scale and drama push beyond realism into fantasy territory. That tension creates compelling imagery.
Most importantly, the layer masking technique here applies to countless scenarios beyond shark attacks. Master these blending methods and you’ll improve every composite you create.
Beyond the Basics
This tutorial provides foundations. Real mastery comes from experimentation.
Try swapping the shark for other creatures. Replace the fisherman with different characters. Change the lighting to golden hour or stormy conditions.
Each variation teaches new problem-solving skills. The technical process stays similar, but artistic choices create unique results every time.