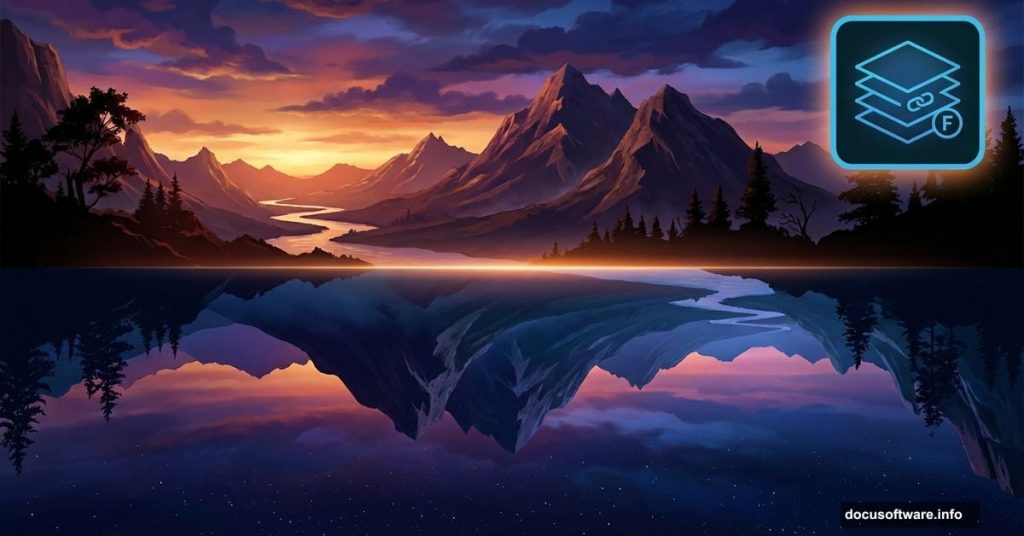
Ever wondered what the world looks like turned inside out? Today you’ll learn exactly that.
This tutorial walks you through building a surreal scene where day meets night in an impossible landscape. We’ll flip mountains upside down, blend multiple skies, and create that dreamlike quality that makes viewers stop scrolling. Plus, the techniques work for any photo manipulation project.
No advanced skills needed. Just follow along step by step.
Gather Your Images First
Before touching Photoshop, collect your source materials. You’ll need two sky images, two landscape photos, mountains, soil textures, and several bird silhouettes.
Why multiple images? Because surreal composites live or die on variety. One sky looks flat. Two skies blended together create depth and atmosphere.
Hunt for images with similar lighting conditions. Mixing noon sunlight with midnight darkness creates obvious fake composites. Instead, look for dawn or dusk shots that naturally blend warm and cool tones.
Build Your Canvas Foundation
Start with a 2000×1500 pixel document filled with white. That’s your blank slate.
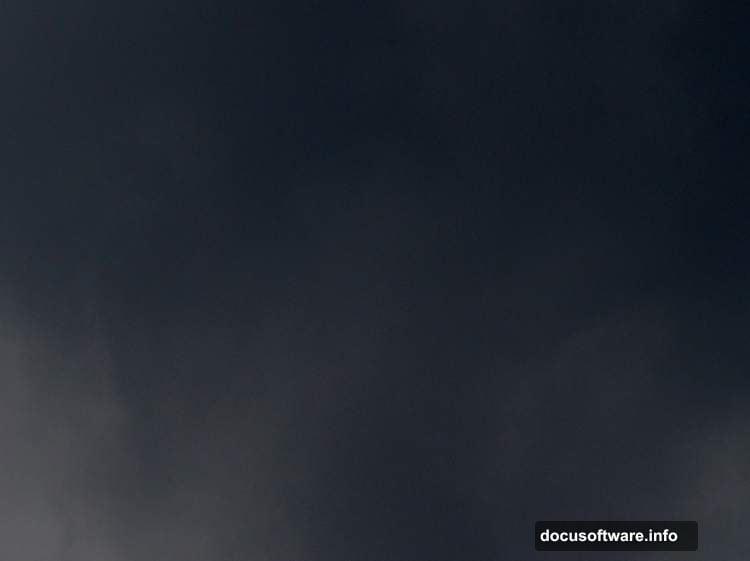
Now drag in your first sky image using the Move Tool. Position it to show the most interesting section of sky. Don’t worry about covering the entire canvas yet.
Here’s the trick most beginners miss. The sky you choose sets the mood for everything else. Dramatic clouds? Your scene feels ominous. Clear gradient? You’re going peaceful and calm.
Lighten the Atmosphere
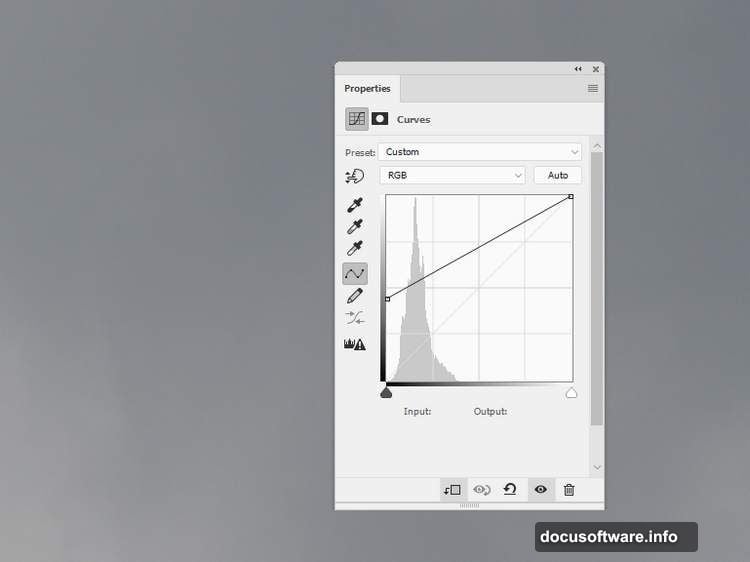
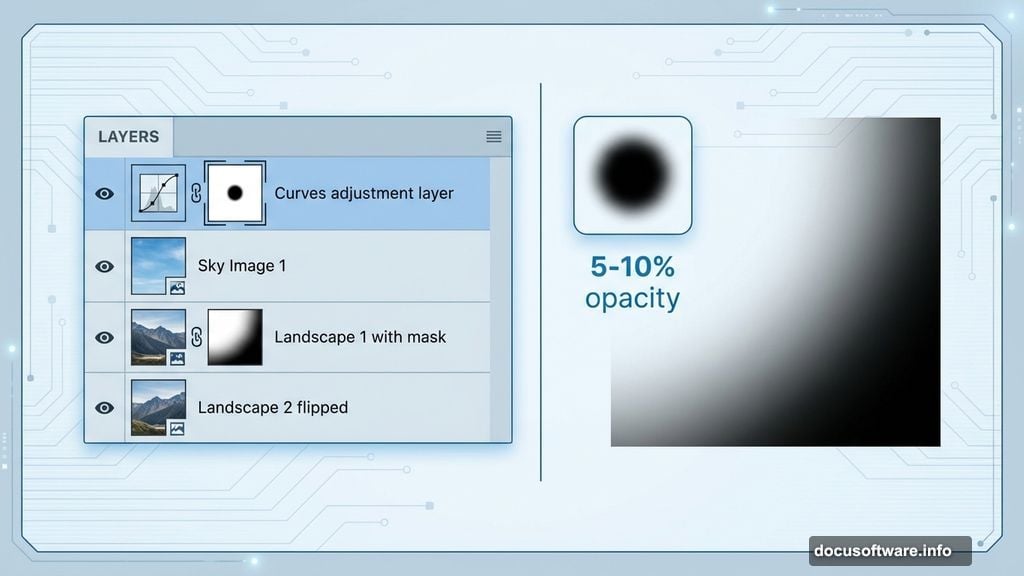
Add a Curves adjustment layer above your sky. Push the curve upward to increase brightness and create that hazy, dreamlike quality.
But don’t stop there. Grab a soft black brush at 5-10% opacity and paint on the adjustment layer’s mask. Focus on the lower left corner of the sky. This creates subtle darkness that adds depth instead of flat, even lighting.
Why such low opacity? Because subtle gradients look natural. Heavy-handed adjustments scream “I just learned Photoshop.”
Stack Your First Landscape Layer
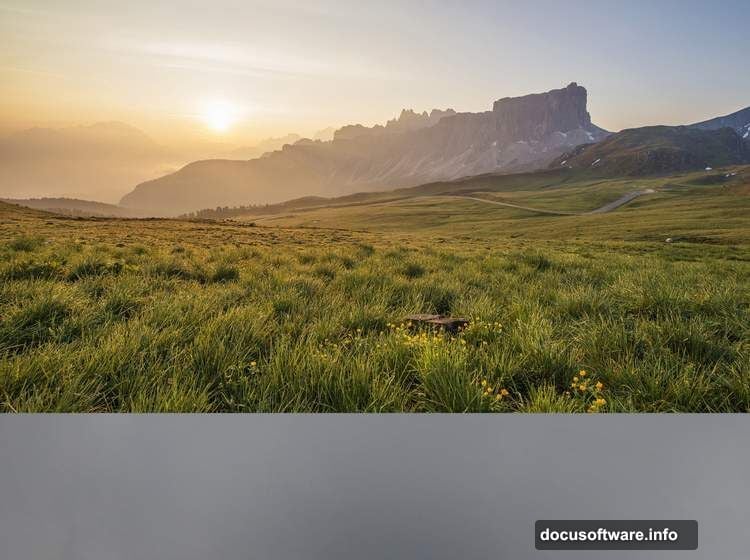
Drop your first landscape image onto the upper section of your canvas. Hit Ctrl+T to activate Free Transform and resize until it fits your document width.
Next, add a layer mask by clicking the mask icon at the bottom of your Layers panel. Switch to a medium-soft black brush and paint away the bottom portion of this landscape.
This creates the transition zone where your upside-down world begins. The mask lets you blend smoothly instead of leaving hard edges that break the illusion.
Introduce the Inverted World
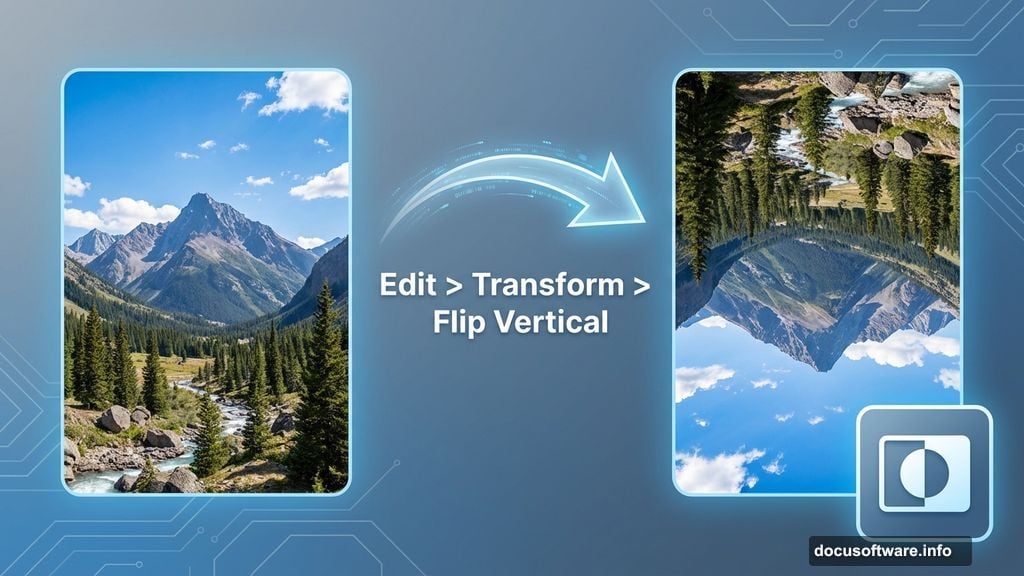
Here’s where things get weird. Place your second landscape below the first one. Then flip it vertically through Edit > Transform > Flip Vertical.
This flipped landscape becomes your underground world. Add a mask and use a soft black brush at 40-50% opacity to fade the sky section. You’re blending the inverted trees and mountains with your existing atmosphere.
The reduced opacity matters. Full opacity erasing creates harsh transitions. Lower opacity lets you build up the effect gradually until it looks right.
Desaturate for Consistency
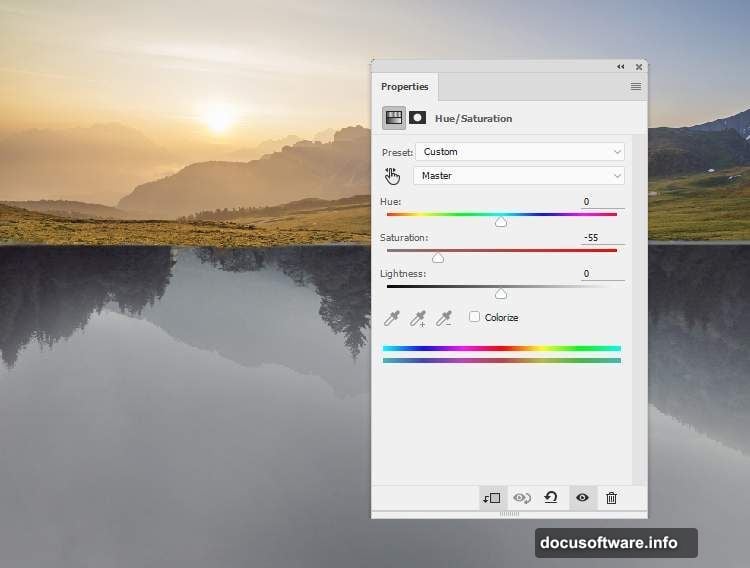
Apply a Hue/Saturation adjustment layer to your flipped landscape. Set it as a Clipping Mask so it only affects that one layer.
Drop the Saturation to -55. This removes competing colors and helps your inverted world feel like it belongs in shadow or distance.
Why desaturate? Because objects farther away or in shadow naturally lose color intensity. This simple adjustment sells the depth and atmosphere of your surreal scene.
Darken the Inverted Section
Add a Curves adjustment layer as another Clipping Mask. Pull the curve downward to decrease brightness across your flipped landscape.
Then grab your soft black brush again. Paint on the adjustment layer mask to bring back brightness on trees or details that got too dark. You’re selectively controlling where shadow falls.
This selective dodging creates the contrast that makes elements pop. Flat lighting makes everything blend together and look boring.
Add Underground Mountains
Place your mountains image below the flipped landscape layer. Flip these mountains vertically too.
Position them in the lower section of your scene. Then change the blend mode to Hard Light at 100% opacity.
Hard Light creates that translucent, otherworldly quality. The mountains interact with layers below instead of sitting on top like a sticker. Plus, Hard Light automatically adjusts based on the brightness of underlying layers.
Refine Your Atmospheric Blend
At this point, your basic structure exists. But the magic happens in refinement.
Zoom out and study your composition. Look for harsh transitions or areas where blending falls apart. Add more mask painting where needed. Adjust layer opacities if elements feel too strong or too weak.
Small adjustments make huge differences. Moving a layer opacity from 100% to 85% can transform an obvious composite into something that feels cohesive.
Consider the Lighting Logic
Even surreal scenes need internal consistency. If your upper sky shows bright daylight, your inverted world shouldn’t be pitch black.
Think about how light would theoretically work in this impossible space. Some ambient light should spill into the underground section. Some darkness should creep into the upper world near the meeting point.
Use subtle Curves adjustments and gentle brush work to create this light falloff. It doesn’t need to be physically accurate. It just needs to feel plausible enough that viewers accept the illusion.
Add Flying Elements
Birds, floating debris, or other elements in motion enhance the surreal quality. They give the eye something to follow and suggest this world is alive, not frozen.
Place bird silhouettes at different scales throughout your scene. Larger birds in the foreground, smaller ones in the distance. This reinforces depth perception.
Blur distant birds slightly to match atmospheric perspective. Sharp focus on everything feels flat and computer-generated.
Enhance with Final Adjustments
Once your composition feels solid, add final adjustment layers that affect the entire scene.
A slight Color Balance adjustment can push your scene warmer or cooler. Subtle changes work better than dramatic shifts.
Consider a final Curves adjustment to unify the overall tonal range. Sometimes individual elements look great but don’t quite gel as a complete image. One master Curves layer can tie everything together.
The Details That Matter
What separates amateur composites from professional work? Obsessive attention to light, shadow, and atmospheric perspective.
Spend extra time perfecting your masks. Clean edges make or break believability. Use a small, hard brush to trace complex edges. Switch to larger, softer brushes for open areas.
Match color temperature across all elements. If your sky has warm orange sunset tones, your landscape shouldn’t be cool blue. Use Color Balance or Hue/Saturation to harmonize temperatures.
Add shadows where inverted elements meet the ground. Even subtle shadows ground floating objects and make impossible scenes feel tangible.
Learning from Each Attempt
Your first surreal composite probably won’t be portfolio-ready. That’s completely normal.
The skills here improve through repetition. Each project teaches you more about blending, masking, and creating cohesive atmospheres. So don’t get discouraged if your initial attempt needs work.
Save your PSD files with all layers intact. Return to old projects after learning new techniques. You’ll be amazed how much your eye improves over time.
This upside-down landscape technique opens doors to endless creative possibilities. Once you understand the core principles, you can apply them to any surreal concept you imagine.