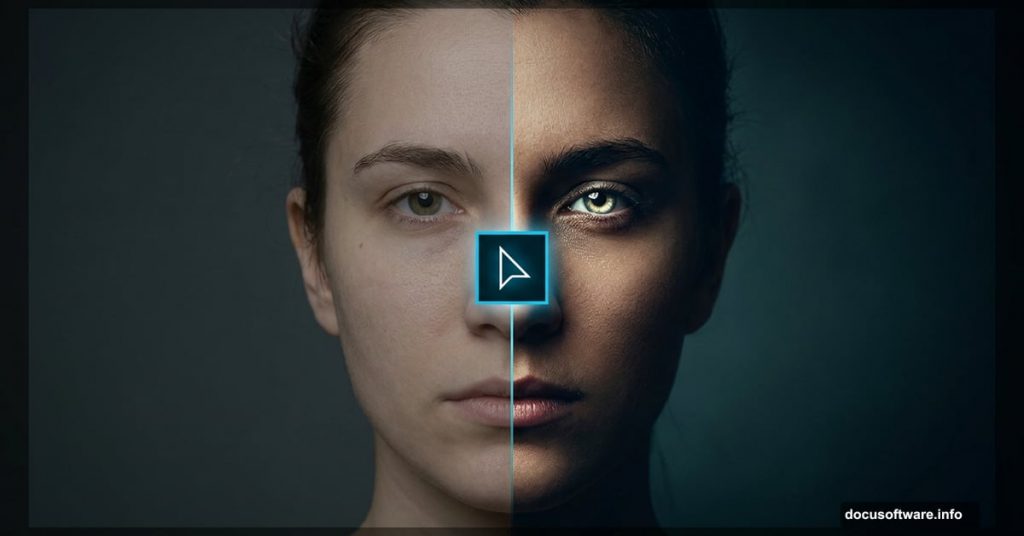
Some photos are technically perfect but emotionally flat. Good lighting, sharp focus, proper exposure — yet something feels missing. That spark, that mood, that sense that you’re looking at a real moment rather than just a snapshot.
The good news? Photoshop can fix that in about 10 minutes. This nine-step technique transforms ordinary portraits into striking, emotionally charged images using adjustment layers, blending modes, and a few clever tricks most beginners never discover.
You’ll need Photoshop CS5 or newer to follow along. The whole process takes under 10 minutes once you know the steps.
Brighten the Eyes with a Curves Adjustment Layer
Eyes carry emotion. So the first step focuses entirely on making them pop.
Go to Layer > New Adjustment Layer > Curves and set the blending mode to Screen. Press D to reset your colors to default black and white. Then click the layer mask thumbnail on the Curves layer and press Ctrl + Backspace to fill the mask completely with black. This hides the brightening effect everywhere.
Now grab a round, soft white brush. Click the layer mask first, then carefully paint over the eyes. The brightening effect appears only where you paint. If the eyes look too intense, drop the Opacity — around 55% works well for most portraits.
Add Depth with a Black and White Adjustment Layer
Next, create a Black and White Adjustment layer via Layer > New Adjustment Layer > Black and White. Set the blending mode to Multiply.
This step adds tonal depth and contrast without fully desaturating the image. The Multiply blending mode darkens the overall photo, which creates that moody, dramatic quality good portrait editing is known for. Think of it as adding shadows without actually painting them in manually.

Lighten the Image with Shadows and Highlights
Press Ctrl + Shift + Alt + E to merge all visible layers into a new flattened layer. Then go to Image > Adjustments > Shadows/Highlights.
Here’s what to adjust: drag the Highlights slider all the way to the left, then nudge the Shadows slider to the right until the image looks slightly lighter than it did. This step recovers detail in the darker areas without blowing out the brighter parts. It’s a subtle lift that keeps skin tones looking natural.
Sculpt the Face Using the Dodge Tool
Press Ctrl + Shift + Alt + E again to create another merged layer. Select the Dodge Tool from the toolbar — leave the default settings at Range: Midtones and Exposure: 50%.
Now paint lightly over specific facial features: the eyes and irises, the tip of the nose, cheekbones, forehead, lips, the tip of the chin, and the neck. The Dodge Tool brightens wherever you paint, mimicking the way light naturally catches the high points of a face. This creates dimension and makes the portrait feel three-dimensional instead of flat.
Go gently here. A light touch looks natural. Heavy-handed dodging looks overdone.
Sharpen the Image with Unsharp Mask
Create one more merged layer with Ctrl + Shift + Alt + E. Then head to Filter > Sharpen > Unsharp Mask.
Use a radius of 1 to 2 pixels and an Amount between 50% and 100%. The goal is a mild sharpening effect that adds crispness to the eyes and skin texture without making the image look crunchy or over-processed. If the effect feels too strong, lower the layer Opacity until it looks right.
Subtle sharpening makes a real difference. It adds that professional polish without screaming “edited.”
Desaturate the Colors for a Moodier Feel
Create a Hue/Saturation Adjustment layer via Layer > New Adjustment Layer > Hue/Saturation. Drag the Saturation slider to the left until the image looks fairly desaturated — not black and white, just muted and cool.
This is where the emotional quality really kicks in. Pulling color back shifts the portrait’s mood toward something more contemplative and cinematic. The eyes you brightened in Step 1 now stand out even more against the subdued, desaturated skin tones. The contrast between the bright eyes and the muted background is what creates that striking emotional impact.
Putting It All Together
The real power of this technique comes from how each step builds on the last. Brightened eyes draw attention. The Multiply blending mode adds drama. Dodging creates dimension. Desaturation pulls everything into a cohesive mood.
None of these steps are complicated on their own. But stacked together with the right blending modes and subtle opacities, they create a portrait effect that looks polished and intentional.
One tip worth keeping in mind: every portrait responds differently. The same settings that work beautifully on one face might need adjustment on another. So treat each slider as a suggestion rather than a rule. Drop the Opacity here, nudge a slider there, and trust your eye over the numbers.
This kind of editing workflow — adjustment layers, blending modes, non-destructive merges — is the foundation of professional portrait retouching. Master these nine steps and you’ll have a repeatable technique you can adapt to any portrait, any mood, any style.