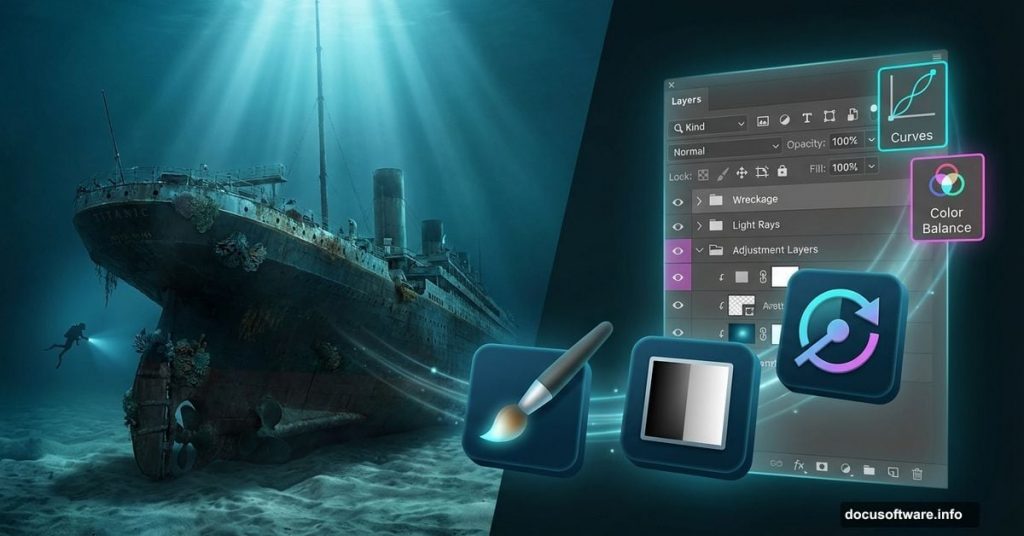
Ever wondered how digital artists capture that eerie beauty of shipwrecks deep beneath the ocean? Today, we’re diving into a Photoshop tutorial that brings the legendary Titanic to life in its watery grave.
This isn’t just about slapping some images together. Instead, we’ll build a realistic underwater environment from scratch, complete with authentic lighting, texture, and atmosphere. Plus, you’ll learn techniques that work for any underwater photo manipulation project.
What You’ll Need Before Starting
First things first. Gather your resources before opening Photoshop. You’ll need several stock images: underwater backgrounds, sand textures, the Titanic ship, a diver, fish, and maybe a shark for dramatic effect.
Most of these images are available on free stock photo sites. However, make sure they’re high resolution. Low-quality images won’t give you the realistic result you’re after.
Also, this tutorial works best in Photoshop CC or CS6. Older versions might lack some adjustment layers we’ll use later.
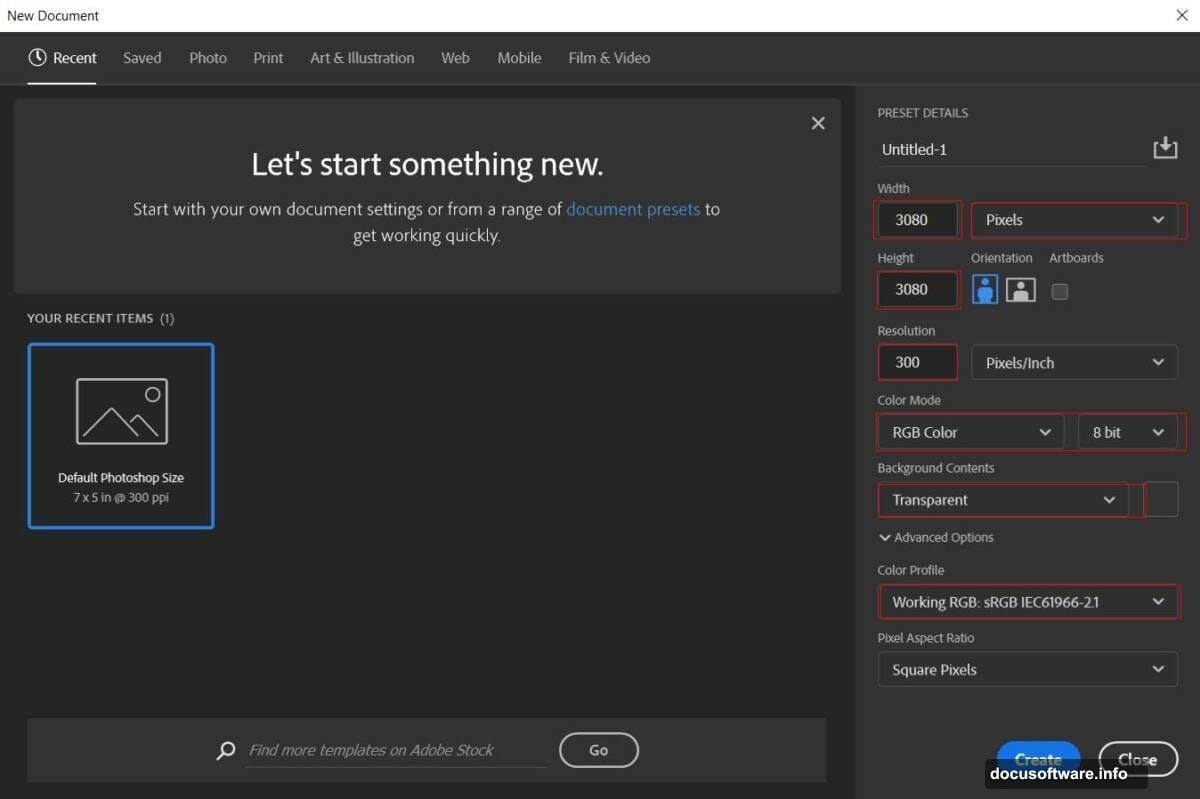
Building Your Canvas
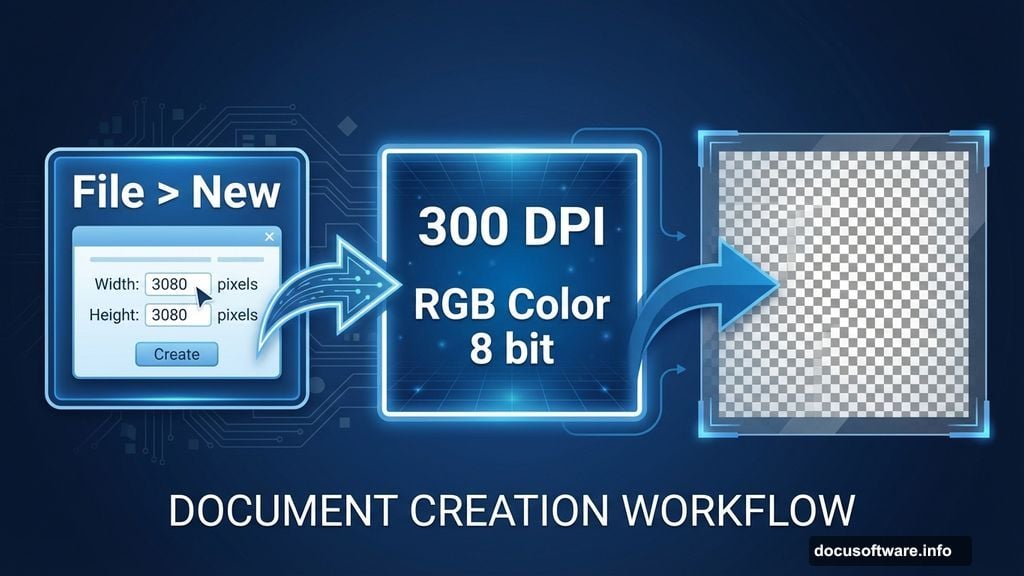
Start by creating a new document. Head to File > New and set your canvas to 3080 x 3080 pixels at 300 DPI resolution. Why square? It gives you flexibility for cropping later.
Set the color mode to RGB Color 8 bit. Plus, choose transparent for your background. This lets you control every layer of your composition from the ground up.
Now you’ve got a blank slate ready for transformation.
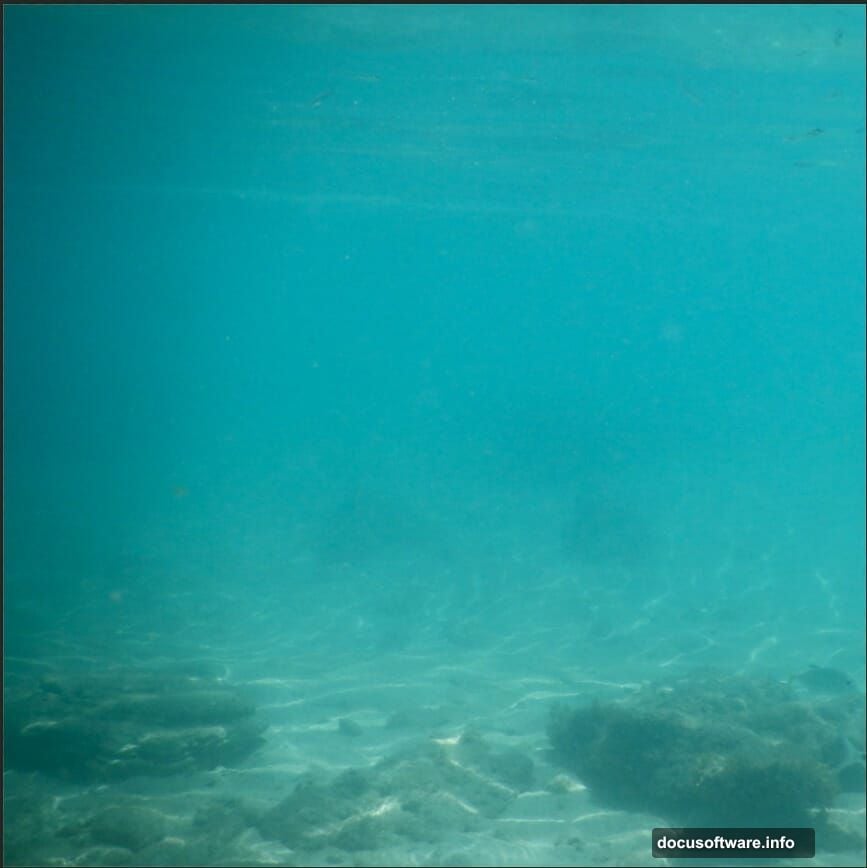
Laying the Foundation: Underwater Base
Place your first underwater image onto the canvas. Go to File > Place and select your primary underwater background.
Then grab the Transform tool (Ctrl/Cmd + T). Hold Alt + Shift while dragging corners to scale proportionally. In Photoshop CC, just hold Alt to maintain aspect ratio from all sides.
Position this layer to cover your entire canvas. Don’t worry if it’s not perfect yet. We’ll blend everything together with adjustment layers.
Adding Depth with Sand Texture
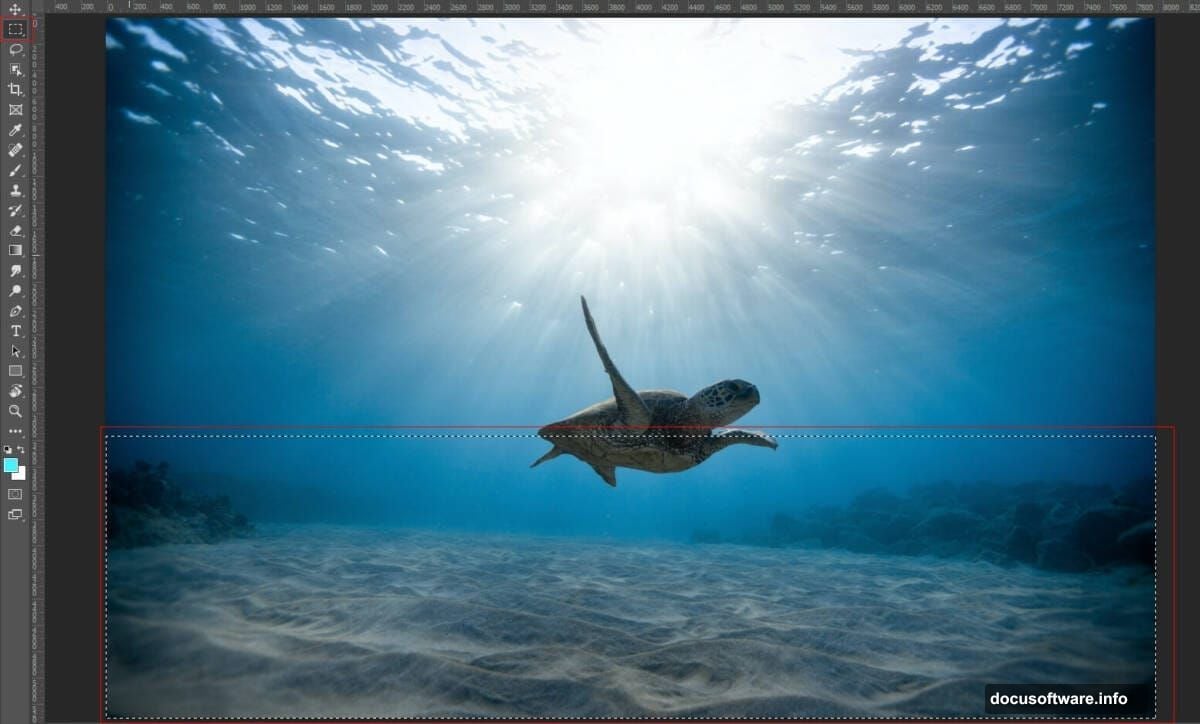
Next, open your underwater sand texture. Use the Rectangular Marquee Tool (M) to select the area you want. Copy it (Ctrl/Cmd + C) and paste it (Ctrl/Cmd + V) into your main document.
Again, use Transform (Ctrl/Cmd + T) to position and scale the sand layer. Place it toward the bottom of your composition where the ocean floor would naturally sit.
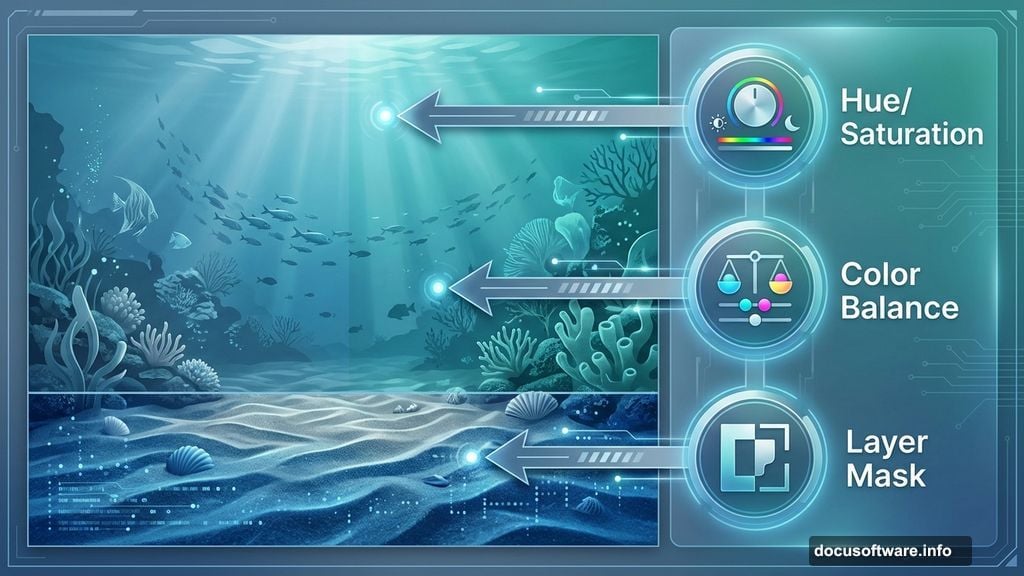
Now create a layer mask. Select the Brush Tool (B) with a soft round brush. Set your foreground color to black and gently paint over any unwanted elements. This technique blends the sand seamlessly into your underwater scene.
Color Correction Starts Here
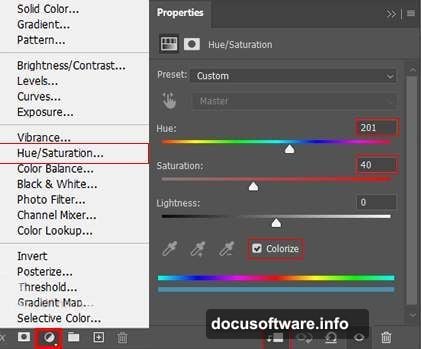
Time to make this look real. Add a Hue/Saturation adjustment layer above your base underwater layer.
Tweak the hue slightly toward blue-green. Underwater scenes need that characteristic color cast. Moreover, increase saturation just a bit to enhance the mood without going overboard.
Then add a Color Balance adjustment layer. Push the cyan-blue tones in the shadows and midtones. This mimics how light behaves underwater where reds disappear first.
Fine-Tuning with Selective Color
Add a Selective Color adjustment layer next. This powerful tool lets you target specific color ranges without affecting the entire image.
Focus on the cyans and blues. Increase the cyan in your blues to deepen the underwater atmosphere. Meanwhile, reduce yellows slightly to avoid that murky look.
Play with these settings until your scene feels authentically submerged. There’s no single correct answer here. Trust your eye.
Building Atmosphere with Color Fill
Create a Color Fill adjustment layer and choose a deep blue. Then change the blend mode to Soft Light and drop the opacity to around 26%.
This subtle overlay unifies all your layers. Plus, it adds that hazy atmosphere you see in underwater photography. Light doesn’t penetrate the ocean depths the same way it does on land.
So this step is crucial for realism.
Adding the Second Underwater Layer
Place your second underwater image using File > Place. This layer adds depth and complexity to your scene.
Scale and position it using the Transform tool (Ctrl/Cmd + T). Try placing it in the upper portion of your canvas. This creates a gradient effect from lighter water near the surface to darker depths below.
Blend it with a layer mask if needed. Use a soft brush to paint away harsh edges. The goal is seamless integration where viewers can’t tell where one image ends and another begins.
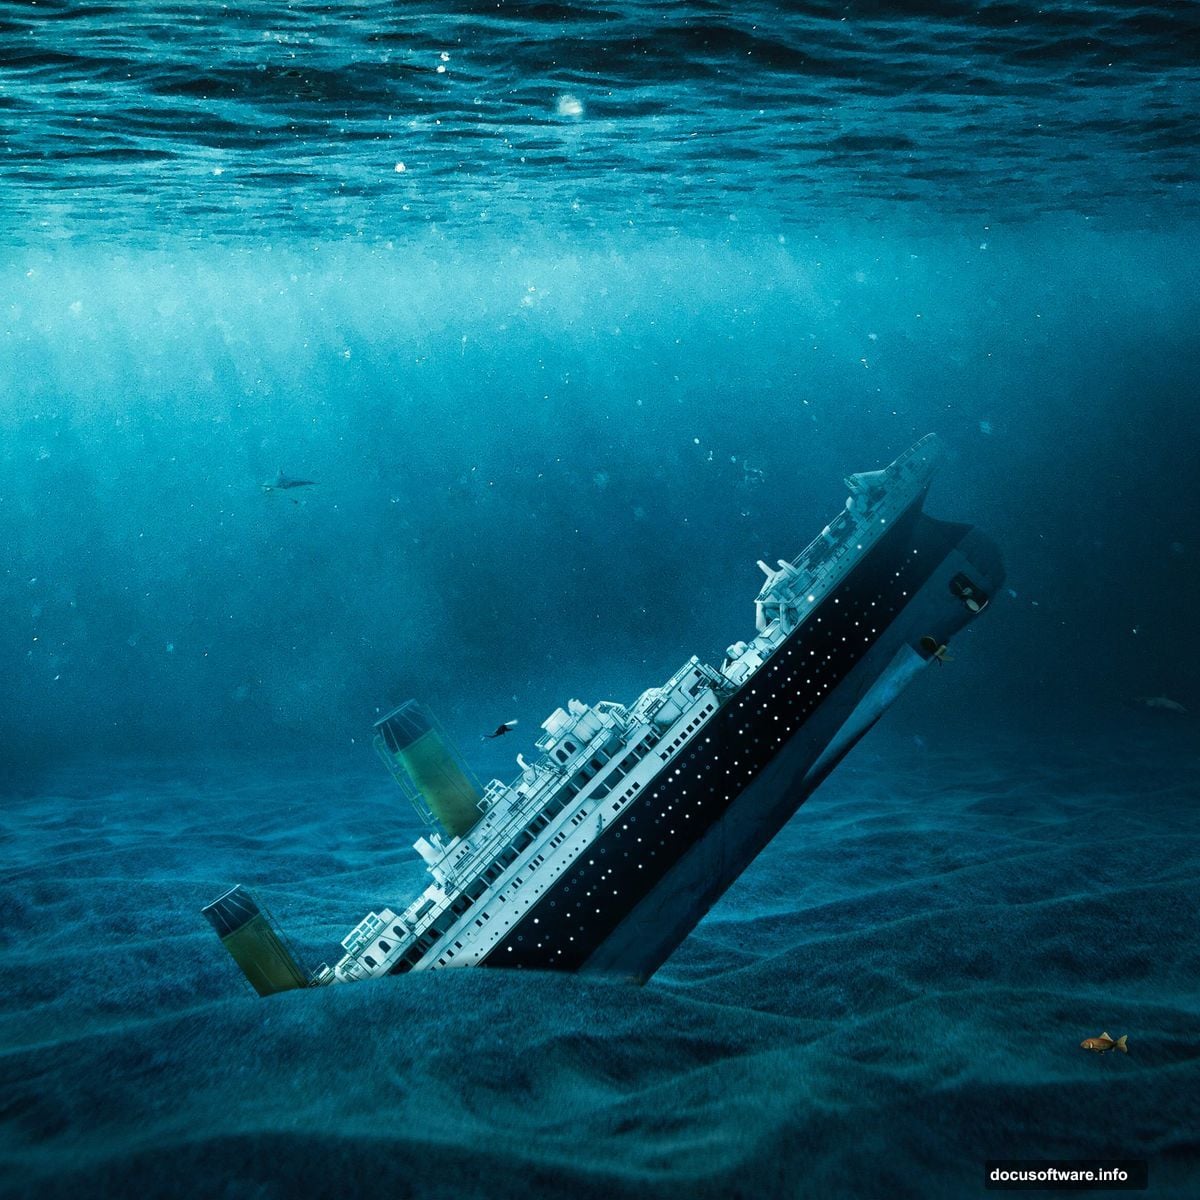
Bringing in the Star: The Titanic
Now for the main attraction. Place your Titanic ship image into the composition. This step requires careful positioning because the ship needs to look naturally settled on the ocean floor.
Use Transform to scale the Titanic appropriately. Consider perspective here. Ships in the distance appear smaller while closer sections look larger.
Position it slightly off-center for a more dynamic composition. Centered subjects can feel static and boring.
Blending the Titanic into the Scene
Create a layer mask on your Titanic layer. Use a soft brush to blend the bottom of the ship into the sand. Ships don’t just sit on top of the ocean floor. Instead, they settle into it.
Add a Hue/Saturation adjustment layer clipped to the Titanic. Shift the colors to match your underwater environment. Ships at the bottom of the ocean take on that blue-green color cast.
Moreover, reduce the brightness slightly. Objects underwater appear darker due to limited light penetration.
Adding Texture and Decay
Real shipwrecks show signs of time and decay. Add texture overlays to simulate rust, algae growth, and deterioration.
Place your texture images and set their blend modes to Overlay or Soft Light. Then reduce opacity until the effect looks natural rather than heavy-handed.
Use layer masks to apply textures only where they make sense. The ship’s hull might show more decay than elevated structures that catch more current.
Populating Your Scene: The Diver
Place your diver image into the composition. Scale it appropriately based on perspective. A diver near the camera should appear larger than one exploring distant sections of the wreck.
Add a slight motion blur to the diver’s fins. This creates the illusion of movement through water. Go to Filter > Blur > Motion Blur and adjust the angle and distance.
Then apply the same color correction techniques you used on the Titanic. The diver needs to match the underwater color palette.
Adding Life: Fish and Marine Creatures
Drop in your fish images at various sizes and positions. Vary their placement to create depth. Smaller fish in the background, larger ones in the foreground.
Add a subtle motion blur to some fish to simulate swimming movement. However, don’t blur them all. Some fish hover relatively still in currents.
Consider adding a shark in the distance for dramatic effect. Sharks naturally patrol shipwrecks looking for prey. Just don’t make it too prominent or your scene becomes a horror movie poster.
Light Rays and Particles
Create a new layer and use a soft white brush to paint subtle light rays filtering down from above. Change the blend mode to Screen or Overlay.
These light rays suggest the sun’s position and add visual interest. Moreover, they guide the viewer’s eye through your composition.
Add small particles floating in the water. Use a small hard brush with scattered brush dynamics. These represent debris, plankton, and sediment suspended in the water column.
Final Color Grading with Camera Raw
Flatten a copy of all your layers (Ctrl/Cmd + Alt/Option + Shift + E). Then go to Filter > Camera Raw Filter.
Adjust the overall exposure, contrast, and color temperature. Push the blues slightly while maintaining natural-looking shadows.
Increase clarity to enhance mid-tone contrast. This makes details pop without looking over-processed. Meanwhile, add a subtle vignette to draw focus toward the center of your composition.
Fine-tune the color grading in the Color Mixer panel. Shift the blues and cyans to achieve that perfect underwater atmosphere.
The Details That Matter
Zoom in and check your edges. Are all your layers blended smoothly? Do any elements look pasted on rather than integrated?
Add subtle shadows beneath the Titanic where it meets the ocean floor. Use a soft black brush on low opacity. This grounds the ship in the environment.
Consider adding caustics – those dancing light patterns you see underwater. These can be painted on a new layer with a soft white brush set to Screen blend mode.
Why This Technique Works
This approach builds complexity through layers rather than relying on a single perfect image. Each adjustment layer adds refinement without permanently altering your work.
So if something doesn’t look right, you can always dial it back or try a different approach. That’s the beauty of non-destructive editing.
Plus, these same techniques apply to any underwater photo manipulation. Master this process and you’ll create stunning aquatic scenes for years to come.
The Titanic serves as a powerful subject because everyone knows its tragic story. Your artwork taps into that emotional connection while showcasing your technical Photoshop skills.