
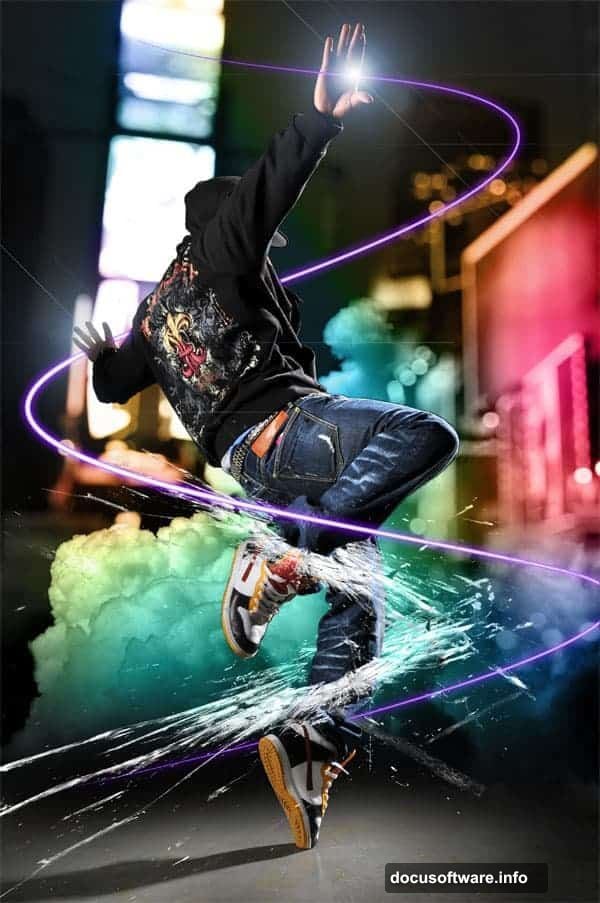
Photo manipulation separates amateur designers from pros. This comprehensive walkthrough shows you how to transform an ordinary dance photo into spectacular artwork.
Plus, you’ll discover smart tricks to slash file sizes and streamline layers. Most designers waste hours fighting bloated documents. These techniques fix that problem fast.
Smart Object Workflow Saves Time
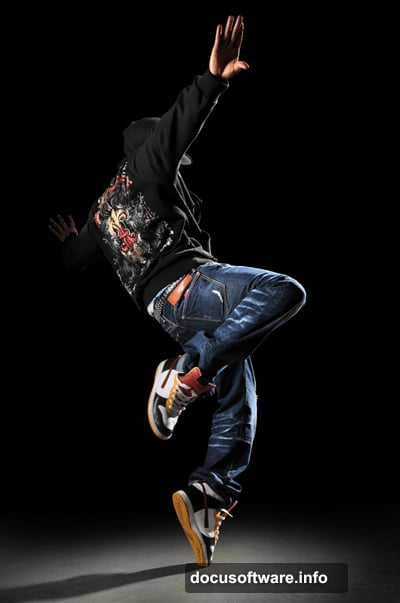
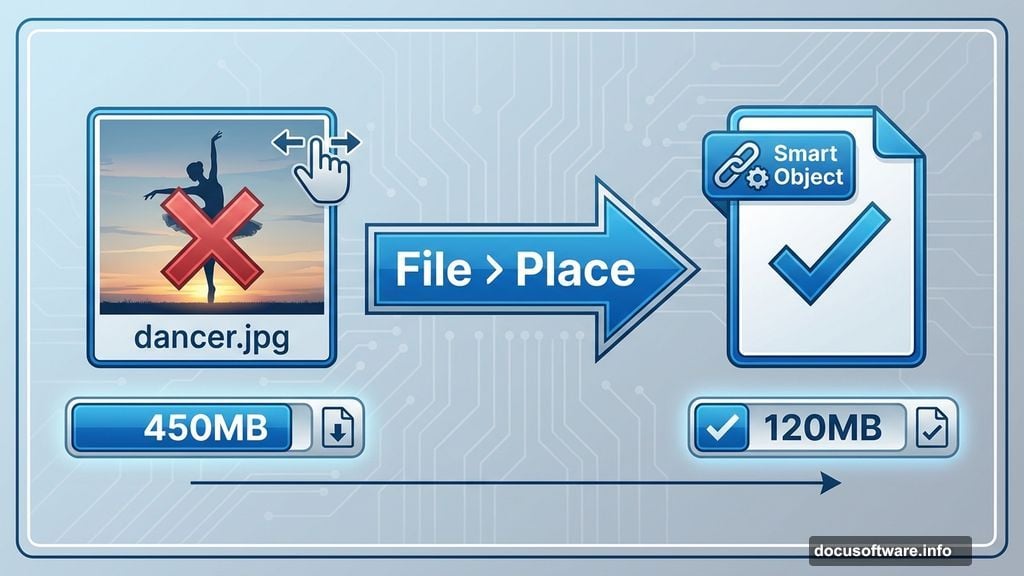
Start by loading your dancer image into Photoshop. But here’s the trick most tutorials skip: use File > Place instead of dragging files.
Why does this matter? Placed images become smart objects automatically in CS2 and newer versions. Smart objects keep file sizes manageable when you disable maximize compatibility on save.
Traditional methods create huge documents that crash mid-project. This approach prevents that headache entirely.
Blend Clouds Without Masks
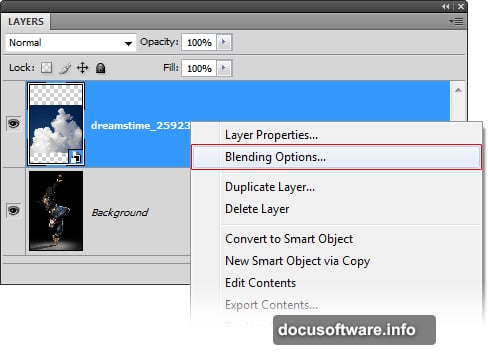
Most designers reach for layer masks to composite clouds. That creates extra layers and increases file size unnecessarily.
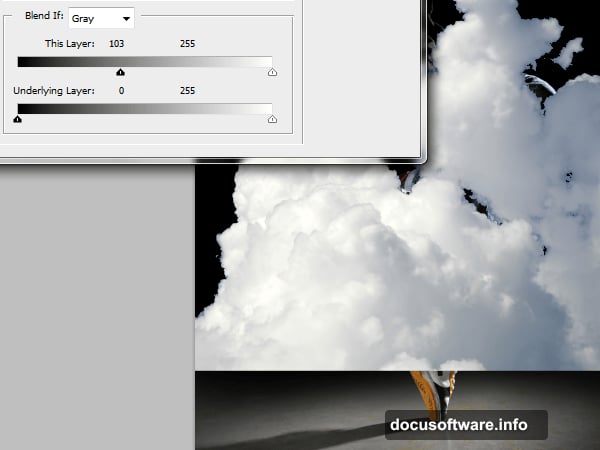
Instead, use blending options. Right-click your cloud layer and choose Blending Options. Move the black input slider right until sky disappears completely.
Now hold Alt and drag that same slider back slightly. This splits the slider into two parts. The hard cloud edges soften and gain natural transparency.
Here’s the bonus step. Click Color Overlay in the same style window. Set it to white with Color blend mode. Boom – instant desaturation without adding adjustment layers.
Layer Styles Replace Multiple Layers
Traditional workflows stack adjustment layers endlessly. Color correction here, curves there, another for saturation. Your layer panel becomes a mess.
Layer styles consolidate all that. One layer can hold color overlays, gradients, and blending adjustments simultaneously. You’ll cut your layer count by 60% or more.
Plus, layer styles are non-destructive and easy to edit. Double-click the layer style icon to reopen settings anytime. No hunting through adjustment layers trying to remember which one does what.
Stroke Paths Create Perfect Light Trails
Creating smooth light streaks confuses many designers. The secret lies in stroke path technique combined with work paths.
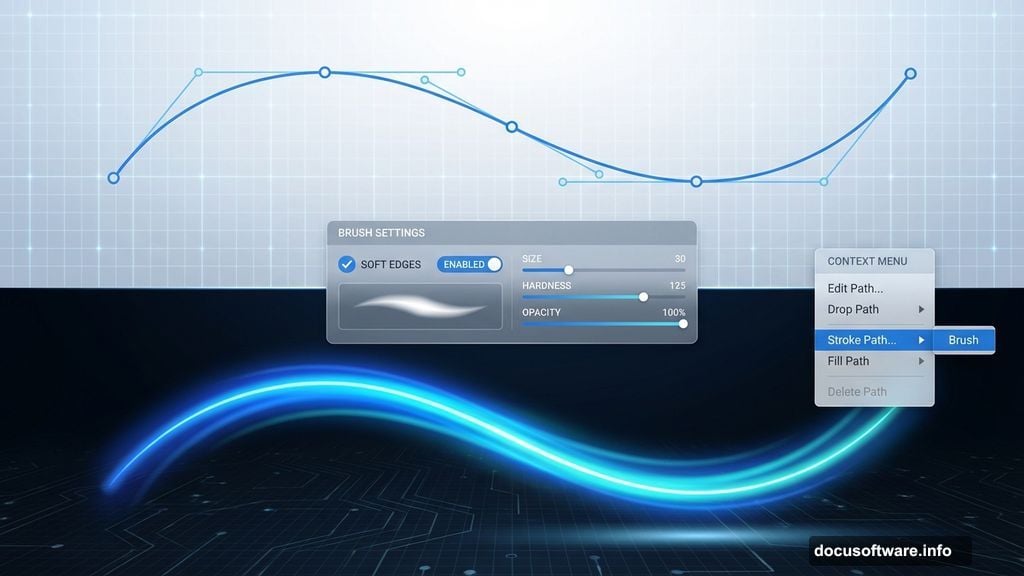
First, grab the pen tool and draw a curved path where you want light to flow. Make sure your brush has the right settings – soft edges work best.
Then right-click the path and choose Stroke Path. Select Brush from the dropdown. The brush follows your path perfectly, creating professional light trails in seconds.
This beats manually painting light streaks every time. Your curves stay smooth and adjustments are simple – just redraw the path and stroke again.
Position Elements Behind Clouds Naturally
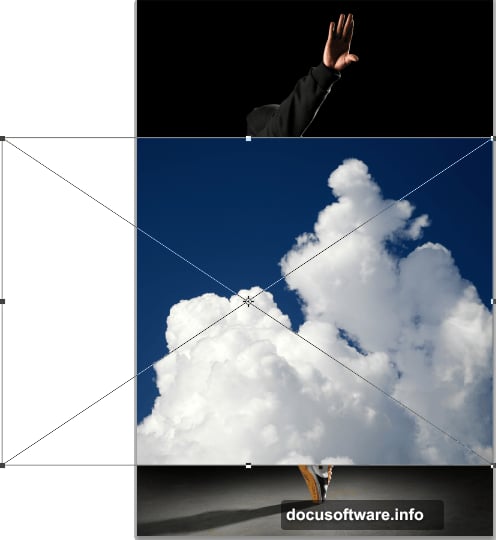
Getting depth right makes or breaks composite images. Your dancer needs to interact with clouds believably, not just float on top.
The key is layer order plus selective masking. Place dancer layers between cloud layers when possible. Some clouds should appear in front, others behind.
Use soft brushes on layer masks to blend edges where elements meet. Hard edges scream “fake photo.” Soft transitions suggest natural atmospheric haze.
Remember: real scenes have atmospheric perspective. Distant objects lose contrast and color saturation. Apply subtle adjustments to background elements for authentic results.
Reduce Document Bloat Strategically
Every designer hits this wall eventually. Your document grows to 500MB and Photoshop crawls.
Here’s your action plan. First, merge completed layers that won’t need individual editing later. Name merged layers clearly so you can find them.
Second, rasterize smart objects you’re done adjusting. Smart objects add file size when you’re actively working. Once finalized, rasterize them.
Third, delete hidden layers you’re keeping “just in case.” That safety net costs you. If you really need those layers later, use file versions instead.
Finally, use linked smart objects for repeated elements. One master file updates all instances automatically. This technique alone can cut files by 40% on complex projects.
Color Grading Ties Everything Together
Individual elements look great separately but clash when combined. Unified color grading solves this instantly.
Create a Curves or Color Balance adjustment layer at the top of your stack. Apply it to all layers below. Subtle shifts toward warmer or cooler tones create cohesion.
Don’t overdo it. Real photos have color variation. Too much correction makes images look artificial. Aim for subtle harmony, not perfect uniformity.
Test your color grade by viewing thumbnails. Zoom out or squint at your image. Does everything feel like it belongs in the same scene? If not, adjust your color layers.
Special Effects Enhance But Don’t Dominate
Beginners love effects. They add glows, particles, light rays, and motion blur until the original subject disappears.
Professional composites use effects sparingly. Each effect should have purpose. Does it guide the eye? Create atmosphere? Support the story?
If an effect doesn’t serve a clear function, delete it. Your image will improve instantly. Strong compositions need fewer effects than weak ones.
When you do add effects, vary their intensity. Full-strength effects across the entire image feel heavy-handed. Strategic placement creates visual interest without overwhelming viewers.
Sharpening Strategy Matters
Many designers sharpen once at the end. That approach fails for composites with elements at different distances.
Instead, sharpen selectively by distance. Foreground elements get full sharpening. Mid-ground gets moderate sharpening. Background elements stay soft.
This mimics how camera lenses actually work. Everything in focus at every distance looks fake. Depth-appropriate sharpening sells the illusion of a real photograph.
Use the Unsharp Mask filter with layer masks. Apply different amounts to different regions. Your composite will gain depth and realism immediately.
File Organization Prevents Future Headaches
Complex composites generate dozens of layers quickly. Without organization, you’ll waste hours hunting for specific elements later.
Group related layers into folders immediately. Name everything descriptively – “Cloud Layer 3” beats “Layer 47.” Use color labels for different element types.
Put adjustment layers directly above the layers they affect. Use clipping masks to limit adjustments to single layers when needed. Clear hierarchy shows at a glance what affects what.
Future you will thank present you. So will anyone else who needs to work with your file.
The Real Power of Non-Destructive Workflow
Everything in this tutorial emphasizes non-destructive techniques. That’s not accident. It’s the difference between amateur and professional work.
Non-destructive methods let you experiment freely. Try bold ideas knowing you can undo them instantly. Adjust decisions made hours ago without starting over.
This flexibility matters most when clients request changes. And they always request changes. Non-destructive files make revisions quick and painless instead of rebuilding everything from scratch.
Start building this habit now. Your future projects will go faster and turn out better. Plus you’ll stop dreading revision requests because they won’t cost you hours of work.