
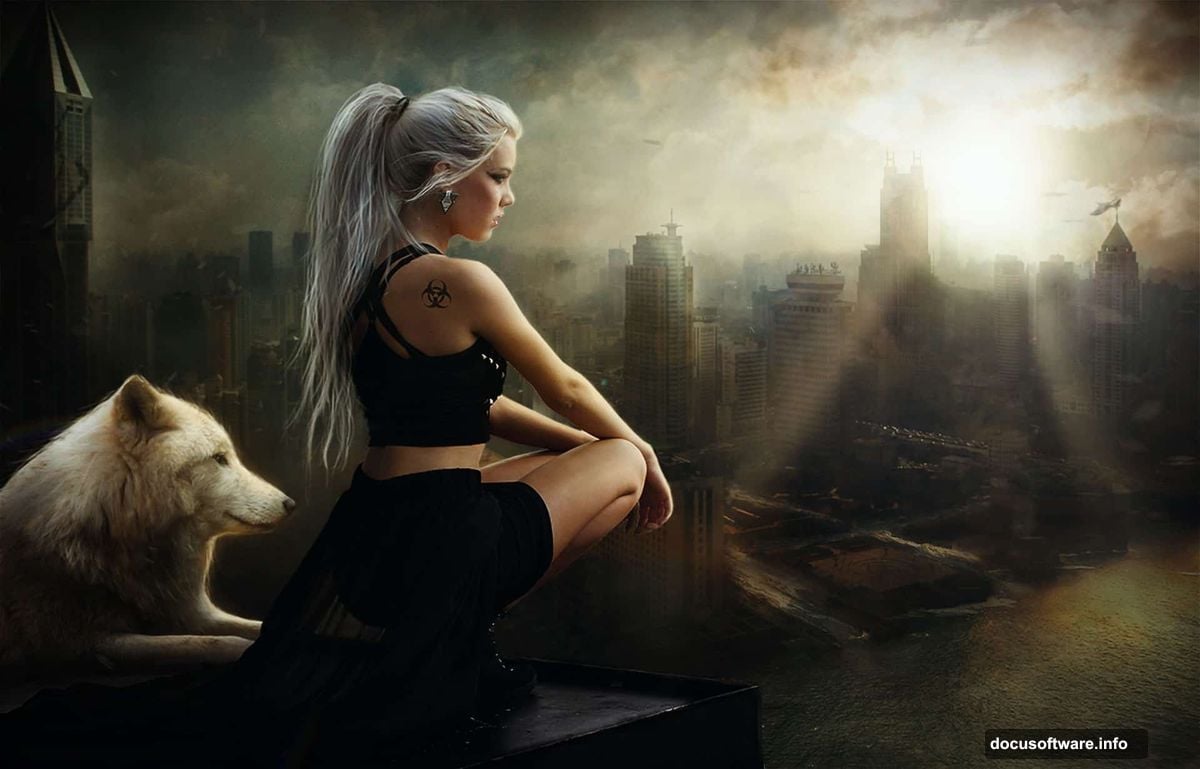
Creating a believable post-apocalyptic scene requires more than just slapping images together. You need precise layering, careful masking, and attention to tiny details that sell the illusion.
This tutorial walks through building a destroyed city composite from scratch. Plus, you’ll learn character retouching techniques that transform standard portraits into battle-worn survivors. The process involves multiple source images, strategic blending modes, and custom brush work.
Let’s break down the essential steps that make these composites work.
Start With the Right Canvas Size
Set your document to 2000px width by 1282px height. This aspect ratio works well for dramatic landscape compositions.
Why these dimensions? The wider format emphasizes the environmental destruction. Plus, it gives you room to position characters without cramping the frame.
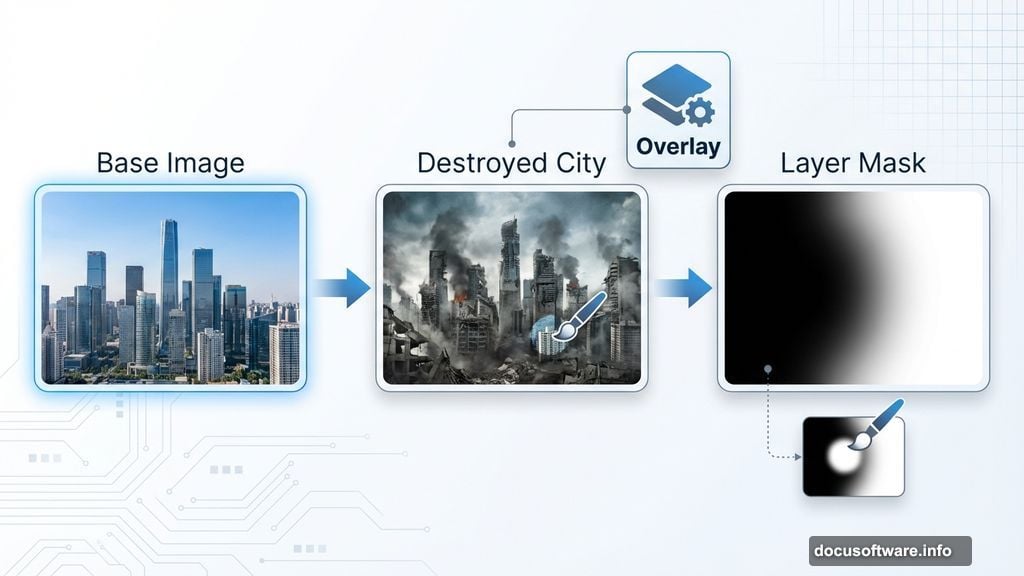
Open your base image first. This foundation layer establishes your entire color palette and lighting direction.
Layer Your Environment Elements
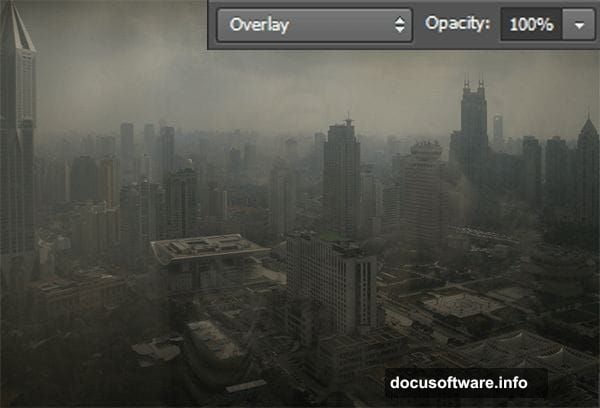
Place the destroyed city image above your base. Change the blend mode to Overlay.
This blend mode merges the textures while preserving underlying details. However, Overlay can look too strong in some areas.
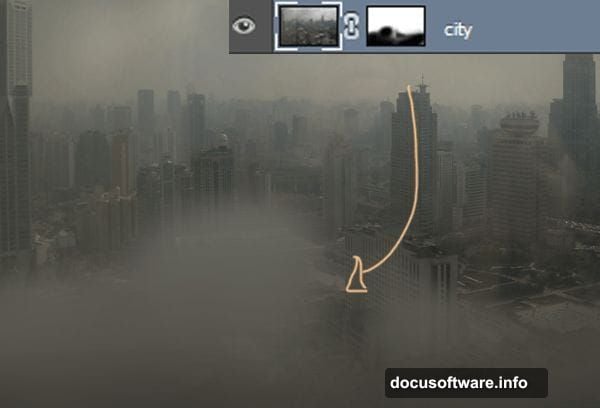
Add a layer mask to the city layer. Paint with a black brush to hide overblended sections. Focus on areas where buildings meet the sky or ground.
The mask gives you selective control. You’re not committed to the full effect everywhere.
Build Atmospheric Depth With Sky Layers
Drop in your cloud image next. Add another layer mask immediately.
Set this layer to Soft Light mode. Paint along the edges with your mask to blend the clouds naturally into the cityscape.
Here’s the trick: Don’t let clouds completely cover architectural details. Hide portions that obscure important buildings. The structures should emerge through the atmosphere, not disappear into it.
Now add your main sky image. Desaturate it completely by setting Saturation to -100 in the Hue/Saturation adjustment.
Change this layer to Soft Light as well. Mask out sections covering buildings. The goal is adding tonal depth without blocking your carefully placed city details.

Add Decay and Destruction Details
Create a new layer in Soft Light mode. Grab crack brushes and paint damage directly onto buildings.
This step sells the destruction narrative. Strategic cracks suggest structural failure. Random damage patterns look more authentic than uniform deterioration.
Paint in varied opacity levels. Some cracks should appear deep and severe. Others can be subtle surface damage. The variation makes everything more believable.
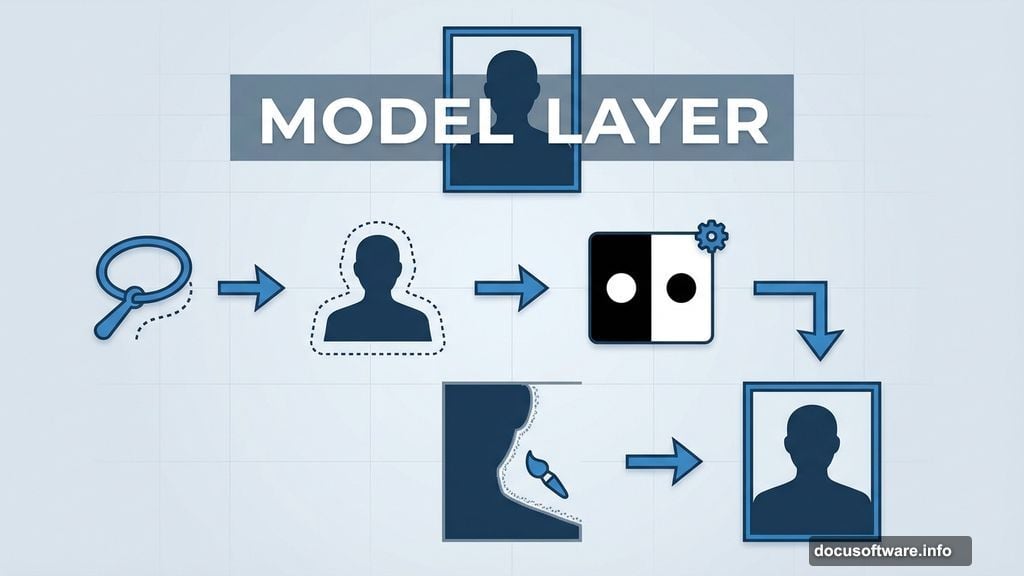
Composite Your Character Cleanly
Place your model image on the canvas. Select the figure using the Lasso tool.
Add a layer mask to the model layer. The background disappears automatically. But don’t stop there.
Switch to a small black brush. Carefully paint along the edges in your mask. This refinement eliminates selection halos and stray pixels. Clean edges make the difference between amateur and professional composites.
Adjust Skin Tones for Environment
Select the model’s skin with the Lasso tool. Duplicate this selection to a new layer.
Open Hue/Saturation and reduce saturation by -25. This desaturation matches the apocalyptic color palette. Healthy, saturated skin tones break the environmental mood.
Duplicate the skin layer again. Change the blend mode to Screen and reduce opacity to 40%.
This Screen layer adds subtle luminosity. The effect mimics natural light reflection without looking artificial. Your character now exists in the same lighting as the environment.
Paint Custom Hair Strands for Realism
Grab a soft round brush at 1-2px. Set the color to white.
Paint individual hair strands around the head perimeter. Make strands finer at the top and bottom. Add some wavy movement to suggest wind or motion.
This detail work takes patience. But hand-painted hair strands add incredible realism that automated filters can’t match. The imperfect, varied strands look natural.
Real hair doesn’t form perfect shapes. So your painted strands shouldn’t either.
Enhance Facial Features Strategically
Create a new layer for makeup details. Use the Eyedropper to sample the eyebrow color.
Paint over existing eyebrows to intensify them. Strong eyebrows frame the face better in composites.
Add a white brush stroke beneath each eyebrow. This brightening technique makes eyes pop. Also paint a small white highlight directly in each eye.
These subtle makeup touches prevent your character from looking flat. The small highlights create depth and draw viewer attention to the face.
Build Fur Textures for Animals
If your composite includes wolves or creatures, fur requires special attention. Load fur brushes and paint in layers.
Start with dark base tones. Then add lighter fur strands on top. Vary your brush opacity to create depth.
Paint fur direction following the animal’s natural growth patterns. Shoulders should show longer guard hairs. Face fur stays shorter and denser.
Multiple fur layers at different opacities build realistic texture. Single-layer fur looks flat and unconvincing.
Blend Sea and Water Elements
Place water or sea images using similar masking techniques. Add layer masks immediately.
Adjust blend modes to integrate water naturally. Multiply mode works well for darker water. Screen works for bright reflections.
Paint in your masks to control where water appears. Blend edges carefully where water meets land or structures.
Water requires more masking attention than most elements. The reflective surface changes appearance based on surroundings. So you’ll spend time perfecting those transitions.
Refine Overall Composition Balance
Step back and evaluate your complete composite. Look for areas that feel disconnected or out of place.
Add adjustment layers to unify colors. Curves and Color Balance help tie disparate elements together. Sometimes a single adjustment layer over everything creates cohesion that individual layer tweaks can’t achieve.
Check edge quality throughout. Revisit masks where transitions look harsh. Soft, gradual edges read more naturally than hard cuts.
The difference between good and great composites often comes down to these final refinement passes. Don’t rush this stage.
Essential Techniques That Elevate Results
Layering blend modes gives you creative flexibility. Soft Light and Overlay modes integrate elements while preserving detail. Screen adds luminosity. Multiply deepens shadows.
Experiment with different modes before committing. The same image produces vastly different results depending on blend mode selection.
Layer masks provide non-destructive editing. You can always paint back hidden areas. This flexibility lets you experiment without fear of permanent mistakes.
Small brush work makes the biggest impact. Those 1-2px hair strands and highlight dots seem insignificant. But they add up to professional-level realism.
Patient, detailed work separates amateur composites from portfolio pieces. The techniques aren’t complex. They just require time and attention.
Your apocalyptic composite depends on believable integration. Every element should feel like it belongs in the same photograph. That coherence comes from consistent lighting, unified color treatment, and careful edge work.
Master these fundamentals and your photo manipulations will convince viewers every time.