Want to create fantasy photo manipulations that look professionally crafted? This stone tiger with blue flames composite teaches you fundamental Photoshop techniques that work across countless projects.
Most Photoshop tutorials overcomplicate things. But this breakdown focuses on practical skills you’ll use repeatedly. Plus, mastering these basics opens doors to more advanced compositing work.
Let’s dive into the core techniques that transform ordinary photos into extraordinary digital art.
Smart Objects Save Your Sanity
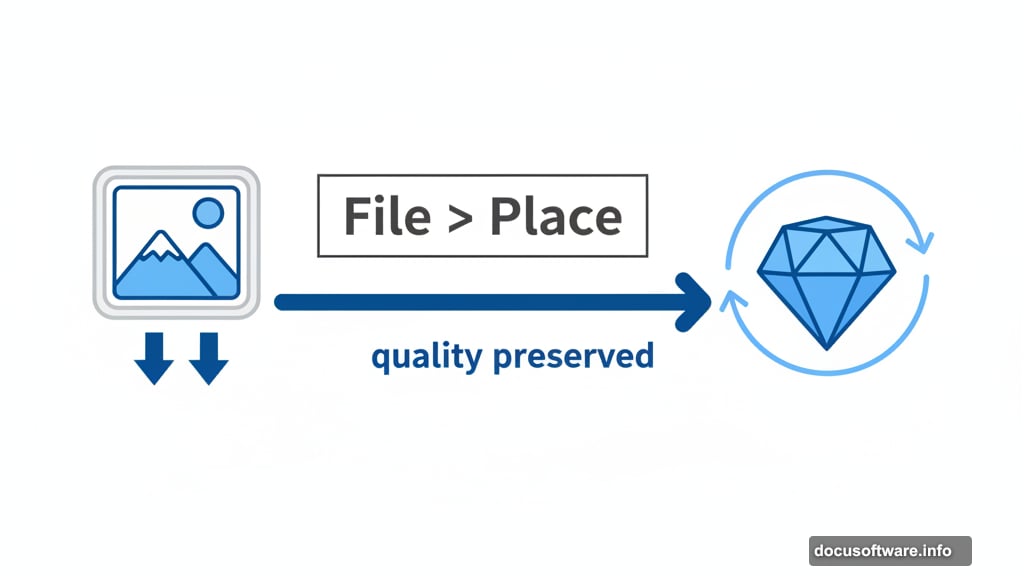
Start every composite with smart objects. They preserve your original images while letting you resize and transform without quality loss.
Here’s how it works. Go to File > Place and select your image. Photoshop automatically converts it to a smart object. Now you can scale up or down repeatedly without degrading the image.
Traditional layers don’t work this way. Each time you resize a regular layer, you lose detail. After three or four adjustments, your image looks terrible. Smart objects prevent this problem entirely.
So always use Place instead of dragging files directly into your canvas. This single habit saves hours of frustration and improves your final results significantly.
Pen Tool Mastery Creates Clean Selections
The Pen Tool intimidates beginners. But it’s the most precise selection method available in Photoshop.
Set the Pen Tool mode to “Path” before starting. Then click around your subject to create anchor points. Don’t worry about perfection on the first pass. You can adjust points later by holding Ctrl/Cmd and dragging them.
For curved edges, click and drag to create direction handles. These control how the path bends between points. Short handles create tight curves. Long handles create gentle sweeps.
Once your path looks right, right-click and select “Make Selection”. Set Feather Radius to 1 pixel for slightly softer edges. Then click the layer mask button to hide everything outside your selection.
Practice this technique on simple objects first. Your speed and accuracy improve dramatically after just five or six attempts.
Layer Masks Beat Erasers Every Time
Never use the Eraser tool on composite work. Seriously. Layer masks give you identical results while keeping your options open.
Here’s the difference. Erasers permanently delete pixels. If you make a mistake, you’re stuck recreating that area from scratch. Layer masks hide pixels instead of destroying them.
Black conceals. White reveals. Painting with gray creates partial transparency. This flexibility lets you refine edges endlessly without commitment.
Plus, you can disable masks temporarily to check your work. Click the mask thumbnail while holding Shift. This toggles the mask on and off so you can see what you’ve hidden.
So add a layer mask by clicking the button at the bottom of your Layers panel. Then paint with black to hide areas and white to reveal them. Your future self will thank you.
Duplicate Layers Create Depth Fast
Professional composites use the same element multiple times with different treatments. This technique adds depth without hunting for additional stock photos.
Select any layer and press Ctrl/Cmd+J to duplicate it. Now you have two identical layers to work with separately. One might become a shadow. Another might serve as texture.
For this stone tiger composite, duplicating the rock layer creates both the base structure and the shadow beneath it. Transform one copy by going to Edit > Transform > Flip Horizontal. Suddenly you have variations without additional downloads.
Moreover, duplicates let you experiment freely. Try different blend modes or opacity settings on the copy. If something fails, delete it and duplicate again. The original stays untouched.
This approach works especially well for creating reflections, shadows, and texture overlays throughout your composite work.
Color Overlay Simplifies Shadow Creation
Creating realistic shadows used to require complicated techniques. But Color Overlay in Layer Styles makes it ridiculously simple.
Right-click your layer and select “Blending Options”. Checkmark “Color Overlay” and set these values: Blend Mode to Normal, Color to pure black, and Opacity to 100%.
Your entire layer turns black instantly. Now you have a perfect shadow base. Add a Box Blur filter (Filter > Blur > Box Blur) to soften the edges. Set the radius around 10 pixels for natural-looking shadows.
Finally, lower the layer opacity to 50% or whatever looks right for your scene. Shadows should suggest depth without overpowering your main subject.
This technique beats manually painting shadows or using complicated adjustment layers. Plus, you can always double-click the layer to modify settings later if needed.
Texture Layers Add Professional Polish
Professional composites use multiple texture layers to unify disparate elements. Stock photos come from different sources with different lighting. Textures blend everything together seamlessly.
Place your texture over your entire composition. Then experiment with blend modes like Overlay, Soft Light, or Multiply. Each creates different effects with the underlying layers.

Lower the opacity until the texture enhances rather than dominates. Usually somewhere between 20% and 40% works best. You want subtle improvement, not obvious texture.
For this stone tiger effect, multiple rock textures applied with varying opacity create the illusion that stone and tiger merged naturally. Without textures, the panther would look pasted on top.
So collect texture libraries from stock sites. You’ll use them constantly across different projects to add depth and cohesion to composite work.
Clipping Masks Contain Adjustments Precisely
Clipping masks let you apply adjustments to specific layers without affecting your entire composition. This precision separates amateur work from professional results.
Create any adjustment layer (like Curves or Hue/Saturation). Then hold Alt/Option and click the line between your adjustment layer and the layer below it. A small arrow appears, indicating the clipping mask activated.
Now that adjustment only affects the clipped layer. Everything else remains unchanged. This control matters enormously when balancing multiple elements with different lighting conditions.
For example, you might brighten the tiger separately from the rocks. One Curves adjustment layer clipped to the tiger layer handles this without complicated selections or masks.
So use clipping masks liberally. They keep your adjustments organized and make future editing far simpler when clients inevitably request changes.
Fire Elements Need Multiple Layers
Realistic fire effects require layering several fire stock images with different blend modes. Single fire layers look flat and unconvincing.
Start by placing your first fire stock and setting the blend mode to Screen. This removes black backgrounds while keeping bright flames. Position it where you want initial flame placement.
Add a second fire layer with the same Screen blend mode. Rotate or flip it so the flame shapes differ from your first layer. Lower the opacity slightly for variation.
Finally, add a third fire layer as accent. Place this in areas that need extra intensity. Use layer masks to blend where different fire elements overlap.
The combination creates dynamic flames with varying intensity and movement. Plus, adjusting opacity on individual layers lets you fine-tune the overall effect until it looks perfectly integrated.
Gradient Maps Unify Lighting
Gradient Maps transform color palettes across your entire composite. They’re essential for creating cohesive lighting that ties disparate elements together.
Go to Layer > New Adjustment Layer > Gradient Map. Select colors that match your desired lighting scheme. For blue flame effects, choose gradients ranging from dark blue through cyan to bright white.

Set the blend mode to Overlay or Soft Light. Lower opacity until the effect looks natural rather than overpowering. Usually 30-50% works well.
This single adjustment can transform disconnected elements into a unified scene. The gradient applies consistent color temperature across everything, suggesting they exist in the same lighting environment.
Experiment with different gradient colors and blend modes. Small adjustments create dramatically different moods without changing your underlying composition.
Practice Selection Refinement
The difference between amateur and professional composites often comes down to edge quality. Refined selections make elements look naturally integrated rather than pasted.
After creating your initial selection, go to Select > Select and Mask. This workspace provides powerful tools for perfecting edges. Use the Refine Edge Brush on hair, fur, or complex edges.
Adjust the Smooth slider to eliminate jagged edges. Increase Feather slightly for softer transitions. Add Contrast to sharpen the boundary between subject and background.
For the stone tiger specifically, fur edges need careful refinement. Otherwise the panther looks cut out rather than merged with stone textures. Spend extra time here. It makes or breaks the illusion.
Moreover, learning Select and Mask improves every future composite. The skills transfer directly to product photography, portrait composites, and commercial work.
Blend Modes Create Magic
Blend modes change how layers interact mathematically. Understanding even a few common modes dramatically improves your compositing capabilities.
Screen removes dark tones and keeps lights. Perfect for fire, light effects, and adding glow. Multiply removes light tones and keeps darks. Great for shadows and darkening effects.
Overlay combines both approaches, creating contrast while maintaining midtones. Soft Light does the same thing more subtly. These four modes handle 90% of blending situations.
Don’t memorize every blend mode. Instead, develop instinct by experimenting. Select a layer and press Shift+ or Shift- to cycle through modes quickly. Watch what happens and remember what works.
For this stone tiger composite, different blend modes on texture and fire layers create the final integrated look. The same elements with different blend modes produce completely different results.
Creating professional photo manipulations isn’t about knowing every Photoshop feature. It’s about mastering fundamental techniques and applying them consistently. These eleven skills form the foundation for countless creative projects.
Start with smart objects to preserve quality. Master the Pen Tool for precise selections. Use layer masks instead of erasers for maximum flexibility. Then build complexity through duplicates, textures, and adjustment layers.
Most importantly, practice deliberately. Each composite teaches you something new about blending, lighting, or selection refinement. Your skills compound rapidly as you complete more projects.