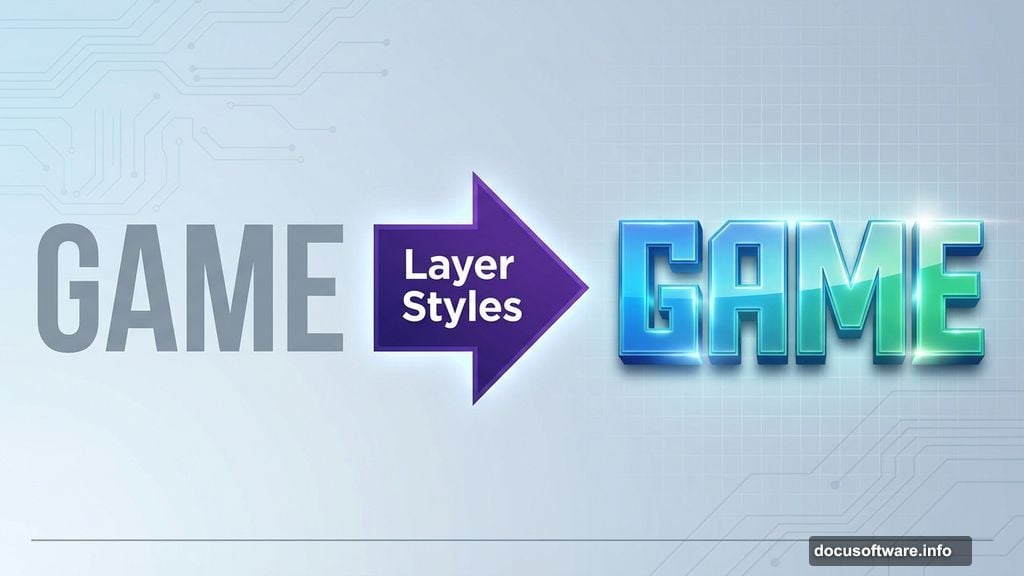
Photoshop‘s layer styling capabilities unlock endless creative possibilities. But most designers barely scratch the surface.
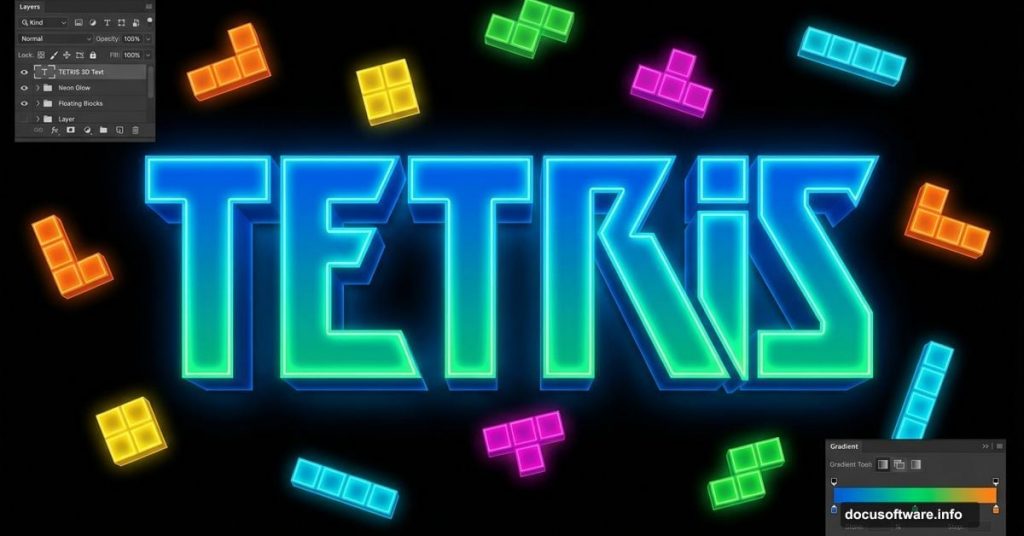
Today, you’ll learn how to transform plain text into vibrant, three-dimensional artwork inspired by classic Tetris blocks. This technique combines color gradients, custom lighting, and strategic layer management to create eye-catching typography that pops off the screen.
Plus, these skills translate to countless other projects. Once you master this workflow, you’ll apply similar techniques to logos, posters, and digital illustrations.
Why Tetris-Inspired Typography Works
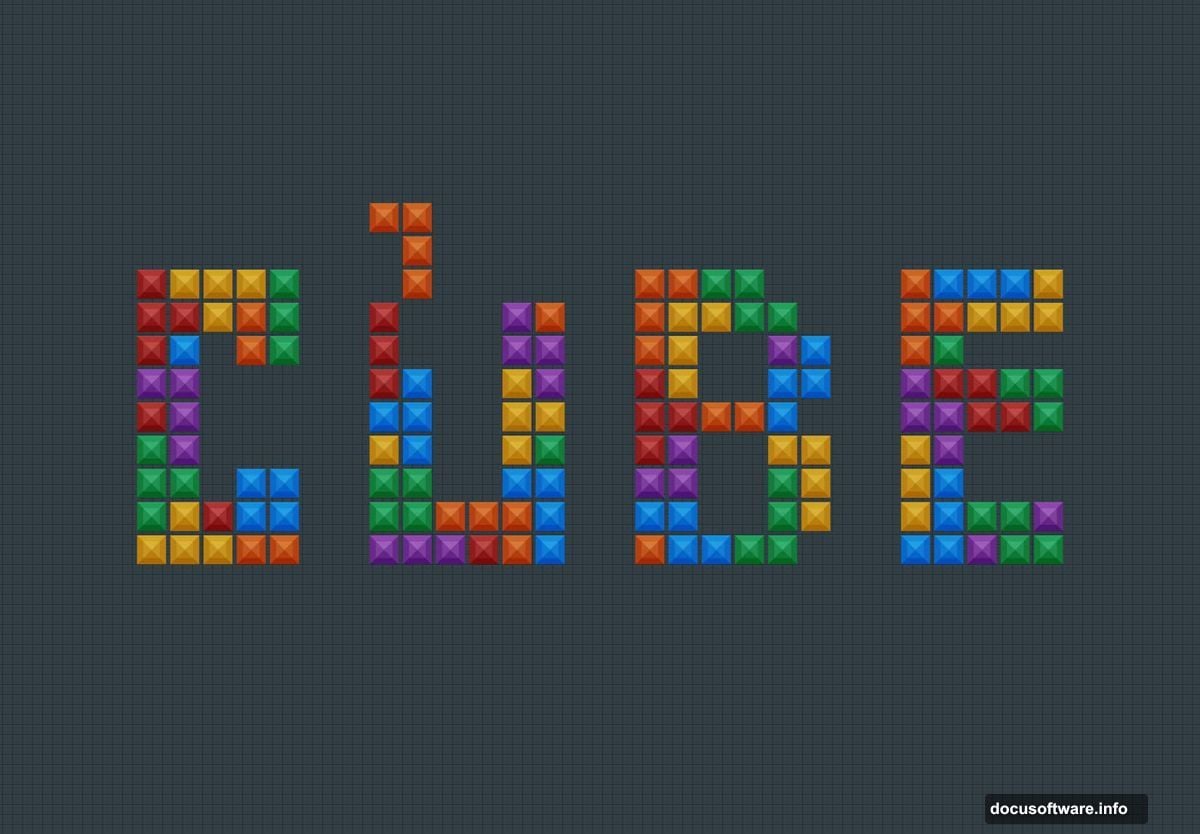
Geometric shapes grab attention instantly. The blocky, puzzle-piece aesthetic triggers nostalgia while maintaining a modern, playful vibe.
Moreover, this style works across industries. Gaming brands love it for obvious reasons. But tech startups, entertainment companies, and creative agencies also use geometric typography to stand out in crowded markets.
The key lies in balancing bold colors with proper lighting. Get that right, and your text transforms from flat to fantastic.
Setting Up Your Photoshop Canvas
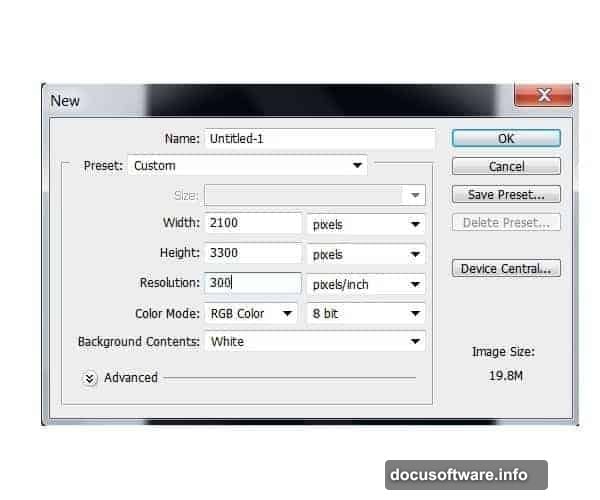
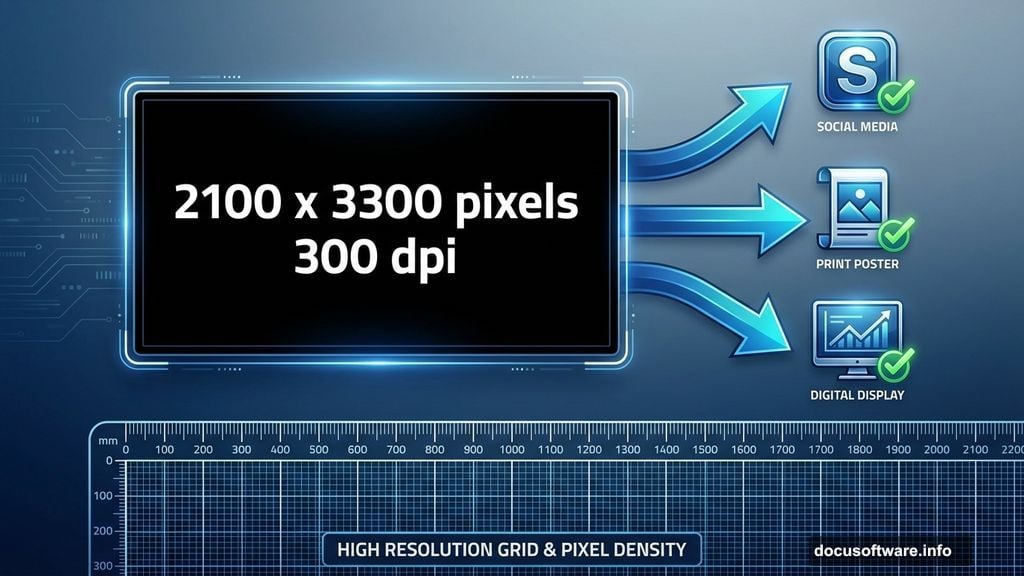
Start with proper dimensions to avoid quality issues later. Create a new document at 2100 x 3300 pixels with 300 dpi resolution.
Why these specific numbers? This aspect ratio works perfectly for social media graphics, print posters, and digital displays. Plus, the high resolution ensures crisp output whether you’re posting online or printing large format.
Fill your background layer with pure black using the Paint Bucket Tool (G). Black provides maximum contrast for vibrant colors you’ll add next.
Choosing the Right Font Matters
Geometric fonts amplify the Tetris effect dramatically. The Tetra font works beautifully because its angular letterforms mimic actual game pieces.
However, don’t feel limited to one option. Fonts like Bahnschrift, Orbitron, or Nasalization deliver similar blocky aesthetics. Select any typeface with strong geometric characteristics and minimal curves.
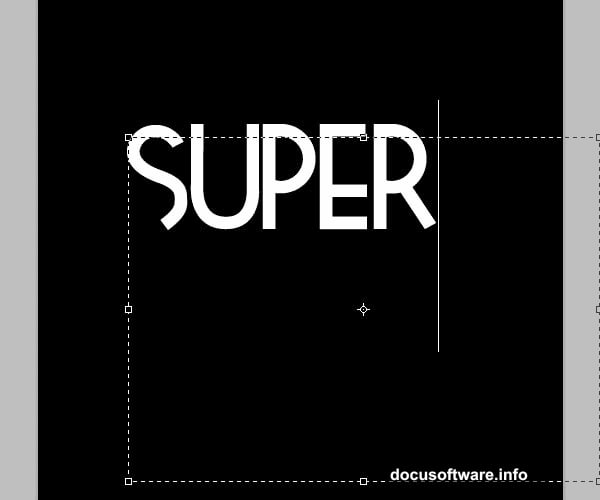
Type your desired word using the Text Tool (T) at approximately 250 point size. Position it toward the top third of your canvas, leaving room below for additional elements later.
Then right-click the text layer and select “Rasterize Layer.” This converts live text to pixels, enabling advanced editing techniques that layer styles alone can’t achieve.
Building Your Color Foundation
Create a separate layer above your rasterized text. This keeps your color work non-destructive and easily adjustable.
Hold Ctrl and click the text layer thumbnail to load its selection. Now you’re ready to paint within the letter boundaries without worrying about going outside the lines.
Grab the Brush Tool (B) and select a mid-tone color from your chosen palette. For a blue-to-green gradient effect, start with medium blue as your base. Fill the entire selection with this color using a large, soft brush.
The magic happens when you layer additional tones strategically. Switch to a darker blue shade and paint along the bottom edges of each letter. Use a soft brush at 250 pixels with 0% hardness for smooth blending.
Creating Dimensional Depth Through Shading
Reduce your brush size to around 150 pixels and select the darkest green from your palette. Paint this color along the top portions of letters where light naturally hits.
Here’s the critical part: leave visible traces of the underlying blue. Don’t completely cover earlier colors. This creates visual depth that makes letters appear three-dimensional.
Lower your brush opacity to approximately 40% for seamless color transitions. Gradually build up lighter green tones, working from dark to bright as you move toward the highest points of each letter.
Think about natural light sources. Imagine light coming from above and slightly in front. This mental model guides where you place highlights and shadows.
Adding Final Highlights for Maximum Pop
Switch to pure white on a smaller brush to add sharp highlights. Focus on the very top edges and corners where light would reflect most intensely.
These white accents create the illusion of glossy, reflective surfaces. Apply them sparingly for maximum impact. Too many highlights flatten the effect rather than enhancing it.
Once you’re satisfied with your color work, enhance the overall vibrancy. Navigate to Image > Adjustments > Brightness and Contrast. Bump the contrast up by 15-20 points to make colors more vivid without losing detail.
Refining Edges and Smoothing Transitions
Zoom in to inspect your letter edges closely. Look for rough transitions between color zones or areas where shading appears muddy.
Use the Smudge Tool at low strength to blend harsh color boundaries. Alternatively, apply a slight Gaussian Blur (1-2 pixels maximum) to individual problem areas using layer masks.
The goal is smooth gradients that maintain crisp letter outlines. Your eye should flow naturally from dark blues through greens to white highlights without jarring jumps.
Layering Additional Text Elements
Repeat the entire process for additional words or design elements. Each text element gets its own color treatment based on your chosen palette.
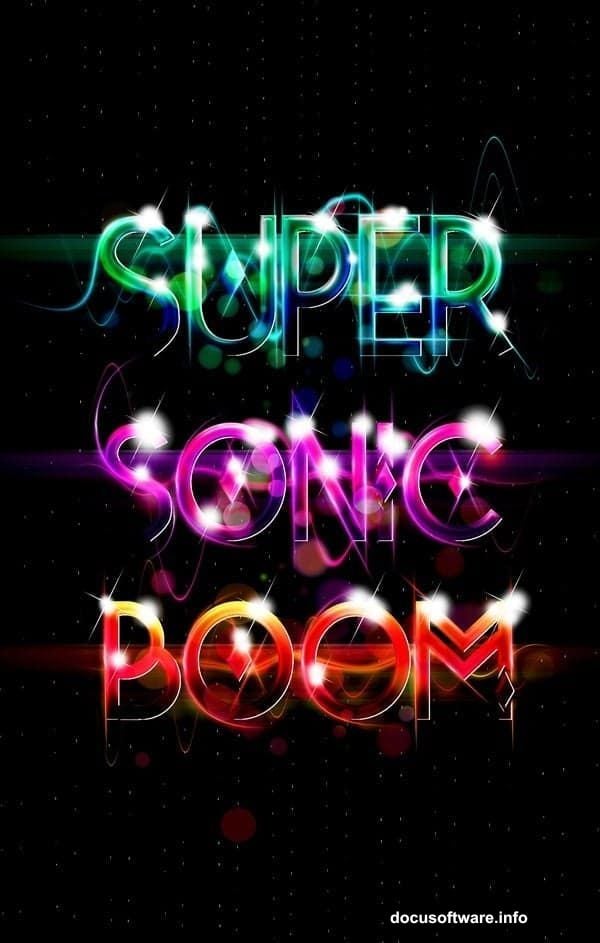
Consider using complementary color schemes for multiple words. If your first word uses cool blues and greens, try warm oranges and reds for the second. This creates visual interest through color contrast.
Vary the intensity of shading between elements too. Make some words appear closer by using stronger highlights and deeper shadows. Push others into the background with subtler lighting effects.
Adding Texture for Extra Visual Interest
Flat gradients look nice, but texture takes your design to the next level. Download high-quality bokeh texture overlays or create your own using Photoshop’s noise filters.
Place texture layers above your colored text and set them to Overlay or Soft Light blending mode. Reduce opacity to taste, usually somewhere between 20-40%.
Textures add organic variation that makes digital artwork feel more tactile and less computer-generated. They catch light differently across the surface, creating subtle visual complexity.
Final Adjustments and Color Grading
Step back and evaluate your composition as a whole. Does the color balance feel right? Do certain elements compete for attention inappropriately?
Use Adjustment Layers for global corrections. A Curves adjustment can shift the overall color temperature warmer or cooler. A Hue/Saturation layer lets you fine-tune specific color ranges without starting over.
Don’t skip this refinement stage. These final tweaks often make the difference between decent work and portfolio-worthy pieces.
Exporting for Different Uses
Save your master file as a layered PSD to preserve editing flexibility. Then create optimized versions for specific applications.
For web use, export as PNG with transparency enabled if your design needs it. For print, save as high-resolution TIFF or PDF with embedded color profiles.
Social media platforms have specific dimension requirements. Create custom crops for Instagram (1080×1080), Twitter (1200×675), and Facebook (1200×630) to ensure your artwork displays perfectly everywhere.
Why This Technique Matters
This workflow teaches fundamental skills that extend far beyond Tetris typography. You’ve learned color theory application, lighting principles, and non-destructive editing practices.
These same techniques apply to product mockups, character illustration, and interface design. Master them here, and you’ll work faster and produce better results across all your creative projects.
The Tetris aesthetic might be trendy now, but the underlying skills remain valuable regardless of style trends. That’s what makes this tutorial worth your time.
Start experimenting with different fonts, color combinations, and lighting angles. Each variation teaches you something new about how Photoshop’s tools interact and how visual perception works.
Your next design challenge just got a whole lot easier.