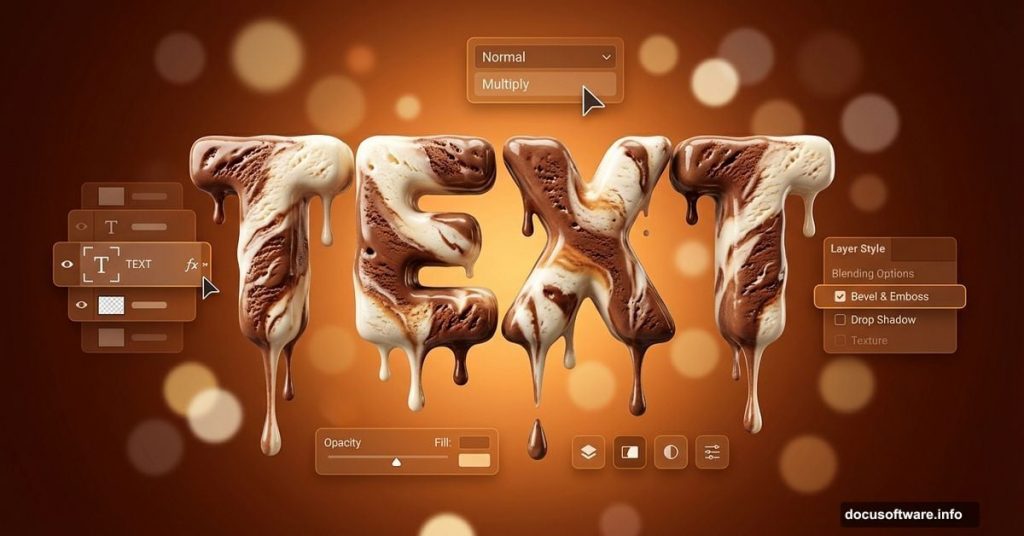
Want to make typography that looks good enough to eat? This ice cream text effect combines layer styles, brushes, and smart photo manipulation to create mouthwatering results.
Most text effects feel generic. But this technique adds texture, depth, and personality that makes your designs stand out. Plus, you can adapt these tricks for other food-themed projects.
Here’s how to build it from scratch.
What You’ll Need Before Starting
Grab these resources first. They’ll save you time and frustration later.
You need Photoshop CS5 or newer. Older versions won’t support all the layer style features used here. Also download VAL font for the main typography.
For the background, you’ll need bokeh stock images and food texture photos. These add realistic lighting and surface details that make the effect convincing.

Build the Warm Background First
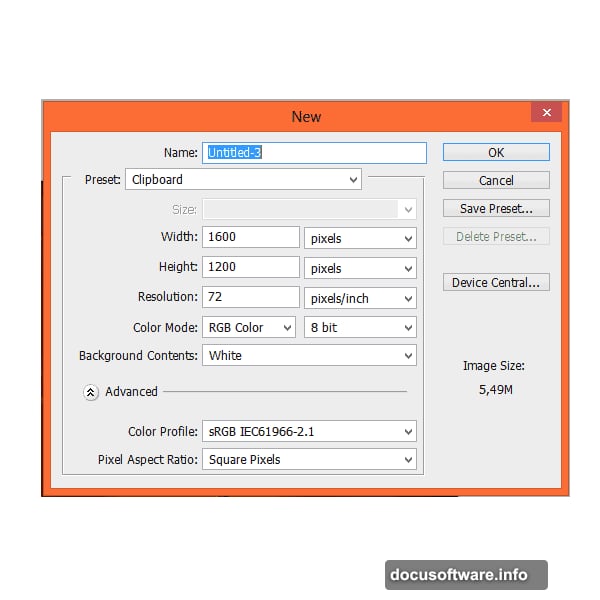
Create a new document at 1600×1200 pixels. This gives you room to work without cramping your design.
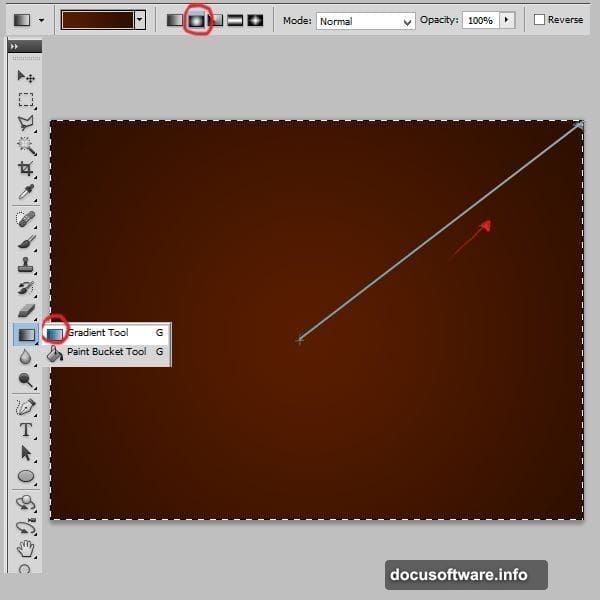
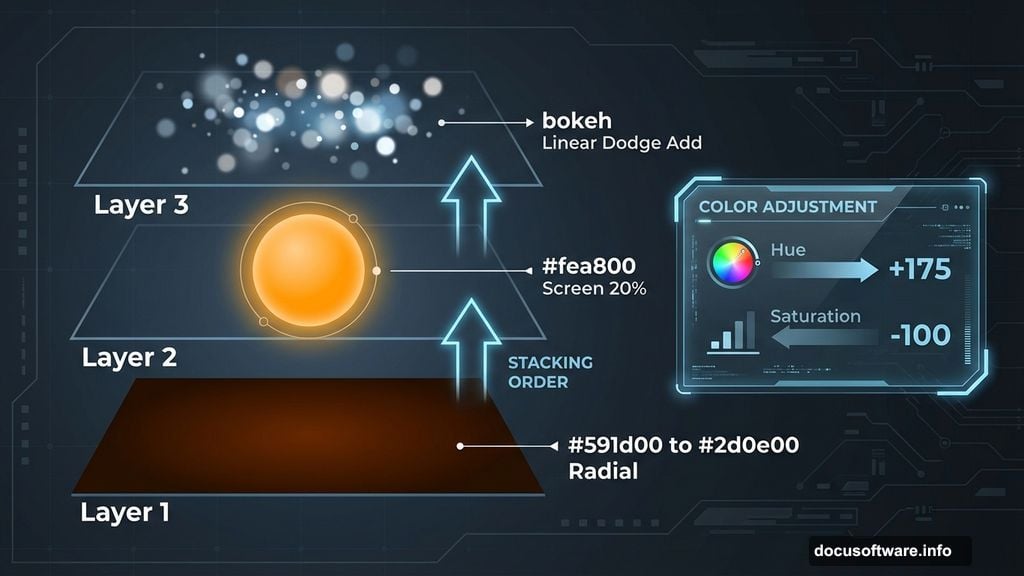
Select the Background layer. Choose the Gradient Tool and set it to Radial. Pick two brown tones: #591d00 for the outer edge and #2d0e00 for the center. Apply it from the middle outward.
Now add depth. Create a new layer and grab a soft round brush at 1242 pixels. Set the color to #fea800 and paint one dot dead center. Change this layer’s blending mode to Screen with 20% opacity.
This creates a subtle glow that draws eyes toward your text.
Add Bokeh for Professional Polish
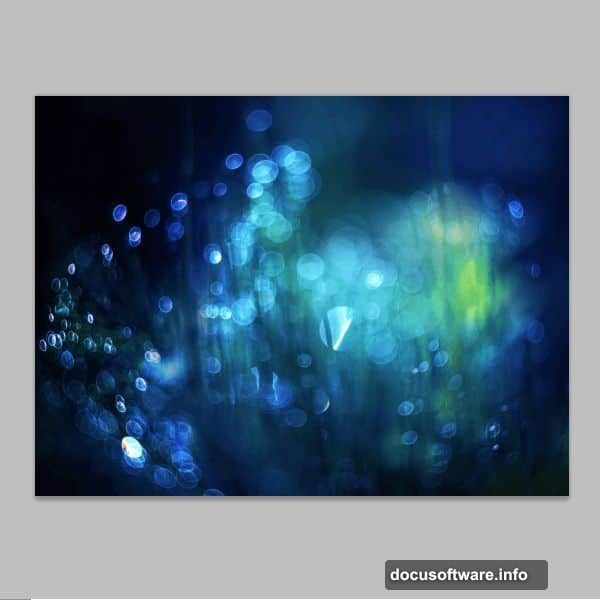
Place your bokeh stock image into the document. It adds those blurry light spots you see in professional food photography.
Click the layer mask while holding Alt. Apply a black-to-white radial gradient on the mask. This fades the bokeh edges naturally into your background.
Change the bokeh layer’s blending mode to Linear Dodge (Add). The lights will blend seamlessly with your warm background.
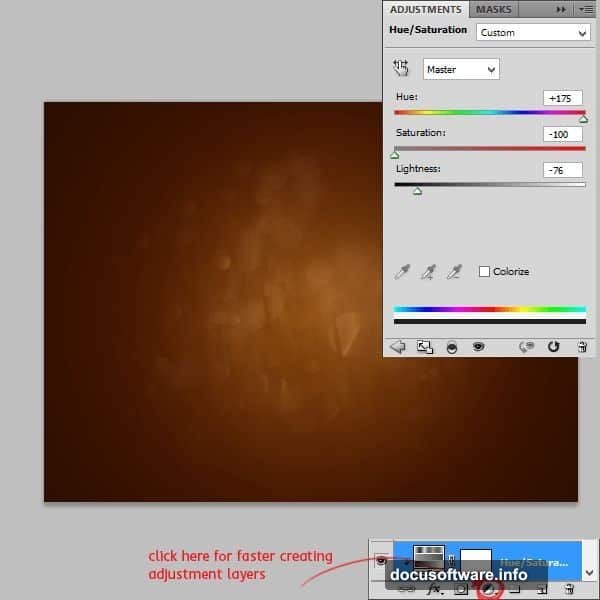
Adjust the Color Mood
Create a Hue/Saturation adjustment layer. Set these values: Hue +175, Saturation -100, Lightness -76.
Right-click the adjustment layer and choose “Create Clipping Mask” if it isn’t already clipped. This ensures the color shift only affects the bokeh layer below it.
The result? Cooler tones that contrast beautifully with your warm browns.
Enhance Central Focus
Add another new layer. Set a linear gradient from #612200 to transparent. Draw a short line through the center.
Change this layer to Soft Light blending mode at 45% opacity. This darkens the edges slightly and pushes attention toward the middle where your text will live.
Type Your Delicious Text
Select the Type Tool. Choose VAL font at 250 points. Set the text color to #5b1e00, a rich chocolate brown.
Type your word. Keep it short for maximum impact. Single words work best for this effect.
Apply Critical Layer Styles
Right-click your text layer and choose Blending Options. This opens the layer style panel where the magic happens.
Inner Shadow: Set Blend Mode to Multiply with black color at 75% opacity. This creates subtle depth.
Inner Glow: Use Screen blending with #612200 at 5% opacity. This adds a warm hint around letter edges.
Bevel and Emboss: Choose Inner Bevel with Smooth technique. Set Size to 6 pixels and Soften to 0. For Highlight Mode, use Screen with #fb9838 at 75%. For Shadow Mode, pick Multiply with #2b0c03 at 75%. Set Contour to 50%.
These settings sculpt your letters into three-dimensional forms.
Create the Bitten Effect
Click the layer mask icon at the bottom of your layers panel. Yes, text layers can have masks too.
Grab a hard round brush at 24 pixels. Set your foreground color to black. Erase portions of letters to simulate bite marks. Focus on edges and corners where someone might actually bite ice cream.
Vary the bite sizes and depths. Perfect uniformity looks fake. Random imperfection sells the effect.
Add Realistic Texture
Place your food texture image above the text layer. Right-click and create a clipping mask so it only affects the text.
Experiment with blending modes. Overlay, Soft Light, and Multiply often work well. Adjust opacity until the texture enhances without overwhelming.
This step transforms flat color into believable ice cream surface.

Refine Shadow Details
Duplicate your text layer. Remove all layer styles from the copy. Move it beneath the original text.
Apply a Gaussian Blur of 3-5 pixels. Change blending to Multiply at 40% opacity. Nudge it slightly down and right.
This creates a subtle cast shadow that grounds your text in the scene.
Add Final Highlights
Create a new layer above everything. Set it to Overlay blending mode. Pick a soft white brush at low opacity (10-15%).
Paint gentle highlights on the top edges of letters. This simulates light reflecting off the ice cream surface. Don’t overdo it. Subtle beats obvious every time.
Why This Technique Works
Layer styles do the heavy lifting here. But the secret lies in combining multiple subtle effects rather than relying on one dramatic trick.
The warm background contrasts with cool text tones. The bokeh adds professional depth. The texture makes it tangible. Each element plays a specific role.
Plus, this approach works for other food text effects. Change colors and textures to create chocolate, candy, or fruit typography. The fundamentals stay the same.
Practice each step separately first. Master gradients, layer styles, and clipping masks individually. Then combine them with confidence.
Your typography should make viewers hungry. These techniques get you there.