
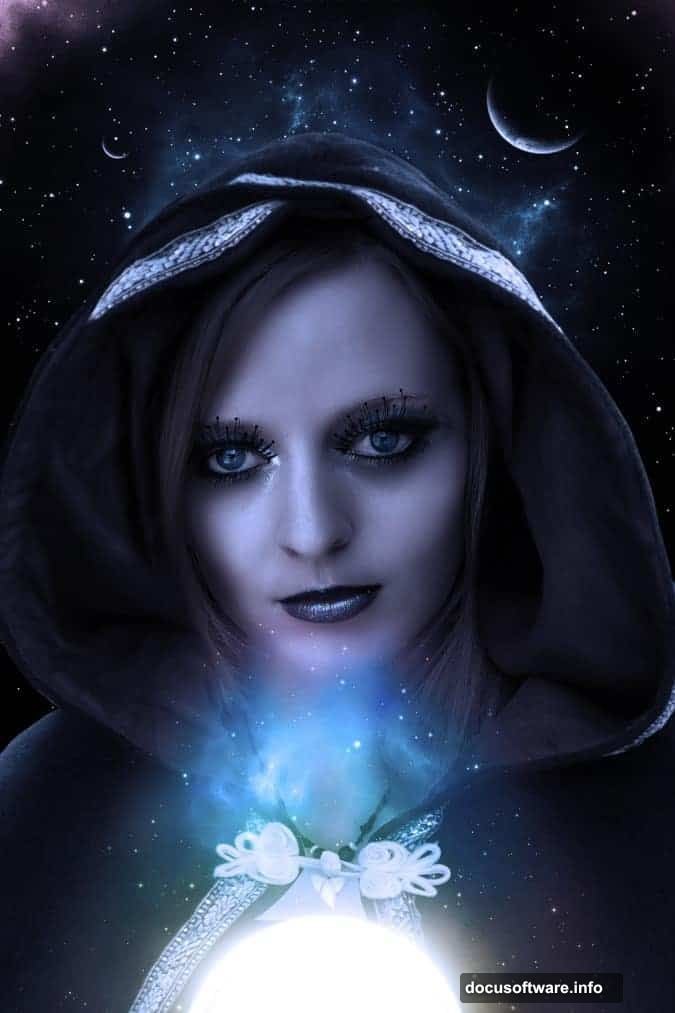
Ever wondered how designers transform ordinary portraits into ethereal masterpieces? The secret isn’t magic. It’s knowing the right Photoshop techniques.
This tutorial breaks down professional photo manipulation into simple steps. You’ll learn skin retouching, makeup enhancement, and mystical effects that make portraits pop. Plus, these techniques work for any fantasy or beauty project you’re tackling.
Let’s turn that basic portrait into something extraordinary.
Prepare Your Canvas First
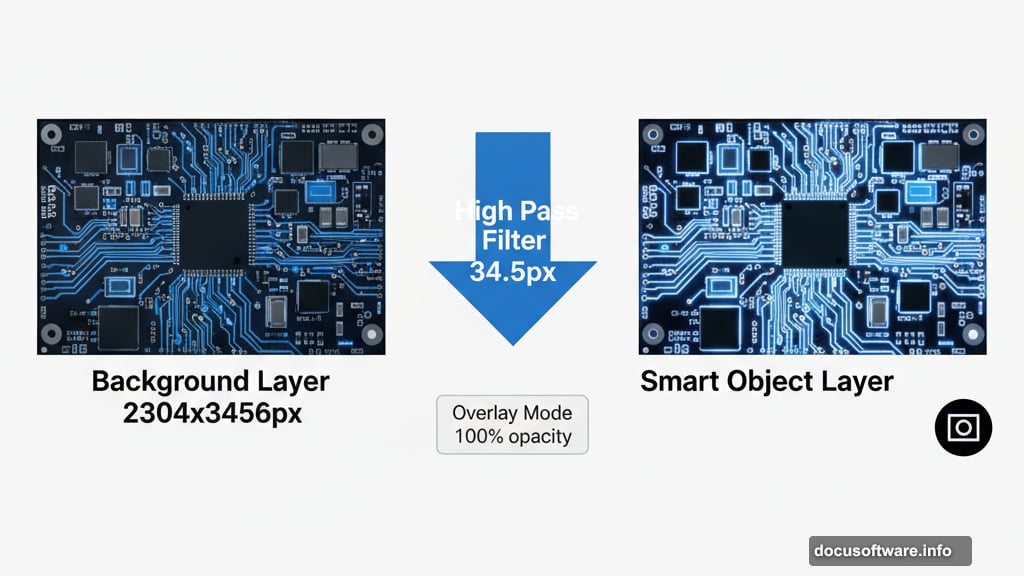
Start with high-resolution images whenever possible. The original model photo measures 2304 x 3456 pixels at 300 DPI. That’s huge. But you don’t always need that much detail.
For practice work, scale down to 768 x 1152 pixels at 100 DPI. This smaller size runs faster and uses less memory. Plus, it still delivers professional results for web projects.
Here’s the catch though. Filter settings change when you resize. A High Pass filter at 34.5 pixels on the full-size image becomes 11.5 pixels at the reduced size. So adjust your numbers accordingly.
Smart Objects Save Your Workflow
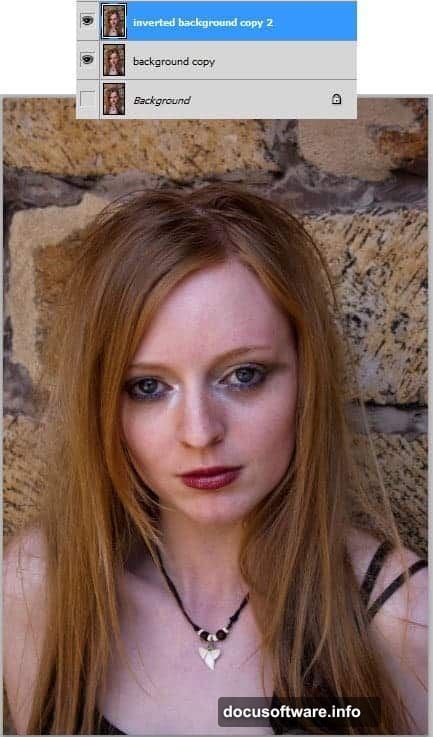
Duplicate your background layer twice before you start. Then convert one copy to a Smart Object. This step protects your original image while letting you experiment freely.
Smart Objects let you apply filters non-destructively. Made a mistake? Just double-click the filter and adjust the settings. No need to undo everything and start over.
Set your inverted layer to Overlay blending mode at 100% opacity. This creates instant depth and contrast. But we’re not done yet.
High Pass Sharpening Works Wonders
Apply a High Pass filter to your Smart Object layer. For the full-size image, use 34.5 pixels. For the reduced version, drop it to 11.5 pixels.
This technique sharpens details without creating harsh edges. But don’t apply it everywhere. Mask out areas around the eyes, nose, lips, and upper hair using a soft brush at 20% opacity.
Why mask these areas? Because over-sharpening facial features looks unnatural. So selective sharpening gives you control over where details pop.
Layer Masks Give You Control
Add a layer mask to fine-tune your effects. Use a soft round brush with low opacity for gradual transitions. This prevents obvious edges and keeps the manipulation looking natural.
Black conceals, white reveals. Remember this rule when painting on layer masks. And don’t worry about making mistakes. You can always switch brush colors and paint back what you masked out.
Start with larger brush sizes for broad areas. Then switch to smaller brushes for detailed work around facial features.
Warping Creates Realistic Clothing
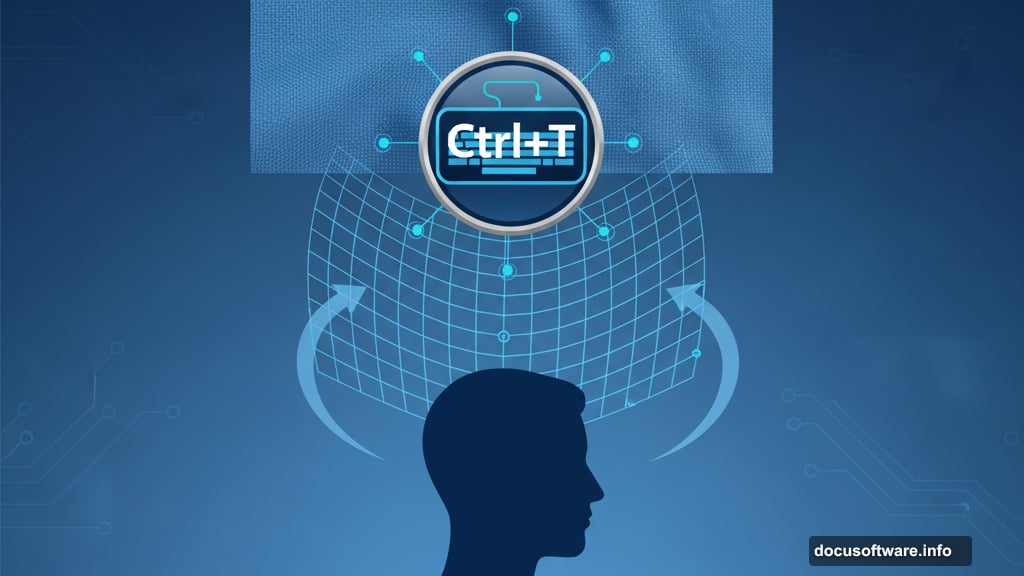
Adding fantasy clothing requires more than simple pasting. You need to warp the fabric to match your subject’s pose and body shape.
Select the robe image and move it to your main canvas. Then use Free Transform (Ctrl+T) and the Warp tool to bend the fabric around your subject. Pay attention to how real fabric drapes and folds.
This step takes patience. But realistic warping makes the difference between amateur and professional results. So take your time getting the angles right.
Eye Makeup Adds Drama
Create a new layer for makeup effects. Use soft brushes with low opacity to build up color gradually. This mimics how real makeup applies in thin layers.
For eyeshadow, sample colors from your reference images. Then paint along the eyelid following the natural contours. Blend multiple shades for depth and dimension.
Add eyeliner with a harder brush at higher opacity. Keep the line clean and precise. Then soften the edges slightly so it doesn’t look painted on.
Custom Eyelashes Make Eyes Pop
Download quality eyelash brushes instead of trying to paint them manually. One click gives you realistic lashes that would take hours to draw by hand.
Place lashes on a separate layer so you can adjust their position and opacity. Natural-looking lashes should be slightly transparent. So drop the opacity to around 70-80%.
Add multiple lash clusters for a fuller look. But don’t overdo it. Too many lashes look fake and distract from the overall image.
Lip Enhancement Requires Subtlety
Lips need careful attention to look natural. Start by adjusting the base color using Hue/Saturation. Then add highlights and shadows on separate layers.
Paint highlights on the center of the lower lip where light naturally hits. Add subtle shadows at the corners where the lips meet. This creates dimension and makes lips look fuller.
Finish with a glossy effect by adding small white highlights. Use a hard brush at low opacity for this step. The result? Lips that look professionally retouched without seeming overdone.
Mystical Effects Bring It Together
Now comes the fun part. Add cosmic backgrounds, light effects, and color adjustments to create that mystical atmosphere.
Layer your cosmic images behind your subject. Adjust their opacity and blending modes until they integrate smoothly. Overlay and Screen modes work particularly well for ethereal effects.
Add light rays and glows using soft brushes with outer glow effects. Place these strategically to draw attention to your subject’s face and key features.
Color Grading Sets the Mood
Final color adjustments tie everything together. Use Curves and Color Balance adjustment layers to shift the overall tone.
For a mystical feel, push colors toward cool blues and purples. Add slight warmth to skin tones so your subject doesn’t look frozen. This contrast between cool backgrounds and warm skin creates visual interest.
Don’t forget to check your image at 100% zoom. Small color inconsistencies become obvious when you zoom in. So fix them before calling your project complete.
Common Mistakes to Skip
New manipulators often rush the masking process. But sloppy masks ruin otherwise great work. So spend extra time cleaning up edges and transitions.
Another mistake? Using too many filters at full strength. Subtlety wins in photo manipulation. Start with effects at low opacity and build up gradually.
Finally, save your work frequently with layers intact. You’ll thank yourself later when you need to adjust something. Plus, you can learn from your layer structure when starting new projects.