Want to create surreal 3D scenes that mess with viewers’ minds? This tutorial walks you through building perspective-bending environments from scratch.
Most Photoshop tutorials throw complex techniques at you without explaining the fundamentals. Not this one. I’ll show you how basic transform tools, masking, and adjustment layers combine to create impossible spaces that feel real.
Plus, you’ll learn the perspective trick that makes flat images pop into three dimensions.
What You’re Actually Building
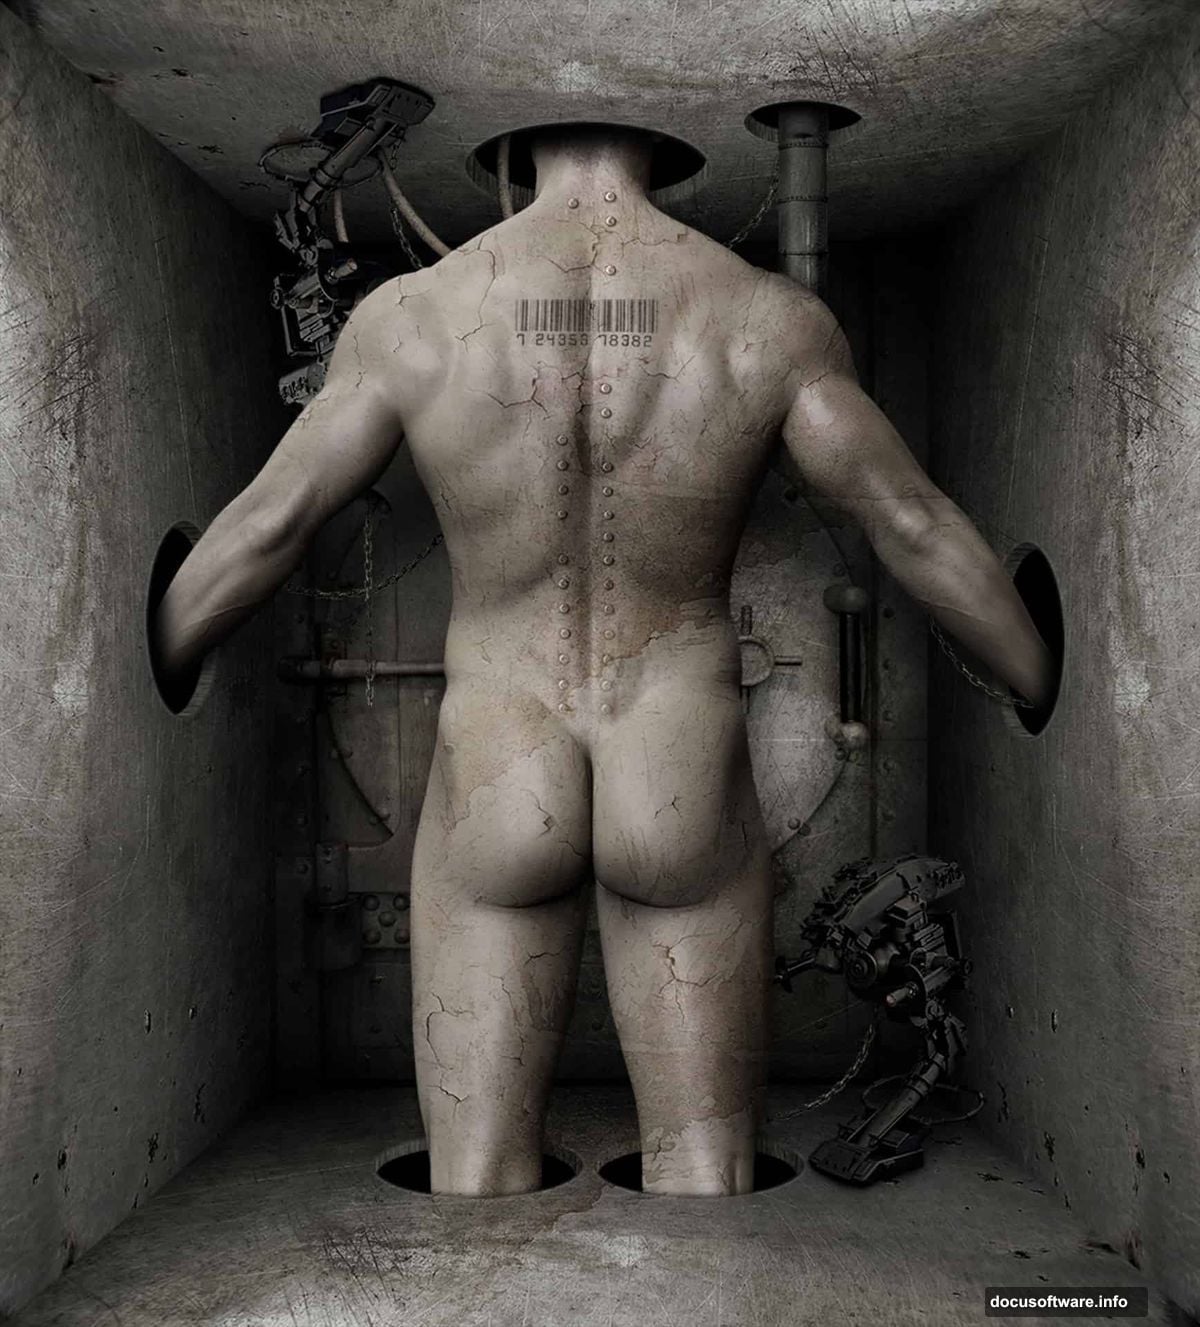
We’re constructing a claustrophobic industrial room with proper depth and dimension. Think dystopian sci-fi vibes. The kind of scene where someone’s trapped in a nightmarish mechanical space.
The final image features chains hanging from above, pipes running across walls, exposed wiring, and textured metal surfaces. Everything feels tangible because we’re building proper perspective throughout.
You’ll need Photoshop CS5 or newer. Older versions lack some transform tools we’ll use.
Gather Your Materials First
Here’s what you’ll need before starting:
Essential elements:
- Man figure (primary subject) – Shutterstock
- Metal textures – Multiple sources for variety
- Industrial props – Chains, pipes, wires
- Surface textures – Cracks, rivets, stains
Take time finding quality stock images. Bad source materials create mediocre final results no matter how skilled your technique.
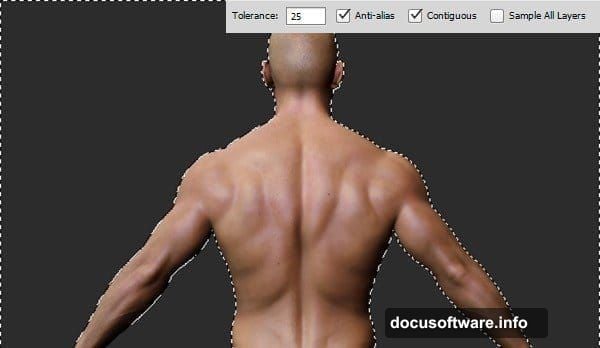
Extract Your Subject Cleanly
Open your main subject image. First step? Remove the background completely.
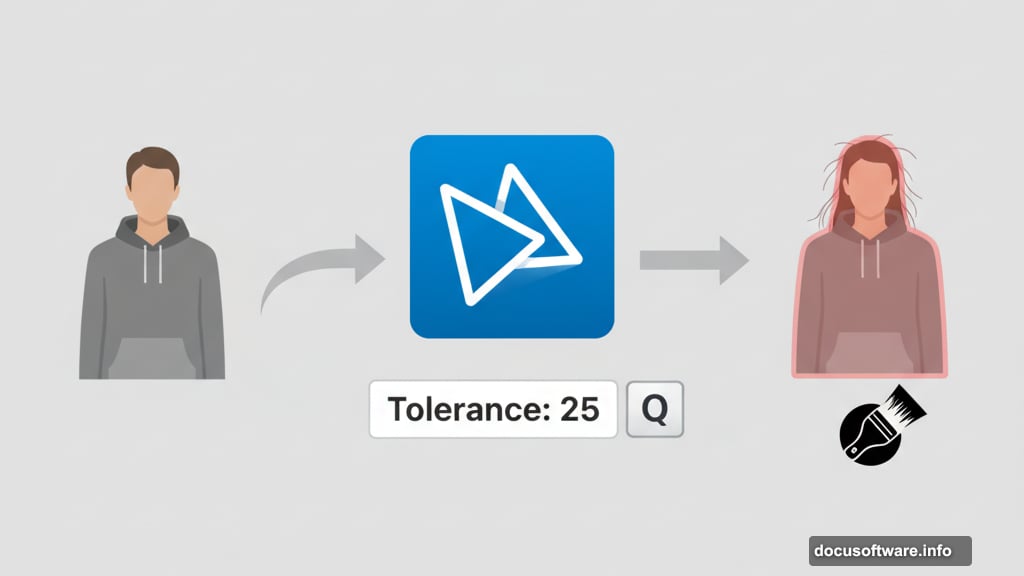
Double-click the Background layer to unlock it. Then grab the Magic Wand Tool (W) from the toolbar. Set Tolerance to 25 in the options bar and click the background area.
The selection won’t be perfect. That’s fine. Press Q to enter Quick Mask Mode. Now the real magic happens.
Grab a hard-edged brush and paint over areas you want to refine. Red overlay shows unselected regions. Paint carefully around hair and edges until the selection looks crisp.
Press Q again to exit Quick Mask Mode. Then hit Delete to remove the background. See how much cleaner that looks than trying to perfect the Magic Wand selection alone?
Build Your Canvas Foundation
Go to Image > Canvas Size. Uncheck Relative and set dimensions to 3362 x 3719 pixels. Click Proceed when the warning appears.
Position your subject lower on the canvas so his head remains visible. Hold Ctrl and click the New Layer icon to create a layer beneath your subject.
Fill this new layer with solid black (Edit > Fill > Black). This creates your base for building the scene.
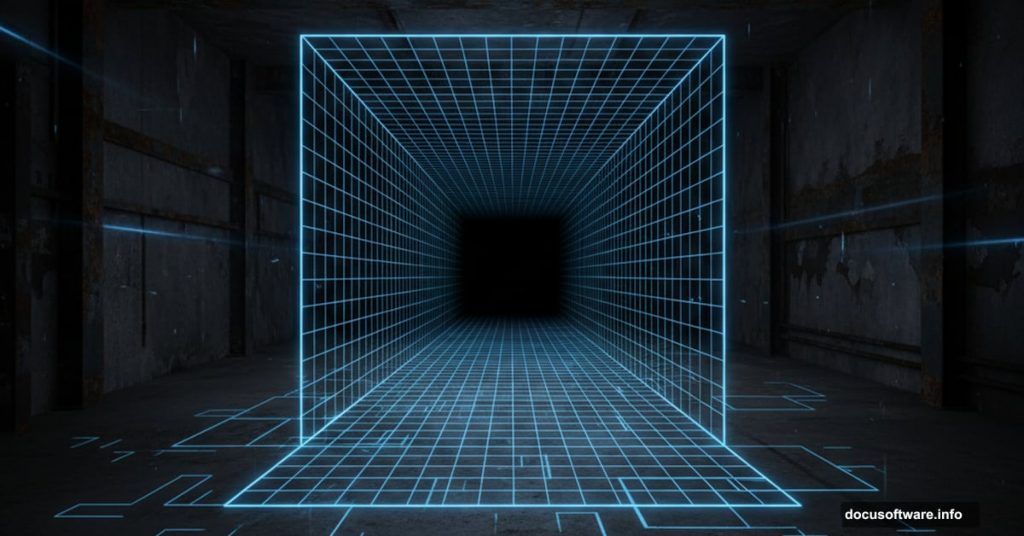
Create Perspective Guidelines
This step separates amateur work from professional results. We’re building proper perspective guides that make everything feel three-dimensional.
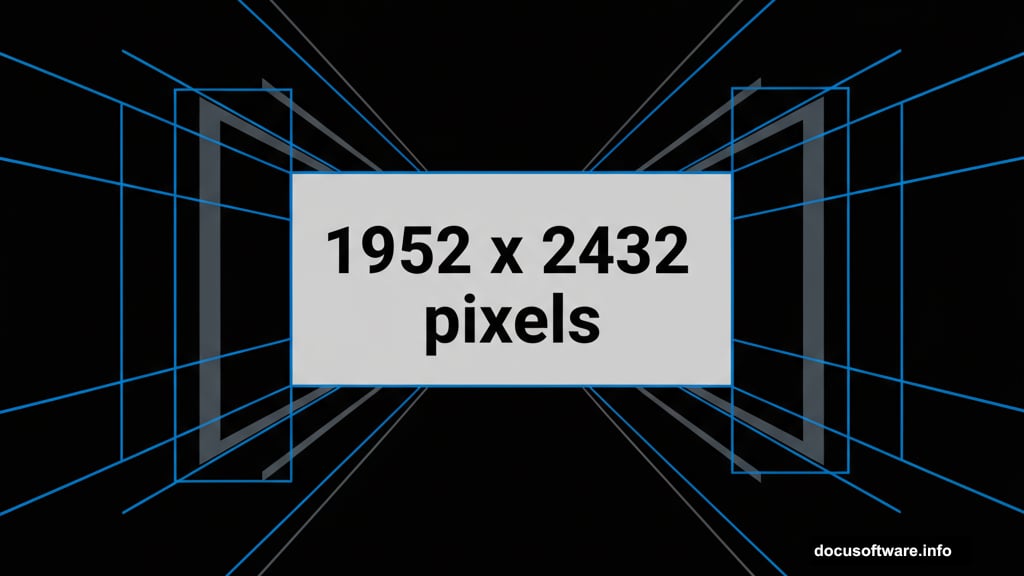
Create another new layer below your subject. Draw a rectangle with the Rectangular Marquee Tool (M) in the canvas center. Aim for roughly 1952 x 2432 pixels.
Fill this selection with 50% grey (Edit > Fill > 50% Grey). Why grey instead of another color? Because it helps visualize depth and dimension better than stark colors.
Establish Vanishing Points
Now comes the perspective trick that transforms flat images into 3D spaces.
With the grey rectangle selected, go to Edit > Transform > Perspective. Drag the bottom corners outward and the top corners inward. This creates the illusion of walls receding into space.
The vanishing point sits where all perspective lines converge. Place it roughly at your subject’s chest height. This positioning makes viewers feel like they’re standing in the room at eye level.
Don’t rush this step. Proper perspective makes or breaks surreal scenes. Take time adjusting until the angle feels natural yet unsettling.
Add Wall Textures
Apply your metal texture to the grey rectangle using a clipping mask. This technique restricts texture visibility to just the shape beneath.
Right-click your texture layer and select Create Clipping Mask. Instantly, the texture conforms to your perspective shape. No manual erasing needed.
Adjust the texture’s Blend Mode to Overlay or Soft Light. Play with Opacity until it looks weathered but not overwhelming. Around 60-70% usually works well.
Build Depth With Shadows
Shadows sell the illusion of three-dimensional space. Without them, everything looks flat no matter how good your perspective.
Create a new layer set to Multiply blend mode. Paint soft shadows along the floor where walls meet. Use a large, soft brush at low opacity. Build darkness gradually through multiple passes.
Add darker shadows in corners and along the top edges. These areas should feel recessed and distant. Lighter areas near the center draw the eye to your subject.
Remember: shadows aren’t uniformly dark. They fade and shift based on implied light sources. Study how light behaves in real rooms.
Hang Industrial Elements
Time to add those chains, pipes, and wires that complete the dystopian atmosphere.
For each element, transform it to match your scene’s perspective. Use Edit > Transform > Distort to bend pipes along walls. Rotate chains so they hang naturally based on your vanishing point.
This part requires patience. Each element needs individual attention to perspective. Sloppy placement breaks the illusion instantly.
Add subtle shadows beneath each hanging element. This grounds them in the space rather than floating awkwardly.
Layer Surface Details
Metal rooms aren’t pristine. They’re scarred, riveted, and stained. These details add realism.
Apply crack textures at low opacity (around 20-30%). Use Overlay or Soft Light blend modes. Position cracks logically – near corners, around fixtures, along stress points.
Add rivet textures along wall seams. These suggest the room’s constructed from metal plates bolted together. Small detail, huge impact.
Finally, apply subtle stain textures randomly. Set these to Multiply at 15-20% opacity. They suggest age and neglect without overwhelming the scene.
Balance Lighting and Atmosphere
Your scene needs consistent lighting to feel cohesive. Right now, different elements probably have different light directions.
Create a new adjustment layer (Curves or Levels). Darken overall exposure slightly. Then use layer masks to bring back highlights where light should hit – center areas, upper chest region, tops of pipes.
Add a subtle bluish color grade through Color Balance or a gradient map. This pushes the scene toward that cold, industrial feeling.
Avoid going too dark. Viewers need to see your hard work. Balance mood with visibility.
Final Polish Makes the Difference
Add a Sharpen filter to your subject (Filter > Sharpen > Unsharp Mask). This makes them pop against the textured background.
Create a new layer and fill it with a gradient going from dark at edges to lighter in the center. Set this to Soft Light at low opacity. It’s called vignetting – a subtle way to guide viewer focus.
Finally, merge everything and apply subtle noise (Filter > Noise > Add Noise, around 2-3%). This unifies disparate elements and adds a gritty quality.
The Perspective Secret Nobody Mentions
Building convincing 3D scenes isn’t about fancy filters or expensive plugins. It’s about understanding how perspective actually works.
Every element must respect the same vanishing point. Shadows must acknowledge the same light source. Textures need to follow surface angles. Get these fundamentals right and even simple scenes feel immersive.
Practice building perspective guides for different scenarios. Once this becomes intuitive, you’ll create impossible spaces that feel absolutely real. That’s the real power of mastering these basics.