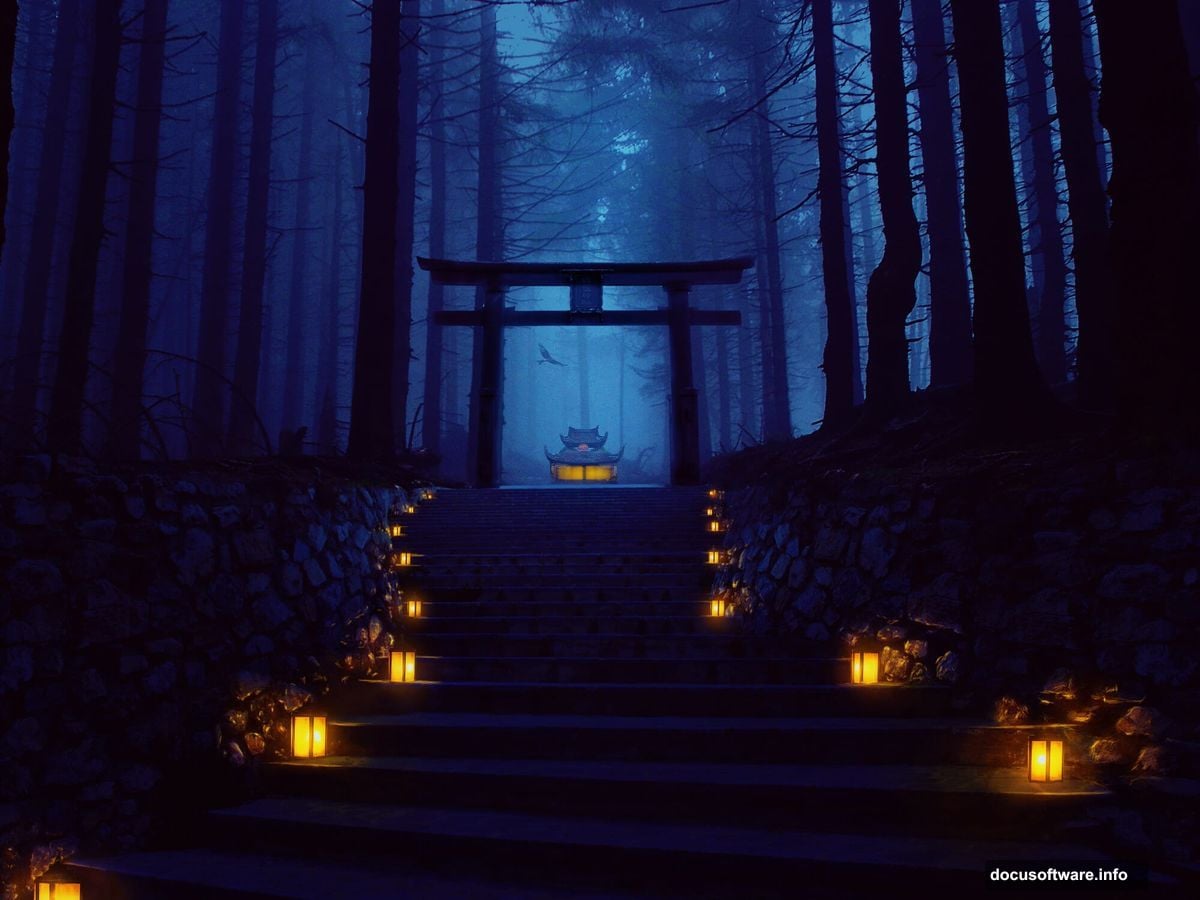
Want to create atmospheric fantasy scenes that look professionally done? This Photoshop tutorial breaks down the exact process for building a mysterious forest pathway complete with ancient stairs, hidden pagodas, and dramatic lighting.
No advanced skills needed. Just patience and the right technique. Let’s walk through building this scene step by step.
What You’ll Learn to Create
This tutorial teaches core photo manipulation skills that work across projects. You’ll combine multiple images seamlessly, paint realistic lighting effects, and use adjustment layers to unify disparate elements into one cohesive scene.
Plus, the techniques transfer directly to other fantasy composites. Master these basics and you can build castles in clouds, underwater ruins, or whatever your imagination demands.
Gathering Your Source Materials
Before opening Photoshop, collect your assets. You need a forest background, stone staircase images, architectural elements like pagodas or doorways, decorative props, and atmospheric elements like birds or fog.
Free stock sites work fine for practice. Just ensure your images match in lighting direction and perspective. Mismatched lighting screams “fake composite” faster than anything else.
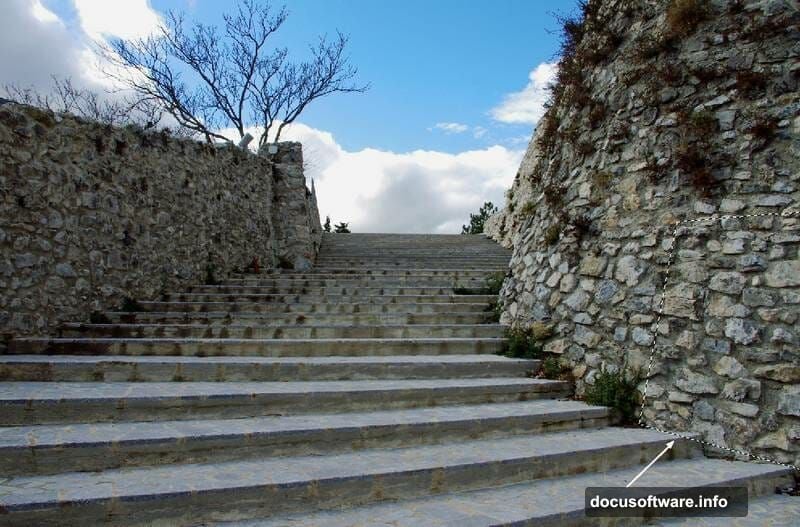
For this project, focus on moody forest shots with natural pathways. Stone textures should look ancient and weathered. That sells the mysterious vibe you’re building.
Building the Forest Foundation
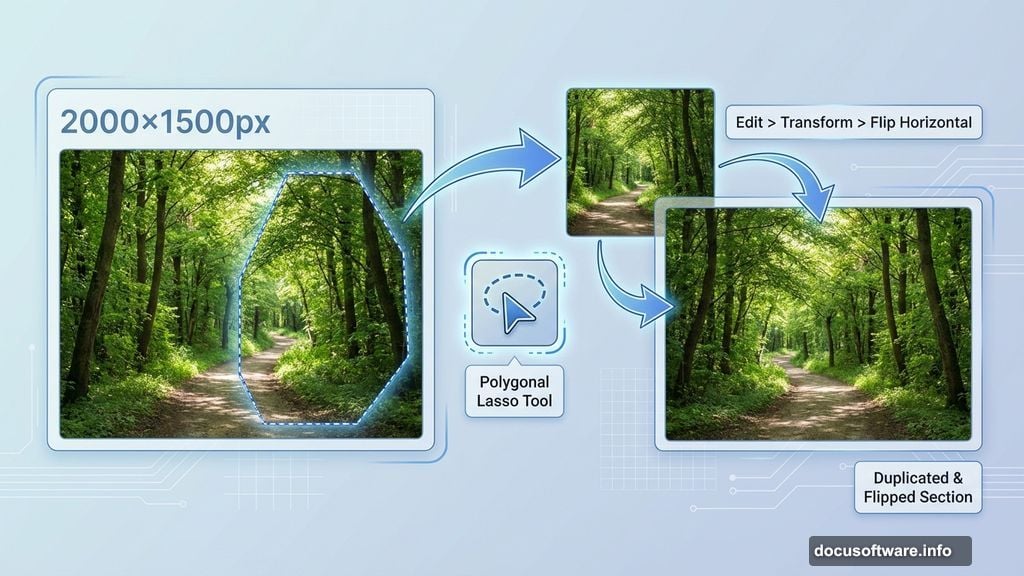
Start with a 2000×1500 pixel canvas filled with white. Drag your forest image onto the canvas using the Move Tool.
Now comes the clever part. Select the right side of the forest path using the Polygonal Lasso Tool. Duplicate this selection onto a new layer by pressing Ctrl+J. Then flip it horizontally through Edit > Transform > Flip Horizontal.
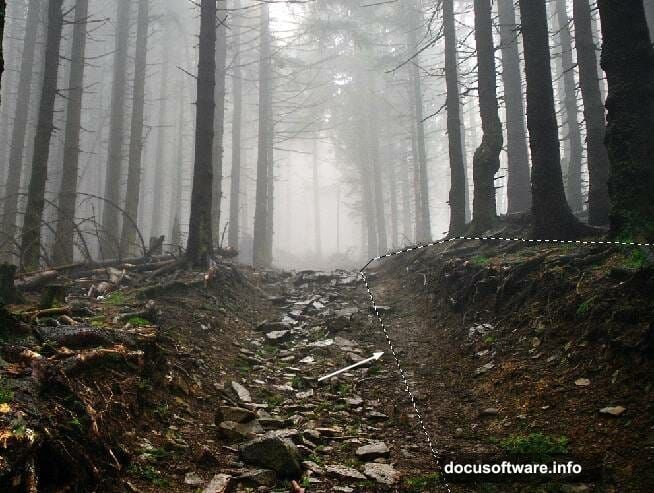
Why? This mirrors the pathway and creates natural symmetry. Position this flipped section on the left side of your forest. Suddenly your composition feels more balanced and purposeful.
Blending Elements Seamlessly
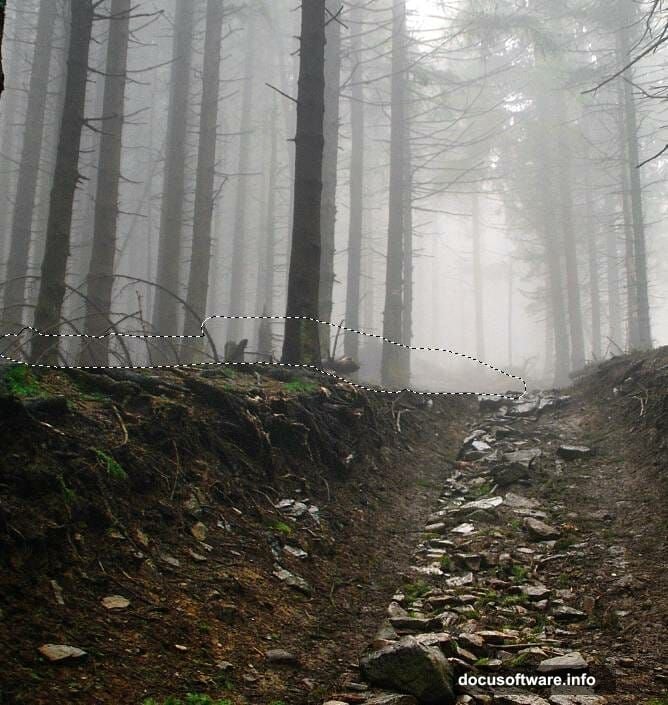
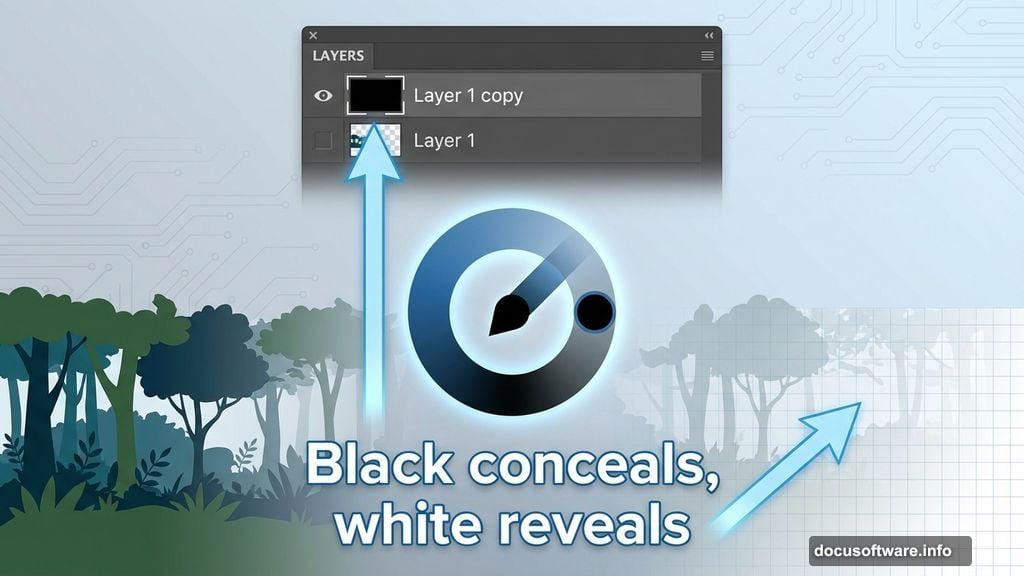
Here’s where beginners struggle. Raw copy-paste looks awful. So add a layer mask to your flipped forest section.
Grab a medium-hard round brush with black selected. Paint on the mask to erase the top edge of your duplicated section. This gradual fade makes the duplication invisible.
Remember: Black conceals, white reveals on layer masks. That’s your mantra for all masking work in Photoshop.
Constructing Ancient Stairs
Open your staircase image. Use the Polygonal Lasso to select just the stairs themselves. Drop this selection onto your main canvas in the lower section.
Add a mask immediately. Use a soft black brush to erase the wall on the left side. Blend the right wall edge into your existing ground texture. The goal? Make it look like these stairs grew naturally from this forest floor.
Next, duplicate the staircase layer and flip it horizontally. Position this second set on the right side of your forest path. Use both soft and medium-hard brushes to refine the mask. Vary your brush hardness based on what you’re blending against.
Filling Gaps with Smart Cloning
Notice any gaps where walls don’t quite meet? Go back to your original staircase image and grab a section of wall texture.
Drop it onto your canvas and use the Free Transform Tool (Ctrl+T) to distort this piece until it fills the gap perfectly. Then mask the edges to blend.
For stubborn details like plants on steps, create a new layer and use the Clone Stamp Tool. Sample nearby clean stone and paint over the unwanted elements. This technique saves you from hunting for perfect source images.

Unifying Lighting with Adjustment Layers
Select all your staircase layers and group them with Ctrl+G. Change the group mode to Normal at 100% opacity.
Now add a Curves adjustment layer inside this group. Drag the curve down to decrease overall lightness. This darkens your stairs to match the moody forest atmosphere.
But here’s the trick: On the Curves layer mask, paint with a soft black brush to remove darkness from the upper stairs. This creates natural light falloff, like sunlight filtering through trees above.
Adding Architectural Drama
With your foundation built, you can add pagodas, temple entrances, or doorways. The process repeats: Select carefully, mask edges thoroughly, adjust lighting to match.
For vertical elements like pagodas, pay attention to perspective. They should follow the same vanishing point as your stairs. Otherwise the whole scene looks wrong even if viewers can’t articulate why.
Use the Free Transform Tool’s Distort option to fix perspective mismatches. Drag corner handles until vertical lines align properly with your scene’s perspective.
Painting Realistic Light Effects
Import lamps or lanterns as separate layers. Then create new layers above each lamp set to Screen or Add blend mode.
Choose a soft brush with warm yellow or orange. Paint glowing halos around each light source. Keep the center bright and fade to transparency at the edges.
For really convincing lighting, add subtle color casts on nearby surfaces. Paint faint warm tones on stairs near lamps. This sells the illusion that lights actually illuminate the scene.
Final Color and Atmosphere Adjustments
Create a Color Balance adjustment layer at the top of your layer stack. Push midtones toward blue and cyan for that mysterious twilight feel. Add slight warmth to highlights to contrast with the cool shadows.
Next, add a Curves adjustment layer. Create a subtle S-curve to boost contrast. This makes lights pop brighter and shadows sink deeper.
Finally, consider a gradient map for color grading. Experiment with blue-to-orange or teal-to-yellow gradients at low opacity. This ties all your disparate elements together with cohesive color harmony.
Refining the Final Composite
Zoom to 100% and examine edges carefully. Any harsh mask lines? Soften them with a 1-2 pixel Gaussian Blur on the mask itself.
Add atmospheric haze with a new layer filled with white. Set it to Soft Light at 10-20% opacity. Mask it away from foreground elements to create depth through aerial perspective.
For extra drama, paint subtle fog layers using soft white brushes on Normal blend mode at low opacity. Fog naturally collects in valleys and between trees, so place it strategically.
The Real Lesson Here
This tutorial teaches more than building one specific scene. You’ve learned the fundamental workflow for any photo manipulation project: Build the foundation, blend elements with masks, unify lighting through adjustments, add atmospheric effects.
These same techniques work whether you’re creating fantasy landscapes, surreal portraits, or conceptual art. The tools don’t change. Only your creative vision does.
So experiment with different source images. Try building a tropical temple scene or a snowy mountain monastery. The process stays consistent. Your skills compound with each project.
That’s how you stop being a Photoshop beginner and start creating work people remember.