Double exposure effects transform ordinary portraits into stunning artistic pieces. But most tutorials skip the crucial details that separate amateur attempts from professional results.
This guide walks you through creating compelling double exposures in Photoshop. You’ll learn which photos work best, how to build clean selections, and the exact blend modes that make images pop. Plus, we’ll cover color grading techniques that tie everything together.
Let’s start with the foundation: choosing the right images.
Pick Photos That Actually Work
Not every portrait suits double exposure effects. The best candidates share specific characteristics.
Your subject needs clear, recognizable features. Even in silhouette form, viewers should instantly identify a nose, chin, and overall head shape. If the profile looks ambiguous, the final effect will confuse rather than impress.
Lighting makes or breaks your selection. Silhouettes work beautifully. So do underexposed photos with strong edge lighting. These images provide the contrast you need for clean masking later.
Focus matters more than you think. Your subject’s face should be tack-sharp. Shallow depth-of-field portraits where ears blur out create masking headaches. Stick with photos where the entire head remains in focus.
Simple backgrounds save time. Clean, uncluttered backgrounds make selection easy. Complex backgrounds mean more masking work and potentially messy edges.
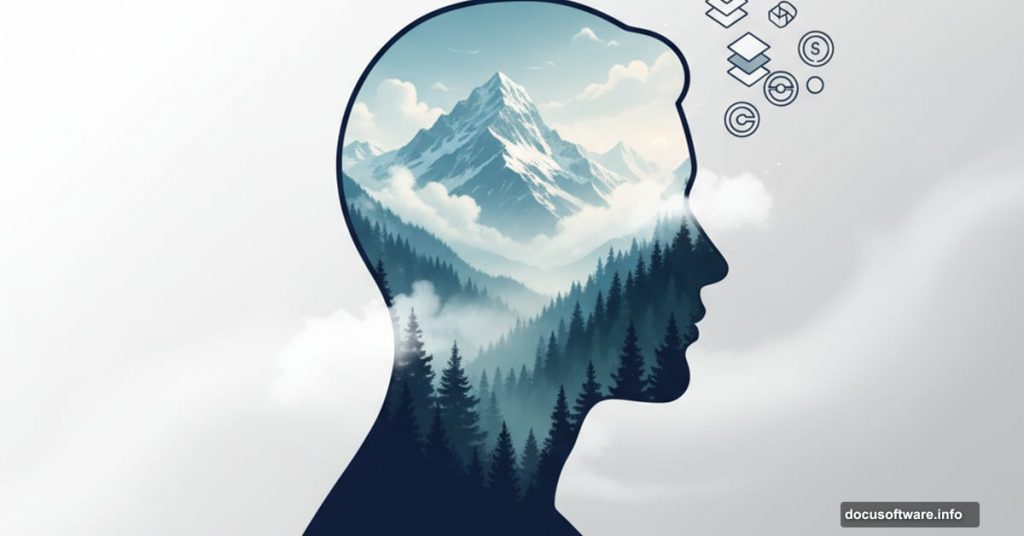
Think of your subject’s head as a snow globe. The double exposure image inside should feel like a miniature world bursting from their silhouette. That mental model helps you choose complementary landscape or texture images.
Build Your Base Selection
Open your portrait in Photoshop. Then duplicate the background layer immediately.
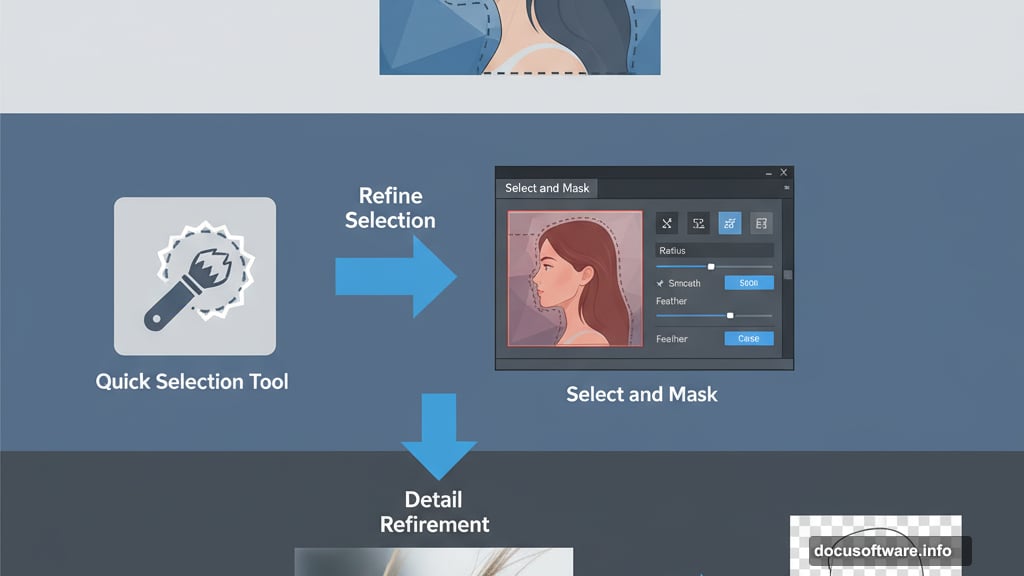
Start with the Quick Selection tool. Roughly select your subject’s head and shoulders. Don’t worry about perfection yet. You’ll refine everything in the next step.
Switch to Select and Mask. This workspace offers better edge refinement than the standard selection tools. Zoom in and carefully adjust your selection boundary.
Pay special attention to hair. Use the Refine Edge brush to capture flyaway strands. These details make your final composite look natural rather than cut-and-paste.
Output to a new layer with layer mask. This preserves your original image while giving you a masked subject layer.
Duplicate this masked layer immediately. Turn off the duplicate’s visibility. Consider this your safety net. If you mess up the mask later, you’ve got a clean backup ready.
Now convert your subject layer to a Smart Object. This wraps the mask inside the object and allows non-destructive editing throughout your workflow.
Layer Your Landscape Image
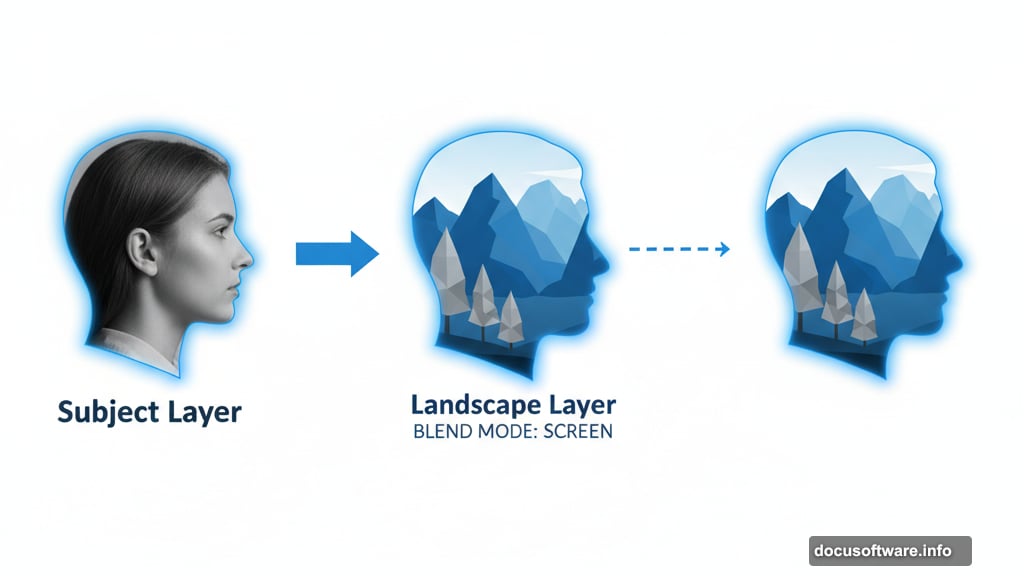
Drag your landscape or texture photo into the document. Place it directly above your subject layer.
Create a duplicate of your subject. Move this copy above the landscape layer. Set the blend mode to Lighten. This technique lets the brightest parts of both images show through.
Copy the mask from your subject layer to the landscape. Hold Alt (Windows) or Option (Mac) and drag the mask thumbnail from the subject layer to the landscape layer. Now your landscape image sits perfectly within the subject’s silhouette.
Here’s where blend modes get interesting. Select your landscape layer and open the Blend If sliders in the Layer Style dialog.
Split the black slider on the bottom. Hold Alt/Option and drag the left half to around 60. This forces dark tones in the landscape to blend smoothly with your subject. The split creates a gradual transition rather than a harsh cutoff.
Add Depth and Contrast
Duplicate your landscape layer. Set the copy to Screen blend mode at 50% opacity.
This technique brightens highlights and creates an ethereal glow. It particularly enhances sky areas and light sources in your landscape image.
Now refine your masks. Select either subject layer and grab a soft brush. Paint black on the mask to remove unwanted areas. Paint white to reveal hidden sections.
Medium to large brush sizes work best. Set your brush opacity low (around 30-40%) for subtle, buildable adjustments. This gives you smooth control as you shape the double exposure effect.
Focus on edges where the subject meets the landscape. Blend these transitions carefully. Harsh edges scream “amateur Photoshop composite.”
Grade for Mood and Cohesion
Add a Black and White adjustment layer above everything. This might seem counterintuitive for a color image, but we’re using it strategically.
Boost these color channels: Reds, greens, cyans, blues, and magentas. Push sliders until your image looks bright and contrasty. Then reduce the adjustment layer’s opacity to taste.
This technique unifies the tonal range between your portrait and landscape elements.
Create a new layer called “Darken hair tips.” Load the selection of your subject’s head. Use a large, soft brush with black paint to darken the very top of the hair. This prevents bright skies from washing out tree lines or architectural elements.
Alternatively, use a black-to-transparent gradient for smoother results.
Merge and Polish
Select all visible layers. Press Shift+Ctrl+Alt+E (Windows) or Shift+Cmd+Option+E (Mac) to merge everything to a new layer.
Convert this merged layer to a Smart Object. Then apply Camera Raw Filter.
Adjust these sliders first:
- Reduce exposure slightly
- Drop contrast a bit
- Boost shadows to reveal detail
- Pull down highlights to prevent blowouts
Then add character:
- Increase texture for definition
- Boost clarity for punch
- Add dehaze to strengthen the effect
Finish with subtle sharpening and grain. Too much looks amateur. Just enough adds that film-like quality.
These adjustments should enhance your double exposure without overwhelming it. When in doubt, use less rather than more.
Add Atmospheric Elements
Drag in a photo of birds (or other atmospheric elements). Set the blend mode to Multiply. This makes white backgrounds disappear while keeping the dark bird silhouettes.
Use a mask to thin out the flock. Too many birds clutters the composition. Delete some to create natural-looking gaps and spacing.
Add a Gradient Map adjustment layer. Choose warm tones like mango or tangerine. This unifies the color palette across all elements.
Apply a Color Lookup adjustment layer. Set it to Overlay blend mode. Try the FilmStock50 LUT or similar cinematic preset. Reduce opacity to around 35% to keep the effect subtle.
Create Texture and Flare
Import a dust and scratches texture. Invert its colors (Ctrl+I or Cmd+I). Set the blend mode to Multiply at 30% opacity.
This adds vintage character and visual interest to otherwise flat areas.
Build a custom lens flare. Create a new layer and paint a large white circle with a soft brush. Duplicate this layer three times.
Style each duplicate differently:
- Bottom layer: Change to red, set to Screen, 40% opacity
- Middle layer: Change to warm orange, set to Screen, 50% opacity
- Top layer: Change to orange, set to Linear Dodge (Add), uncheck “Transparency Shapes Layer,” reduce fill opacity to 15%
This creates a multi-toned flare that looks natural rather than artificial. Position it near a light source in your landscape for maximum realism.
The Details That Matter
Great double exposures share common traits. The silhouette remains clearly recognizable as a person. The landscape image feels thematically connected rather than randomly chosen. Colors and tones blend cohesively across all elements.
Avoid these common mistakes. Don’t use landscapes with busy, distracting elements. Skip portraits with messy hair or cluttered backgrounds. Never force images together that don’t share a mood or color story.
The best double exposures tell a visual story. A musician might contain piano keys or concert halls. An athlete could feature their sport’s playing field. A traveler might hold distant mountains or cityscapes.
Think conceptually before you start clicking tools.
Smart Object workflows give you flexibility to adjust anything later. Never flatten until you’re completely finished. Even then, keep your layered master file.
Practice makes this technique second nature. Start with high-contrast portraits and simple landscapes. As you master the fundamentals, experiment with more complex combinations.
Your first attempts won’t be perfect. That’s normal. Each project teaches you something new about masking, blending, and color grading. Keep practicing and your double exposures will evolve from decent to stunning.