Creating nature-inspired photo manipulations in Photoshop lets you blend reality with imagination. This tutorial shows you how to transform a simple tiger photo into a stunning floral artwork using layering techniques and adjustment tools.
You’ll learn to combine multiple elements seamlessly, work with masks, and apply color grading that makes your composition pop. Plus, the techniques work across all recent Photoshop versions.
Let’s build something beautiful.
What You’ll Need Before Starting
First, gather your resources. You’ll need five key images: a leafy background, a tiger photo, three bird images, and a butterfly. Make sure your tiger photo has good lighting and a clear subject.
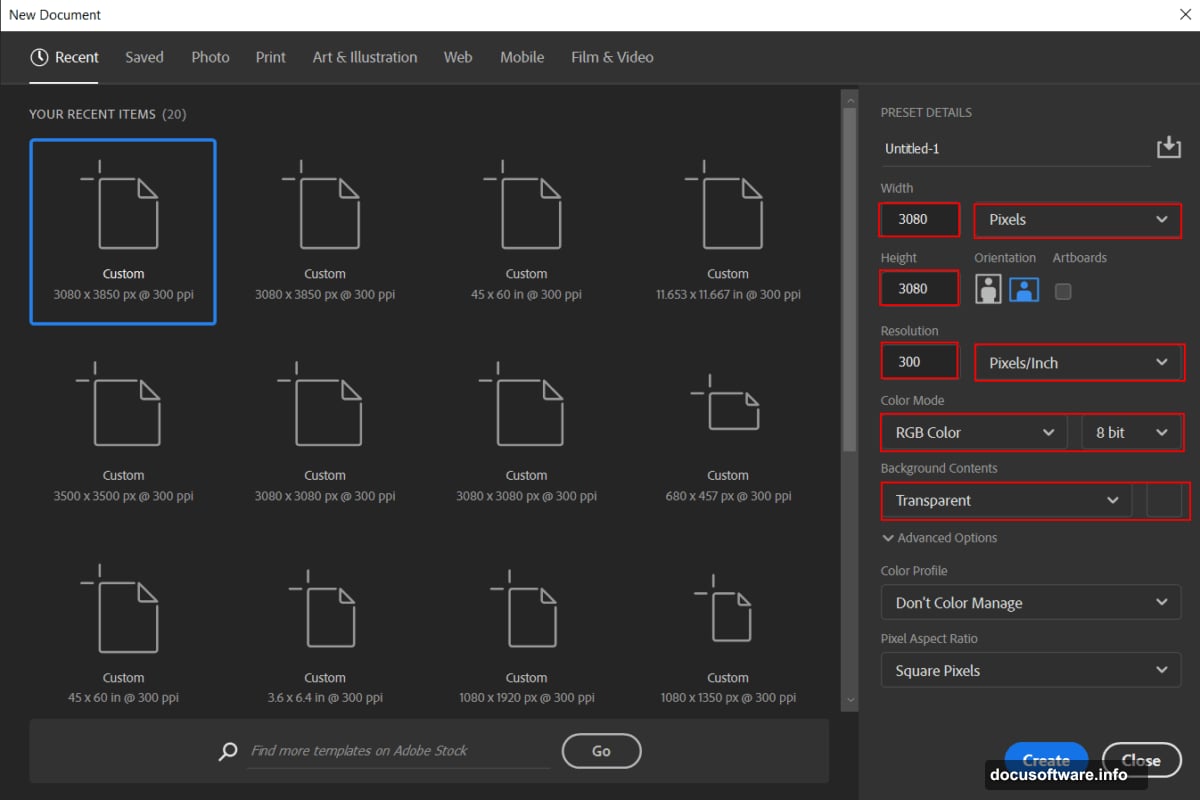
Also, create your canvas properly from the start. Open Photoshop and hit File > New. Set your dimensions to 3080 x 3080 pixels at 300 DPI resolution. Choose RGB Color mode with a transparent background.
Why these settings? The square format works great for social media. Plus, 300 DPI ensures print quality if you want physical copies later.
Building Your Base Layer
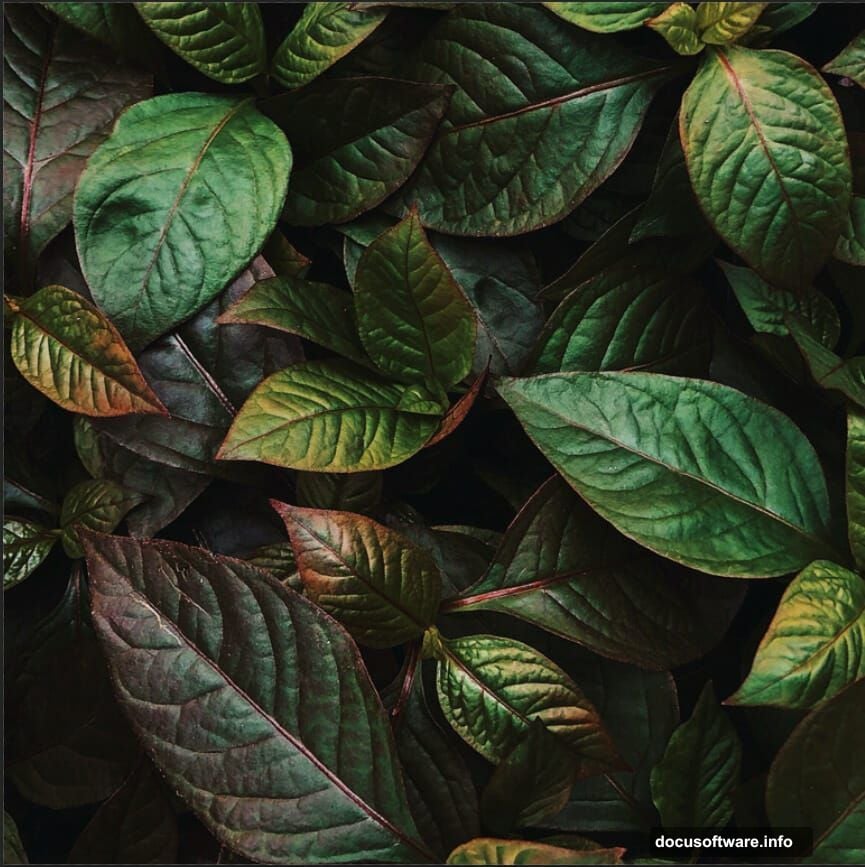
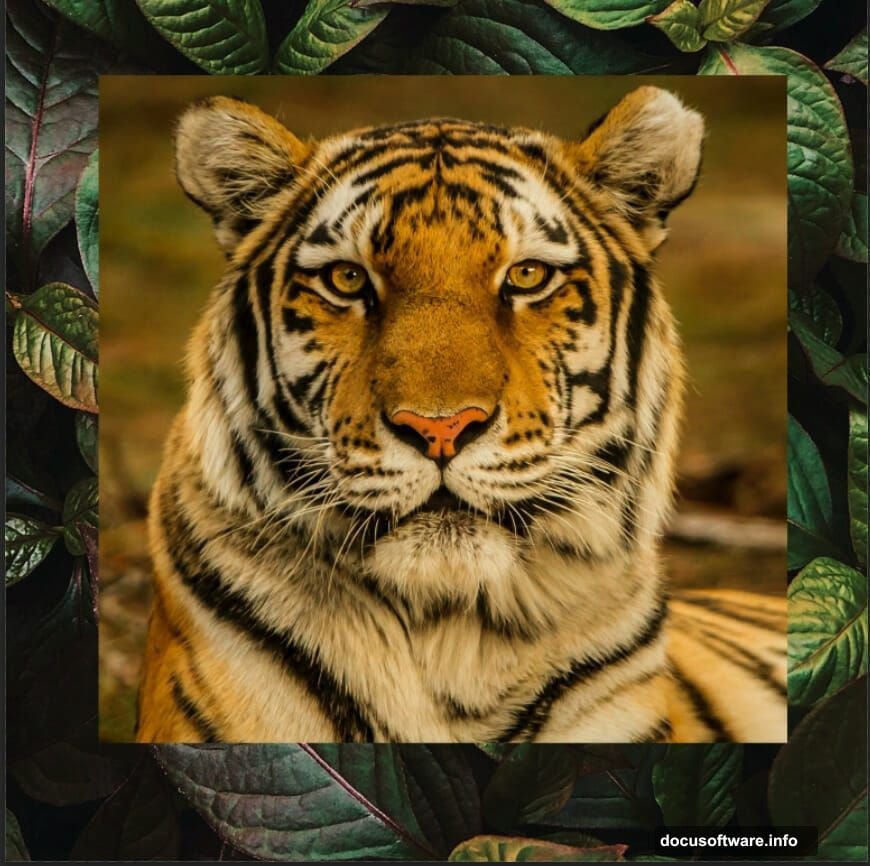
Now place your leafy background. Go to File > Place and select your leaves image. Photoshop will add it as a Smart Object automatically.
Hit Ctrl/Cmd + T to activate the transform tool. Here’s the trick: hold Alt + Shift while dragging corners to resize proportionally from the center. In Photoshop CC, you only need to hold Alt.
Position your leaves to fill the entire canvas. Then press Enter to confirm. This creates your foundation layer that everything else will build upon.
Adding Your Tiger Subject
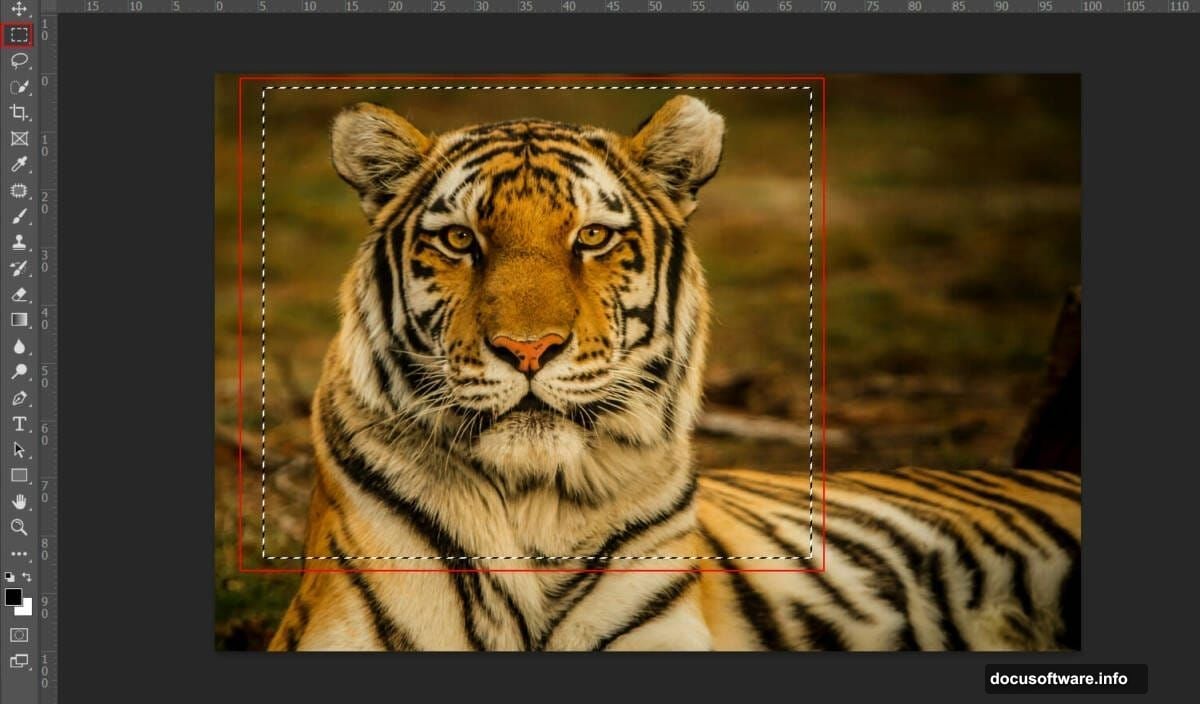
Next, open your tiger photo in Photoshop. Use the Rectangular Marquee Tool (press M) to select just the tiger. Copy it with Ctrl/Cmd + C, then paste into your main canvas with Ctrl/Cmd + V.
Transform and position your tiger using the same Alt + Shift technique. Right-click the layer and convert it to a Smart Object. This lets you resize later without losing quality.
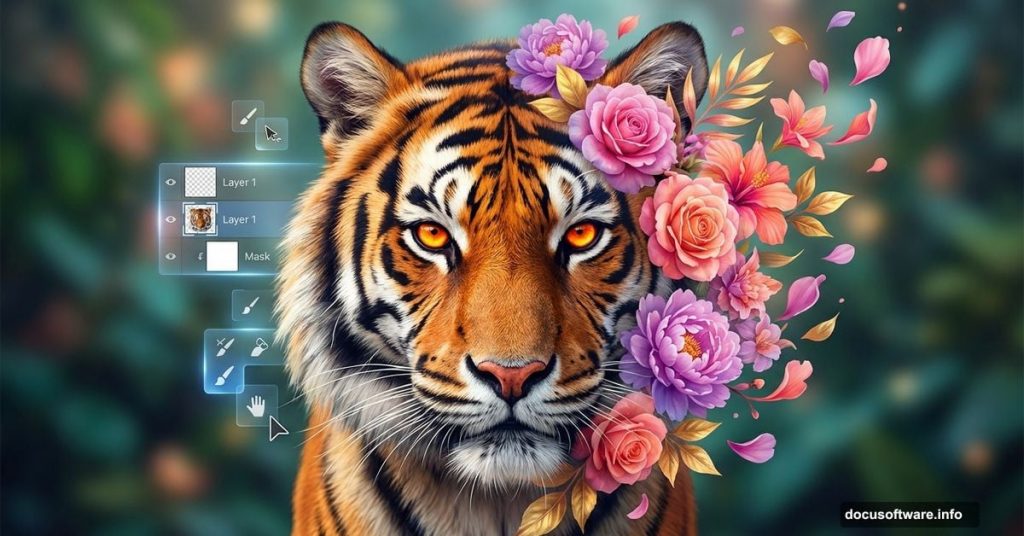
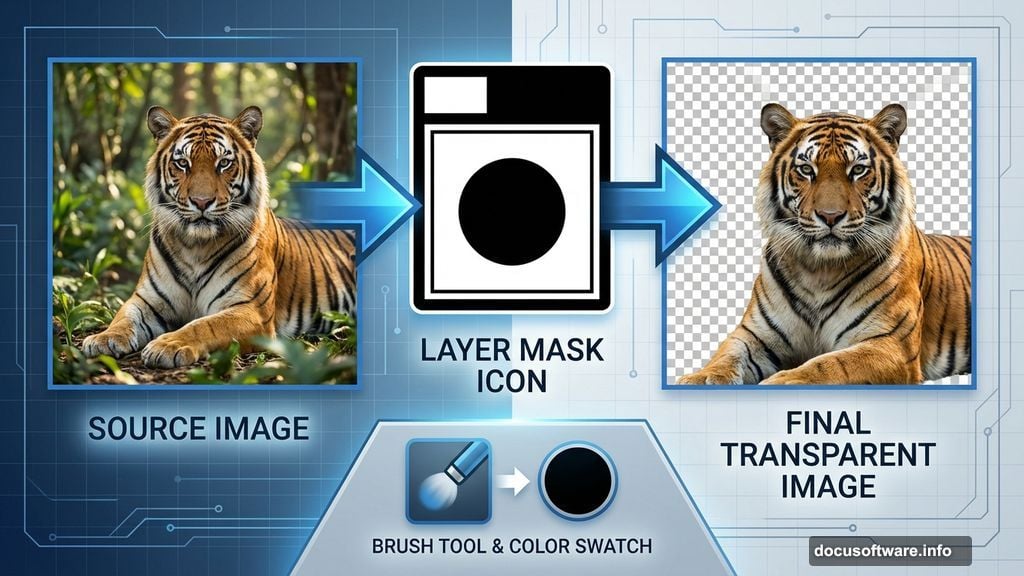
Now comes the blending magic. Add a layer mask by clicking the mask icon at the bottom of your layers panel. Select a soft round brush, set your foreground color to black, and paint away the background around your tiger.
Take your time here. Clean masking makes or breaks photo manipulations. Zoom in close and use a smaller brush for detailed areas like whiskers and fur edges.
Color Grading Your Tiger
Time to make your tiger match the environment. Add a Color Lookup adjustment layer above your tiger. Select the 3DLut File called “FoggyNight.3DL” from the dropdown menu.
But don’t stop there. Drop the opacity to 50% so the effect doesn’t overwhelm your image. Full strength looks too heavy for most compositions.
Next, add a Curves adjustment layer. Drag the curve line slightly upward in the midtones to brighten your tiger a bit. This helps it pop against the leafy background.
Then add another Curves layer. Press Ctrl/Cmd + I to invert the mask to black. Grab your brush tool with white as the foreground color. Paint over the highlighted areas of your tiger’s fur to enhance those bright spots.
This selective brightening adds dimension and makes your tiger look more three-dimensional.
Creating Glowing Tiger Eyes
Here’s where things get interesting. Create a new blank layer above your tiger. Change the blend mode to Color Dodge and set opacity to 65%.
Select your soft round brush. Set your foreground color to medium gray (#808080). Now carefully paint over the tiger’s eyes.
The Color Dodge blend mode transforms that gray into a bright, glowing effect. It’s the same technique used for light sabers and magical effects. Keep your brush strokes small and concentrated on the iris and pupil areas.
If the glow seems too intense, lower the layer opacity. If it’s too subtle, add more gray paint on the same layer.
Adding Flying Elements
Now place your first bird image using File > Place. Transform and position it somewhere in the upper portion of your canvas. Convert it to a Smart Object, then mask out its original background just like you did with the tiger.
Repeat this process for birds two and three. Vary their sizes and positions to create depth. Smaller birds should appear farther away. Larger ones come forward.
Next, add your butterfly using the same placement and masking technique. Position it near the tiger but not directly on it. Give your composition some breathing room.
However, watch your proportions carefully. One common mistake is making animals different sizes that don’t make visual sense together. A butterfly shouldn’t be as large as a bird’s head, for example.
Final Color Adjustments
Almost done. Add one more Curves adjustment layer at the very top of your layer stack. Make subtle adjustments to match all elements’ color temperatures.
Then go to Filter > Camera Raw Filter. This powerful tool lets you fine-tune your entire composition. Adjust the exposure slider slightly to balance brightness. Move the vibrance slider to boost color intensity without oversaturating.
Play with the clarity slider to add midtone contrast. This makes details pop without making your image look overprocessed. Usually, a value between +10 and +20 works well.
Also, try the dehaze slider if your image looks too soft or hazy. A small amount (+5 to +10) can sharpen things up nicely.
Variations and Creative Options
Want to take this further? Try duplicating your leaves layer and rotating copies at different angles. This creates a more dense, layered forest effect.
You could also add light rays using the gradient tool on a new layer. Set the blend mode to Screen, draw diagonal gradients from white to transparent, then blur them with Gaussian Blur.
Another option is adding fog or mist. Create a new layer, paint with a soft white brush, apply Gaussian Blur, then set the blend mode to Screen at low opacity. This adds atmospheric depth.
Consider adding particles or fireflies too. Paint small white dots on a new layer, blur them slightly, and use Outer Glow layer effects. Change colors to yellow or blue for different moods.
Common Problems and Fixes
If your tiger looks pasted on rather than integrated, check your masking first. Soft, feathered edges blend better than hard ones. Use a soft brush with low hardness settings.
Second, make sure your lighting matches. If your background has warm sunset tones, your tiger needs warm tones too. Add a Photo Filter adjustment layer in orange or yellow at low opacity.
Third, shadows ground your subject. Create a new layer below your tiger, paint a soft black shadow with a large soft brush, then blur it and reduce opacity. Shadows make composites feel real.

If colors clash, add a Hue/Saturation adjustment layer. Select the color range causing problems and adjust until everything harmonizes.
Why This Technique Works
This approach succeeds because it builds in layers. Each element gets individual attention before combining into the final piece. That means better control and easier adjustments later.
Smart Objects protect your original images. You can resize and transform without destroying quality. Plus, you can double-click to edit the original if needed.
Adjustment layers keep everything non-destructive. Don’t like a color change? Just delete the adjustment layer. Your original images stay untouched underneath.
Masking lets you blend elements seamlessly. Clean masks separate beginners from experienced digital artists. Practice this skill and your composites will look professional.
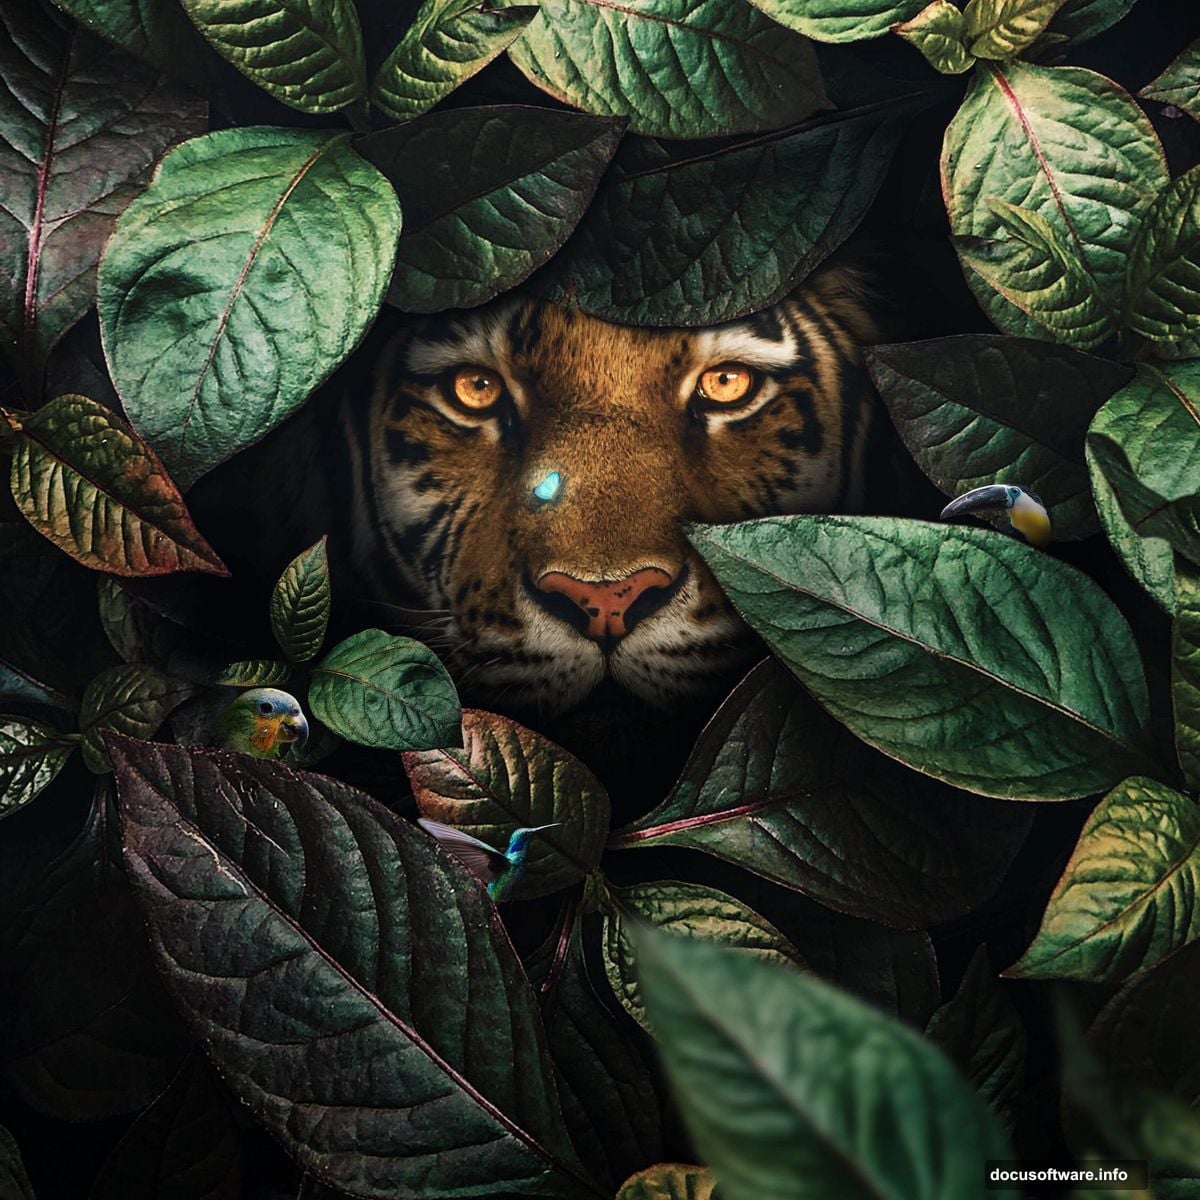
The result is a fantasy nature scene that feels cohesive despite combining multiple photos. Your tiger becomes part of a magical forest environment rather than an obvious paste job.