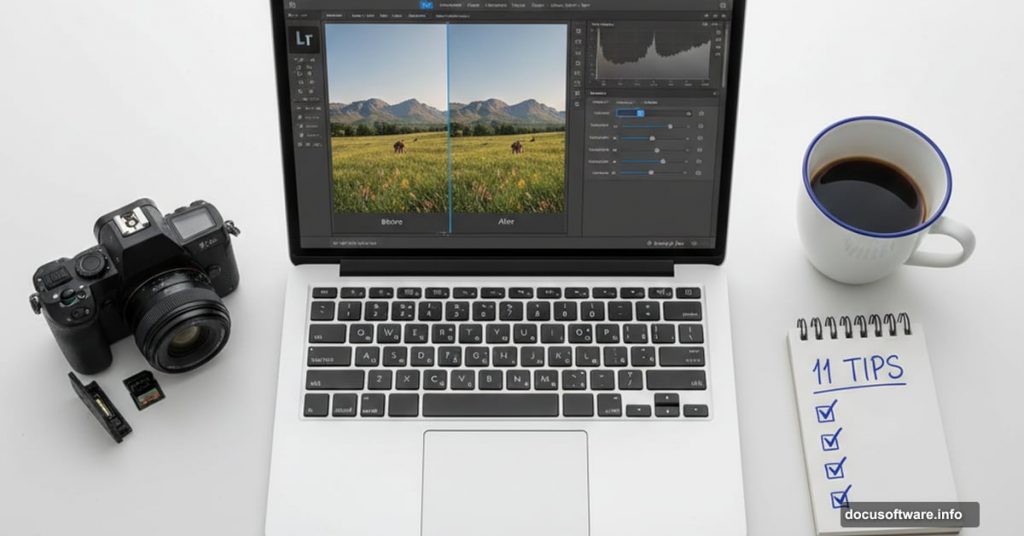
Lightroom feels overwhelming at first. Panels everywhere, sliders you don’t understand, and tools with mysterious names like “Dehaze” and “Luminance.”
But here’s the truth. You only need to master a handful of features to transform your photos. The rest? You’ll learn them gradually as your editing skills develop.
Let’s cut through the confusion and focus on what actually matters when you’re starting out.
Import Your Photos the Smart Way
Most beginners just drag photos into Lightroom randomly. Big mistake.
Set up a consistent import system from day one. Create a clear folder structure organized by date or project. Use keywords and metadata during import so you can find images later without hunting through thousands of files.
Plus, enable “Copy” instead of “Move” during import. That way, your original files stay safely on your memory card until you verify everything imported correctly.
Five Edits That Transform Every Image
Some adjustments improve almost any photo. Apply these five tweaks as your starting point, then refine from there.
First, fix your exposure. The Exposure slider brightens or darkens your entire image. Most photos need minor exposure correction, usually between -0.5 and +0.5 stops.
Second, recover highlights and shadows. Pull the Highlights slider left to rescue blown-out bright areas. Push the Shadows slider right to reveal hidden detail in dark regions. These two sliders alone can save photos that look hopeless straight from camera.
Third, add contrast. The Contrast slider makes lights lighter and darks darker. A small boost (between +10 and +30) adds punch to flat images.
Fourth, enhance colors. The Vibrance slider boosts muted colors without oversaturating skin tones. Start with +20 and adjust to taste. Skip the Saturation slider for now—it’s too aggressive for most photos.
Fifth, sharpen appropriately. Every digital photo needs some sharpening. In the Detail panel, set Amount to 40-60, Radius to 1.0, and Detail to 25. These settings work well for most images.
Those five adjustments take 30 seconds and make dramatic improvements. Master them before exploring advanced techniques.
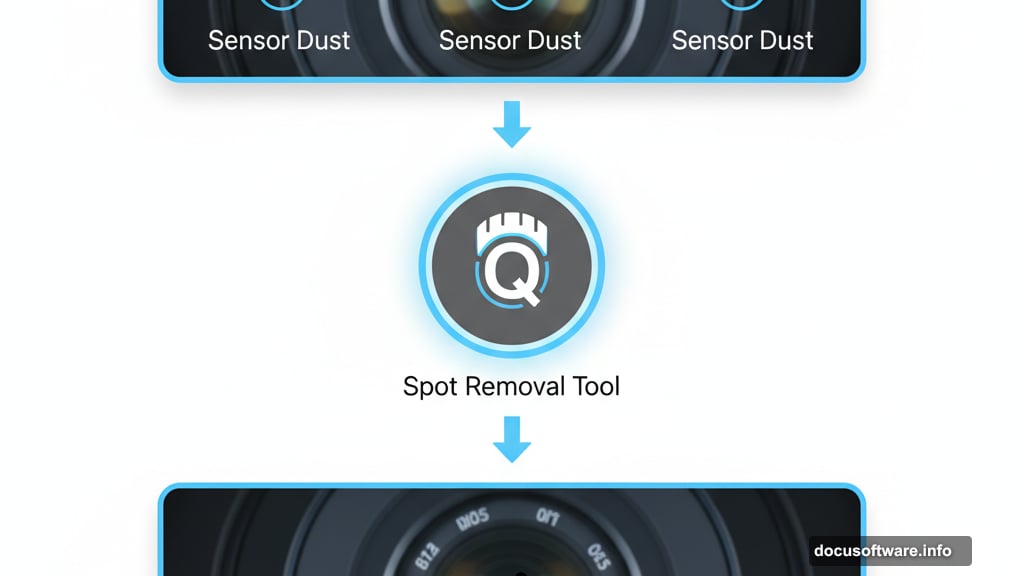
Clean Up Distracting Spots and Dust
Nothing ruins a great photo faster than visible sensor dust or distracting elements in your frame.
Lightroom’s Spot Removal tool fixes these problems in seconds. Press Q to activate it, then click on dust spots or small distractions. Lightroom automatically samples nearby pixels to blend the fix seamlessly.
For larger objects, increase the brush size and paint over the area you want to remove. Lightroom will suggest a source area for cloning. Drag that selection to a better location if the automatic choice doesn’t work.
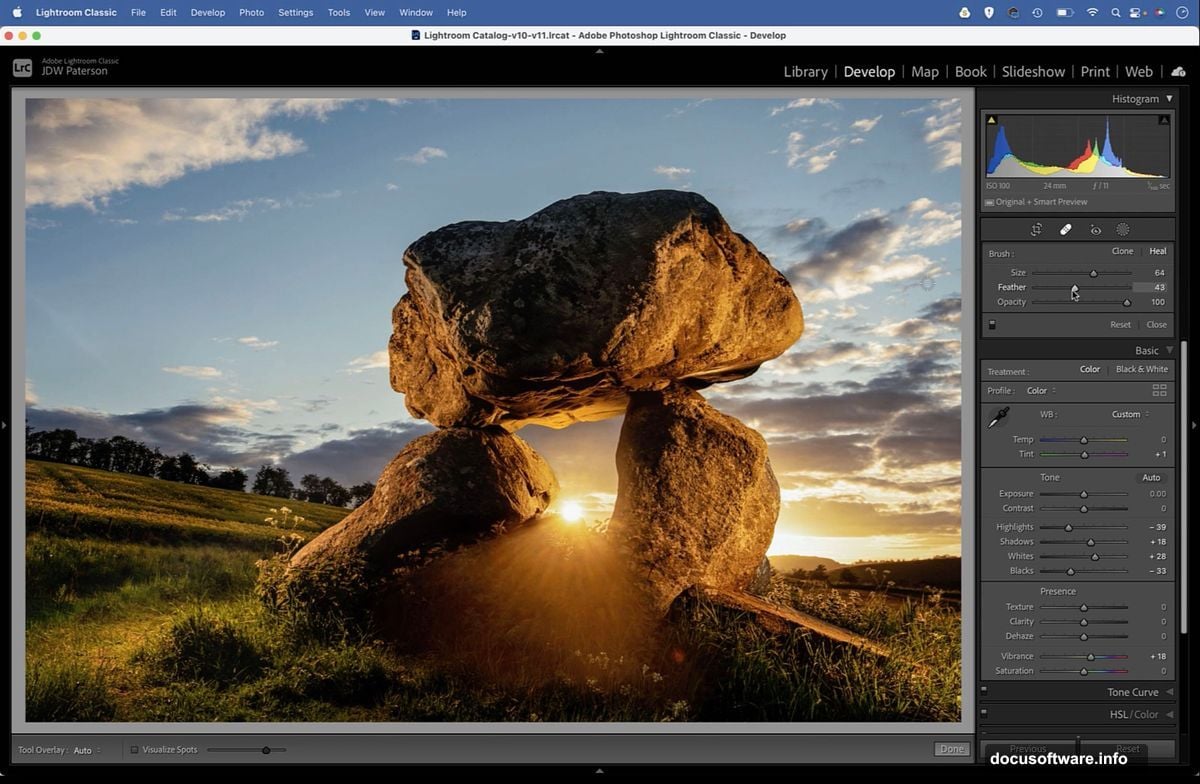
This simple cleanup dramatically improves your images’ professional appearance. Buyers notice clean, distraction-free photos.
Crop with Purpose
Cropping fixes composition mistakes and removes distracting edges. But crop thoughtfully—you’re throwing away resolution.
Press R to activate the Crop tool. Lightroom displays common aspect ratio options along the side. Choose based on your intended use. Square crops work great for Instagram. 16:9 suits video thumbnails. 3:2 matches standard print sizes.
The Rule of Thirds grid appears automatically. Position key elements along those lines or at intersection points. This simple compositional technique makes photos more visually balanced.
Straighten tilted horizons using the Angle slider or the Straighten tool. Even slight tilts look sloppy and unprofessional.
Master the White Balance Tool
Wrong white balance makes photos look unnaturally blue, orange, or green. Your camera guesses at correct white balance, but it often guesses wrong.
The White Balance tool fixes color casts instantly. Click the eyedropper, then click something in your photo that should be neutral gray or white. Lightroom adjusts all colors automatically.
No neutral reference point? Use the Temperature slider to remove blue or orange casts. Use the Tint slider to eliminate green or magenta color shifts. Small adjustments make huge visual improvements.
Getting white balance right makes your photos look natural and professional. It’s worth spending time on this fundamental adjustment.
Avoid These Common Editing Mistakes
Beginners make predictable editing errors. Avoid these traps and your photos will look cleaner and more professional immediately.
Don’t over-sharpen. Cranking sharpness to 100 creates ugly halos around edges. Stick to moderate sharpening between 40-60.
Don’t max out saturation. Oversaturated colors look fake and garish. Use Vibrance instead—it boosts colors more naturally.
Don’t ignore noise. High ISO photos contain visible grain. The Noise Reduction sliders in the Detail panel clean this up without destroying detail.
Don’t forget lens corrections. Enable Profile Corrections in the Lens Corrections panel. Lightroom automatically fixes distortion and vignetting based on your lens model.
Don’t go overboard with clarity. The Clarity slider adds midtone contrast, which can enhance texture. But too much makes photos look crunchy and artificial. Keep it under +25 for most images.
Small, controlled adjustments beat dramatic, heavy-handed edits every time.
Hidden Shortcuts That Speed Up Your Workflow
Lightroom packs dozens of keyboard shortcuts that slash editing time. Learn these essential ones first.
Press Tab to hide side panels and maximize your image preview. Press L to dim the interface, focusing attention on your photo. Press L twice for pure black surroundings.
Press Y to view before-and-after comparisons side by side. This helps you evaluate whether your edits actually improve the image.
Press Ctrl+C (Windows) or Cmd+C (Mac) to copy settings from one photo. Select other photos and press Ctrl+V or Cmd+V to paste those settings. Perfect for batch editing photos shot in similar conditions.
Press Ctrl+Z or Cmd+Z to undo your last change. Press it repeatedly to step backward through your editing history.
These shortcuts feel awkward initially but become second nature quickly. They’re worth learning because they multiply your editing speed dramatically.
Use Presets Wisely
Presets apply saved editing settings with one click. They’re useful for consistency or achieving specific looks quickly.
But don’t rely on presets exclusively. They rarely work perfectly on every photo because lighting and subject matter vary. Use presets as starting points, then customize adjustments to fit each specific image.
Create your own presets for editing styles you use frequently. Apply your standard sharpening, noise reduction, and lens corrections with one click instead of recreating them manually every time.
Presets save time when used intelligently. Just don’t expect them to magically transform mediocre photos into masterpieces.
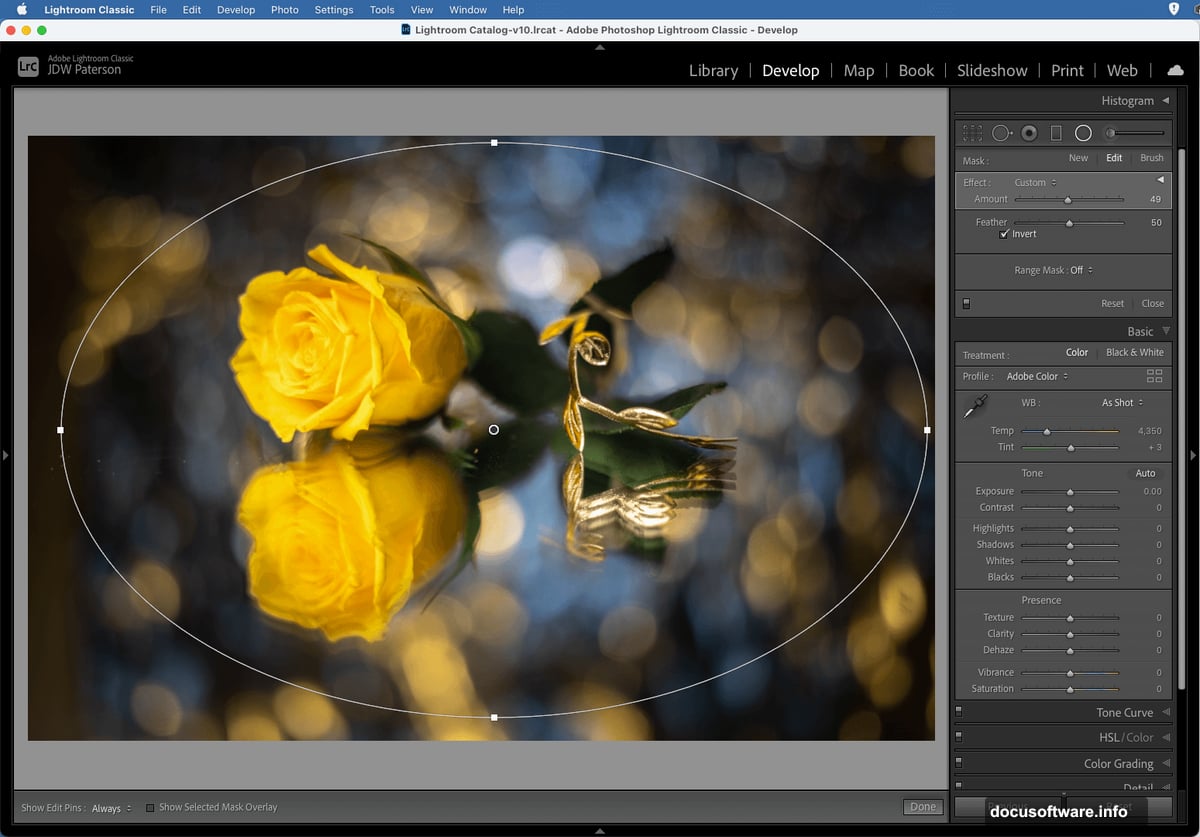
The Power of Local Adjustments
Everything we’ve discussed so far applies globally—changes affect your entire photo. But sometimes you need precise control over specific areas.
That’s where local adjustment tools shine. The Graduated Filter, Radial Filter, and Adjustment Brush let you edit selected regions independently.
Use Graduated Filters to darken bright skies without affecting foregrounds. Use Radial Filters to brighten or draw attention to your subject. Use the Adjustment Brush to dodge and burn specific areas, selectively enhancing or subduing elements.
These tools unlock creative possibilities impossible with global adjustments alone. They’re slightly more complex but worth learning once you’ve mastered the basics.
Organize with Collections and Keywords
Lightroom’s real power extends beyond editing. It’s a complete photo management system.
Collections organize photos without moving files. Create collections for projects, clients, or photo types. One image can belong to multiple collections simultaneously, making it easy to find photos multiple ways.
Keywords make photos searchable. Tag images with descriptive words like “sunset,” “portrait,” or “mountain landscape.” Then search those keywords instantly to find specific photos among thousands.
Smart previews let you edit photos even when the originals aren’t connected to your computer. Perfect for editing on laptops away from your external drives.
These organizational tools feel less exciting than editing features but they save enormous time as your photo library grows.
Start Simple and Build Skills Gradually
Don’t try learning every Lightroom feature at once. You’ll get overwhelmed and frustrated.
Instead, master the basics first. Get comfortable with exposure, highlights, shadows, and white balance. Practice cropping and spot removal until they’re automatic.
Then gradually explore advanced features like split toning, HSL adjustments, and tone curves. Add one new technique per week. Before long, you’ll handle complex edits confidently.
Remember that Lightroom is just a tool. Great photos start with strong composition and lighting. No amount of editing rescues fundamentally weak images. Focus on improving your photography skills alongside your editing abilities.
Lightroom becomes intuitive with practice. Give yourself permission to experiment and make mistakes. That’s how you learn what works and what doesn’t.