Want to transform ordinary dance photos into breathtaking digital artwork? This detailed Photoshop tutorial shows you exactly how to blend multiple images, add dramatic effects, and create professional-looking compositions.
Plus, you’ll learn practical tricks to keep your Photoshop files smaller and more manageable. Let’s break down the process step by step.
What You’ll Create
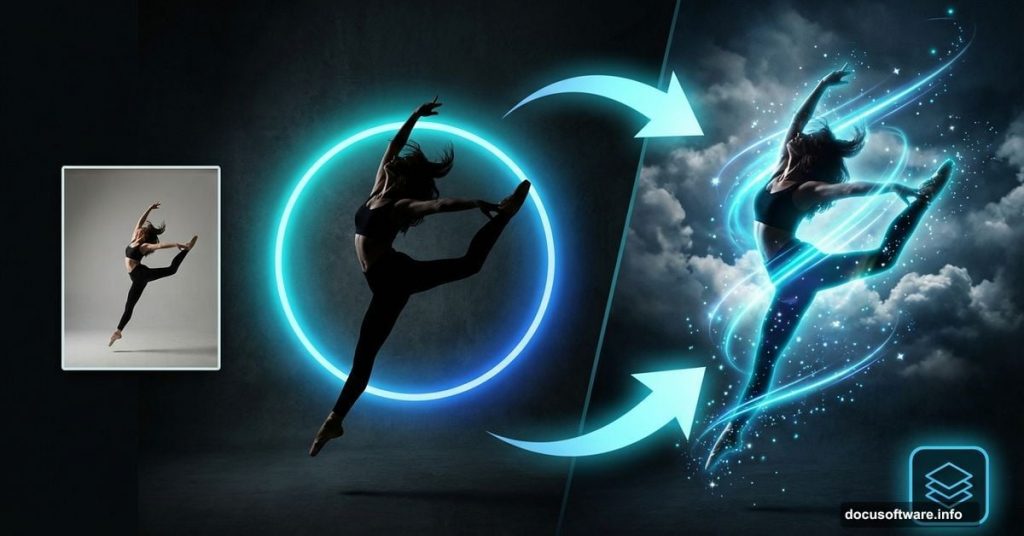
This tutorial walks you through creating a dramatic dance manipulation featuring glowing effects, dynamic clouds, and eye-catching light trails. The final image combines multiple stock photos into one cohesive artwork that looks like it belongs in a professional portfolio.
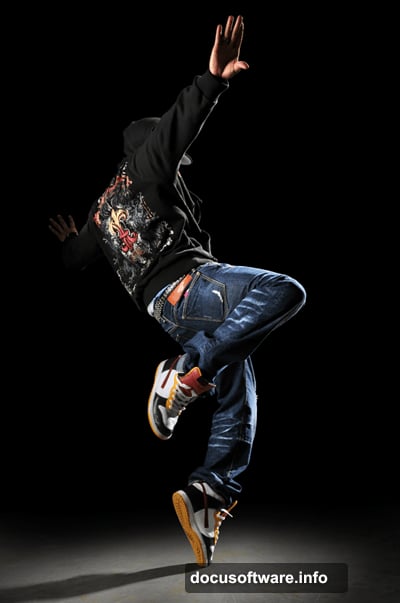
You’ll need basic Photoshop knowledge and these stock images: a dancer photo, cloud imagery, and optional texture elements. The techniques work in Photoshop CS2 and newer versions.
Smart Objects Save File Space
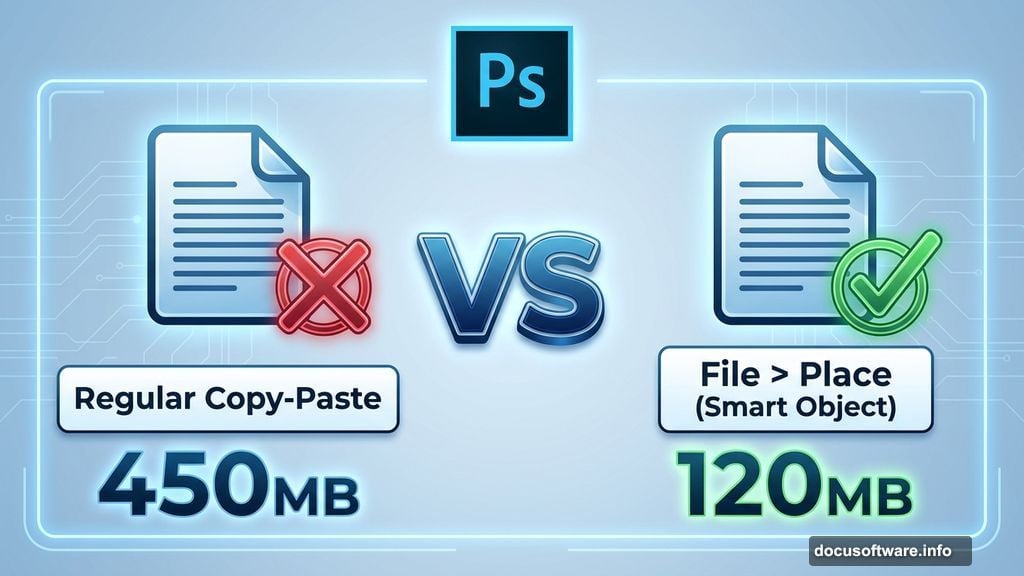
Here’s a trick most tutorials skip. Instead of copying and pasting images between documents, use the Place command (File > Place). This imports photos as smart objects.
Why does this matter? Smart objects keep file sizes dramatically smaller when you save without maximum compatibility enabled. For complex projects with multiple images, this difference adds up fast.
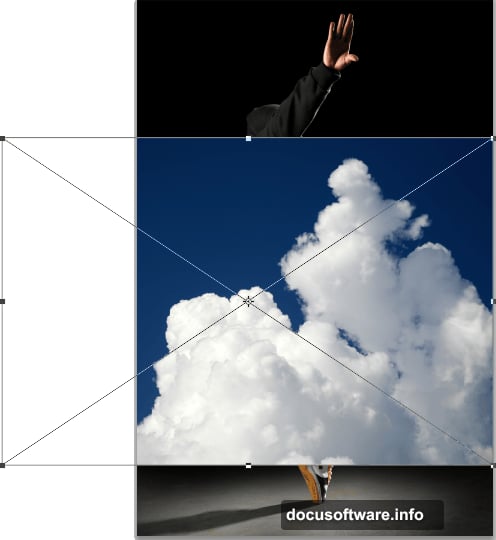
After placing your cloud image, use the Transform tool to position it where you want. Press Enter to confirm. The clouds appear as a separate layer ready for blending.
Blend Clouds Without Masks
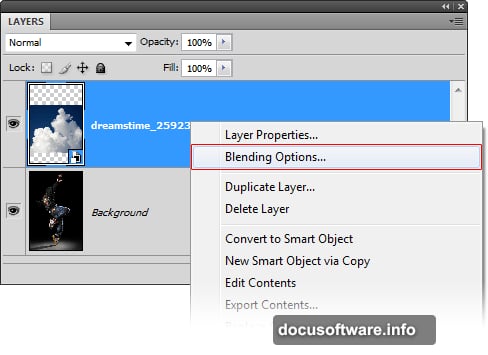
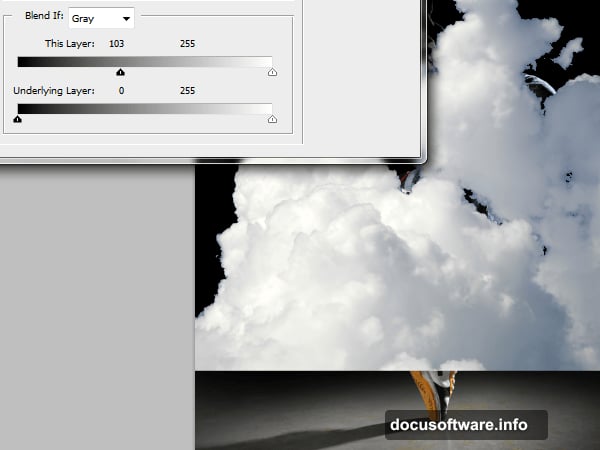
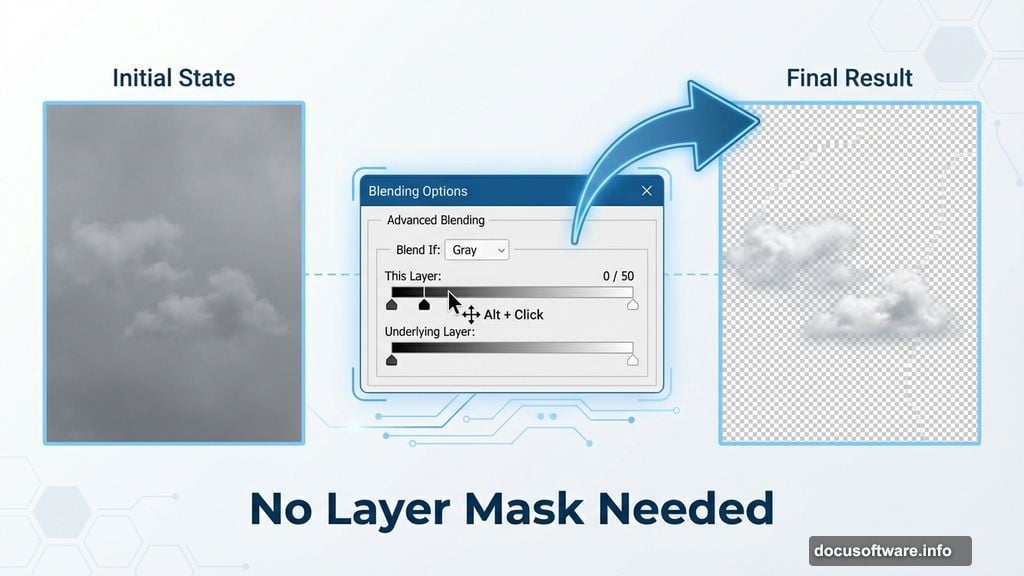
Traditional masking works fine but creates extra layers. Instead, use Blending Options to make the sky transparent while keeping the clouds visible.
Right-click the cloud layer and choose Blending Options. Drag the black input slider right until the sky disappears. Hold Alt and drag that same slider to smooth out hard edges. The clouds gain natural transparency without adding mask layers.
Still in the same window, click Color Overlay. Set it to white with Color blend mode. This desaturates the clouds non-destructively using only layer styles. No adjustment layers needed.
Layer Styles Beat Extra Layers
Throughout this manipulation, layer styles replace multiple adjustment layers. This approach cuts down your layer count significantly.
For example, that Color Overlay trick replaces a Hue/Saturation adjustment layer. Blending Options replace layer masks. Each substitution keeps your file leaner and more organized.
This matters more as projects grow complex. Twenty layers become twelve. Twelve layers become eight. Your document stays responsive and easier to navigate.
Create Dynamic Light Trails
The glowing streaks around the dancer add dramatic energy to the composition. You’ll paint these using the Brush tool with specific settings.
Create a new layer for the light trails. Choose a soft round brush at about 30% opacity. Paint curved strokes following the dancer’s movement. Build up the glow gradually with multiple passes.
Then apply a layer style. Add Outer Glow set to Screen mode with a bright color. This amplifies the painted strokes into convincing light effects. Adjust the glow size and opacity until it matches your vision.
Work Non-Destructively
Notice how many techniques preserve the original images? Smart objects, layer styles, and separate effect layers all follow non-destructive workflows.
This flexibility matters when clients request changes or you want to experiment. You can adjust blend modes, colors, and effects without starting over. The original photos remain untouched underneath.
Smart objects even let you swap source images. Replace the dancer photo completely while keeping all your effects and adjustments. That’s powerful when working on series or variations.
File Size Management Matters
Large Photoshop files slow down your computer and take forever to save. These optimization tricks keep projects manageable:
First, use smart objects instead of embedded copies. Second, replace adjustment layers with layer style equivalents when possible. Third, merge completed sections that won’t change.
But here’s the critical part: save without Maximize Compatibility when working solo. That option inflates file sizes dramatically. Only enable it when sharing files with older Photoshop versions or other software.
Your 500MB document might shrink to 150MB with these strategies. That’s faster saves, quicker loads, and less storage used.
Combine Multiple Light Sources
Advanced photo manipulations often feature multiple light sources interacting. The dancer might have rim lighting, the clouds could glow, and light trails add accent colors.
Make these elements cohesive by adjusting Color Balance and Curves. Warm up the dancer’s highlights to match golden light trails. Cool down the shadows to complement blue-tinted clouds.
Then add a unified Adjustment Layer at the top. Subtle Curves or Color Lookup adjustments tie everything together. This final color grading pass makes disparate elements feel like they belong in the same scene.
When to Merge Layers
Keeping everything separate sounds ideal but becomes impractical. Some effects require merged pixels to work properly.
Merge completed background elements that won’t change. For instance, once your cloud placement and blending look perfect, merge those layers. Keep the dancer and effects separate since they need more refinement.
Use the keyboard shortcut Ctrl+Alt+Shift+E (Command+Option+Shift+E on Mac) to merge visible layers onto a new layer. This preserves the original layers below while giving you merged pixels to work with.
Add Finishing Touches
Professional manipulations include subtle details that elevate the whole composition. Consider adding:
Light particles or sparkles around bright areas. Adjust the overall contrast with a final Curves layer. Apply slight sharpening to the dancer while keeping the background soft. Add a vignette to focus attention on the center.
These finishing touches take minutes but transform good work into portfolio-worthy pieces. Don’t skip them just because the main composition looks complete.
Practice Makes Perfect
Your first photo manipulation probably won’t match professional examples exactly. That’s completely normal. Photo manipulation requires developed visual judgment that only comes with practice.
Start with simpler compositions before attempting complex multi-element scenes. Master blending modes and layer styles on easier projects. Build your skills gradually rather than jumping straight to advanced techniques.
Most importantly, experiment freely. Digital art allows unlimited undos and variations. Try different colors, blend modes, and compositions. Some of your best discoveries happen by accident while exploring.