
Photoshop‘s 3D features intimidate many designers. But they’re surprisingly simple once you break down the steps.
This tutorial walks you through creating 3D text inside a transparent crystal cube. You’ll learn essential 3D tools that apply to countless other projects. Plus, the final result looks impressive enough to use in real client work.
You’ll need Photoshop CS6 Extended to follow along. The entire process takes about 15 minutes once you understand the workflow.
Set Up Your Canvas and Typography
Start with a new document sized 2400×1600 pixels. This gives you plenty of resolution for detailed 3D work.
Grab the Text tool and type your message. Stick to thick, bold fonts. Thin typefaces disappear when converted to 3D because they lack visual weight.
For this project, I’m using Couture, a free font with strong character forms. After typing, open the Characters panel (Window > Characters) and reduce the leading. Click the Leading icon and drag left to tighten spacing between lines.
This creates more compact text that fits better inside the cube. Plus, tighter leading makes your 3D type feel more cohesive as a single object.
Convert Text to 3D Objects
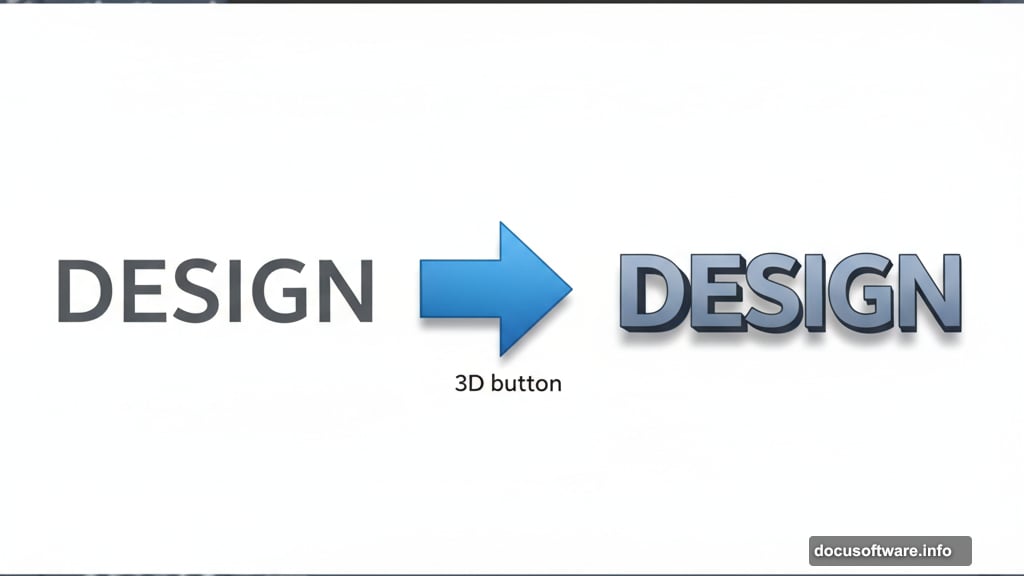
Here’s where Photoshop’s power shows up. With your Text tool selected, click the 3D button in the options bar. Remember, you need Photoshop CS6 Extended to see this button.
Your flat text instantly becomes a 3D object. Photoshop automatically switches to the 3D workspace to give you better access to relevant tools.
Select the Move tool and click on your text to activate it. You can also select it from the 3D panel if you prefer working there.
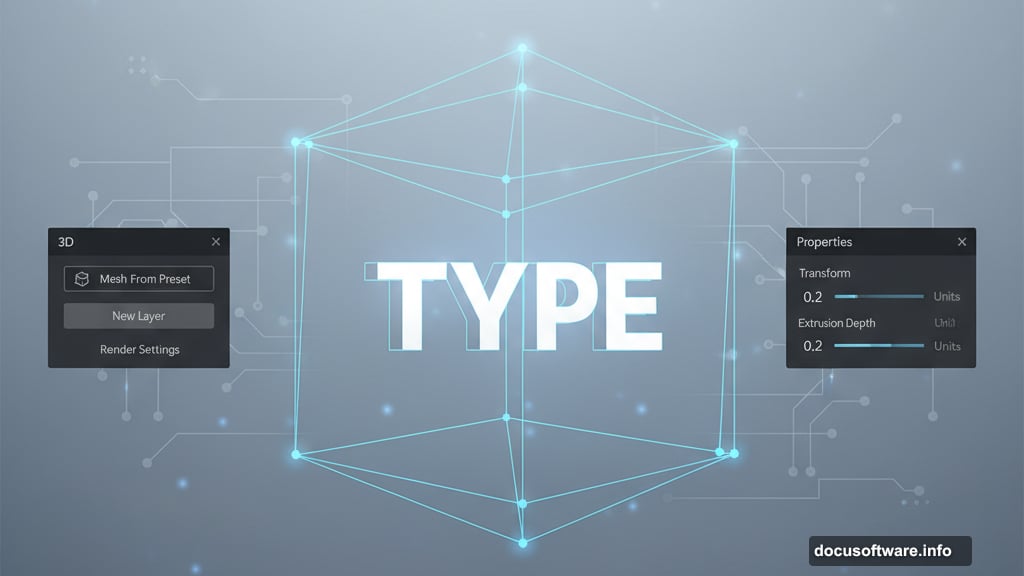
Now look at the Properties panel. Find the “Extrusion Depth” setting and reduce it. This makes your text thinner front-to-back. Watch it change in real time as you adjust the slider.
Thinner extrusion works better for this effect. It keeps the text readable inside the crystal without overwhelming the composition.
Build the Crystal Cube Container
Time to create the crystal housing. This takes just a few clicks.
Create a new layer and name it “Crystal”. In your 3D panel, select “Mesh From Preset” then click Create. Photoshop generates a perfect 3D cube on this layer.
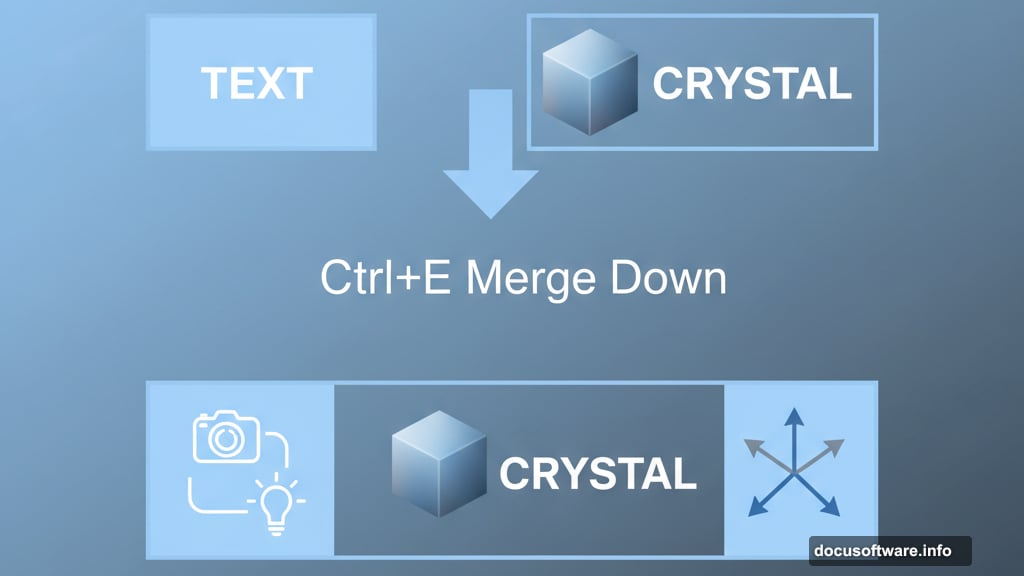
Next, merge the cube with your text layer. This ensures both objects share the same camera and lighting setup. Press Ctrl/Cmd+E or go to Layer > Merge Down.
Without merging, you’d fight with two separate 3D environments. That creates headaches when positioning objects or adjusting lights.
Add Crystal Transparency
Now we’ll make the cube actually look like crystal. The trick is reducing opacity while keeping some visibility.
In the 3D panel, click on Cube_Material. Your Properties panel switches to show material settings for the cube.
Set opacity to 5%. This makes the cube nearly transparent. You’ll see your text clearly inside while the cube provides a subtle glassy container.
Low opacity is crucial here. Too much opacity hides your text. Too little makes the cube disappear completely. Around 5% hits the sweet spot for this effect.
Position Text Inside the Cube
With transparent cube walls, you can now position your text perfectly inside. Use the 3D tools to rotate and move objects.
Select your text object in the 3D panel. Then use the rotation and position handles to center it inside the cube. The semi-transparent walls let you see exactly where your text sits in 3D space.
This is why we reduced cube opacity earlier. Without transparency, you’d be guessing at text placement. With it, you can see everything clearly.
Take your time here. Proper positioning makes the difference between an amateur result and professional-looking output.
Adjust Lighting and Materials
Photoshop’s default 3D lighting rarely looks great. You’ll need to tweak it for this effect.
In the 3D panel, click on your light sources. Adjust their position, intensity, and color until your crystal catches light believably. Real crystal refracts and reflects light in specific ways.
Also refine your material settings. Make the cube slightly reflective to mimic glass or crystal surfaces. Add subtle color tints if you want colored crystal instead of clear.
These adjustments separate decent 3D renders from stunning ones. Spend extra time on lighting. It’s always worth it.
Render Your Final 3D Scene
When everything looks right, render your 3D scene. Go to 3D > Render 3D Layer. This takes several minutes depending on your computer’s power.
Rendering calculates all the lighting, reflections, and transparency properly. What you see while working is just a preview. Rendering gives you the final quality output.
After rendering completes, you can still make adjustments. Change materials, reposition objects, or tweak lighting. Then render again until you’re satisfied.
Why 3D Tools Matter for Designers
Learning Photoshop’s 3D features opens creative possibilities. You’re not limited to flat graphics anymore.
Sure, dedicated 3D software like Cinema 4D offers more power. But for quick 3D elements in your designs, Photoshop works perfectly. Plus, everything stays in one application instead of jumping between programs.
This crystal cube technique applies to countless projects. Product mockups, logo presentations, social media graphics—all benefit from 3D elements. Once you understand the basics, you’ll spot opportunities everywhere.
The learning curve feels steep at first. But these tools become intuitive fast. After creating a few 3D projects, you’ll navigate the workspace without thinking.
Don’t avoid 3D features because they seem complicated. Start with simple projects like this one. Build confidence. Then tackle more complex 3D work.
Your designs will immediately stand out from competitors still working in flat 2D space. That’s a significant competitive advantage worth developing.