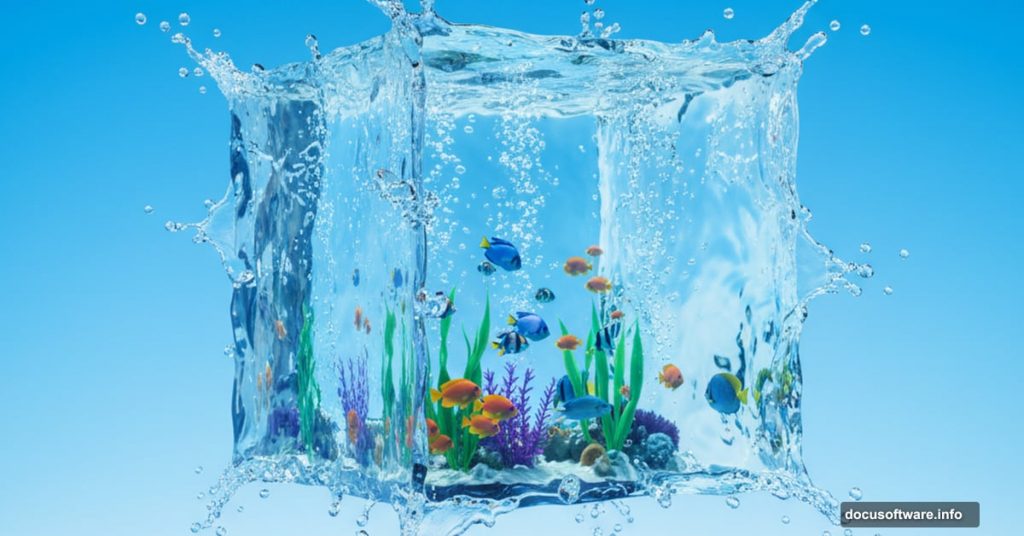
Want to create something impossible in real life? This tutorial shows you how to craft a photorealistic water cube floating in mid-air. You’ll combine basic and advanced Photoshop techniques to build an eye-catching surreal scene.
The best part? Intermediate users will breeze through this. But beginners can follow along too. Just take it one step at a time.
What You’re Building
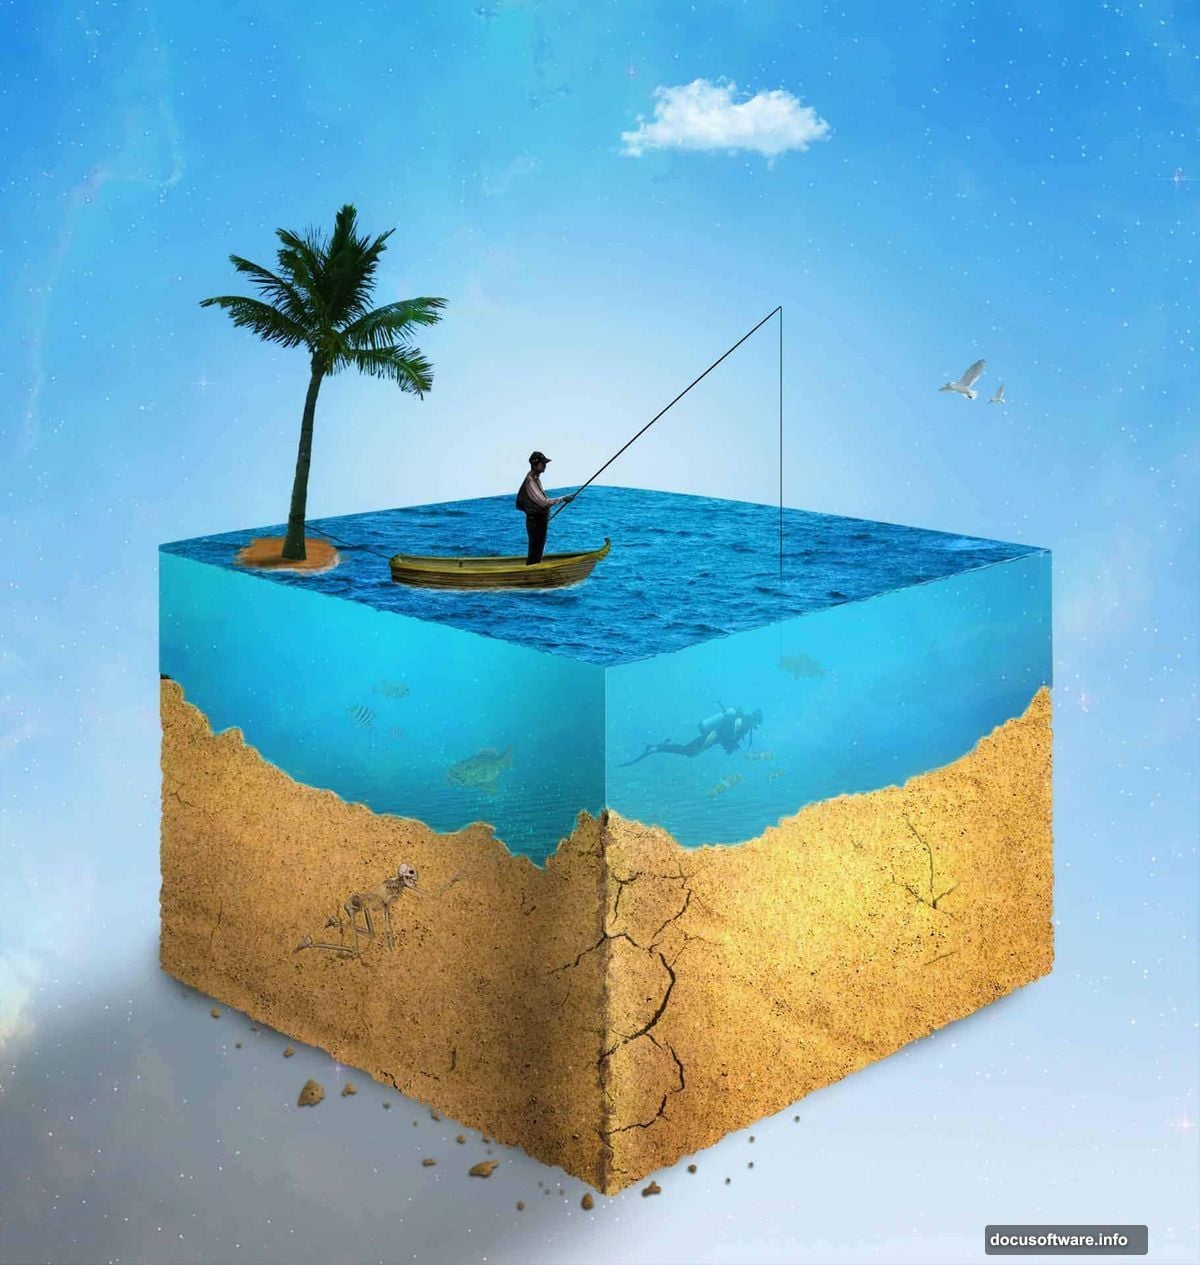
Picture a transparent cube made entirely of water. Inside, you’ll place underwater elements like fish, a diver, and floating debris. Outside, you’ll add a boat, birds, and other surreal touches. The final result looks like you captured an impossible moment with a camera.
You’ll need Photoshop CS3 or newer. Plus, you’ll download about 15 free stock images to work with. Everything’s listed in the resource section at the original tutorial.
Setting Up Your Canvas
Start with a 1500×1581 pixel document. That gives you enough resolution to work with details without making your computer crawl.
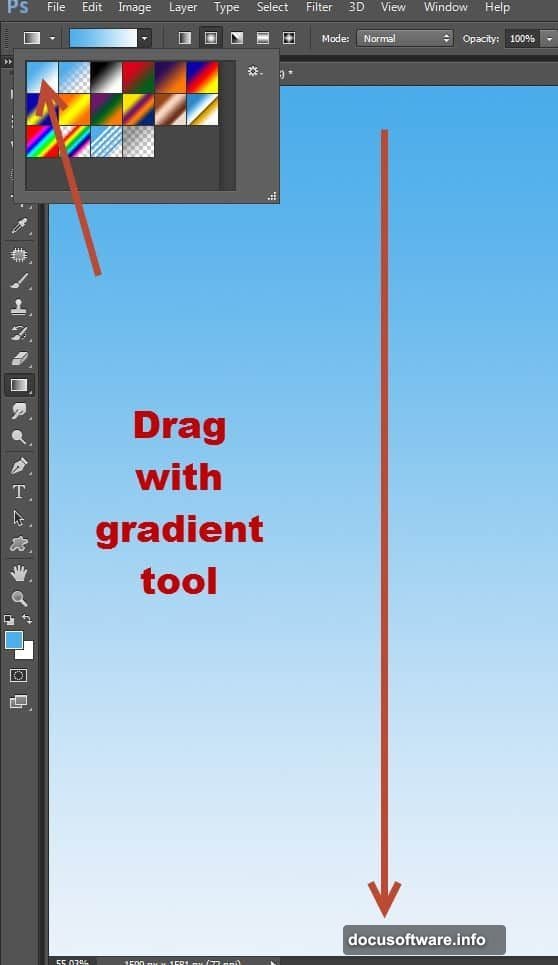
Set your foreground color to light blue (#4eaeeb) and background to white. Grab the Gradient Tool and drag from top to bottom while holding Shift. This creates your sky background with a nice fade from blue to white.
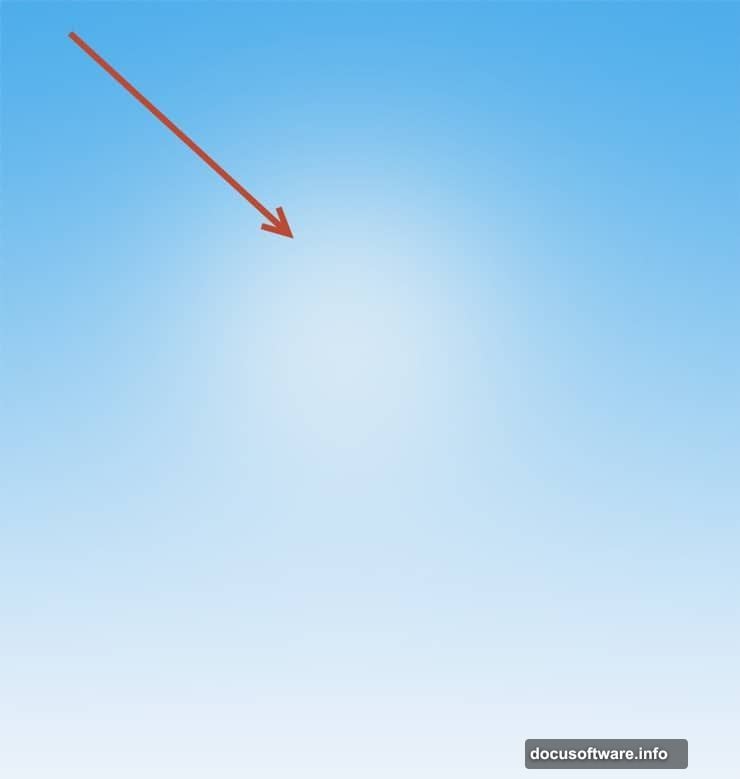
Next, add some atmospheric lighting. Create a new layer and switch to the Brush Tool at 300px size with 20% opacity. Use white and click once or twice in the center. This subtle glow adds depth to your scene.
Building the Cube Structure
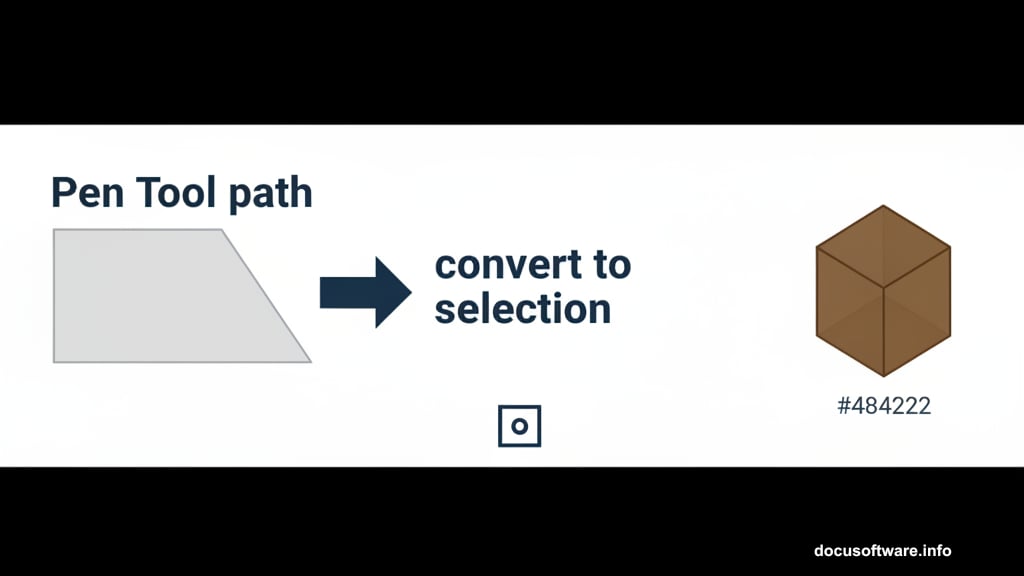
Here’s where things get interesting. You’ll use the Pen Tool to draw one side of your cube. Start by creating a trapezoid shape that looks like a cube face in perspective. Convert your path to a selection and fill it with dark brown (#484222).
Duplicate this layer and flip it horizontally. Position it so you have two connecting cube faces. This forms the basic structure.
Now comes a clever masking trick. Group both layers together and add a layer mask set to hide everything. Select both layer contents while holding Ctrl and Shift. Then fill the mask with white. This keeps your cube faces visible while preparing for textures.
Adding Realistic Sand Texture
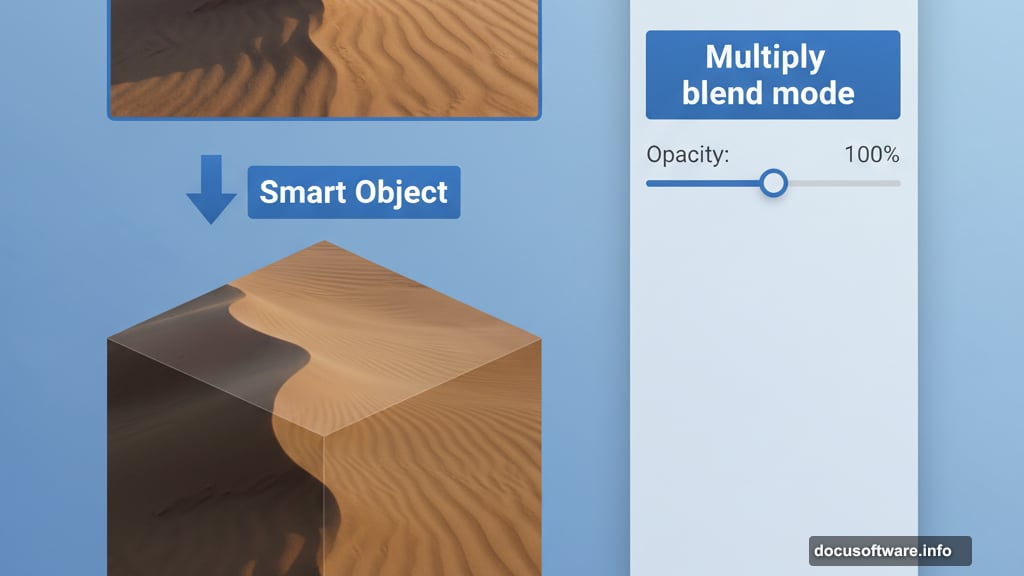
Open your first sand texture and paste it into your document. Convert it to a Smart Object first. This lets you resize and adjust it later without losing quality.
Place the texture layer inside your cube group. Resize it to match your cube face. The texture should follow the perspective of your cube sides.
Set the blend mode to Multiply. This lets the brown base color show through while the texture adds realistic detail. Adjust opacity if needed until it looks natural.
Repeat this process for the second cube face with a different sand texture. Vary the textures slightly so the two sides don’t look identical.
Creating the Water Effect
This is where your cube becomes aquatic. Open your underwater stock photos and start layering them inside the cube. Use layer masks to blend them seamlessly at the edges.
Add a crack texture to suggest the cube is fragile. Place it strategically where stress would naturally occur. Lower the opacity so it’s subtle but visible.
For the water surface, grab your water surface stock image. Position it at the top of your cube interior. Use Warp Transform to make it follow the cube’s perspective. The surface should bend slightly to match the cube shape.

Populating Your Underwater World
Now for the fun part. Start adding your aquatic elements one by one.
Drop in your skeleton first. Position it at the bottom like it’s been there a while. Add a slight blue color overlay to match the underwater lighting.
Place your diver mid-cube. Rotate and scale until the pose looks natural. Add motion blur to the fins to suggest swimming movement.
Scatter your small fish throughout. Vary their sizes using perspective – fish closer to the camera should be larger. Add a few swimming near the surface and others deeper down.
Your shark becomes a focal point. Place it prominently but not dead center. Maybe have it swimming toward the diver for drama.
Finally, add your underwater plants near the bottom. They should look rooted in the sand. Use Warp Tool to make them sway slightly as if in current.
Building the Exterior Scene
Switch focus to outside your cube. This grounds your surreal element in a somewhat realistic environment.
Add your boat near the water surface. It should look like it’s floating on top of your cube’s water. Cast a shadow downward onto the cube top for realism.
Place your fisherman in the boat. Make sure the lighting matches – if your main light comes from upper left, shadows fall to lower right.
Scatter a few birds in the sky. Don’t overdo it – three to five birds placed strategically work better than a dozen random ones.
Advanced Lighting and Shadows
Here’s what separates okay composites from great ones: consistent lighting.
Create a new layer above everything. Paint shadows under objects that should cast them. Use a soft brush at low opacity and build up gradually. Shadows should be bluish-gray, not pure black.
Add rim lighting to elements inside the cube. Underwater objects catch light differently. Paint thin bright lines along edges facing your light source.
Create light rays penetrating from above. Use a white brush on a new layer. Draw diagonal lines from your light source. Set blend mode to Screen and lower opacity. Add Gaussian Blur to soften them.
Color Correction for Cohesion
Your elements came from different photos with different lighting. They need color harmony.
Create a Hue/Saturation adjustment layer at the top. Shift everything slightly toward cyan-blue to match your underwater theme. Don’t go overboard – subtle works better.
Add a Curves adjustment layer. Lift the shadows slightly and compress the highlights a bit. This creates that dreamy, surreal quality.
Finally, add a Color Lookup adjustment. Try different presets until you find one that unifies everything. Lower the opacity if the effect is too strong.
Final Polish
Zoom out and look at your composition with fresh eyes. What jumps out as wrong? Fix those elements.
Sharpen important focal points like the diver and shark. Use Unsharp Mask or Smart Sharpen on their layers. Meanwhile, blur distant elements slightly to enhance depth.
Add a subtle vignette by creating a new layer, filling it with black, and using a large soft eraser in the center. Set blend mode to Soft Light at 20-30% opacity.
Check your edges where the cube meets the background. These should be crisp but not harsh. Use a small soft eraser to clean up any obviously pasted-looking areas.
Common Problems and Quick Fixes
Your water might look flat. Solution? Add more contrast between light and dark areas. Underwater environments have dramatic lighting shifts.
Elements might not match in sharpness. Some stock photos are sharper than others. Apply slight Gaussian Blur to overly sharp elements so everything matches.
Colors might clash despite your adjustments. Go back and use Color Balance or Selective Color to fine-tune individual elements. Sometimes you need to adjust specific colors rather than everything at once.
Shadows might look fake. Real shadows have soft edges and vary in opacity. Use a larger brush than you think you need and build up gradually with multiple strokes.
Taking It Further
Once you’ve mastered this technique, experiment. Try creating other impossible scenarios using the same methods.
Build a fire cube instead of water. Create a cube filled with clouds. Make a miniature ecosystem trapped in a floating prison.
The skills you learned here – masking, perspective matching, lighting consistency, color grading – apply to countless other projects. You’re not just learning to make a water cube. You’re learning fundamental photo manipulation skills.
This tutorial teaches you to see light, shadow, and perspective. Those skills transfer to every composite you’ll ever create. So take your time, work through each step carefully, and don’t worry if your first attempt isn’t perfect.
Even experienced designers rarely nail complex composites on the first try. You’ll learn more from fixing mistakes than from getting everything right immediately.
