Selecting complex objects in Photoshop doesn’t have to be painful. Channels offer a faster, more precise way to mask intricate details like tree branches and railings.
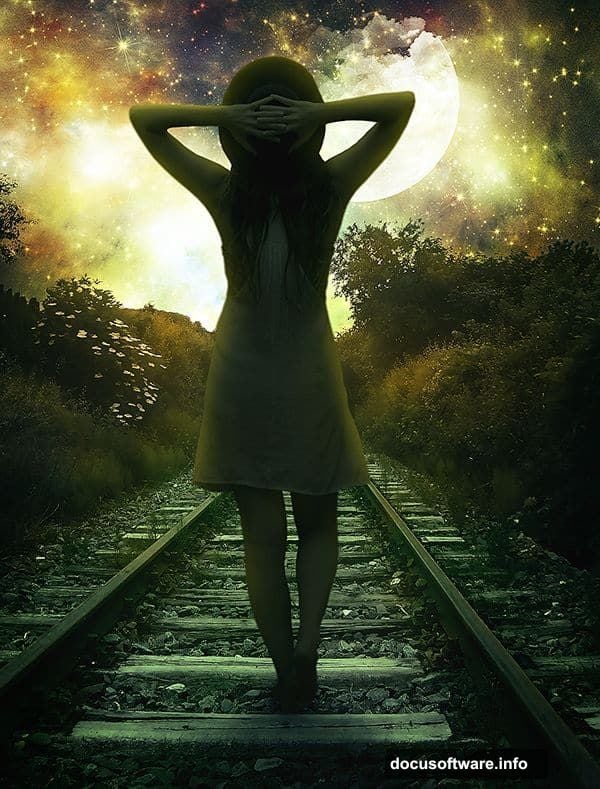
This tutorial walks you through creating a surreal moonlight scene. You’ll learn channel-based masking, custom sky creation, and color grading techniques that make your composites look professionally polished. Plus, these skills work for any photo manipulation project.
Ready to level up your Photoshop game? Let’s dive in.
Set Up Your Canvas and Import Assets
Start with a new document. Go to File > New and set dimensions to 1500px wide by 2000px tall. Keep the background transparent for now.
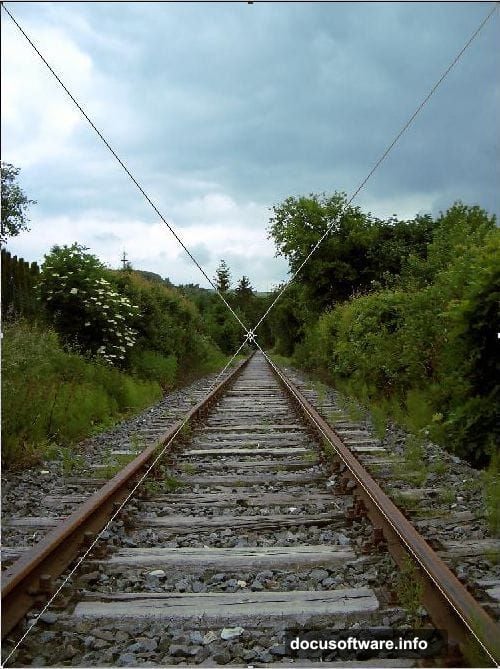
Next, place your railway image. Navigate to File > Place and select your railway stock photo. This non-destructive placement lets you adjust size and position without losing quality.
Now fix the perspective. Press Ctrl+T (Windows) or Cmd+T (Mac) for Free Transform. Right-click and choose Rotate to straighten the railway tracks. Then scale the image to fill your canvas completely.
Rename this layer to “Railway” for easy organization. Clean layer names save headaches later when you’re juggling multiple elements.
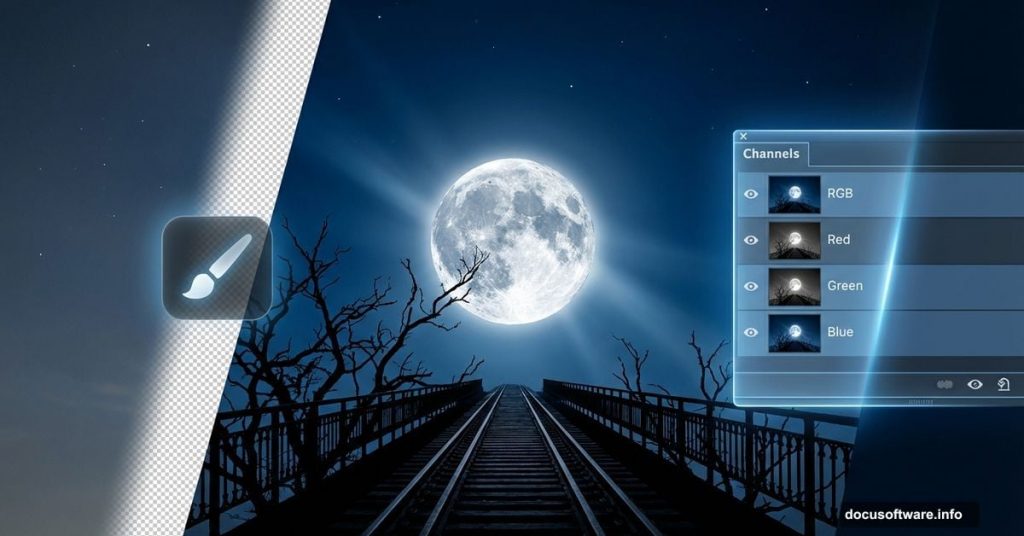
Use Channels for Perfect Sky Selection
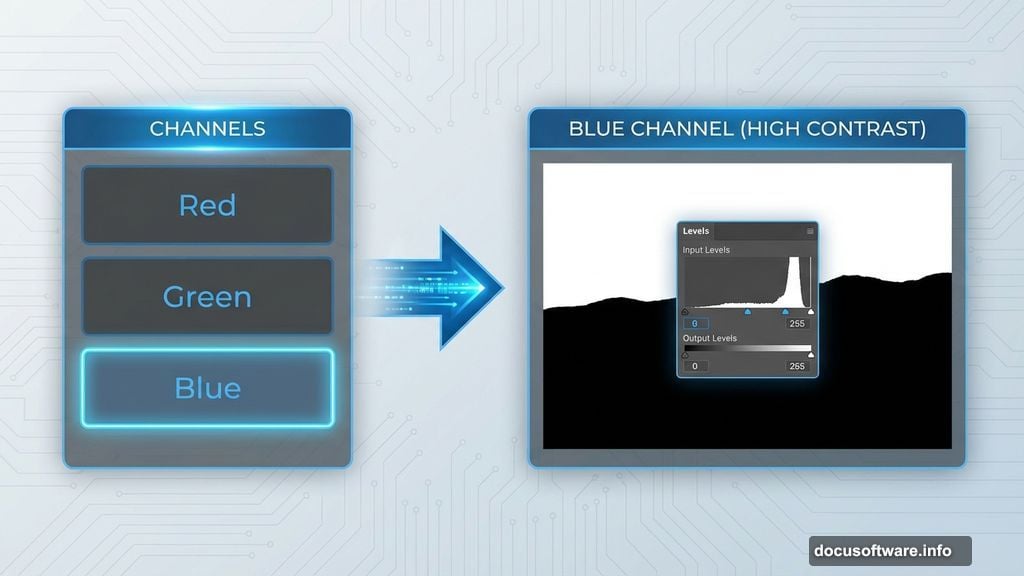
Channels reveal hidden contrast that makes selections easier. Open the Channels panel (Window > Channels if you don’t see it).
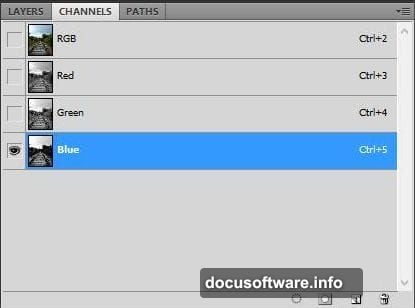
Click through Red, Green, and Blue channels. Find the one with the strongest contrast between sky and foreground. Usually, the Blue channel works best for outdoor scenes.
Right-click your chosen channel and select Duplicate Channel. This creates a working copy without affecting your original image. Click the duplicate channel to make it active.
Now boost that contrast. Go to Image > Adjustments > Levels. Drag the white slider left and the black slider right until the sky turns pure white. Dark areas should be solid black.
Paint and Refine Your Selection
Select a hard-edged brush at 100% opacity. Paint with black over everything you want to keep—the railway, grass, and any foreground elements.

Take your time here. Accuracy matters more than speed. Zoom in on edges where objects meet the sky. Clean strokes now prevent cleanup work later.
Once you’ve painted all foreground areas black, you’re ready to create the selection. Hold Ctrl (Windows) or Cmd (Mac) and click the thumbnail of your painted channel. White areas become selected.
But wait—we want to keep the ground, not the sky. Go to Select > Inverse to flip the selection. Now the foreground is selected instead.
Replace the Sky with Custom Atmosphere
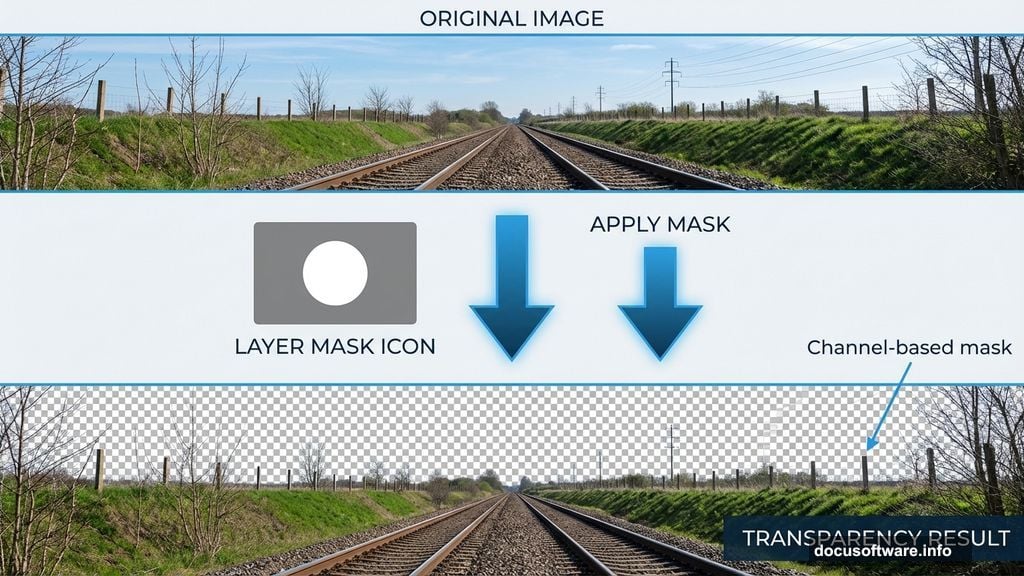
Switch back to the Layers panel by clicking its tab. Your image returns to full color with the foreground still selected.
Click the Layer Mask icon at the bottom of the Layers panel. The sky disappears instantly, replaced by transparency. Your mask follows every detail perfectly, even thin branches and fence posts.
Import your first sky image using File > Place. Position it beneath the Railway layer. This becomes your base atmosphere.
Add a second sky layer for depth and complexity. Place it above the first sky but still below the Railway layer. Experiment with blend modes like Screen or Lighten to create ethereal cloud formations.
Build Your Astrophotography Sky
Create a new layer above your sky images. Fill it with deep blue using the Paint Bucket tool. This forms your night sky base.
Now add stars. Select a small, soft brush with white paint. Lower opacity to 30-40% and vary brush size as you paint. Real starfields have varying brightness and size—mimic that randomness.
For extra realism, add a subtle noise texture. Go to Filter > Noise > Add Noise. Set amount around 2-3% with Gaussian distribution. This creates that grainy quality you see in long-exposure night photography.
Place your moon image near the top third of your composition. Scale it to feel massive and dramatic. Use a soft eraser at low opacity to blend the moon edges into your sky.
Position Your Subject and Perfect Integration
Import your model image and remove its background. Place the layer above your railway and below any sky elements that should appear behind her.
Scale and position her on the tracks. Make sure her feet align with the railway perspective. Poor perspective placement breaks the illusion immediately.
Add a shadow beneath her feet. Create a new layer below her, paint with black using a soft brush at 30% opacity, then blur with Filter > Blur > Gaussian Blur. Shadows ground your subject in the scene.
Match her lighting to the moonlight direction. Add a subtle rim light on one side using a Curves adjustment layer clipped to her layer. Lift highlights slightly to suggest moon glow hitting her silhouette.
Color Grade for Surreal Moonlight
Create a Color Lookup adjustment layer at the top of your layer stack. Try the “Moonlight” or “Teal and Orange” presets as starting points.
Add a Curves adjustment layer. Lift the blue channel in shadows to create that classic moonlight color cast. Pull down the red channel slightly in the same range.
Use a Hue/Saturation layer to desaturate slightly. Real moonlight scenes have less color saturation than daylight. Drop overall saturation by 15-20%.
Finally, add subtle split toning. Create another Hue/Saturation layer. Check Colorize, then adjust hue toward blue-cyan. Set saturation around 15-20% and blend mode to Color.
Add Atmospheric Depth and Glow
Create a new layer above everything. Fill it with black, then change blend mode to Screen. This makes the black invisible.
Use Filter > Render > Lens Flare with the 105mm Prime setting. Position the flare near your moon to suggest its brightness affecting the camera lens.
Add atmospheric haze between foreground and background. Create another new layer and paint soft white strokes with a large, soft brush at 10% opacity. Focus these near the horizon where ground meets sky.
For extra drama, duplicate your entire image (Ctrl+Alt+Shift+E or Cmd+Option+Shift+E). Apply Filter > Blur > Gaussian Blur at around 20-30 pixels. Lower opacity to 20% and change blend mode to Screen. This creates a dreamy, soft glow.
Final Polish and Professional Touches
Add a vignette to draw attention toward your subject. Create a Levels adjustment layer, then use a large soft brush with black paint on the layer mask. Paint around the edges of your canvas at 30-40% opacity.
Sharpen your subject selectively. Duplicate her layer, apply Filter > Sharpen > Unsharp Mask, then mask everywhere except her face and important details.
Check your composition at different sizes. View your image at 50%, 100%, and fit-to-screen. Great manipulations work at every scale, from thumbnail to full resolution.
Save your master PSD with all layers intact. Then create a flattened JPEG for sharing. Always keep that layered version—you’ll want to adjust things later.
Why This Technique Matters
Channel-based selections beat magic wand tools every time for complex subjects. They preserve fine details that make composites look believable rather than cut-and-pasted.
Plus, these color grading methods work across all photo manipulation projects. Master moonlight aesthetics and you can create any atmospheric mood—sunrise, storm, golden hour, or dramatic twilight.
The best part? Each technique builds on fundamental Photoshop skills you’ll use constantly. Masks, adjustment layers, blend modes, and selective color correction form the foundation of professional retouching and compositing.
Practice this workflow a few times with different source images. Soon these steps become second nature, freeing you to focus on creative vision instead of technical execution.