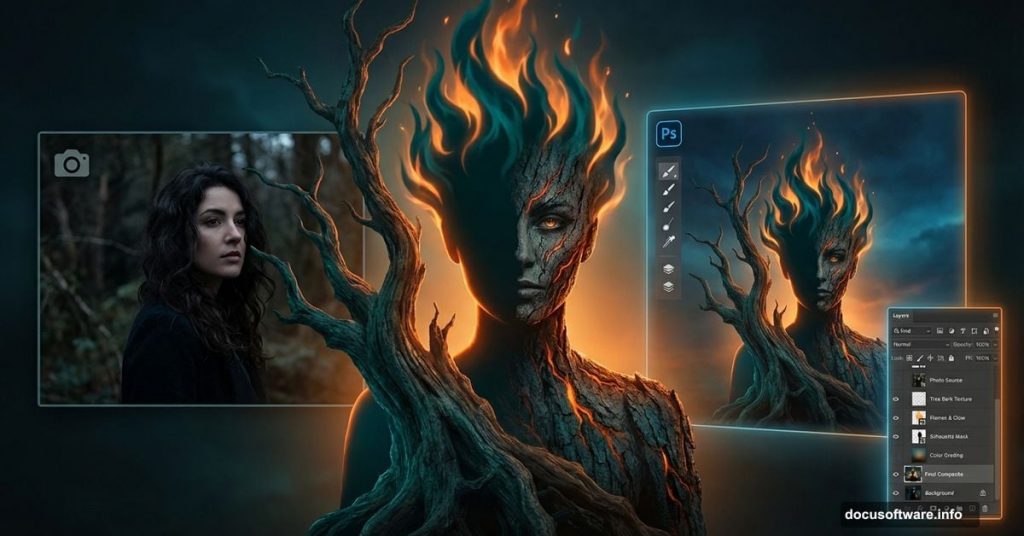
Want to create something genuinely unsettling in Photoshop? This abstract composite technique transforms ordinary photos into dark, surreal artwork.
Jenny Le’s tutorial breaks down how to build a haunting scene featuring a flaming tree-woman. You’ll learn practical manipulation techniques that work across different creative projects. Plus, the methods here apply far beyond this specific design.
What You’ll Actually Learn
This isn’t just about copying one design. The techniques teach fundamental Photoshop skills you’ll use repeatedly.
First, you’ll master texture blending without making everything look muddy. Then you’ll learn lighting effects that create mood instead of just looking filtered. Most importantly, you’ll understand layer masking well enough to blend anything seamlessly.
The tutorial uses specific stock images. But honestly? Use whatever you have. The process matters more than the exact photos.
Building the Foundation Layer
Start with a 1000×1050 pixel canvas filled with white. Obviously, adjust the size for your needs.
Drop in your base texture and scale it down to 40% using Free Transform (Cmd/Ctrl+T). This creates your atmospheric foundation without overwhelming the composition.

Now comes an important step most tutorials skip. Create a new layer and grab the Clone Stamp tool. Remove distracting texture details that pull focus from your main subject. Clean textures let your creative elements shine instead of competing for attention.
Adding Environmental Depth
Place your forest background over the texture. Change the blend mode to Soft Light at 100% opacity.
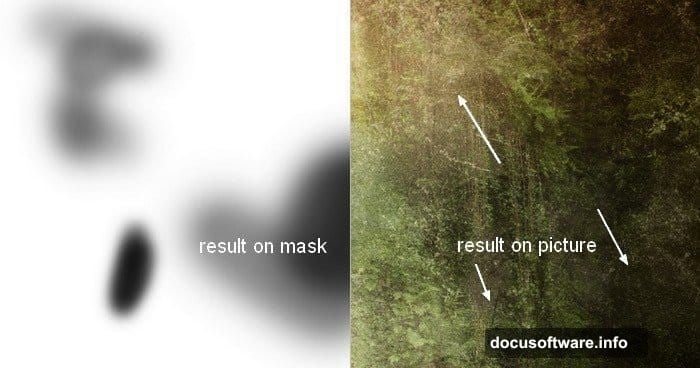
Here’s where layer masking becomes critical. Add a mask to the forest layer. Use a soft black brush with 30-70% opacity to blur edges and create atmospheric depth. This prevents harsh transitions that scream “bad Photoshop.”
Duplicate the forest layer and flip it horizontally (Edit > Transform > Flip Horizontal). Position it on the right side. Again, mask the hard edges for seamless blending.

Smart Layer Organization
Select both forest layers and hit Cmd/Ctrl+G to group them together. Change the group blend mode from Pass Through to Soft Light 100%.
This step matters more than you’d think. Keeping Soft Light mode ensures adjustment layers inside the group only affect forest elements. That gives you precise control over individual components.
Fine-Tuning Atmospheric Lighting
Add a Curves adjustment layer inside your forest group. This affects only the forest layers underneath.
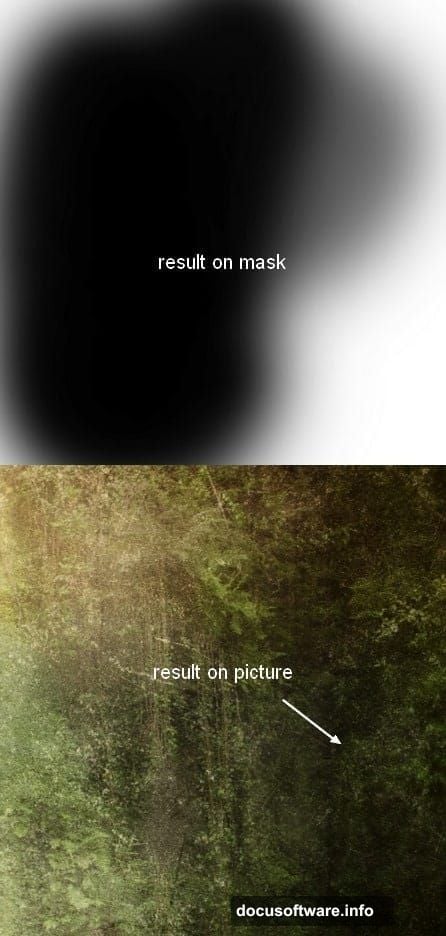
Use a soft black brush on the Curves layer mask to selectively brighten or darken areas. Paint with varied opacity to create natural-looking light falloff. Harsh, uniform adjustments destroy atmospheric depth.
Controlling Overall Brightness
Create a Curves adjustment layer above all background elements. This controls the entire base scene’s luminosity.
Brush black on the layer mask to protect areas you want brighter. Build up darkness gradually across multiple Curves layers instead of trying to nail it in one pass. Subtle adjustments look professional. Heavy-handed ones look amateur.
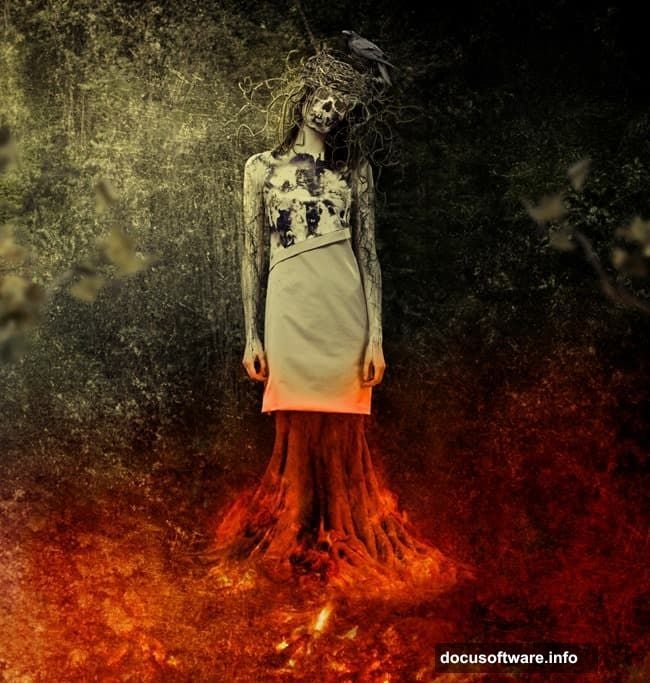
Add another Curves layer to continue darkening. Compare your result to the reference image and adjust until the mood matches.
Integrating Your Main Subject
Extract your model using your preferred selection method. Place her at the top center of the composition.
Skip the legs if they’re not needed. Why waste time on elements that won’t show? Focus effort where it creates actual value.
Why This Tutorial Actually Matters

Most Photoshop tutorials teach you to copy one specific design. This one teaches transferable skills.
The layer masking technique works for any composite project. Understanding blend modes helps across all photo manipulation work. Plus, learning to control lighting through adjustment layers applies to countless creative scenarios.
Sure, the stock images cost money. But that misses the point entirely. Use free alternatives from Unsplash or Pexels. The methods work regardless of your exact source photos.
Common Mistakes to Avoid
Don’t rush the masking process. Sloppy masks create obvious composites that look cheap. Take time to feather edges and vary opacity for natural blending.

Avoid cranking blend modes to 100% without testing lower opacities first. Sometimes 60-80% looks more realistic than full strength. Your eyes tell you what works better than any rule.
Stop using the same brush opacity throughout. Vary between 30-70% based on the area you’re working. Consistent opacity creates uniform, unnatural results.
Making It Your Own
This tutorial provides a framework, not a paint-by-numbers guide. Swap the tree-woman concept for your own ideas. Replace the flaming elements with ice, smoke, or flowers.
The real value lies in understanding how textures, blend modes, and layer masks work together. Master those fundamentals and you can create anything.