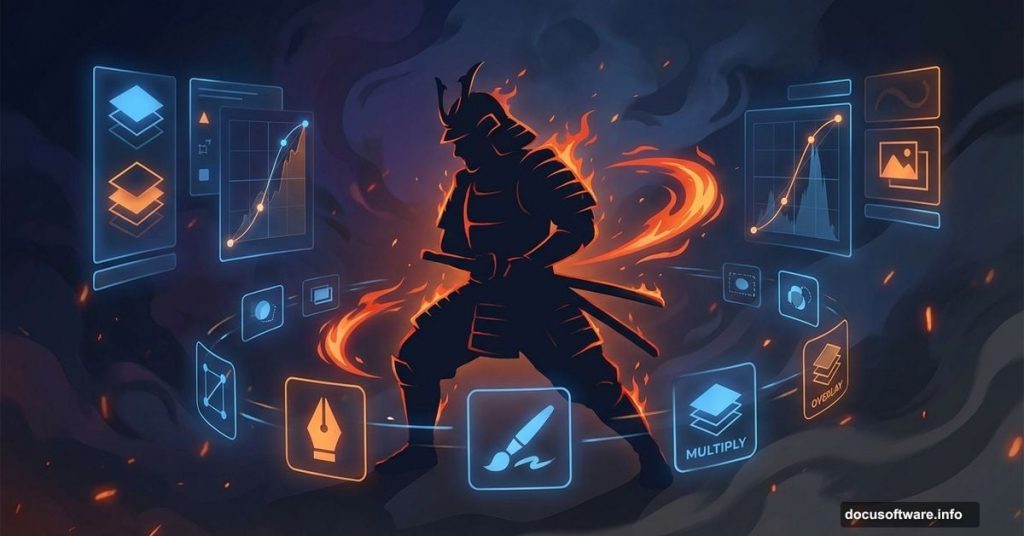
Photo manipulation transforms ordinary images into dramatic art. Plus, you don’t need advanced skills to create professional results.
This tutorial walks you through building a fiery samurai scene step by step. You’ll combine stock images, adjust lighting, add realistic fire effects, and enhance mood using layers and masks. By the end, you’ll have techniques that work for any dramatic photo manipulation project.
Gather Your Resources First
Before diving into Photoshop, download these stock images:
- Sky background
- Temple architecture
- Female model (or use your own portrait)
- Fire textures (two variations)
- Light sparks overlay
Having everything ready saves time. Plus, you can substitute similar images if needed.
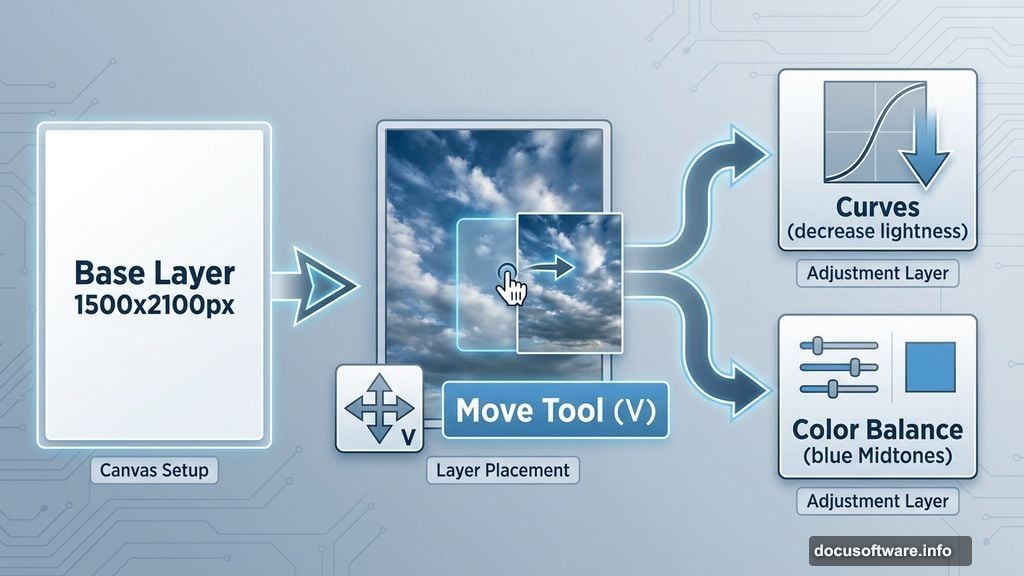
Build Your Canvas and Background
Start by creating a new document at 1500×2100 pixels. Fill it with white as your base layer.
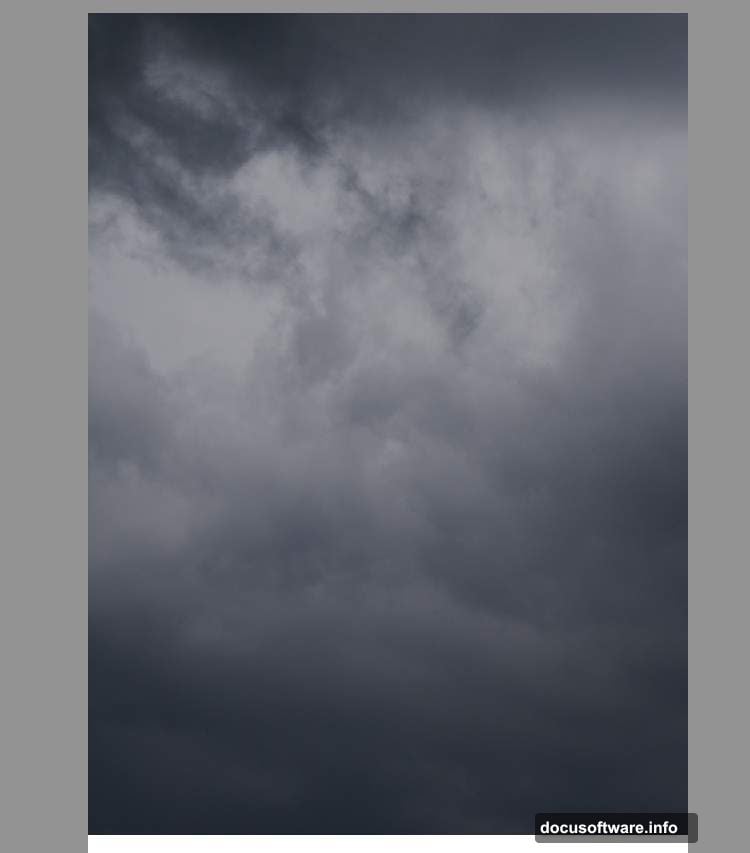
Next, drag your sky image onto the canvas using the Move Tool (V). Position it in the upper half. This creates your atmospheric foundation.
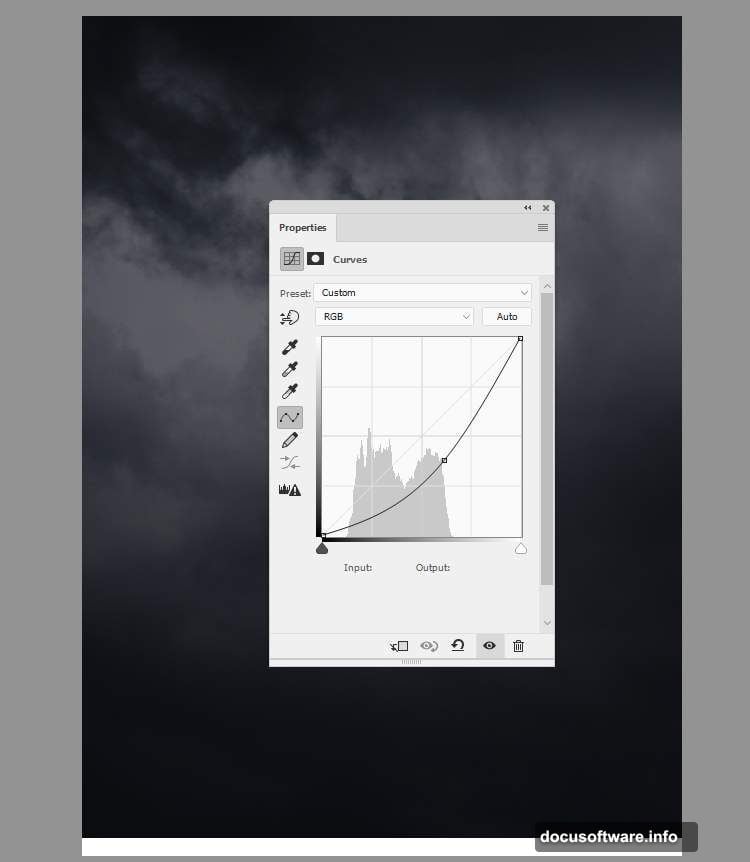
Now comes the mood setting. Go to Layer > New Adjustment Layer > Curves. Decrease the lightness to darken the sky. Remember, this scene happens at night, so the sky should feel moody and dim.
Then add a Color Balance adjustment layer. Change the Midtones settings to introduce blue tones. This adds that nighttime color temperature everyone recognizes instantly.
Add the Temple Architecture
Cut out your temple image using your preferred selection method. Place it in the top right corner.
Here’s a crucial depth trick: Go to Filter > Blur > Gaussian Blur and set the radius to 8 pixels. This blur separates background elements from foreground subjects. It creates realistic depth that makes your scene feel three-dimensional.
Create a Color Balance adjustment layer above the temple. Set it as a Clipping Mask. Adjust the Midtones values until the temple matches your blue-tinted background. Consistency matters here.
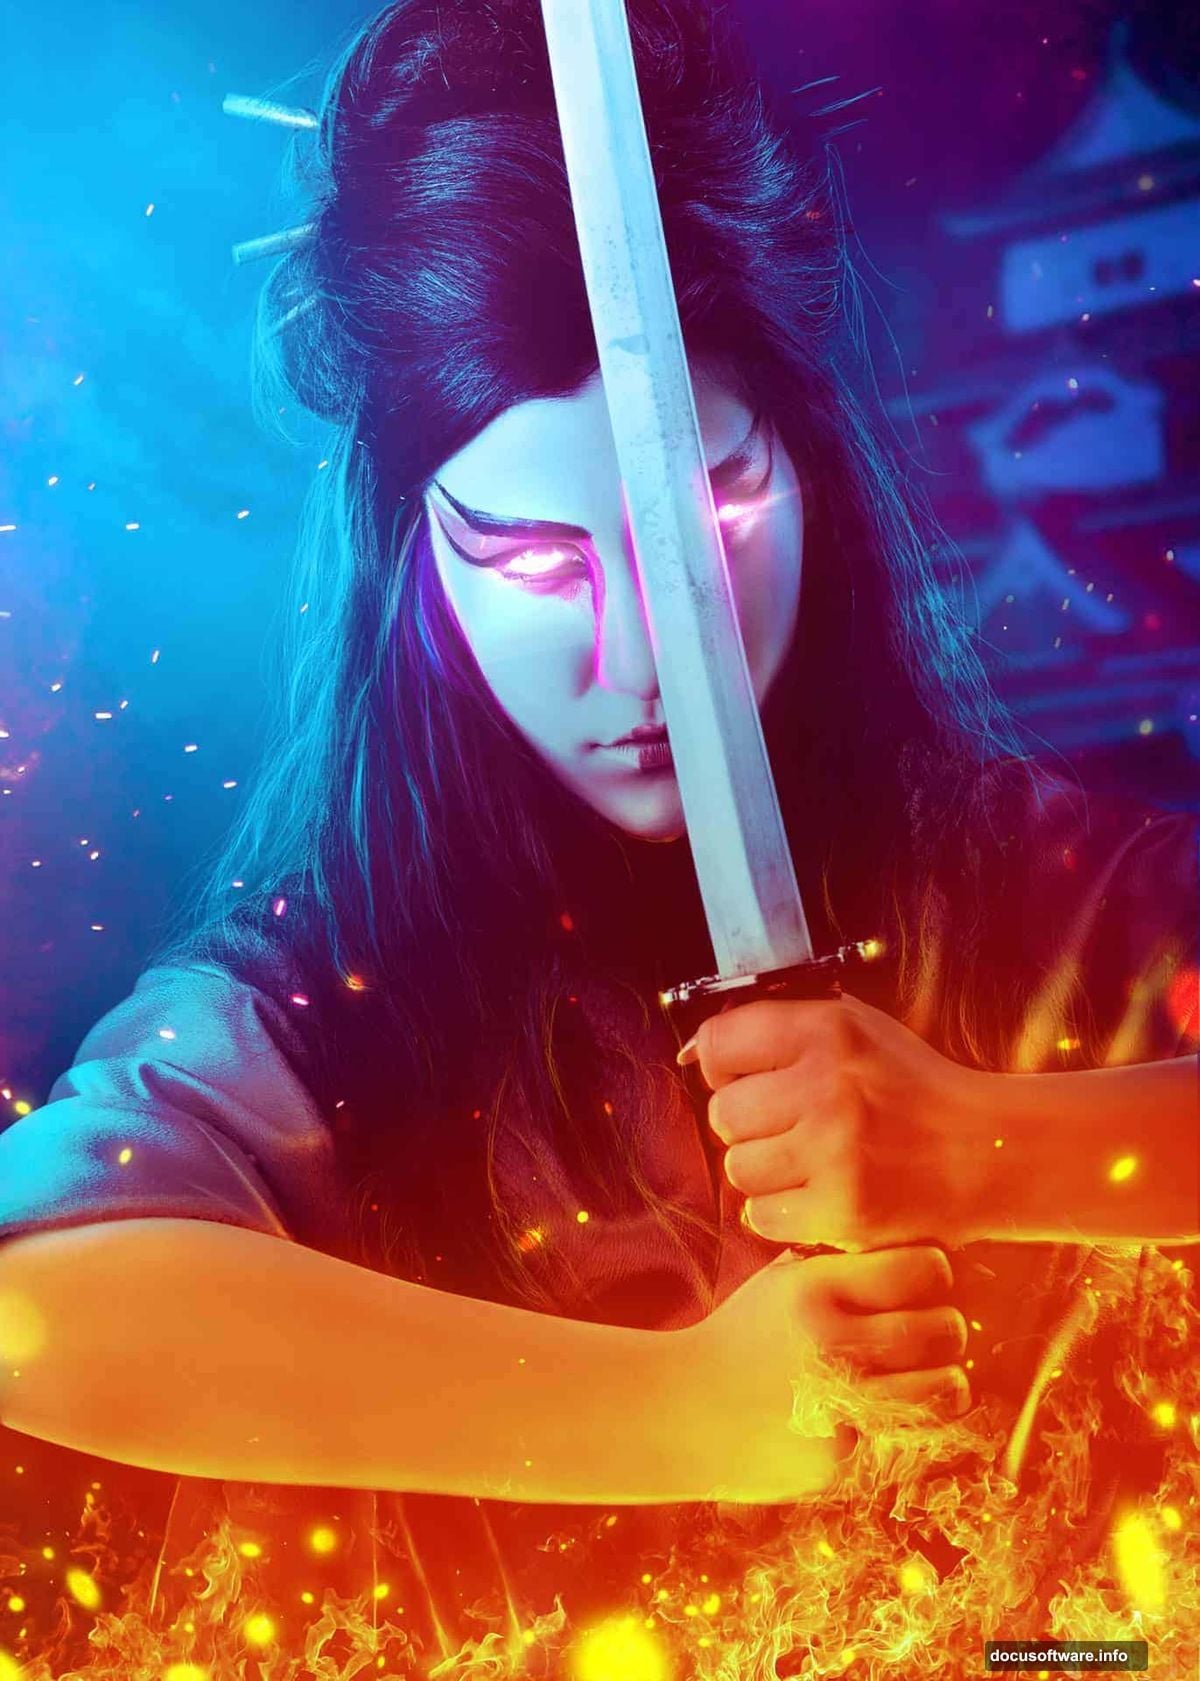
Position Your Main Subject
Isolate your model using whichever selection tool you prefer. The Pen Tool works great for clean edges. So does Select and Mask for complex hair details.
Place her in the middle of the foreground. She’s your focal point, so positioning matters.
Light Your Subject Correctly
Create a Curves adjustment layer above the model (set as Clipping Mask). Bring the lightness down overall.
Now grab the Brush Tool (B). Select a soft round brush with black color. Paint on the layer mask over the left side of the model. This reveals brightness there, establishing your main light source from the left.
Make another Curves adjustment layer. This time, increase the lightness. But here’s the trick: paint on the layer mask over shadow areas. This prevents the adjustment from affecting darker regions that should stay dim.
Add a Hue/Saturation adjustment layer next. Bring Saturation down to -61. This desaturation helps unify your color palette and creates that dramatic, stylized look.
Finally, create a Photo Filter adjustment layer. Pick the color #0185ec (a cool blue). This ties everything together with consistent color temperature.
Add Depth with Dodge and Burn
Create a new layer and change the blend mode to Overlay at 100%. Fill it with 50% gray through Edit > Fill.
This gray layer becomes your dodge and burn workspace. Paint with white to lighten (dodge) areas that catch light. Paint with black to darken (burn) shadow regions.
Focus on these areas:
- Lighten the left side where your light source hits
- Deepen shadows on the right side
- Add subtle highlights along edges
- Darken creases in clothing
Take your time here. Subtle dodge and burn work separates amateur manipulations from professional ones.
Integrate Fire Elements
Open your first fire texture. Drag it onto your canvas and position it where you want flames.
Change the blend mode to Screen. This makes black areas transparent while keeping bright flames visible. Resize and rotate until it looks natural.
Repeat with your second fire texture. Layer multiple fire elements at different sizes. This creates realistic, dynamic flames instead of flat effects.
Lower the opacity on some fire layers. Vary the intensity to add depth. Real fire has brighter cores and dimmer outer edges.
Add Light Sparks and Atmosphere
Import your sparks overlay. Set the blend mode to Screen again.
Position sparks around fire sources. They should drift upward naturally, following heat currents. Don’t overdo it though. Too many sparks looks artificial.
Create a new layer for atmospheric haze. Use a large, soft brush with low opacity. Paint white or pale orange in areas where firelight would create glow. This sells the lighting even more.
Enhance Color and Mood
Add a final Curves adjustment layer at the top of your layer stack. Make subtle adjustments to overall contrast. Slight S-curves often work well.
Create a Color Lookup adjustment layer if you want stylized color grading. Experiment with different presets. “Moonlight” or “Night From Day” often work for dark scenes.
Add a Vibrance adjustment layer. Increase Vibrance slightly to make colors pop without oversaturating. Keep Saturation neutral or slightly decreased.
Refine Edge Details
Zoom to 100% and check edges around your subject. Look for selection mistakes or harsh cutouts.
Create a new layer. Use a small, soft brush to paint subtle edge lighting. Match your main light source. This rim lighting separates subjects from backgrounds beautifully.
Clean up any rough mask edges. The Refine Edge Brush Tool helps smooth transitions between subject and background.
Final Touches Matter
Merge everything to a new layer (Ctrl+Alt+Shift+E on Windows, Cmd+Option+Shift+E on Mac). This creates a flattened copy while preserving your layers below.
Go to Filter > Sharpen > Unsharp Mask. Use these settings:
- Amount: 80-120%
- Radius: 1.0-1.5 pixels
- Threshold: 0
This adds final crispness without over-sharpening.
Add a slight vignette if desired. Create a Curves adjustment layer. Darken it significantly. Then use a large, soft black brush on the mask to reveal the center. This draws eyes to your subject.
Why This Technique Works
Photo manipulation succeeds when light and color feel consistent. Every adjustment you made served that goal.
The blue color grading unified different stock images. Dodge and burn created dimensional lighting. Fire elements added drama without overwhelming the composition. Each step built on the previous one.
Most importantly, you learned reusable techniques. These same methods work for any dramatic photo manipulation. Change the subject, switch the background, adjust the color scheme. The process stays the same.
Practice these steps until they become second nature. Then you’ll create professional manipulations without following tutorials. That’s when photo manipulation gets really fun.