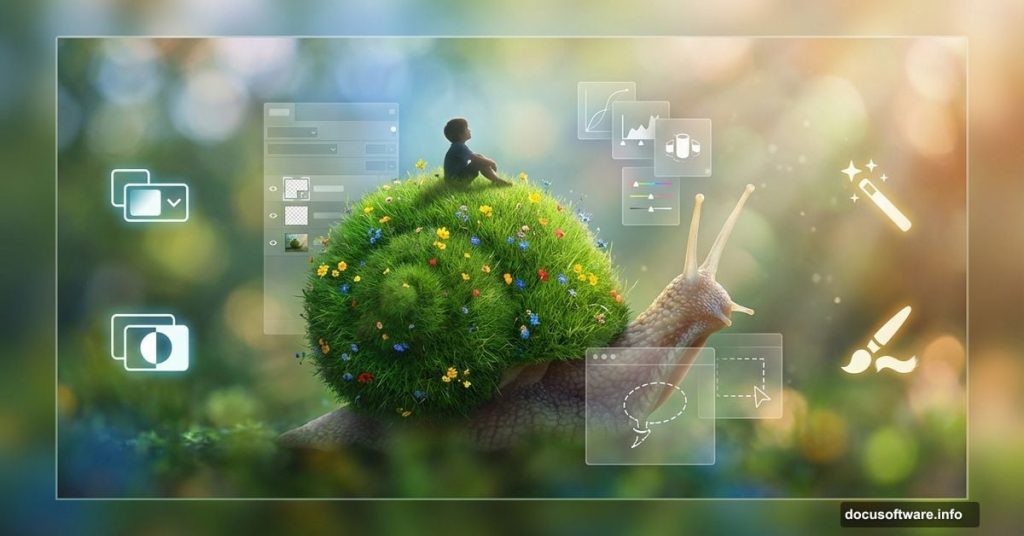
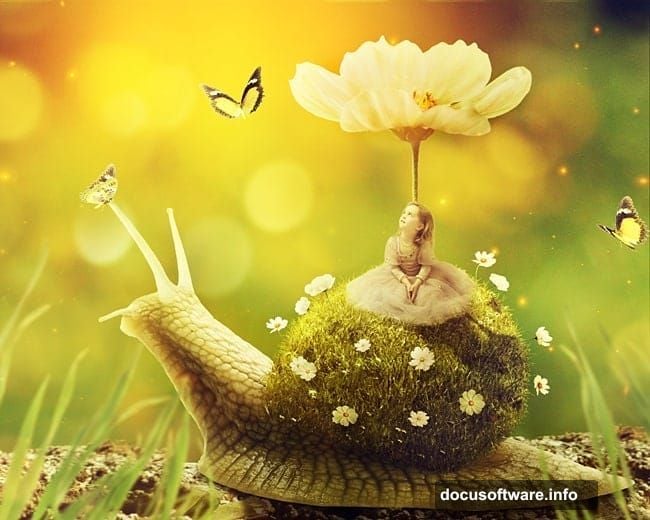
Want to build a dreamlike scene in Photoshop? This tutorial shows you how to craft a whimsical image of a child riding a snail with a grassy shell.
You’ll combine stock photos, apply photo manipulation techniques, and learn professional tricks for lighting and depth. Plus, the skills transfer to other fantasy projects. So let’s jump in.
What You’ll Learn in This Tutorial
This project teaches core Photoshop manipulation skills. You’ll master blending multiple images seamlessly. Also, you’ll work with adjustment layers and masks to control lighting.
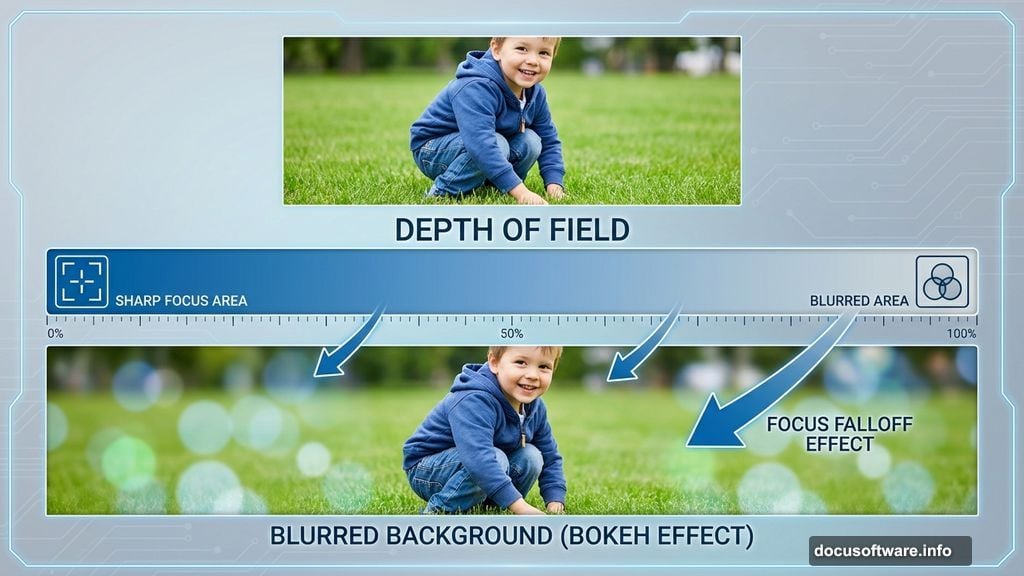
The tutorial covers depth of field effects too. That creates realistic focus blur. Meanwhile, you’ll practice texture blending to transform the snail’s shell into living grass.
Best of all, these techniques work for any surreal composition. Once you understand the workflow, you can apply it to your own creative ideas.
Required Tools and Images
You’ll need Photoshop CS5 or newer. Earlier versions lack some features used here. So update if necessary.
Gather these stock images before starting:
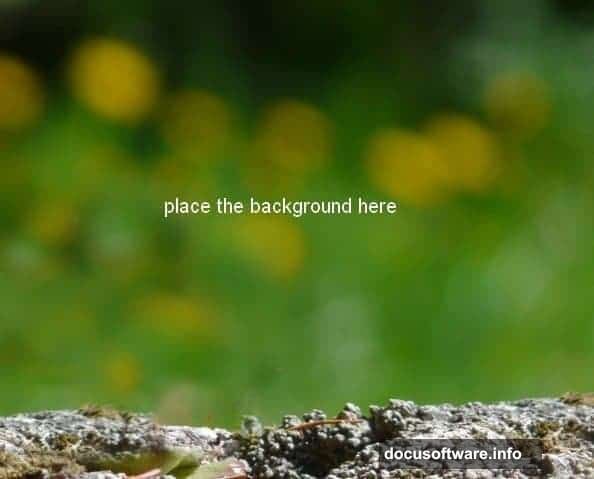
- Background landscape with bokeh
- Snail photo with clean white background
- Child image for the rider
- Meadow texture for the shell
- Various flower images
- Grass blade pack
- Light texture overlay
- Butterfly images
- Bokeh texture
Most stock sites offer these image types. Just search for high-resolution versions. Better source images mean better final results.
Building the Background Foundation
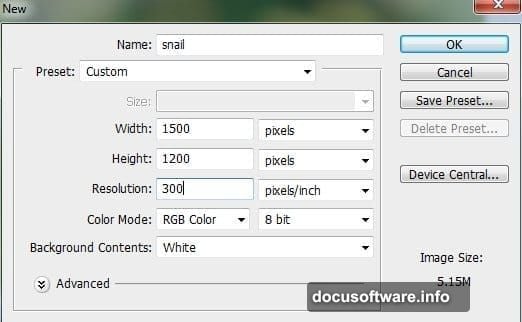
Start by creating a new document. Set dimensions to 2000×1333 pixels at 300 DPI. That gives you room to work without quality loss.
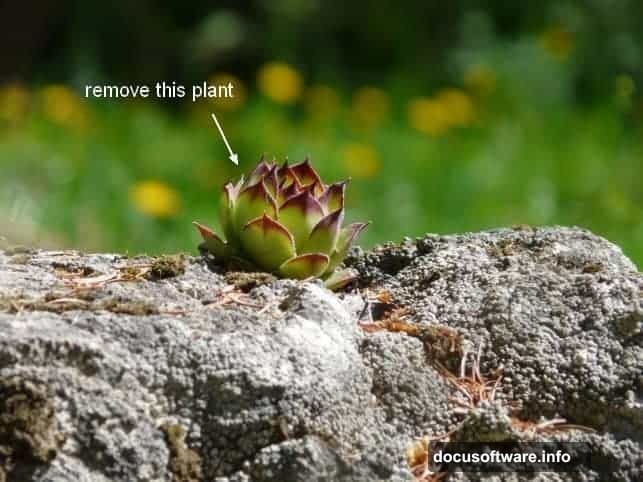
Next, open your background landscape. Notice that plant on the rock? It distracts from our fantasy scene. So remove it using the Clone Stamp Tool.
Create a new layer first. Then activate the Clone Tool by pressing S. Sample clean areas of rock by Alt-clicking. Now paint over the unwanted plant carefully.
Merge your background and clone layers together. Press Cmd+Option+Shift+E on Mac or Ctrl+Alt+Shift+E on Windows. This creates a single combined layer.
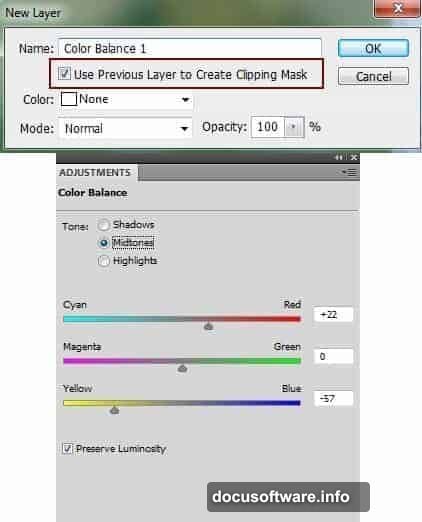
Adjusting Background Colors and Lighting
The original background colors might clash with your vision. So fix that using Color Balance adjustments. Go to Layer > New Adjustment Layer > Color Balance.
Apply the adjustment as a Clipping Mask. That limits changes to just the background layer. Play with the sliders until you achieve your desired mood.
Then darken the background using Curves. Add another adjustment layer and pull down the curve slightly. This makes the snail stand out later.
However, don’t darken the bokeh areas too much. Grab a soft black brush and paint on the Curves layer mask. That reveals the original brightness in the blurred background areas.
Placing and Preparing the Snail
Import your snail image into the main document. Position it where you want in the scene. Then remove the white background using a layer mask.
Here’s a quick masking tip. Select the background with the Magic Wand Tool. Then click the mask button at the bottom of the Layers panel. Photoshop creates the mask automatically.
Now the snail needs shadows to anchor it in the scene. Make a new layer beneath the snail. Use a soft black brush at 40% opacity to paint shadows under the body.
Add another shadow layer for depth. This shadow extends behind the snail since light comes from above and left. Load the snail’s selection by Cmd-clicking its layer mask thumbnail. Then paint the shadow on your new layer.
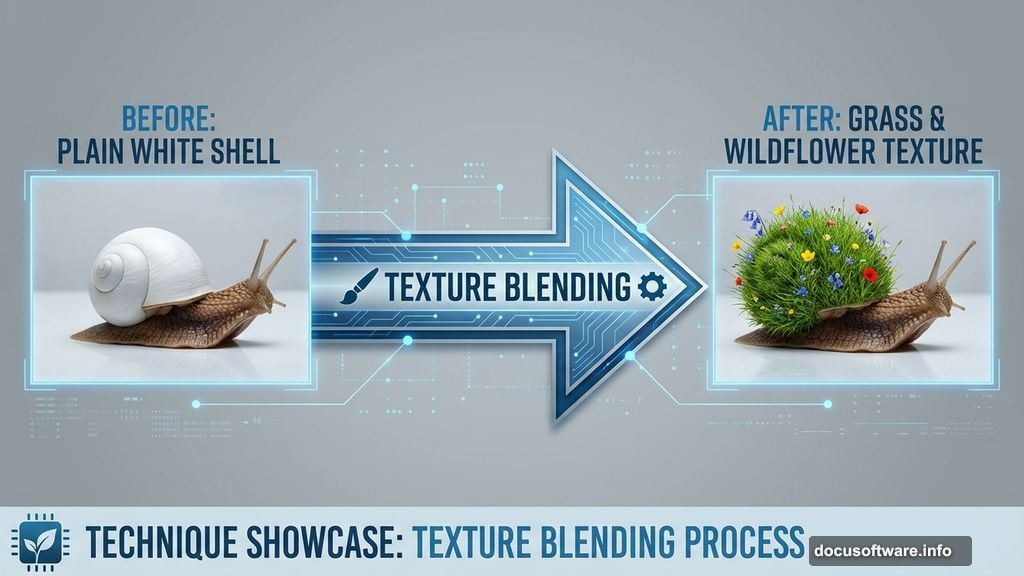
Creating the Magical Grass Shell
This is where the magic happens. Open your meadow texture and position it over the snail’s shell. The grass should cover the entire shell area.
Create a layer mask on the meadow layer. Now paint black on the mask to reveal only the shell underneath. Use a soft brush and take your time. The edge quality matters here.
Blend the grass texture with the shell using adjustment layers. Add Color Balance to shift the grass tones. Then use Curves to match the lighting on the snail’s body.
The grass needs to follow the shell’s curves naturally. So warp the meadow layer slightly. Press Cmd/Ctrl+T for Transform. Right-click and choose Warp. Adjust the grid to make grass flow with the shell’s shape.
Adding Flowers and Details
Scatter small flowers across the grassy shell. Import each flower image separately. That gives you control over individual placement and sizing.
Vary the flower sizes and angles. Real meadows show diversity. So mix large blooms with tiny ones. Rotate some flowers to different angles too.
Blend each flower using layer masks and adjustment layers. Match their colors to the overall scene. Also adjust their brightness based on where light hits the shell.
Don’t forget the shell’s edges. Add grass blades sticking out naturally. The grass pack provides perfect elements for this. Just mask them carefully and adjust their colors.
Placing the Child Rider
Import your child image and remove its background. Position the child on top of the snail’s shell. Make sure the scale looks believable.
The child needs shadows too. Create a shadow layer beneath the child. Paint soft shadows where the child contacts the shell. This grounds the figure in the scene.
Adjust the child’s colors using Color Balance. Match the warm or cool tones of your background. Then use Curves to control brightness and contrast.
Add a subtle glow around the child if you want. That creates a dreamy effect. Make a new layer set to Screen blending mode. Paint soft white around the child’s edges with a large brush.
Enhancing with Butterflies and Atmosphere
Butterflies add life and movement to fantasy scenes. Import several butterfly images. Position them at different depths in the scene.
Blur butterflies in the foreground and background. That creates depth of field. Go to Filter > Blur > Gaussian Blur. Apply more blur to butterflies farther from focus.
Now overlay your light texture. Set the blending mode to Screen or Lighten. That adds atmospheric rays of light. Reduce opacity until it looks natural.
Add the bokeh texture similarly. Position it to enhance the background blur. Adjust opacity and try different blending modes. Overlay or Screen usually work best.
Final Color Grading and Adjustments
Unify the entire scene with final adjustment layers. Start with a Color Lookup adjustment. Browse the presets to find a mood you like.
Then add a Curves adjustment for overall contrast. Make an S-curve to boost contrast slightly. This makes the image pop without looking overdone.
Finally, add a subtle Vibrance adjustment. Boost vibrance by 10-15 points. That intensifies colors naturally without oversaturating.
Step back and evaluate your work. Does everything blend harmoniously? Are shadows consistent? Does the lighting make sense? Make small tweaks until satisfied.
Making This Tutorial Your Own
This workflow adapts to endless creative ideas. Swap the snail for a turtle or hedgehog. Change the shell texture to flowers, moss, or crystals.
The key is understanding how elements interact. Light, shadow, and color consistency make or break composite images. So practice these techniques repeatedly.
Experiment with different stock images. Try various blending modes and adjustment layer combinations. The more you practice, the faster you’ll work. Plus, you’ll develop your own style.
Start simple if you’re new to photo manipulation. Master basic masking and blending first. Then add complexity as your skills improve. Before long, you’ll create stunning surreal scenes confidently.